Tag: GBOMBS Page 1 of 2

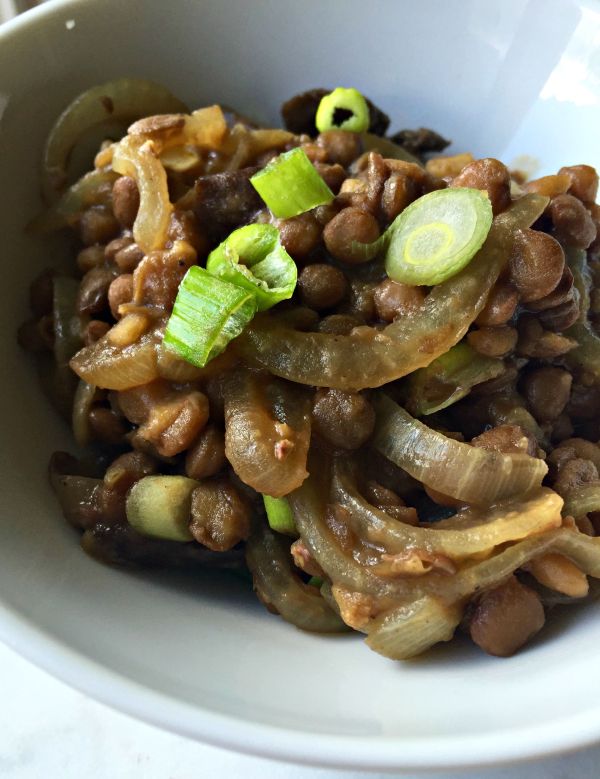
One-Pot Lentil, Onion & Baby Bella Saute {Vegan}

I’m back from vacation and excited to be in my kitchen again making new recipes to share with you!

I didn’t realize how much I missed it until I had half the day on Saturday to experiment 🙂

Today’s dish came about as I was planning the menu for a cooking class I’m teaching about GBOMBS foods (Greens, Beans, Onions, Mushrooms, Berries, Seeds/Nuts) for a client in DC. If you missed the GBOMBS post, check it out to learn which foods are the best disease-fighting, nutrient-dense foods we can eat.

Aside from being packed with nutrient-rich foods, the other motivation behind this recipe was to make a quick and easy dinner option (on the table in under 30 minutes).

Two of the GBOMBS foods in this meal are onions and mushrooms, two of the most underappreciated plants we eat.

mush

For most of my life, I had no idea just how good these foods were for my body, but I’ve learned a lot about just how amazing they are!

They both contain powerful compounds called angiogenesis inhibitorscompounds designed to prevent the formation of new blood vessels, thereby stopping or slowing the growth or spread of abnormal cells and protecting the body against fat storage.

Certain cancer drugs contain angiogenesis inhibitors, but these compounds also occur naturally in dozens of plants, including onions and mushrooms! 

shrooms and onions

I didn’t eat onions or mushrooms until a few years ago (I’d deemed them both “gross”), and neither did my husband, Bill. Now, we love them and put onions in just about every savory dish we make.

What I like about this dish is that it’s “semi-homemade,” meaning one of the ingredients is from a can.

BUT, just because it comes from a can doesn’t mean we have to lower our standards when it comes to quality and nutrition! We still make sure we can recognize and pronounce all of the ingredients and that they are real, whole foods.

The star of this dish, a can of lentils from Eden Organic, passes the real food test 🙂

eden beans

We’ve been using Eden Organic beans for years because they taste great, don’t get mushy at the bottom of the can like other bean brands, and they have no added sodium.

Lentils are packed with fill-you-up fiber and protein, and they keep me feeling full for hours.

Because the lentils are already cooked, this dish can be prepared in about 20 minutes and requires only one pan 🙂 Yay for recipes with minimal clean-up (not my strong suit).

I had leftovers for lunch today in my thermos, and they were delicious! The onions melt in your mouth.

lentil sautelentils

Ingredients

  • 2 tablespoons ghee or coconut oil (or other high heat cooking oil)
  • 1 large yellow onion, cut into half moons
  • 1/2 pound cremini (AKA baby bella) mushrooms, cleaned and sliced
  • 1/4 teaspoon sea salt (+more, to taste)
  • Black pepper, to taste
  • 1 can Eden Organics Lentils with Onion & Bay Leaf* (below for 100% GF option)
  • 1/4 cup scallions, thinly sliced

**100% GLUTEN-FREE OPTION: Although all of the other recipes on my site are gluten-free, this can of lentils does contain a small amount of shoyu, which is made with organic wheat. I’ve contacted the company to see if they have plans for a wheat-free option in the future. In the meantime, if you are completely avoiding gluten, follow the box directions for cooking one cup of green lentils and add some basil, garlic and tamari to the dish at step #3 below.**

Directions

  1. Melt 1 tablespoon ghee or oil in a large saute pan set to medium heat. Add onions and saute for 6-8 minutes or until soft.
  2. Add 1 tablespoon ghee or oil, salt and mushrooms. Saute with onions for about 6-8 minutes or until they’ve shrunk in size and softened.
  3. Add can of lentils, including juices, and stir to combine. Let simmer for about 5 minutes.
  4. Remove from heat and sprinkle in scallions, tossing to combine. Serve hot.
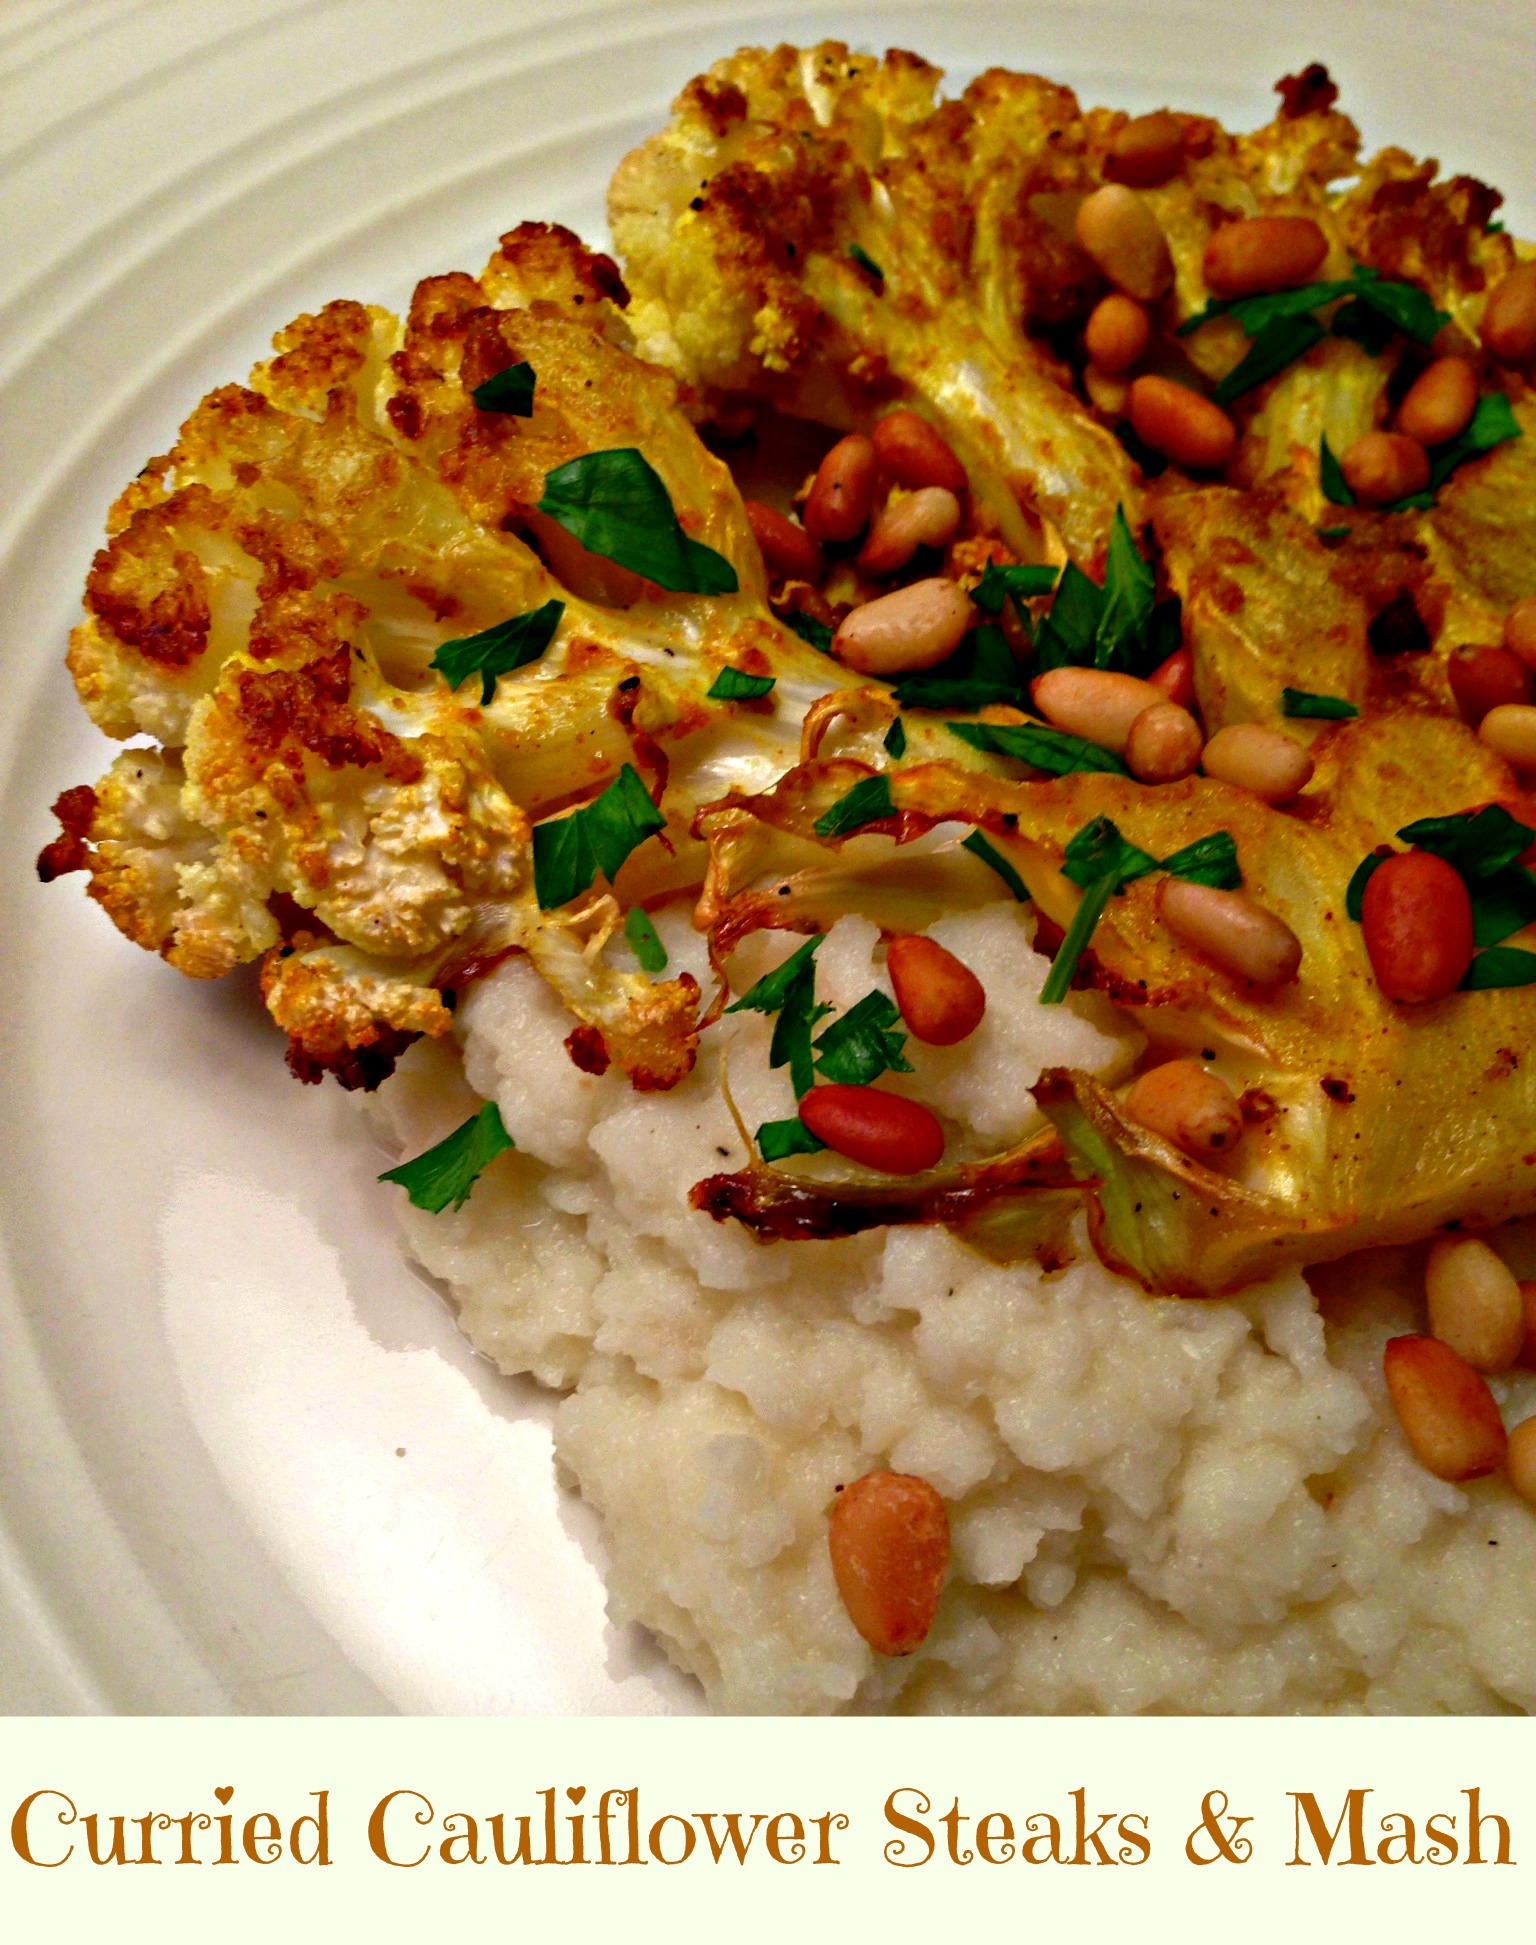
Fancy Pants Curried Cauliflower Steaks & Mash {Paleo, Vegan}

When it comes to eating well, one of the key things we’re told to do is “eat the rainbow” and include a variety of brightly colored foods in our diet.

I totally agree, but the unfortunate part is that advice leaves out foods that are well…white and colorless.

Like cauliflower.

Cauliflower doesn’t get nearly as much love as its green buddy broccoli, but it should!

It’s just one of the many health-boosting, inflammation-fighting, detoxifying foods in this recipe.

cauli closeup

I was inspired to come up with this dish when I was doing an assignment focused on anti-inflammatory foods for the Culinary Nutrition program I finished this winter.

If we can reduce inflammation, we set ourselves up to feel better, look more alive, prevent disease and even get to a healthier weight. Dr. Mark Hyman has written extensively about inflammation and how to reduce it. Click here to learn more about it from him.

For this dish, I wanted to use as many anti-inflammatory foods as possible, including cauliflowerturmeric, ginger and garlic.

  • Cauliflower, a cruciferous vegetable, contains the antioxidant sulforaphane, which is known for its powerful anti-inflammatory and anti-cancer properties. Here’s my first post about cauliflower and the rest of its amazing health benefits.
  • Turmeric contains over two dozen anti-inflammatory compounds with curcumin being the most potent.
  • Ginger extract regulates pathways that halt the activation of genes involved in the inflammatory response.
  • Allium vegetables like garlic contain sulfur compounds that prevent inflammation in the body.

This recipe puts a creative spin on “steak and potatoes” by using cauliflower “steaks” and “mash.”

I was inspired to share this recipe that puts a vegan-friendly spin on a specialty dish just like the crew at the Wynn Las Vegas.  New York Times Bestselling author of The Conscious Cook and vegan chef Tal Ronnen creates vegan and vegetarian menus for every restaurant at the Wynn, and I hope to have the chance to try his food firsthand one day. Since not everyone (myself included!) can make it to Vegas for a fancy meal, making a dish like this one is the second best option!

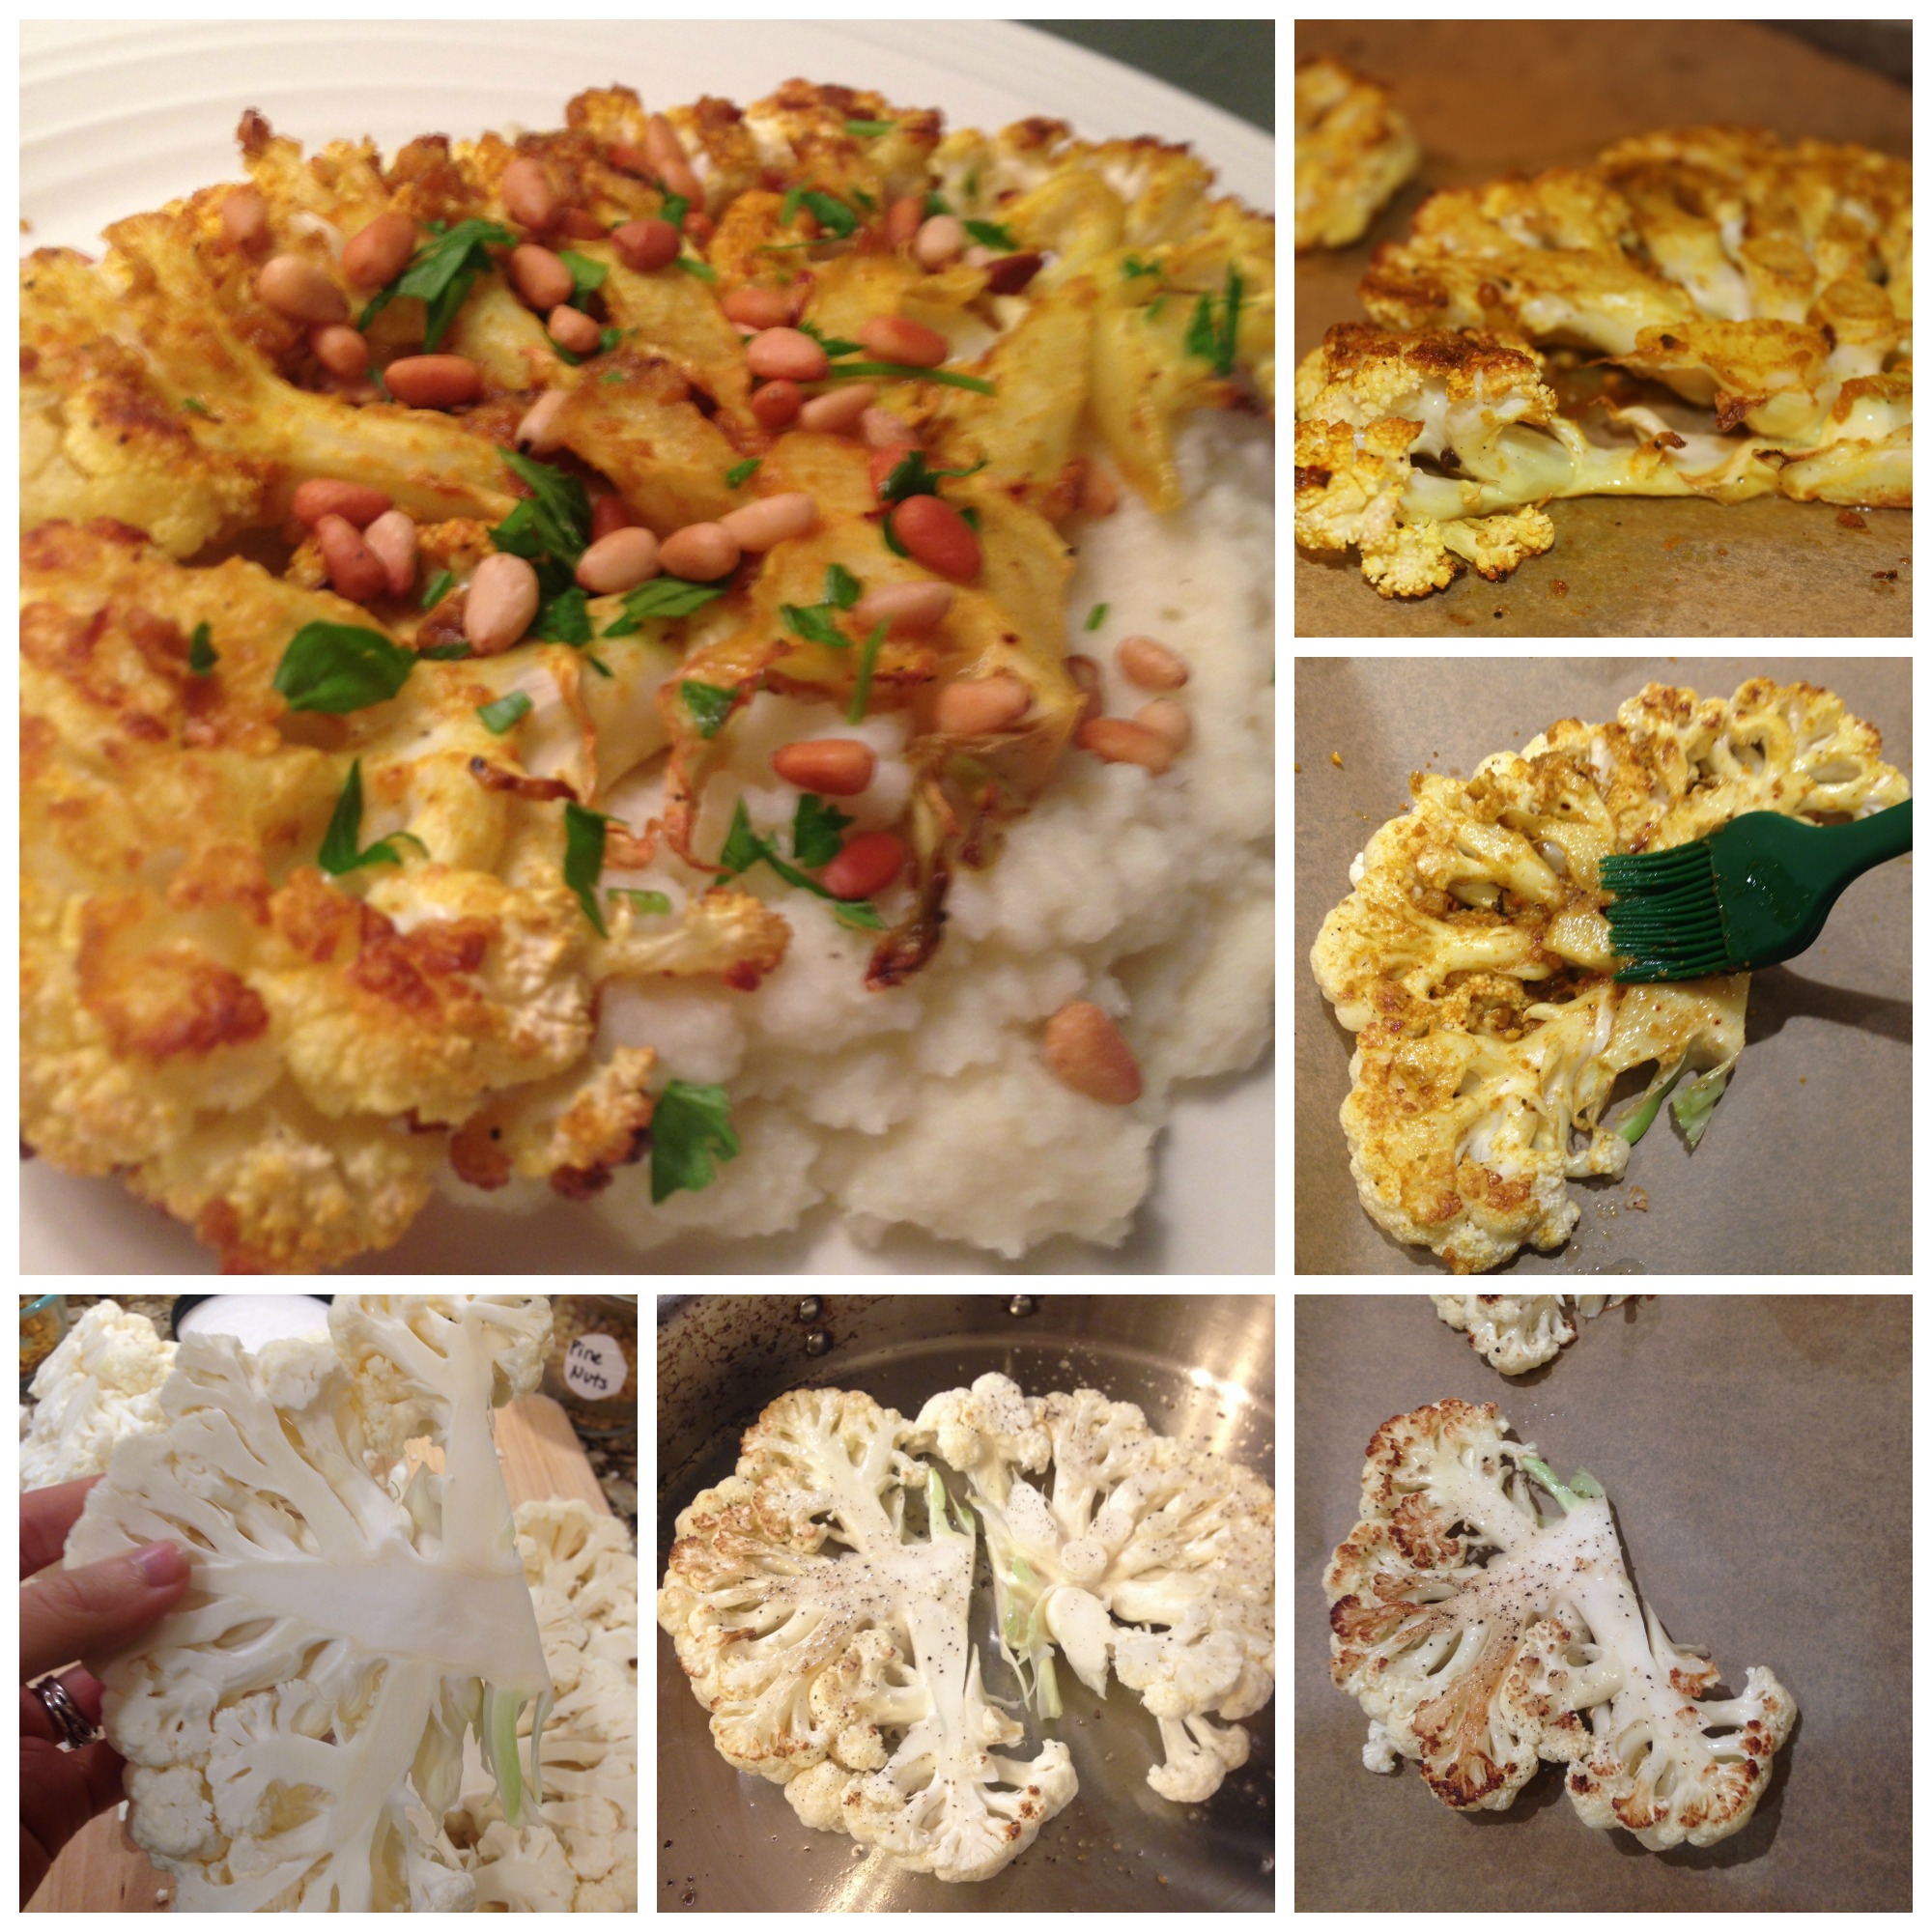
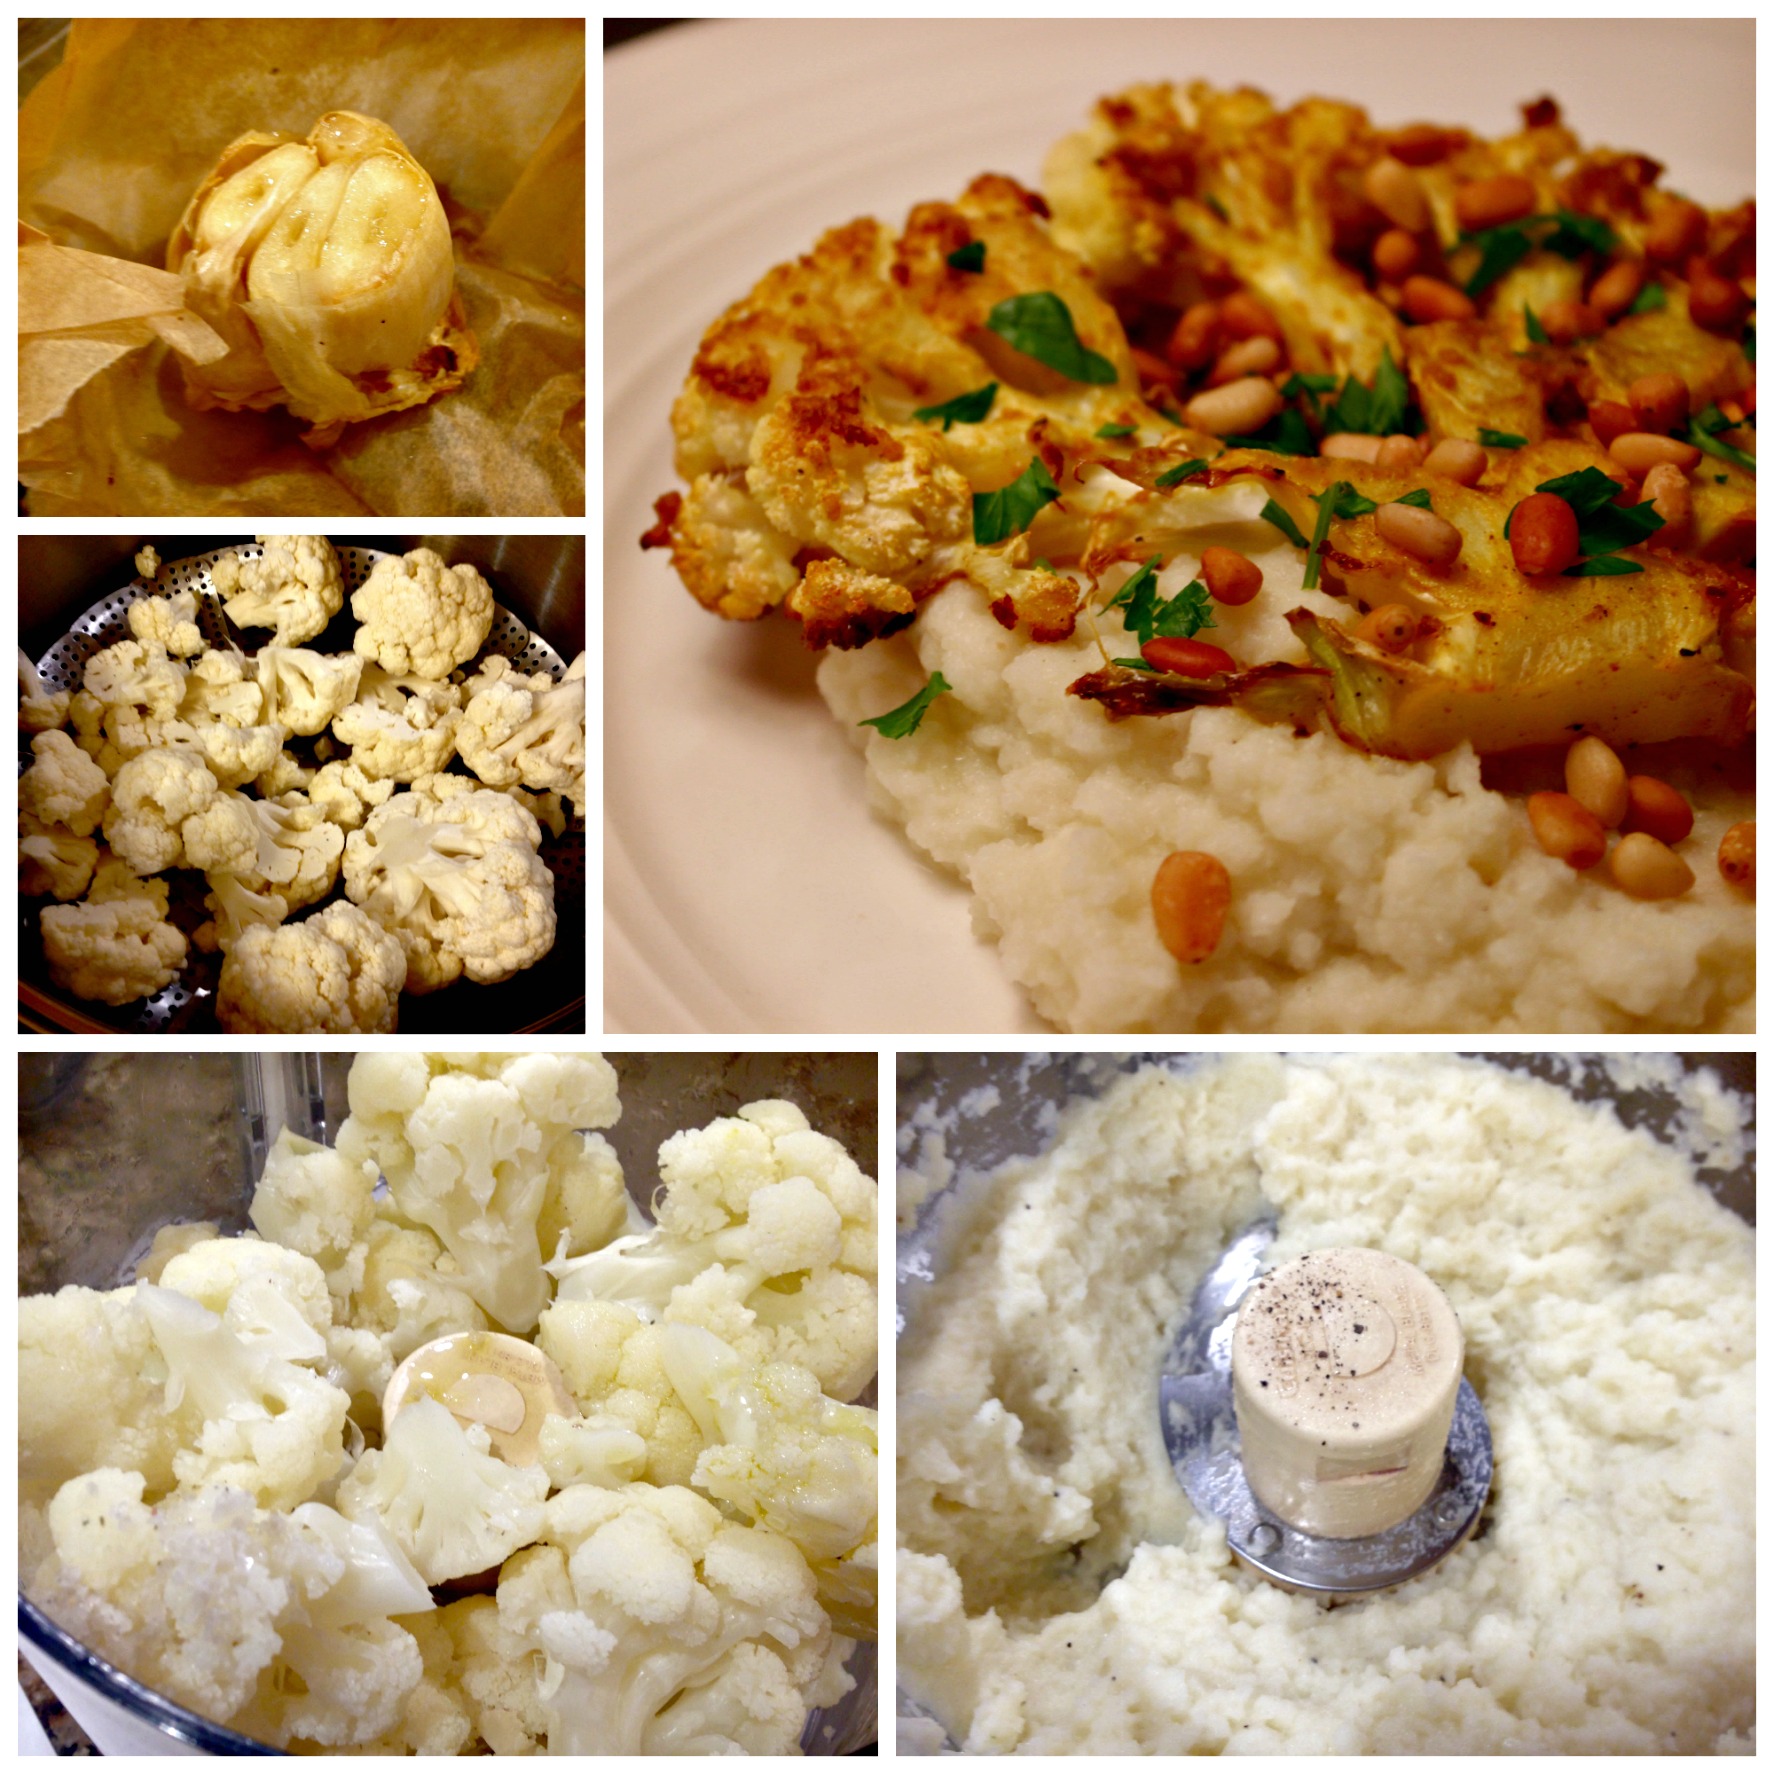
**Don’t let the ingredient list intimidate you (it’s mostly spices!). Also, I was VERY thorough on the directions and have included step-by-step pictures of the process below to help you visualize how it works. Give it a shot!*

cauli2name

Ingredients

1 small head garlic
1 teaspoon coconut oil or extra virgin olive oil
1 large head cauliflower
Sea salt and black pepper
3 tablespoons coconut oil or extra virgin olive oil
1 teaspoon ginger root
2 cloves garlic, minced
1 teaspoon ground cumin
1⁄2 teaspoon ground turmeric
1⁄2 teaspoon ground coriander
1⁄4 teaspoon red pepper flakes
2 tablespoons extra virgin olive oil
1⁄2 teaspoon sea salt
1/3 cup reserved water from steamer
Black pepper, to taste
Juice from 1 lemon
1⁄4 cup pine nuts, lightly toasted
Small handful of parsley, chopped

Step-by-Step How To Photos (Written Directions Below)

How to Make Cauliflower Steaks

How to Make Cauliflower Steaks (Directions Below!)

How to Make Cauliflower Mash

How to Make Cauliflower Mash (Directions Below!)

Directions

  1. Preheat oven to 425F.
  2. Peel and discard the papery outer layers of the head of garlic. Using a sharp knife, cut 1/4 inch from the top of cloves, exposing the individual cloves of garlic. Pour 1 teaspoon of oil on top and tightly wrap the head of garlic in foil or parchment paper. Place directly in oven, and roast for 30 minutes or until soft to the touch.
  3. While the garlic is roasting, remove the leaves and trim the stem end of the cauliflower, leaving the core intact. Using a large knife, cut the cauliflower from top to bottom into two 1-inch-thick steaks. Season each steak with salt and pepper on both sides. Set aside loose florets for the cauliflower mash.
  4. Heat 1 tablespoon of oil in a large skillet over medium-high heat. Sear the cauliflower steaks until golden brown, about 4 minutes per side. Transfer steaks to parchment-lined baking sheet.
  5. Whisk together the remaining 2 tablespoons of oil, ginger, garlic, cumin, turmeric, coriander, and red pepper flakes. Brush the mixture onto both sides of the cauliflower steaks. Roast steaks in oven, about 15 minutes.
  6. While the steaks and garlic are roasting, put the loose cauliflower florets in a steamer basket over 1-2 inches of water in a pot. Cover and steam until cauliflower softens (about 10-12 minutes). You should be able to stick a fork through it easily. Set aside 1/3 cup of the steam water.
  7. Put steamed cauliflower in a food processor and add 1⁄2 of the head of roasted garlic (squeeze each clove out by pushing on the bottom of each one after you’ve let it cool). Add olive oil, sea salt, black pepper and reserved cooking water to the food processor. Pulse until smooth. Taste, and add more garlic if you prefer.
  8. Remove cauliflower steaks and garlic from oven. Place half the cauliflower mash on each plate, top with a cauliflower steak, and then squeeze lemon juice over each steak. Sprinkle toasted pine nuts and chopped parsley over each steak, and ENJOY!

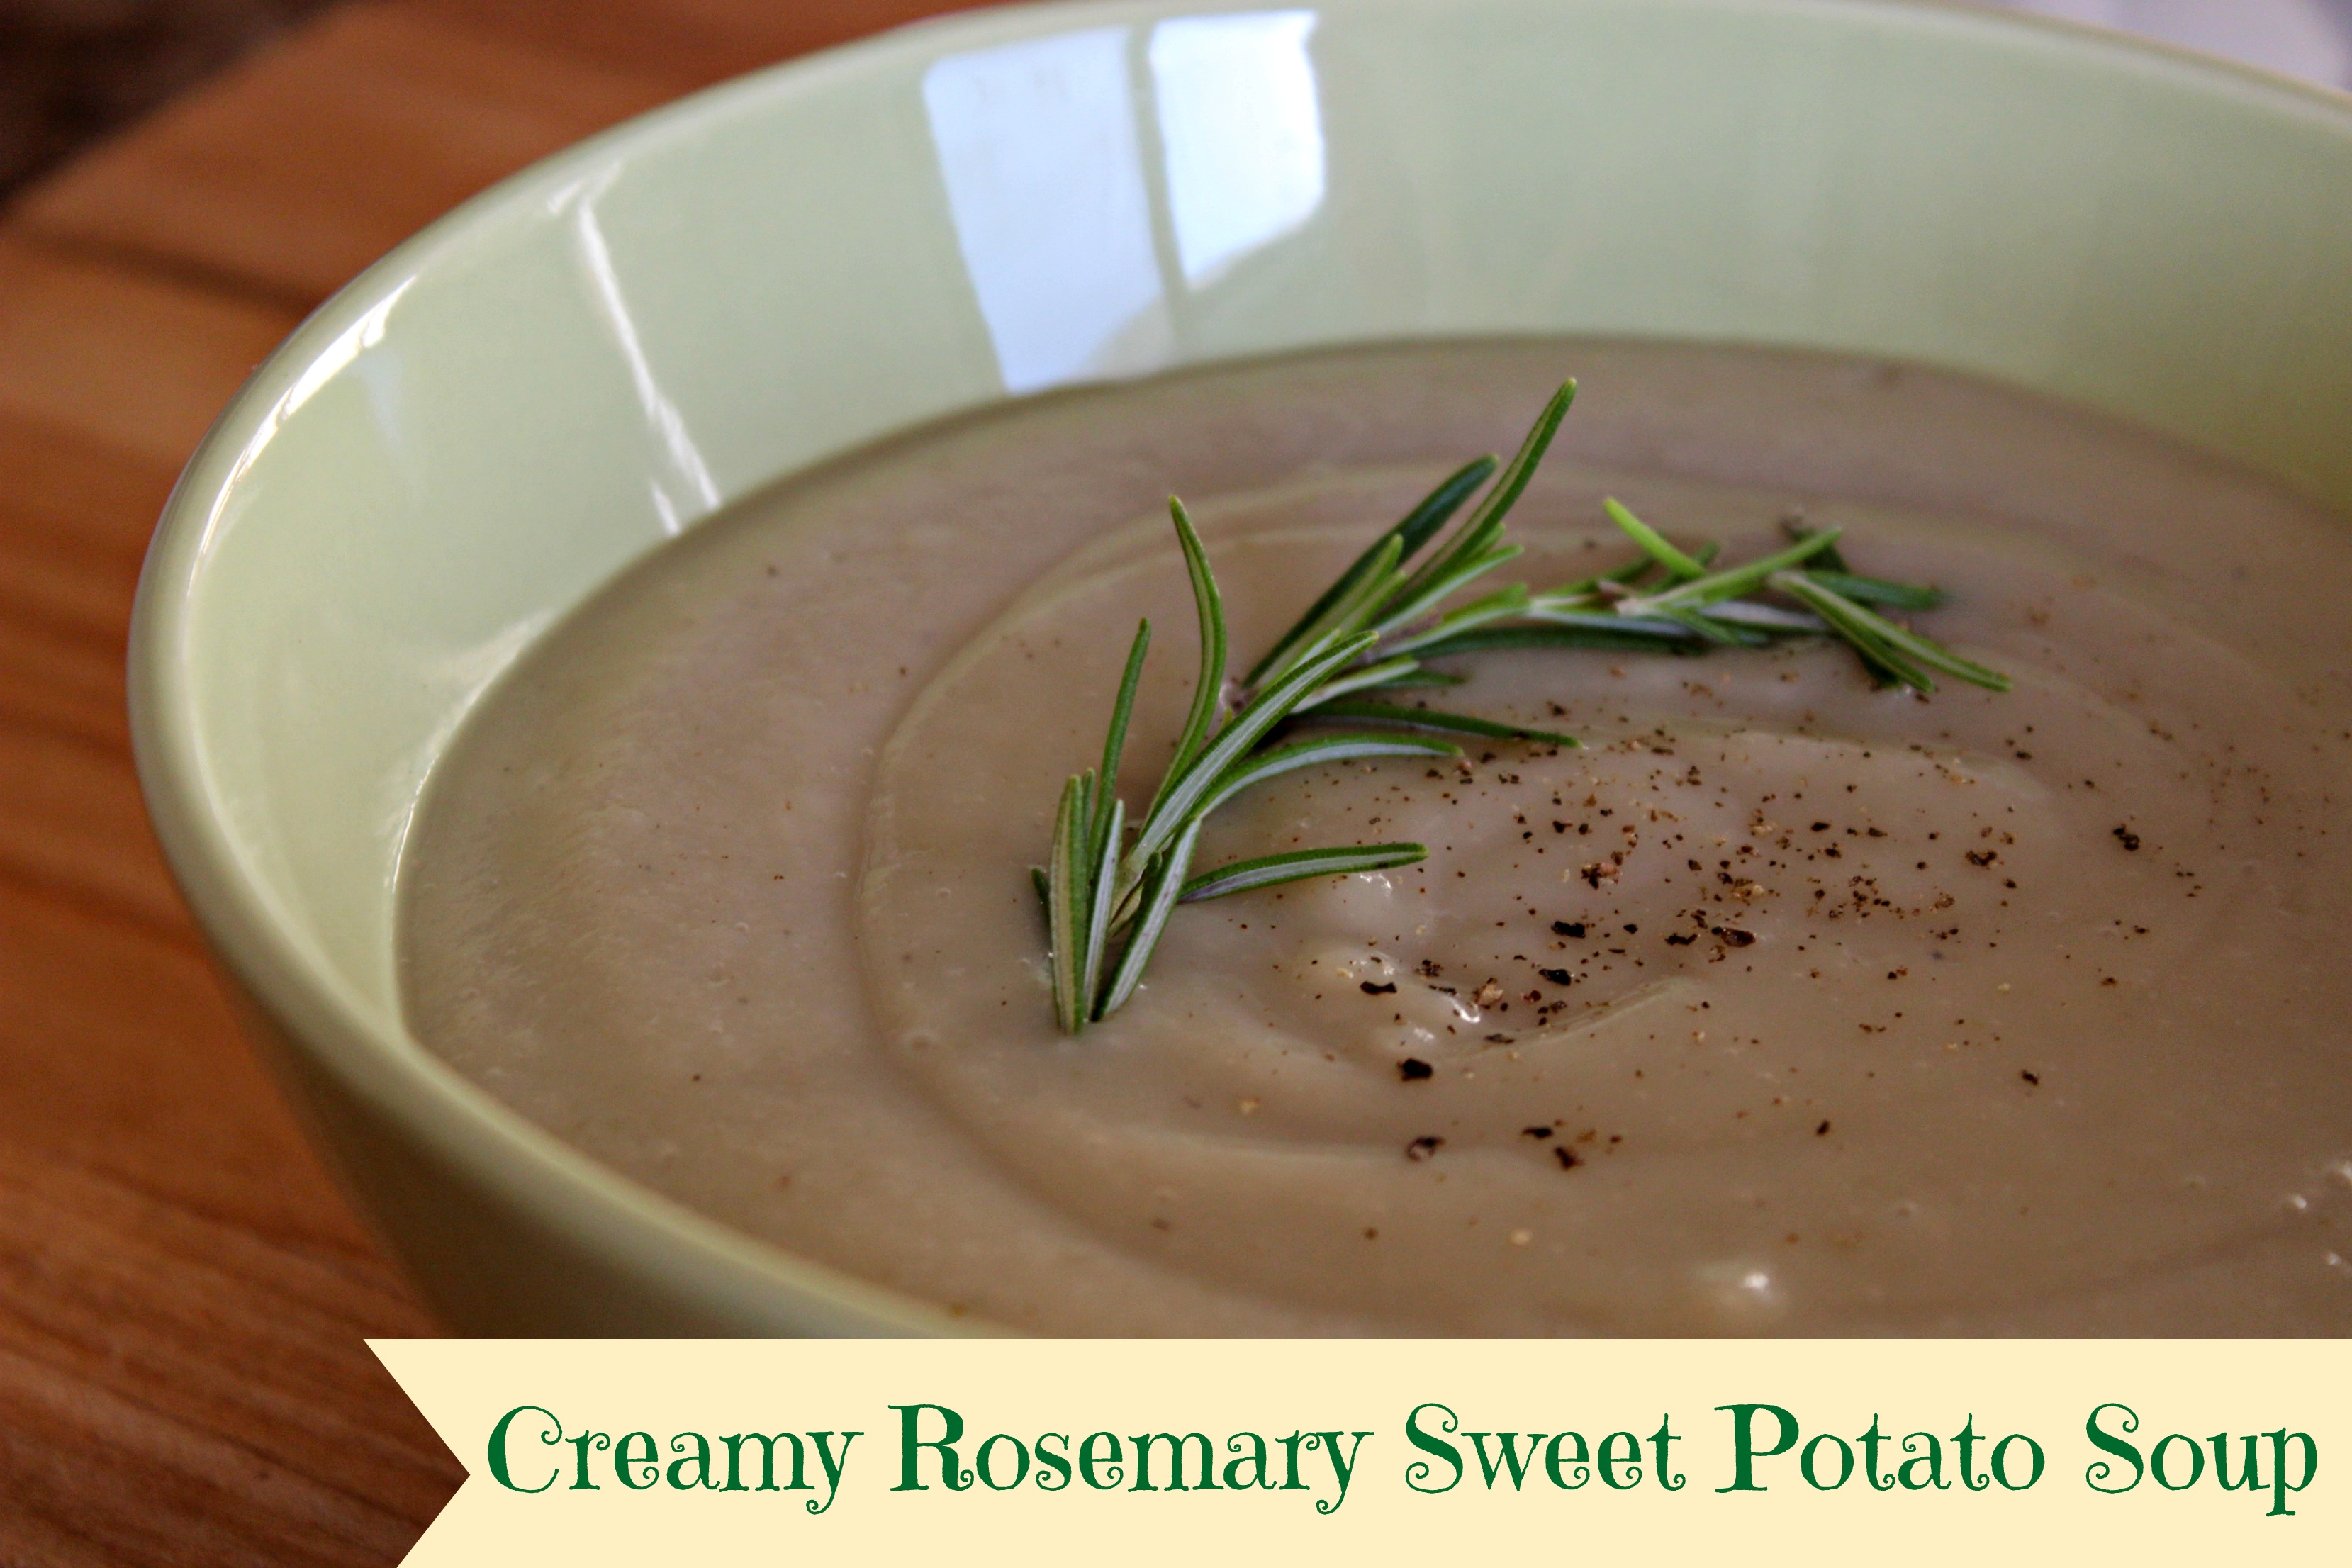
Creamy Rosemary Sweet Potato Soup {Dairy-Free, Paleo, Vegan}

Creamy foods are comforting and satisfying.

Since removing dairy products from my diet, I’ve had to get more creative about ways to recreate the silky texture that dairy provides.

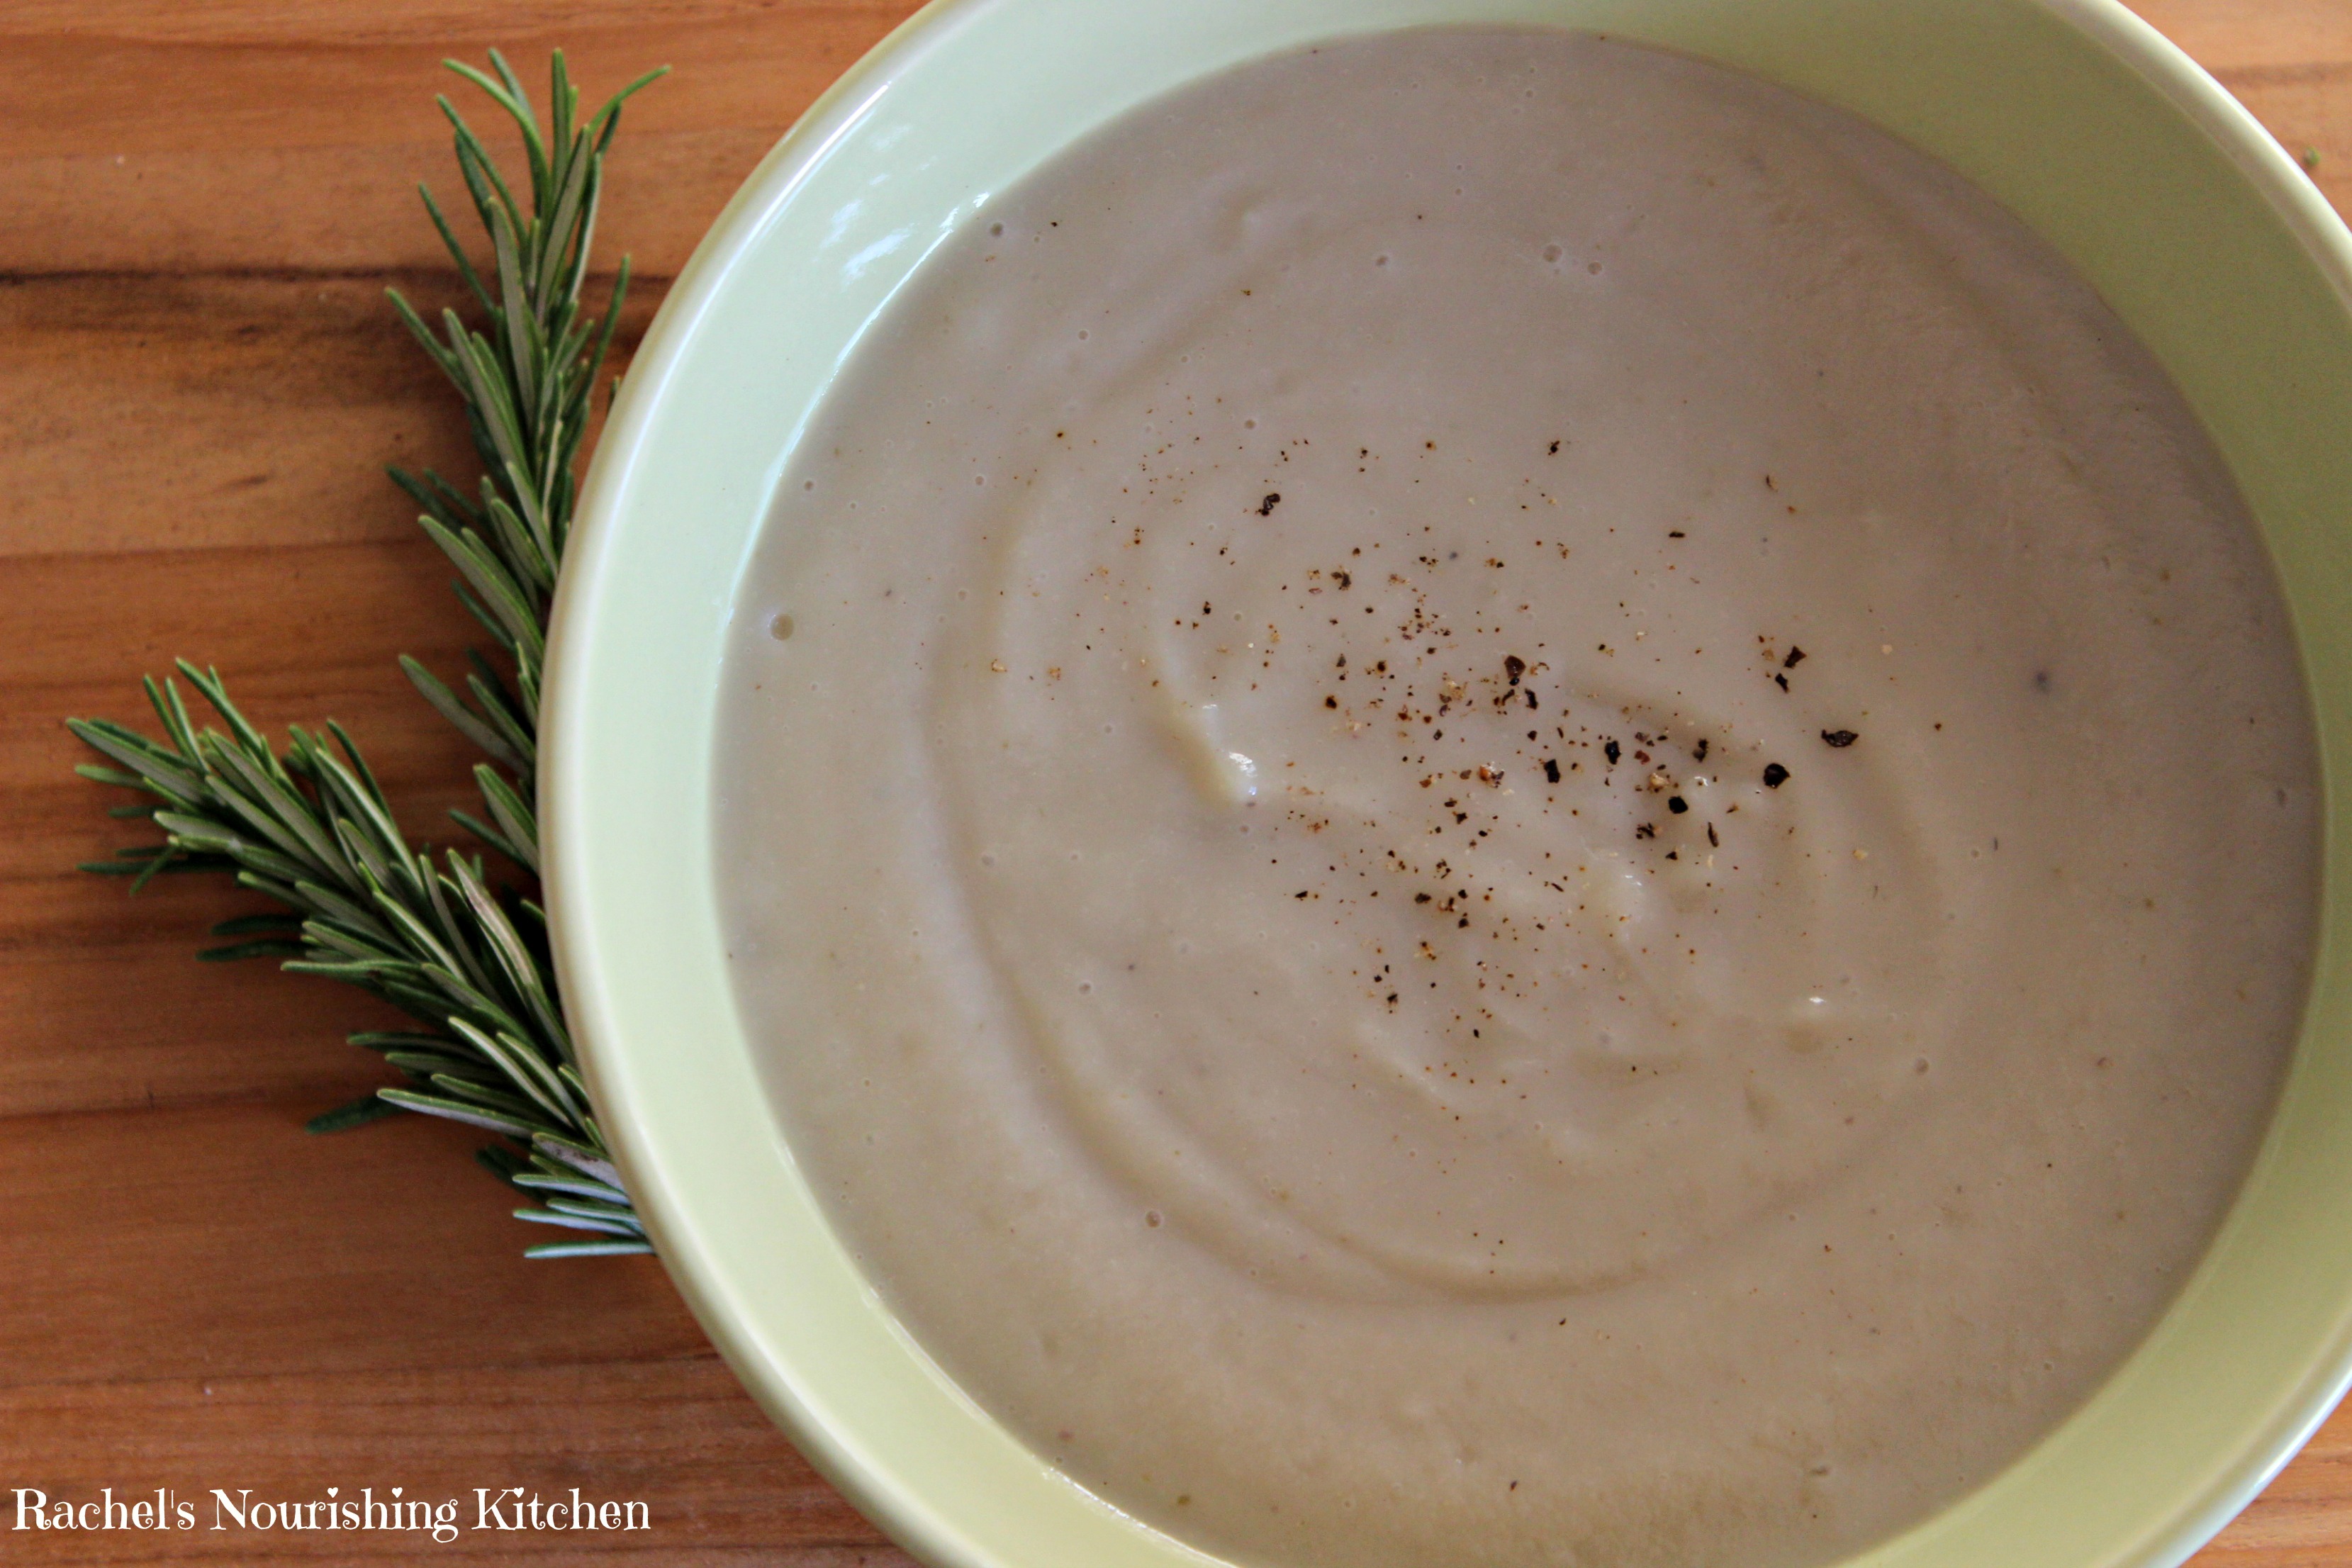
soup

One of the best ways to do that is using cauliflower, one of the GBOMBS vegetables (AKA some of the best foods we can eat!).

These roasted garlic cauliflower mashed “potatoes” and this creamy caulifredo sauce are some of my favorite ways to use cauliflower to create creaminess!

IMG_6721

Because winter feels like it is never going to end here on the East Coast, I’ve been in hibernation mode and have been really into soups lately. I thought I would try blending cauliflower in with a soup to make it creamy and delicious without the downsides of dairy, so that’s what brings us to this recipe!

This soup is simple to make and uses basic ingredients that are easy to find at any grocery store or farmer’s market.

We used Japanese sweet potatoes, which is why the soup is white instead of orange, but any sweet potato will work.

Give it a try, and let me know what you think! 🙂

IMG_8875Soupbanner soupIMG_8876soup2

Ingredients

Directions

  1. In an 8-quart stockpot, melt the coconut oil over medium-high heat.
  2. Saute onion, garlic and a 1/2 teaspoon sea salt and cook until soft, about 4 to 5 minutes.
  3. Add the sweet potatoes, rosemary, and vegetable stock and bring to a boil.
  4. Once boiling, add the cauliflower and cover the pot with a lid. Reduce the heat to a simmer until the vegetables are very tender, about 20 to 25 minutes.
  5. Turn off the heat and stir in the remaining 1/2 teaspoon sea salt and black pepper. Using an immersion blender or regular blender*, blend until very smooth.
  6. Return soup to pot and whisk in the maple syrup. Add more sea salt and pepper, to taste.
  7. Keep the soup warm over low heat until ready to serve. Top with fresh cracked black pepper and a few lightly toasted pumpkin seeds, if you’d like!

*NoteIf using a blender, vent it either by removing the lid’s pop-out center or by lifting one edge of the lid as you blend. Drape the blender jar with a kitchen towel. Blend the soup in batches, filling the jar about 1/3-1/2 for each batch.

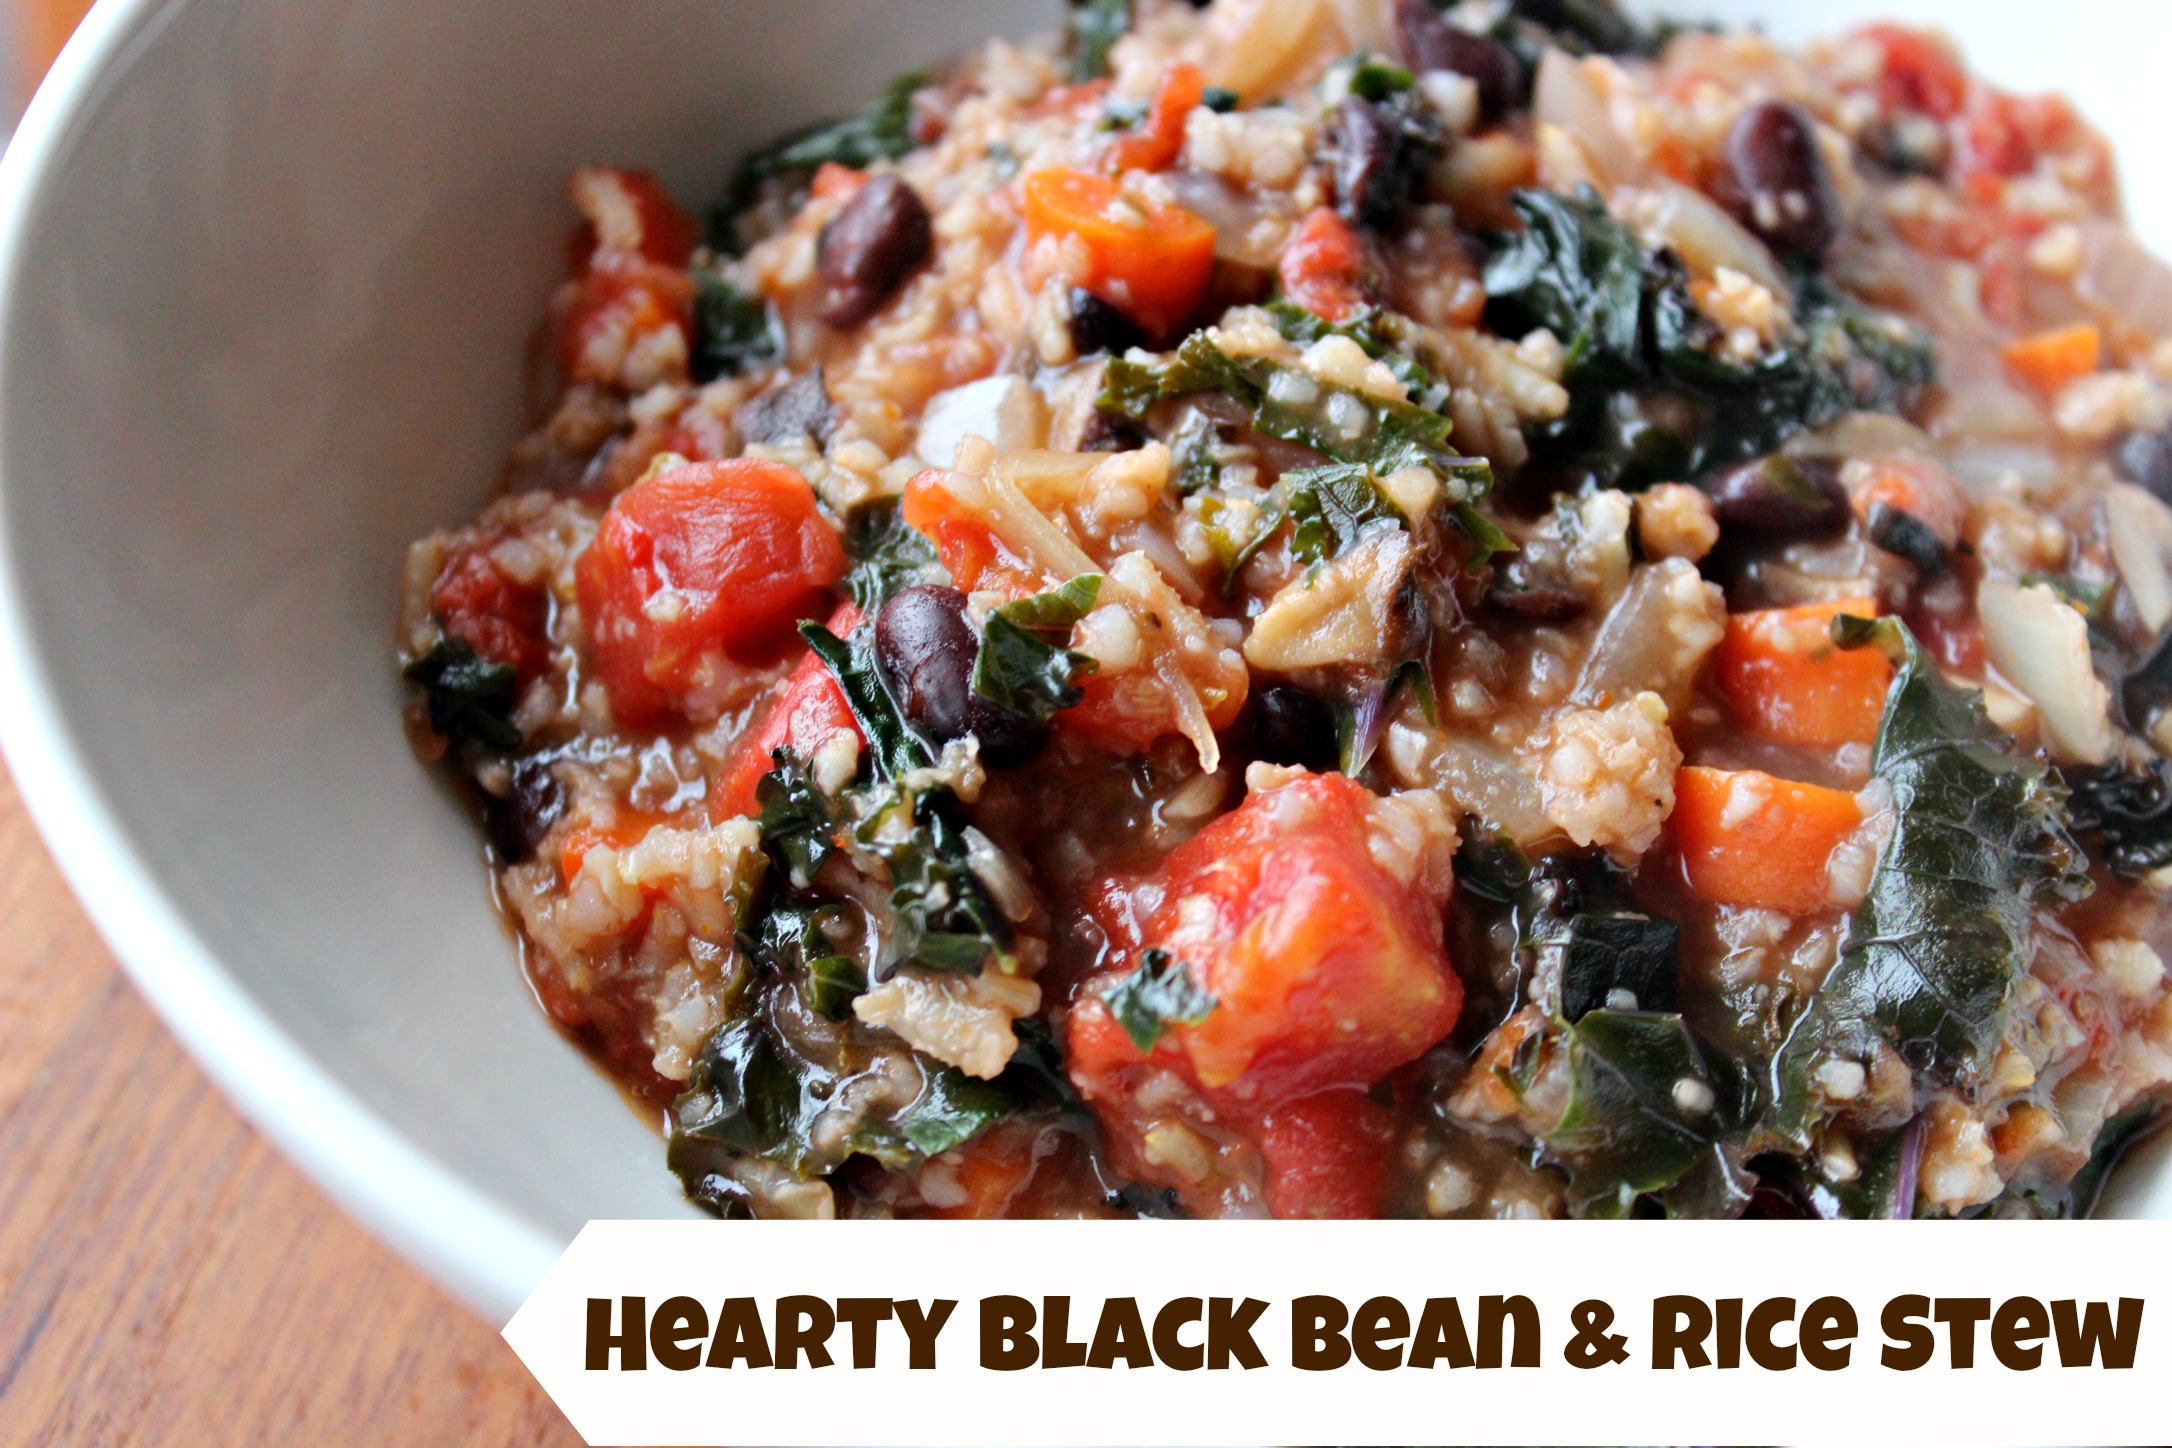
Hearty Black Bean & Rice Stew {Gluten-Free, Vegan}

We’ve been using our vegetable scraps to make homemade vegetable broth and at one point had nearly a dozen mason jars full of broth, sooo we had to find a way to use it!

That’s why we’ve been making LOTS of soups and stews.

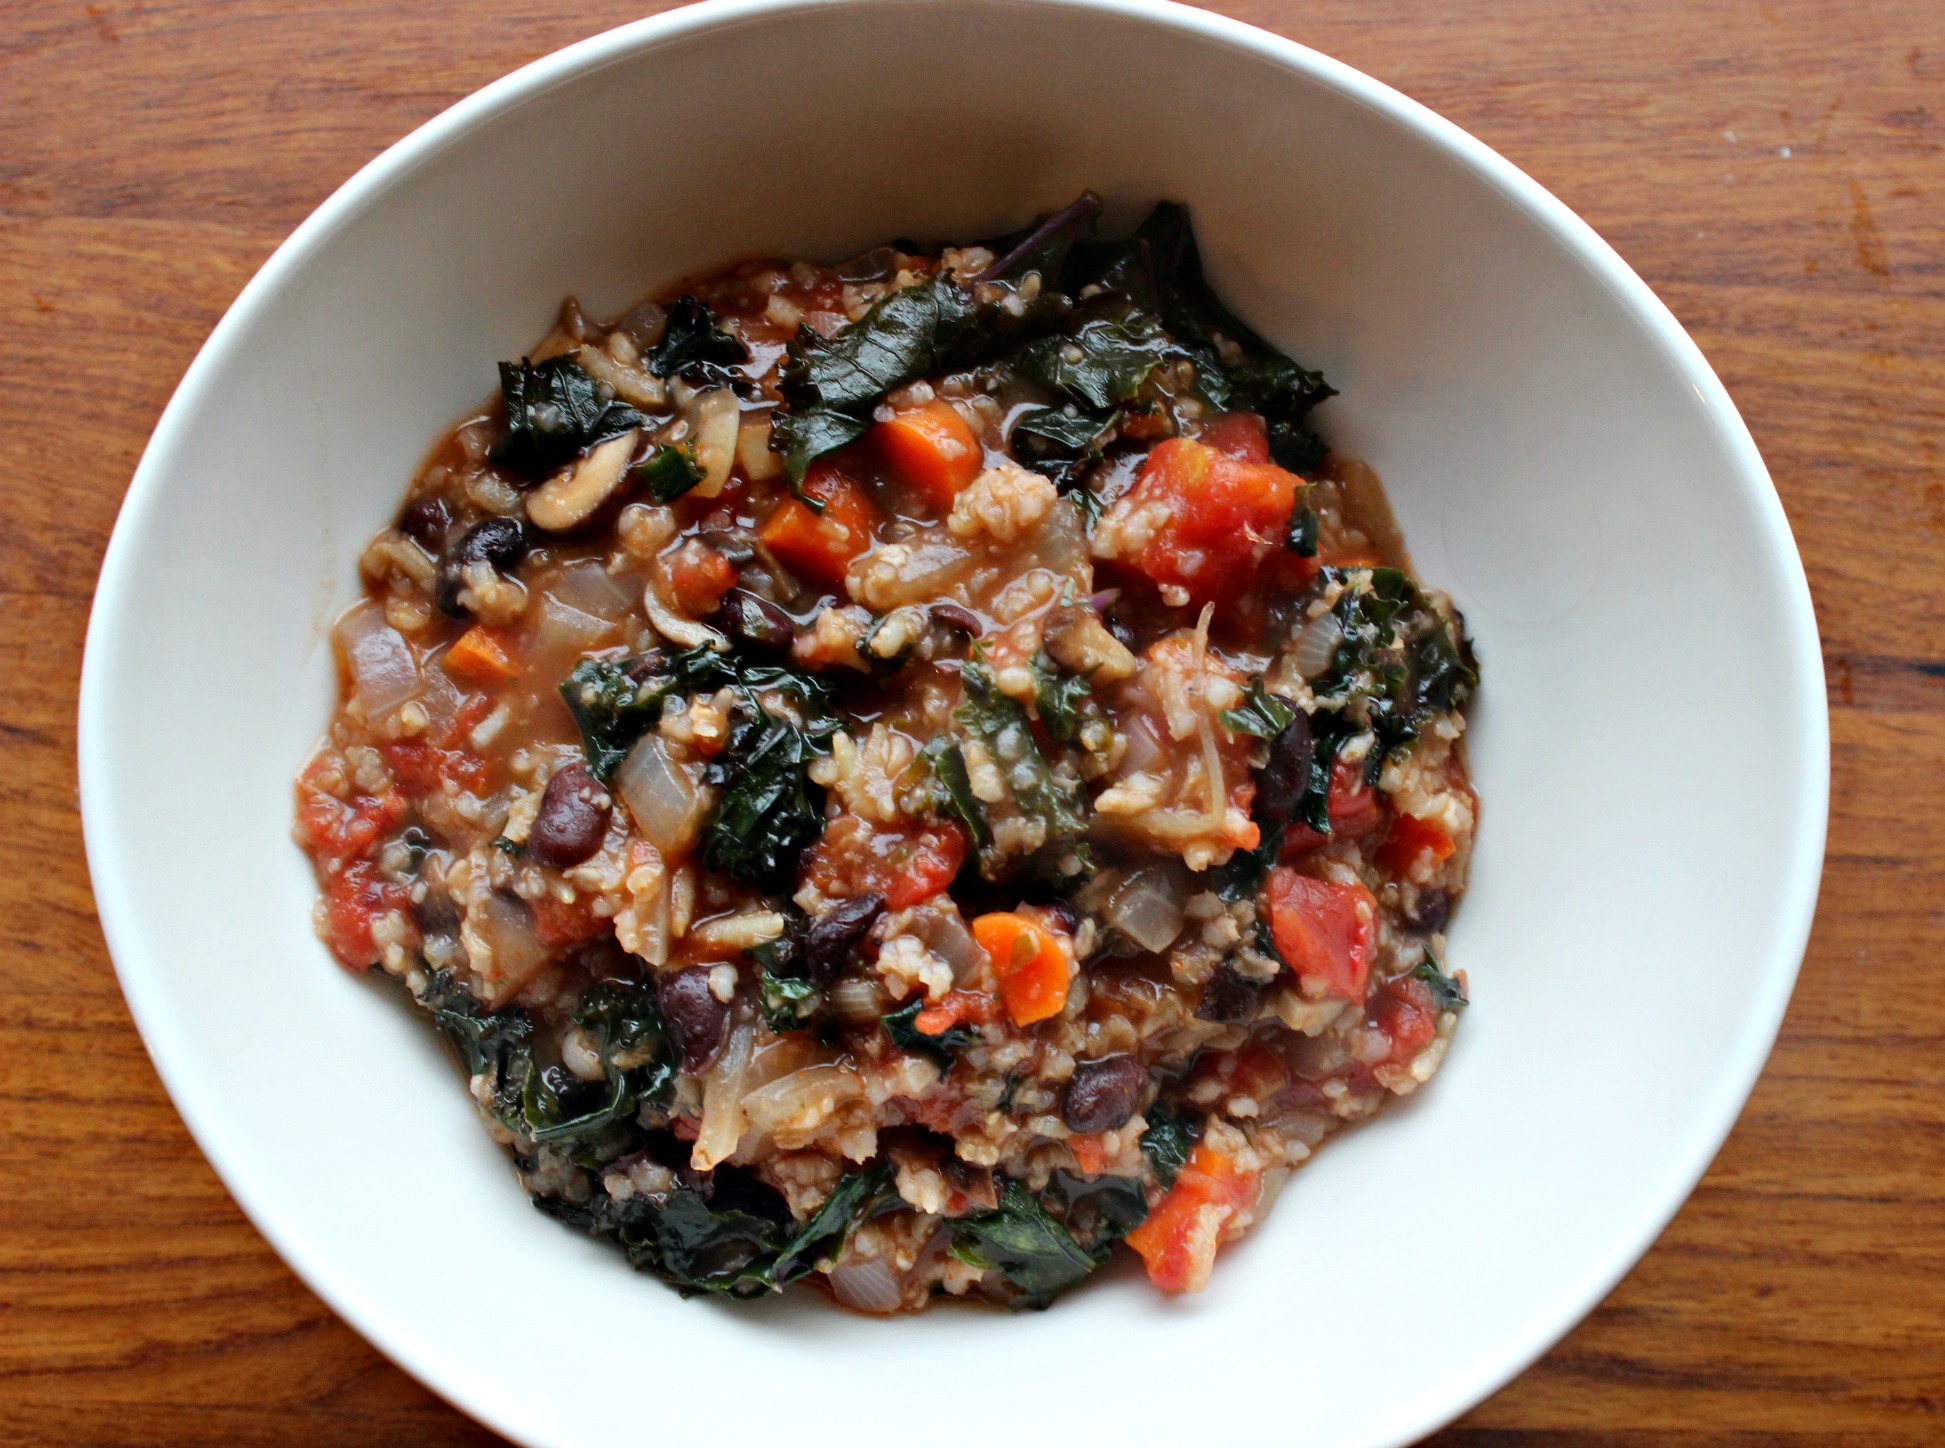
bean stew2

This one-pot recipe makes a lot of food and doesn’t require much effort. Once you saute the base vegetables, you just toss in the rest of the ingredients and less than an hour later, you have a big pot of warm, cozy, and hearty stew.

You could really use whatever vegetables you have on hand for this – sub out spinach or Swiss chard for kale or use different herbs, if you prefer.

We had mushrooms to use up, so we chopped them up and put them in to add a bit of a “meaty” texture but without the meat. Plus, mushrooms are one of Dr. Joel Fuhrman’s GBOMBS foods – some of the healthiest foods on the planet!

black bean stew

Yield: ~10 cups

Ingredients

  • 1 tablespoon coconut oil
  • 2 medium onions, diced
  • 2 cloves garlic, minced
  • 2 medium carrots, chopped
  • 1/2 pound cremini (AKA baby Portobello) mushrooms, diced
  • 1/4 teaspoon cayenne pepper
  • 1 1/2 teaspoons dried oregano
  • 1/2 teaspoon sea salt
  • 2 cans diced tomatoes, no salt added (don’t drain off the juices)
  • 1 15-ounce BPA-free can black beans (we like Eden brand)
  • 2 bay leaves
  • 1 cup long grain brown rice (Trader Joe’s sells 15-minute brown rice!)
  • 6 cups vegetable broth (Click here to see how cheap and EASY it is to make your own)
  • 4 cups dark greens, chopped (we used red curly kale)
  • black pepper to taste

Directions

  1. In a colander/fine mesh strainer, rinse rice under cold water. Set aside.
  2. In a large stock/soup pot over medium-high heat, heat oil. Add chopped onions, garlic, carrots and mushrooms to pot. Mix well. Cook until veggies are soft, about 5-7 minutes.
  3. Add cayenne pepper, oregano and sea salt to vegetables and saute 1-2 minutes more.
  4. Add tomatoes and their juices, beans, bay leaves, brown rice, and broth. Stir to combine. Bring to a simmer.
  5. Once simmering, cover and reduce heat. Cook at a low simmer for 40-50 minutes or until rice is fully cooked. We used 15-minute quick cooking brown rice from Trader Joe’s, so we had a much shorter cooking time.
  6. Once rice is cooked, add dark greens and stir to combine. Add water if needed (we added about 1 cup of water). Cover and let cook about 5 minutes or until greens are wilted.
  7. Remove bay leaves and serve.

Since this made such a large batch, we froze some of the soup in mason jars, so we will have it in the future when we don’t feel like cooking but want a home cooked meal 🙂 If you freeze it, make sure to leave 2 inches of room between the top of the stew and the lid, so it has room to expand!

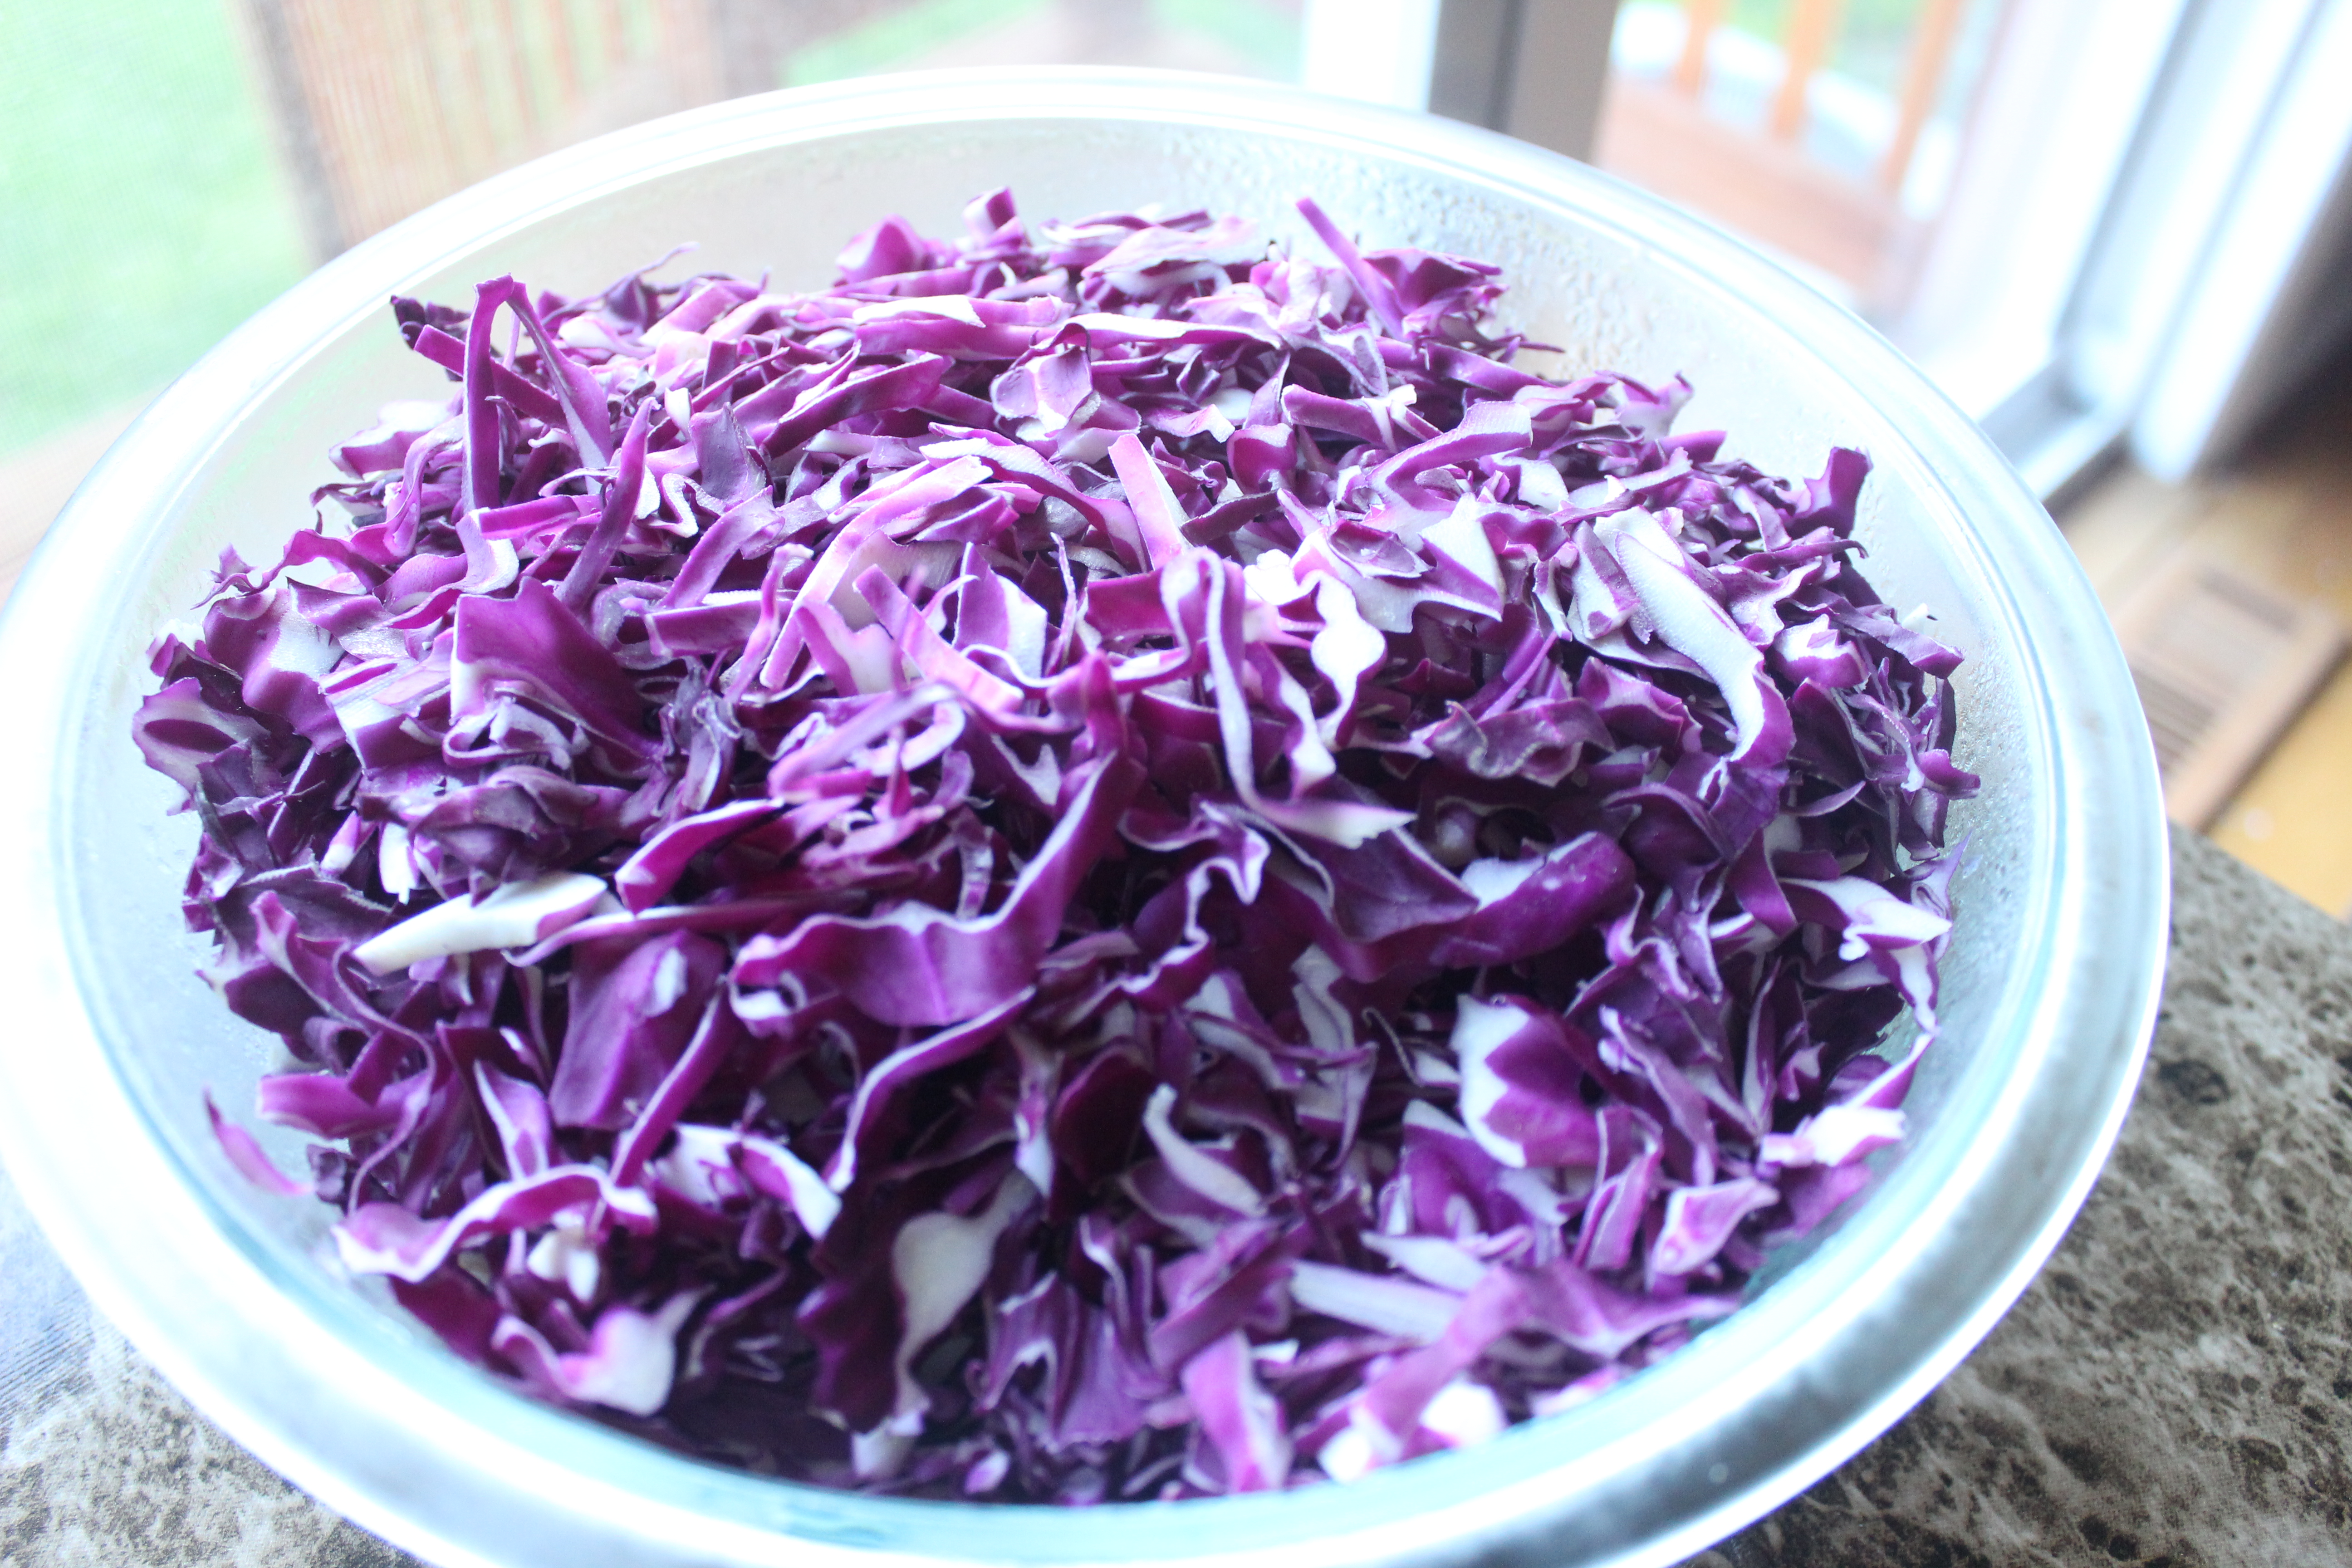
Beautifying Raw Purple Cabbage Slaw {Breast Cancer Prevention Month Recipe}

beautifyslaw

October is breast cancer awareness month.

I know several women who have survived and others who have lost their battle with this terrible disease. Chances are, you or someone you love has been affected. Cancer is a complex disease, so I don’t pretend to have all of the answers or solutions for how to fix or heal it.

Because this blog and my overall food philosophy focus on empowering you to nourish your body and transform your health, today’s post features a recipe that is full of beautifying, anticancer nutrients.

As many of you know, I strive to “upgrade” my diet and “add in” more of what is healing, nourishing and energizing…so we’re going to flip our focus today to breast cancer prevention.

All of us are aware that breast cancer exists and know that we don’t want to have it, but what have we learned about how to prevent it?

What can we do proactively to give our body the best chance to be well and protect ourselves against diseases like cancer in the first place? 

I’ve learned a lot from some incredible doctors, researchers and nutritionists over the years about what we can do help our body’s chances of staying well by eating a nutrient-rich diet.

Dr. Fuhrman, whose focus on anti-cancer nutrition has influenced how I eat, outlined his top tips for breast cancer prevention here.

One of his tips is to eat more foods like the ones outlined in this recipe, especially cabbage.
IMG_4355

Up until about a year ago, I had never bought purple cabbage and certainly hadn’t cooked with it.

I had tasted it sprinkled in to salad mixes before but never thought much about it until reading The Beauty Detox book by Kimberly Snyder and being introduced to this recipe, which Kimberly spins as a way to reduce crow’s feet.

Red cabbage is one of Dr. Fuhrman’s anti-cancer, anti-fat storage foods called GBOMBS. It contains powerful nutrients that help our body reduce inflammation and detoxify (get rid of harmful toxins that build up).

Those two processes are the SECRETS to losing weight, having clear and beautiful skin, and not getting sick. The more inflammation-fighting, detoxifying foods we eat, the better off we will be.

This recipe is also a much healthier option than most mayo-loaded slaws that we’re used to eating 🙂

And it’s really easy to prepare. Just like this paleo cole slaw I featured a few weeks ago that was a hit!

beautifyslaw

**If you’ve been reading this blog for some time, you should have all of the main ingredients below (ACV, tamari, tahini and nutritional yeast or “nooch”). If not, check out this point where I covered what they are, why they’re good for us, and where we can buy them. Stocking a healthy pantry is KEY to eating well.**

Ingredients (Organic, when possible)

Optional Ingredients

  • ¼ cup pumpkin seeds or sunflower seeds
  • ½ cup finely chopped fresh parsley
  • A few avocado slices
  • ¼ cup chopped pitted black olives

Click here for the full recipe from Kimberly Snyder’s website and here to read all about nutritional yeast!

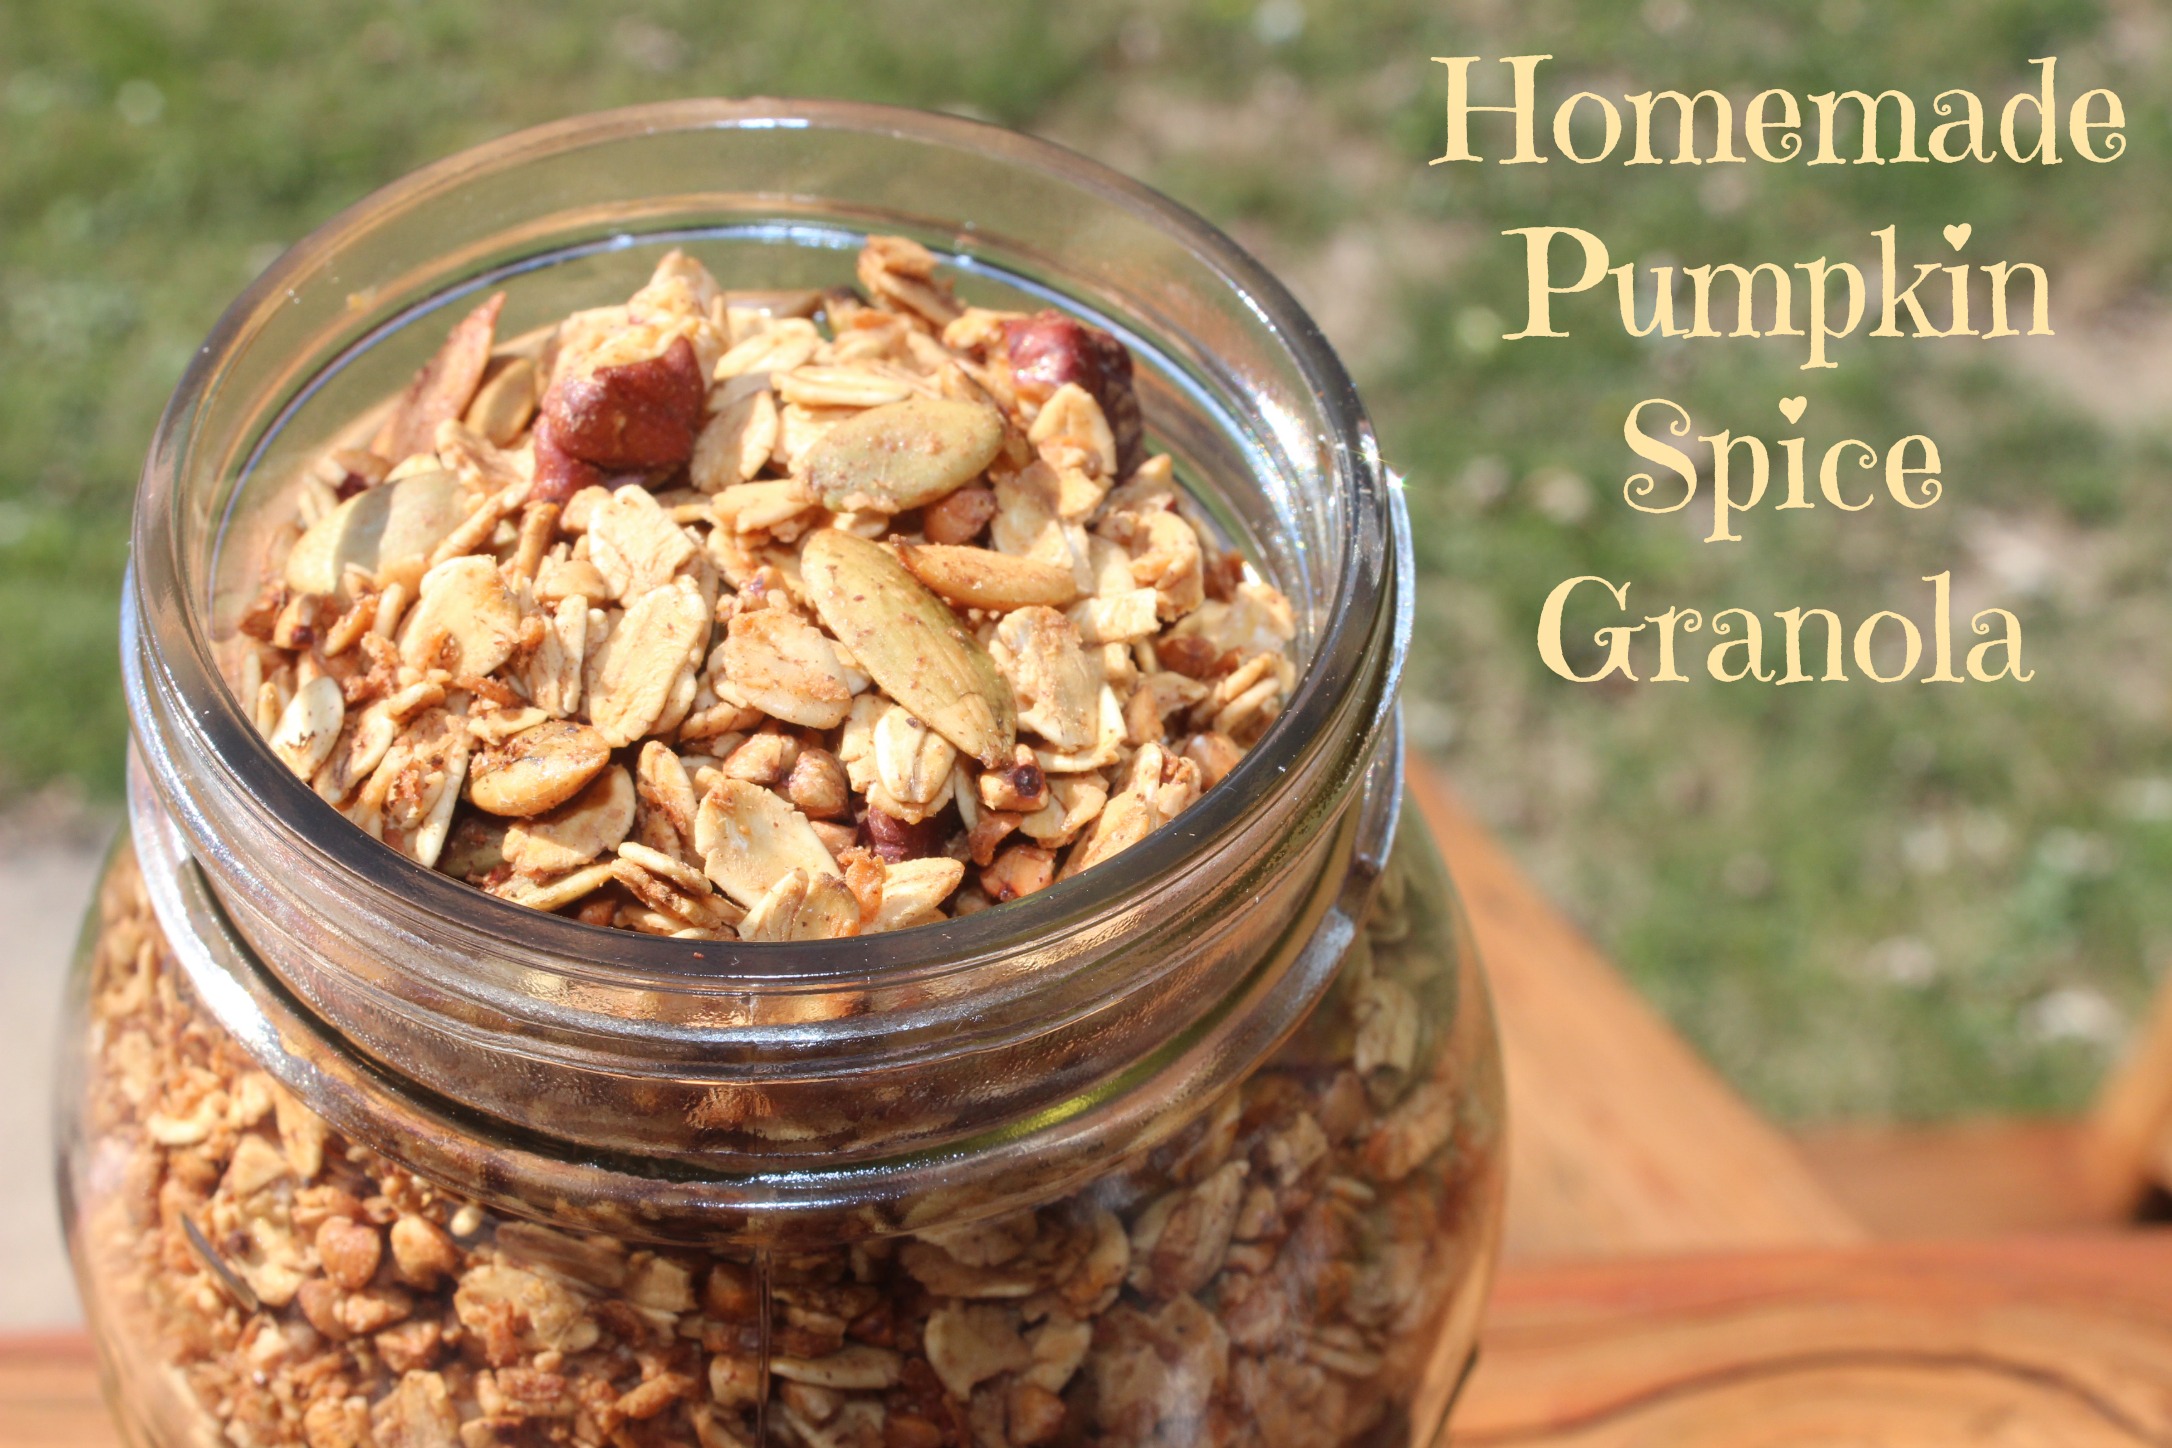
Homemade Pumpkin Spice Granola {Gluten-Free}

pumpkin spice granola

Breakfast cereals are an easy go-to for breakfast and were always my first choice as a kid.

Cheerios. Kix. Rice Krispies. And for a treat – Apple Jacks or Cinnamon Toast Crunch.

Granola is a popular choice for cereals for a lot of people because we’ve been led to believe granola = healthy. Most of the time, however, processed cereals are loaded with sugar, processed oils, and harmful preservatives.

Not only that, but they tend to be pretty pricey.

I was inspired by the culinary nutrition program I’m in right now and am always looking for ways to help you make UPGRADES to your diet, so I decided to make my own granola!

It was actually really easy…and cheaper than buying the boxes in the grocery store. If you have kids, I bet they would have fun helping you with this one!

Here are some of the super charged healthy benefits of this granola:

  • Buckwheat (also known as kasha) doesn’t actually contain wheat! (Confusing, right??). It’s technically a seed that is filled with fiber and other nutrients that keep our hearts healthy and our stomachs feeling full.

    This is what buckwheat looks like! Buy it in the bulk section at a health food store near you.

    This is what buckwheat looks like! Buy it in the bulk section at a health food store near you or Nuts.com.

  • Pumpkin seeds and pecans are two of Dr. Fuhrman’s GBOMBS foods (the top anti-cancer, anti-fat storage foods we can eat). Pumpkin seeds are full of antioxidants that help us slow the aging process and minerals that nourish protect our body. Pecans contain nutrients that help our heart, immune system, and even wound healing.
  • Cinnamon is a super spice, as it naturally helps slow the release of our body sugar, so it’s especially helpful to pair with carbohydrates (like oats in this recipe). Regulating the release of our blood sugar is key to feeling energized and being at a healthy weight.

I like this recipe for pumpkin spice granola because it’s versatile. Swap out any nuts/seeds or spices that you like! You can even use other sweeteners like honey instead of maple syrup if you prefer.

pumpkin spice granola

IMG_7385

IMG_7394

Ingredients

  • 2.5 cups rolled oats, gluten-free
  • 1/3 cup buckwheat (AKA kasha) (You can find this in the bulk section of a health food store or here)
  • 1/2 cup pumpkin seeds
  • 1/2 cup coarsely chopped pecans
  • 1/4 cup shredded unsweetened coconut
  • 1 tablespoon pumpkin pie spice (Trader Joe’s sells it, or you can make your own by using this recipe!) 
  • 1/2 teaspoon cinnamon
  • 1/4 teaspoon sea salt
  • 2 tablespoons coconut oil, melted
  • 1/3 cup 100% pure maple syrup
  • 1 teaspoon vanilla extract

Directions

  1. Preheat oven to 300F.
  2. In a large mixing bowl, combine rolled oats, buckwheat, 
pumpkin seeds, pecans, shredded coconut, 
pumpkin pie spice, cinnamon and sea salt.
  3. In a small bowl, mix together coconut oil, maple syrup, and vanilla extract. Pour 
liquid mixture over dry mixture and mix thoroughly (I used my hands!).
  4. Spread mixture out on parchment paper-lined baking sheet and bake in the oven for 20 minutes.
  5. Remove, mix granola around on the baking sheet and return to the oven for 20-25 more minutes, until slightly browned.
  6. Remove from oven and allow to cool. Store in mason jars in your pantry or refrigerator.

Enjoy it as a snack by itself or serve it as a cereal with your favorite non-dairy milk. I love using a blend of coconut milk and almond milk and letting the granola soak it up. It still stays crunchy! You can also toss in a few dried cranberries, raisins or fresh fruit if you’d like 🙂

Heirloom Tomato & Chickpea Summer Salad

I used to hate tomatoes. 

I don’t know what it was specifically that fueled my aversion, but unless they were blended together in pizza sauce or in my can of Spaghettios or Beefaroni, I wanted nothing to do with them.

IMG_5520

Fortunately, over the years as I’ve opened myself up to foods and giving them a second chance rather than immediately writing them off, I’ve found that I really like tomatoes.

Especially heirloom tomatoes.

If you want to learn all about heirloom tomatoes, check out this link by a guy who has an entire website devoted to tomatoes!

I also pulled this little bit of info off of Hometown Harvest’s website. I’ve met the owners, Tony and Abby, and respect and admire their approach to food and the fresh, local products they source to their customers, which is why Bill and I switched from a different produce delivery company to Hometown Harvest.

An heirloom tomato is an open-pollinated tomato whose seed grows “true to type”—meaning, if you plant Cherokee Purple seed, you’re going to get Cherokee Purple plants. From generation to generation, that seed will stay true. Some heirloom tomatoes have, in fact, stayed within one family and so are heirlooms in the truest sense of the word. Other heirloom tomatoes circulate widely.

Beautiful heirloom tomatoes

Beautiful heirloom tomatoes

Heirloom tomatoes also tend to have a thinner skin and are more prone to bruising and puncturing, so it’s important to handle them carefully. Their flavor is second to none, and they come in lots of different colors, so they spruce up the plate!

I made this recipe using heirloom tomatoes for the first time last summer and LOVED it.

Oh my goodness it is so tasty!  It was the perfect way to use the heirloom tomatoes we got in our Hometown Harvest bag this week and at the farmer’s market in Easton, Maryland on Saturday morning.

If you like to “go downy ocean, hun,” you should plan to stop by Easton’s farmer’s market on your way to or from the beach.

We’ll be making this dish tomorrow night for Meatless Monday. Give it a whirl if you’re looking for something new to try. Enjoy! 🙂

Heirloom Tomatoes & Chickpea Summer Salad

IMG_2704 - Version 2

Ingredients

Serves 6

Base

  • 2 large heirloom tomatoes, sliced into 1/2 inch discs (or whatever thickness you like!)
  • 1-2 handfuls of fresh greens or lettuce of your choice

Chickpea Medley

  • 5.5-6 cups cooked (~ 3 15-ounce cans) garbanzo beans (chickpeas), drained and rinsed (We like Eden brand!)
  • 5 ounce baby spinach
  • 1.5 cups cilantro, large stems removed (or parsley if you don’t like cilantro or want a milder taste)
  • 3/4 cup red onion, chopped finely

Dressing

  • 1/4 cup fresh lime juice
  • 2 tablespoons extra virgin olive oil
  • 2 garlic cloves, minced
  • 1 teaspoon ground cumin
  • 1 teaspoon 100% pure maple syrup (or other liquid sweetener)
  • 3/4 teaspoon sea salt + ground pepper

Arrange the tomato slices on top of the greens and then follow this link to the full recipe for the medley and dressing from one of my favorite vegan bloggers over at oh she glows (she makes veggies taste fantastic!).

Tart & Tangy Raspberry Lime Popsicles

Growing up, I was always jealous of the kids who went to the beach for vacation.

Despite the fact that I’ve lived in Baltimore my whole life, the first time I ever went to Ocean City, Maryland in the summer was for “Senior Week” after graduating from high school.

When I was a kid, I went on vacation with my family to the Adirondack Mountains of Upstate New York, where my mom spent her summers as a kid.

As an adult, I truly appreciate the Adirondacks and still spend a week of every summer up there with my husband and family. I now look forward to the beauty, solitude and slower pace of mountain life.

A beautiful view from an Adirondack mountaintop

A beautiful view from an Adirondack mountaintop

But when I was a kid, the mountains weren’t exactly “the place to be” in the summer.

It wasn’t cool to have to drive 8+ hours to get to our vacation spot when all of our friends and classmates had a 3 hour drive to the beach. As a 14-year-old, spending 1-2 weeks in a cabin in the woods with no friends wasn’t as appealing as walking around on the boardwalk, playing in the ocean and sand, or laying out on a towel at the beach.

Though I didn’t always appreciate the awesomeness of the mountains as a kid, there’s one thing I always loved about being “Up North.”

Wild raspberries.

Can't get enough of these berries!

Ever since I was a little girl, I have loved raspberries.

To this day, I still can’t find anything that matches the taste of freshly picked wild raspberries from bushes lining the mountain roads. Maybe it’s the clean, crisp, cool mountain air. Whatever it is, I can’t get enough of them.

For today’s super simple, kid-friendly recipe, I used black raspberries, but feel free to use red raspberries instead! Either one will work.

Black raspberries give these popsicles their bright pink color. So pretty!

Black raspberries give these popsicles their bright pink color. So pretty!

Berries are one of the anti-cancer, anti-fat storage GBOMBS foods. They are also lower in sugar than almost any fruit, especially raspberries, which contain a mere 5 grams of naturally occurring sugar in a one cup serving.

Raspberries are high in filling fiber and are supercharged with disease-fighting, anti-aging antioxidants. Click here to read even more about the amazing health benefits of raspberries!

The pairing of

Ingredients

  • 1.5 cups fresh raspberries (I used black raspberries for this recipe, but you could use either kind or combine them!)
  • 1 can full fat coconut milk
  • Juice of one lime
  • 2 teaspoons pure vanilla extract
  • 1/4 cup pure maple syrup or honey (I used raw honey when I made them but plan to try the maple syrup option next time!) 

Directions

  1. Put all ingredients into a high-speed blender and blend until smooth.
  2. Pour mixture into popsicle molds and freeze until solid.
  3. Gently remove the popsicles from the mold by running the mold under warm water until the popsicle pops out.
  4. Enjoy!

tart raspberries with tangy lime juice and creamy coconut milk makes for a refreshing sweet treat that you and your kids will love!

As always, these popsicles are dairy-free, so everyone can enjoy them. 🙂

Tart & Tangy Black Raspberry & Lime Popsicles

IMG_5217

Ingredients

  • 1.5 cups fresh raspberries (I used black raspberries for this recipe, but you could use either kind or combine them!)
  • 1 can full fat coconut milk
  • Juice of one lime
  • 2 teaspoons pure vanilla extract
  • 1/4 cup pure maple syrup or honey (I used raw honey when I made them but plan to try the maple syrup option next time!) 

Directions

  1. Put all ingredients into a high-speed blender and blend until smooth.
  2. Pour mixture into popsicle molds and freeze until solid.
  3. Gently remove the popsicles from the mold by running the mold under warm water until the popsicle pops out.
  4. Enjoy!

Peachy Keen Kale Salad

It’s no secret that I like kale.

I’m surprised I haven’t bought one of those “Eat More Kale” shirts yet! (birthday hint??)

A beautiful bunch of curly kale

A beautiful bunch of curly kale

It can get boring to eat kale the same way all the time (juice from 2 lemons + 1-2 T olive oil + a few hefty shakes of nooch + a sprinkle of sea salt + black pepper massaged into the kale leaves), so I like to change it up throughout the year and try new recipes to keep things exciting.

I’ve shared my absolute favorite kale salad recipe before along with one for an upgraded kale Waldorf salad, but the salad I made this week has quickly become a new favorite!

(Check out the video below to see how you can quickly and easily “destem” kale as you prep this salad 🙂 I’ve been working on doing some videos for Hometown Harvest, which is the company Bill and I use for our fruits, veggies, eggs, meats and some other pantry items. I also write for their blog. If you don’t live in the Baltimore/DC metro area, check out LocalHarvest to find a farmer’s market, CSA or farm near you!)

This salad is SO easy to make and gave me an excuse to use the sweet, juicy and flavor-filled peaches that are in season right now on the East Coast.

The basic ingredients are kale, peaches, and red onions. Easy, right? The dressing isn’t much than that – a peach, olive oil, water and apple cider vinegar (whose health benefits I’ve raved about before in this post!).

Make sure you let the kale sit for at least 30 minutes to soak in all the flavors. We stored ours in the fridge overnight, and the flavors came together beautifully for dinner the next day.

I plan to bring this salad along with a watermelon mojito salad to the 4th of July party we’re going to on Friday. You have to try it for yourself – it’s so yummy and will be a hit if you bring it to a summer party or cookout!

Peachy Keen Kale Salad

This beautiful peachy kale salad will be a hit at your dinner table or a potluck!

A perfectly peachy salad ready to be enjoyed! You won’t even need dessert after having this treat 🙂

Ingredients

2 bunches curly kale, stems removed
1/2 red onion, diced
1 ripe peach, pitted and chopped

Peach Vinaigrette:

1 ripe peach, pitted and chopped
2 tablespoons raw apple cider vinegar
2 tablespoons extra virgin olive oil
2 tablespoons water
1 tablespoon honey (optional)
1/4 teaspoon salt

Click here for the recipe from The Detoxinista!

“Upgraded” Kale Waldorf Salad

I almost had the privilege of staying at the renowned Waldorf-Astoria Hotel in New York City when I was a senior in high school.

Unfortunately, due to lots of picketing and some sort of boycott, my classmates and I had to change locations and stay at a different hotel during our senior class trip to the Big Apple. Oh well!

The salad I’m sharing today originated in the Waldorf Hotel in the late 1800s and is often a potluck favorite due to the combination of creamy dressing, crunchy celery and walnuts, and sweet, crisp apples.

A bunch of healthy ingredients go into this salad recipe

A bunch of healthy ingredients go into this salad recipe

One of the things I like to do when preparing meals is make some upgrades. “Upgrades” are little changes that basically boost the nutrient score of a particular food or dish. The more nutrients we get in our food, the more our bodies will thank us by staying well and feeling energized!

I made this salad, which puts a healthier spin on the class Waldorf Salad, for a friend’s baby shower last summer, and it was a big hit.

The sweetness comes from apples and raisins instead of the white sugar used in the traditional recipe, and the Dijon mustard, apples, and walnuts blend together to create a creamy dressing without using mayo.

The main “upgrade” to this recipe is the addition of dino kale (a superstar vegetable!). This is a great way to introduce friends and family to kale. It has lots of different textures and great flavor. Bring it to your next potluck!

“Upgraded” Kale Waldorf Salad 

IMG_4761

Ingredients

  • 4 cups packed finely chopped raw kale, preferably dinosaur kale
  • 1 large red apple, such as Fuji or Honeycrisp, chopped, divided
  • 1 cup thinly sliced celery
  • 1/2 cup walnuts, toasted and chopped, divided
  • 1/4 cup plus 2 tablespoons raisins, divided
  • 2 tablespoons Dijon mustard
  • 2 tablespoons water, more if needed
  • 1 tablespoon red wine vinegar
  • 1/8 teaspoon sea salt
  • Optional: 1 tablespoon fresh lemon juice

The dressing will be pretty thick, but I just massage it into the kale. If you find that you need more than 2 tablespoons of water to thin it out, feel free to add in one tablespoon of fresh lemon juice instead of adding more water.

Click here for the full recipe from Whole Foods Market Recipes (one of my favorite recipe apps!).

Page 1 of 2

Powered by WordPress & Theme by Anders Norén