Tag: healthy recipes

No Bake Chocolate-Covered Cookie Dough Bites

Nom nom (vegan) cookie dough!

Nom nom (vegan) cookie dough!

When I was a kid, there was nothing better than licking the spoon from the batter bowl of a fresh batch of Nestle Toll House chocolate chip cookies. In my lifetime, I’ve probably eaten the equivalent of about 5 dozen cookies worth of cookie dough that way. SO yummy!

Think that eating healthy means “giving up” things like cookie dough? Think again!

I found a recipe for vegan (= dairy-free!) chocolate-covered cookie dough balls that I had to try. It sounded interesting, and I was really drawn in by the picture on the website, so I went for it!

Cookie dough balls scooped out and ready to set in the freezer

Cookie dough balls scooped out and ready to set in the freezer

I shared these with my friend Michele the other day over lunch, and she loved them! She took one home to her 3-year-old son and said she will definitely be making them with him.

The main ingredient might be surprising, but somehow it works! Chocolate-Covered Katie (another super awesome blogger) is famous for her cookie dough dip, which was used as the inspiration for the filling in this recipe. Check her blog out, too, especially if you have a sweet tooth!

The chickpeas and almond butter in this recipe contain fiber, which helps control blood sugar, so they’re a better option than traditional cookie dough, which doesn’t have any fiber and can cause your blood sugar (and energy level) to spike and then crash. Focus on adding fiber to your sweet treats 🙂

No Bake Chocolate-Covered Cookie Dough Bites 

Yup. These are pretty awesome. I'll add a little more vanilla and salt next time.

Yup. These are pretty awesome. I’ll add a little more vanilla and salt next time.

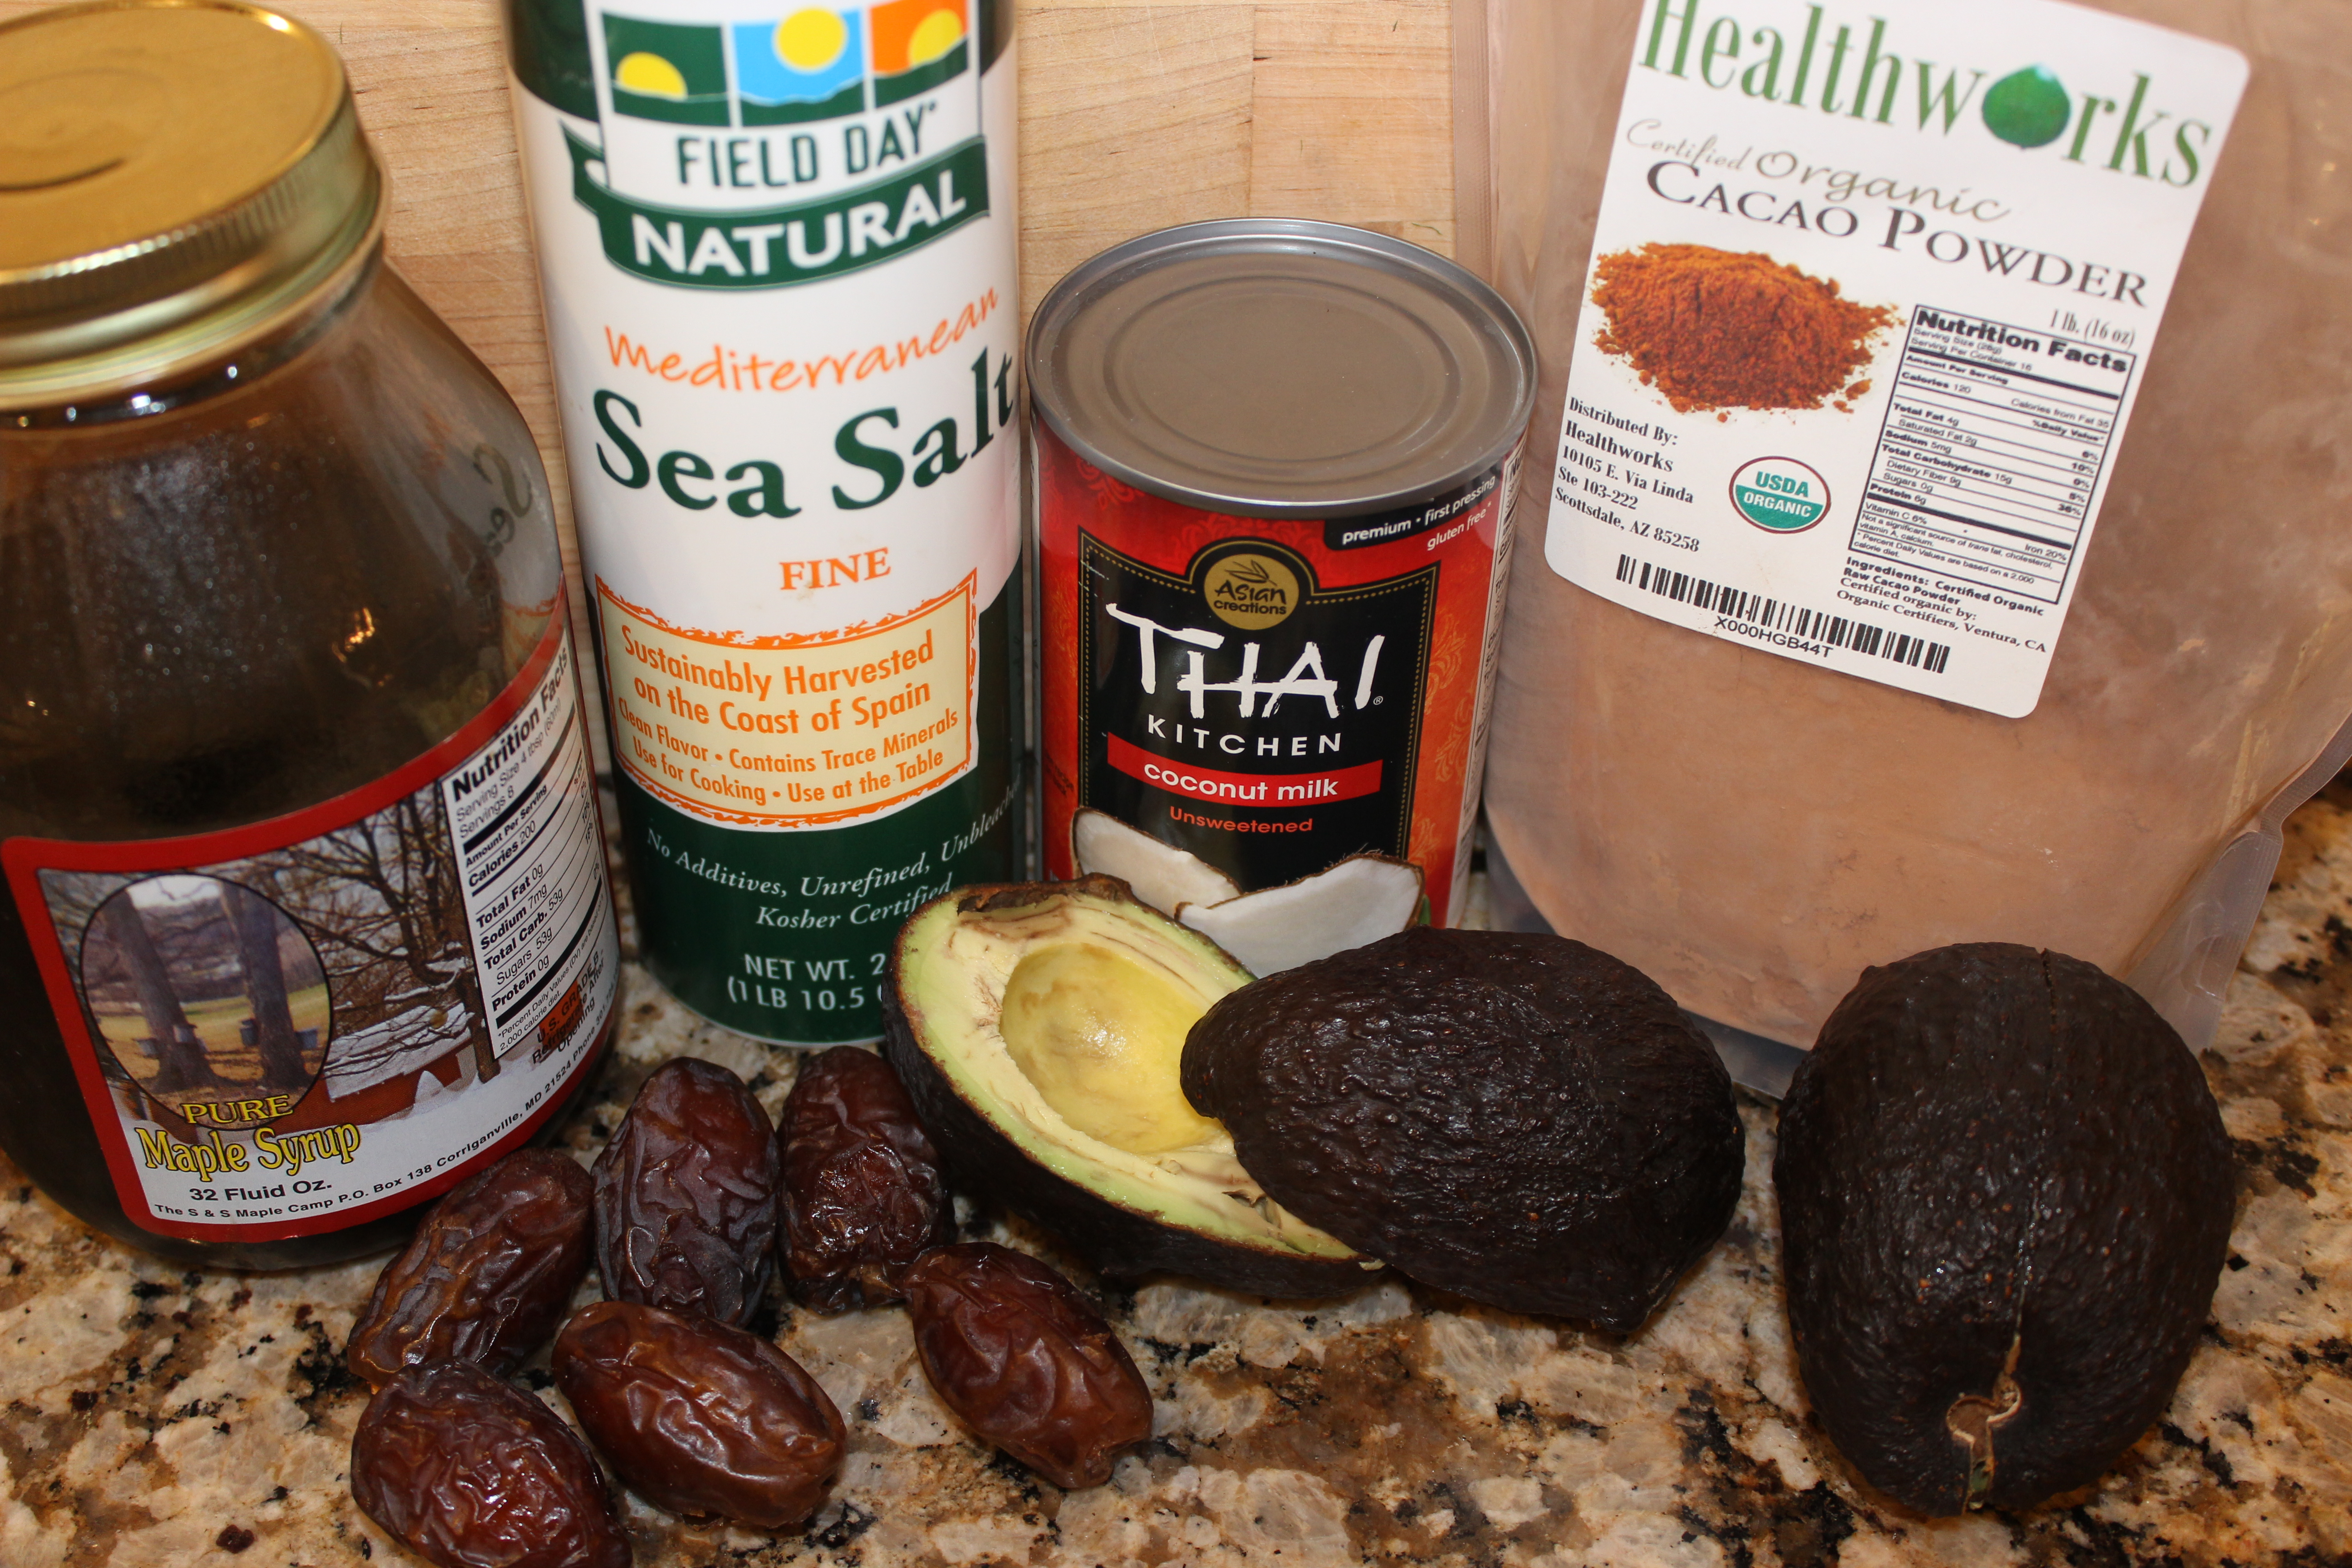
Ingredients (see notes below*)

  • 2 cups (16 ounces) cooked chickpeas (AKA garbanzo beans), rinsed and drained*
  • 3 tablespoons raw organic honey* (use maple syrup for vegan-friendly option)
  • 1 tablespoon coconut palm sugar*
  • 1/8 teaspoon baking soda
  • 4 tablespoons raw organic almond butter*
  • 2 teaspoons vanilla extract
  • 1/8 teaspoon sea salt
  • 1.5 cups vegan chocolate chips*
  • I also melted about 1 tablespoon of coconut oil with the chocolate chips to create more of a chocolate shell 🙂

Click here for the full recipe from MindBodyGreen! The recipe calls for a double boiler, which I don’t have, so even though it’s not ideal, I microwaved the chocolate chips for 30 seconds at a time with the coconut oil, until they were melted. Definitely putting a double boiler on my wish list!

Ingredient Notes*

  • For chickpeas, I use the Eden brand canned ones for convenience.
  • Raw honey still has lots of enzymes and other health-promoting components intact, while regular honey does not. You can still use regular honey if that’s what you have on hand. Raw honey is worth trying though! Great flavor and healthy 🙂
  • You can find coconut palm sugar online (Vitacost, Amazon) or at MOMs, Whole Foods, Wegmans or Home Goods.
  • Don’t have almond butter? Sub in peanut butter for half or all of the almond butter for a different taste. Allergic to nuts? Use sunbutter made from sunflower seeds.
  • I use the Enjoy Life brand of mini chocolate chips because they’re dairy/nut/soy/gluten-free.

You Had Me at “Fudgesicle”

With the weather finally resembling spring and the temps hitting almost 80 degrees today (yay!), I was inspired to share a new recipe for a deliciously decadent summertime (or anytime!) treat…

Fudgesicles!

I remember buying 18-count boxes of fudge pops when I graduated from college and enjoying them every day. Since they were a low-calorie AND sugar-free treat, I thought I was making a healthy choice!

Yum! Homemade fudgesicles!

Yum! Homemade fudgesicles!

Out of curiosity, I looked up the ingredient list for Popsicles Sugar Free Fudgesicles, and this is what I found:

nonfat milk, maltodextrin, lactitol, polydextrose, cocoa (processed with alkali), sorbital, whey, coconut oil, microcrystalline cellulose, tricalcium phosphate, mono- & diglycerides, guar gum, polysorbate 65 & 80, carrageenan, malt powder, salt, cellulose gum, aspartame, artificial flavor, acesulfame potassium, citric acid

Really? Do we need over 20 ingredients in a fudgesicle?? I don’t even know what half of those things are, but I’m pretty sure I don’t need them in my body.

I’m excited to share this recipe because it’s 2-in-1. The same recipe that makes fudgesicles ALSO makes creamy chocolate pudding if you leave it unfrozen. How cool is that?

This recipe is dairy-free and doesn’t contain any refined sugar (or the laundry list of chemicals in the store-bought kind!), and it results in a rich taste and creamy melt-in-your-mouth texture because of the avocado and coconut milk.

Bill and I and two friends tried these for the first time the other day, and we couldn’t tell the difference between these and the “real thing!”

Creamy Chocolate (Avocado) Fudgesicles (Dairy-Free!)

So decadent, chocolately and delicious!

So decadent, chocolately and delicious!

Ingredients

  • 6 medjool dates (pits removed, soaked and then drained)*
  • 3/4 cup water
  • 2 ripe avocados, peeled and pitted
  • 1/2 cup cacao or cocoa powder
  • 3 tablespoons maple syrup or honey
  • 1 cup canned coconut milk (or other non-dairy milk) – I used full fat coconut milk to make these nice and rich. You can find the coconut milk at any grocery store, often in the international aisle. I use this kind.
  • 1/4 teaspoon sea salt

Click here for the full recipe from Tasty Yummies!

Ingredients laid out for the fudgesicles!

Ingredients laid out for the fudgesicles!

We bought the popsicle holders at Home Goods, and they were really cheap! You can also order them online here.

The Ultimate “Noocho” Cheese Sauce!

It'll be worth the read to get to this dairy-free noocho cheese recipe at the end!

It’ll be worth the read to get to this dairy-free noocho cheese recipe at the end!

One of the reasons a lot of us don’t take the time to cook or try out new recipes is because we are afraid of failing, fearful that we will “mess it up” and that it will have been a waste of money on food.

We’ve all been there, right?

I often experiment with recipes I’ve never made before and ingredients I’ve never used. I learn what I like through trial and error and take the “will this really taste good?” guesswork out of it for you 🙂

As I continue to focus on a dairy-free lifestyle because of how much better I feel eating this way, I’m sometimes challenged to find comparable alternatives to dairy-based favorites.

In my last post, I shared one of the key ingredients I now use in my cooking to impart some “cheesy” flavor. I promised that one of the recipes I would share with you would be a dairy-free nacho cheese sauce (AKA “noocho” cheese, since nutritional yeast or “nooch” is what gives it its “cheesy” taste).

Most of the time when I prepare new recipes, they turn out great and taste delicious, and I can’t wait to share them with friends and family.

Other times…they don’t. That’s what happened with noocho cheese attempt #1.

Not-so-nacho cheese...first recipe attempted - won't be making this one again!

Not-so-nacho cheese…first recipe attempted – won’t be making this one again!

It lacked flavor, and no matter what I added or even if I heated it up on the stove, I couldn’t get it to taste right…and it definitely didn’t resemble nacho cheese.

Fortunately, using a recipe from this cookbook, noocho cheese attempt #2 was a HIT!

Bill and I made it on Friday night and brought it to a friend’s house as an appetizer, and they liked it, too. Check out the recipe below. You will not regret making this stuff! 🙂

The Ultimate “Noocho” Cheese Sauce

Yum Yum Cheesy Goodness!

Yum Yum Cheesy Goodness!

Ingredients*

  • 1/2 cup raw cashews, soaked in water for at least 30 minutes and then rinsed (Trader Joe’s has the cheapest)
  • 1 tablespoon tahini
  • 1 roasted red pepper (rinsed from a jar or prepared from fresh)
  • 1/4 cup nutritional yeast flakes
  • 1 tablespoon tamari (tamari is gluten-free soy sauce and is in the Asian food aisle…or low-sodium soy sauce)
  • zest and juice of 1 lemon
  • 1/4 teaspoon cayenne pepper
  • 1/4 cup water

Click here for the full recipe!

We served it with our favorite healthier chips, which I will share more about in my next post! I enjoyed some leftover sauce the next day with baby carrots.  You have to try this!

*There’s a good chance that a couple of things in this recipe aren’t already in your pantry…don’t let that stop you! Ordering online at Amazon or Vitacost is super easy, or you can pick them up the next time you’re at the store.

If you don’t know where to find something, ask. I’ve found that people are happy to help!

  • Tahini (find in the international section of most grocery stores, in any natural food store, or online.)
  • Roasted red peppers (sold in glass jars in the non-refrigerated section of the grocery store)
  • Nutritional yeast (you can buy this online at Amazon, Vitacost or other retailers, or at any natural food store, Wegmans, Whole Foods, MOMs, or Roots)

Go From Nacho Cheese to “Nooch”o Cheese!

Despite the fact that I was a lifelong lover of dairy products like yogurt (ate it every day!), ice cream, string cheese, and Parmesan cheese, I cut out dairy products a couple of years ago.

It turns out that dairy products were triggering a number of health issues I had for most of my life – from allergies, congestion, sore throats, ear infections, indigestion and acid reflux to skin issues, gas and bloating. I used to get congested frequently, had chronic ear infections (which meant lots of antibiotics), and took Claritin and Zyrtec for seasonal allergies, along with reflux reducing meds like Prilosec (for 10 years!).

For me, cutting out dairy has been one of the keys to begin healing my body, not being sick so often (almost never!)…and getting off of those medications naturally. It’s been pretty amazing!

Check out my *NEW* Pinterest board – Deliciously Dairy Free – for additional articles on the topic as well as dozens of recipes for non-dairy alternatives to foods like cheese, cheesecake, ice cream, milkshakes, dips and dressings. I will be featuring many of them in upcoming blog posts, so stay tuned!

One of the questions people often ask me is, How do you live without cheese? I could never give up cheese.”  The short answer is there isn’t an “exact” match, BUT I’ve found some great options to use as replacements!

One of those foods is nutritional yeast (AKA “nooch”).

Nutritional yeast! I bought this kind at Wegmans, but you can also get it at Whole Foods, MOMs, or online

Nutritional yeast! I bought this kind at Wegmans, but you can also get it at Whole Foods, MOMs, Roots, or online at Amazon, Vitacost or other health food retailers.

A few years ago, I had never even heard of nutritional yeast and certainly wouldn’t have guessed it was something edible. This is kind of like the eggplant naming question…couldn’t they have picked a more appealing name??

Despite its odd name, this stuff has been a staple in our pantry for the past 3 years. You can find it online, or at Wegmans, MOMs, Whole Foods, Roots, or other natural food stores.

Here’s the 411 on why you might want to get yourself some “nooch”!

  • If you don’t eat dairy (or are trying to reduce it!), it’s a great substitute for cheese-based preparations. It has a “cheesy” smell and taste to it.
  • It’s a great source of protein and contains essential amino acids (protein building blocks!).
  • It’s loaded with vitamins, especially B vitamins, which are important in hundreds of your body’s processes, including staying energized and fighting stress.
  • It’s low in sodium.

If you can get past the weird name, it’s worth giving this stuff a shot. 

I will be posting my favorite “nooch” recipes in the coming weeks – check out the list below for a sneak peek of what I will be making and sharing!

This is what "nooch" looks like out of the container

This is what “nooch” looks like out of the container

  • Herby homemade popcorn
  • Salad dressings
  • Kale chips
  • “Cheezy” curly kale salad
  • Dairy-free “cheese” sauce for mac & cheese or nachos
  • Nutty rawmesan cheese (a substitute for my beloved Parm cheese!)

Want to learn more about nooch? Click here or here!

If you’re interested in going dairy-free and what it could look like for you, check out this 28-Day Dairy Free Challenge with Dr. Oz or this information on elimination diets from my favorite blog, Nourishing Meals!

Stay tuned for future recipe posts featuring this quirky but healthy ingredient!

Healthy & Homemade Donut Holes! {Gluten-Free, Paleo, Vegan}

 “These satisfy my sweet tooth without eating Little Debbie Donut Bites!”

“These won’t make it home!”

And finally, “So, there’s no sugar in these?”

These were just a few of the comments made by a donut-loving friend last night as he was enjoying a new treat I prepared for our church small group that we host each Tuesday.

I had never made them before, so I didn’t know what to expect. They were a huge hit, so you can bet I will be making them again, given the response! I never thought they would be compared to donut holes in terms of taste and texture, but I’ll take it!

They are SO easy to make, too. They’ll become a new staple in your house, I’m sure!

Healthy & Homemade “Donut” Holes

Mmm delicious!

Mmm delicious!

The recipe is adapted from this one on the Nourishing Meals blog. Tom and Ali have some awesome gluten-free, dairy-free, soy-free recipes, so I will be featuring more of them in the future.

Ingredients (see notes below regarding substitutions & where to find ingredients*)

  • 1/2 cup raw almonds
  • 1/2 cup raw walnuts
  • 1 cup Medjool dates, pitted
  • 1/4 cup raisins
  • 1/4 teaspoon cinnamon
  • 1/4 teaspoon ground cardamom
  • 1/4 cup raw almond butter
  • 1/2 teaspoon vanilla extract
  • 1/4 teaspoon fine grain sea salt
  • unsweetened, shredded organic coconut

Directions

  1. In the food processor fitted with the “s” blade, grind the almonds and walnuts until finely ground.
  2. Add the dates, raisins, spices, and salt and grind to a fine meal.
  3. Add the almond butter and vanilla extract and process again until completely mixed.
  4. Form into balls and roll in shredded coconut.

I put mine in the fridge for about an hour, so they would firm up a little bit, but you can enjoy them right away, if you’d like!

Ground

Ground “meal” prior to rolling them into balls

*Ingredient & Substitution Notes

  • Can’t have walnuts or almonds? Use any other nuts or seeds in this recipe instead!
  • You find Medjool dates in the produce section of the grocery store OR online. We buy ours at BJs Wholesale club in a big container. Trader Joe’s also sells them.
  • If you don’t have cardamom, you can sub in ground ginger, more cinnamon or a combo of nutmeg and cinnamon instead.
  • The cheapest place I have found almond butter is at Trader Joe’s. If you can’t have almonds, sub in Sunbutter.
  • You can find unsweetened, shredded coconut in the baking aisle of most grocery stores or online here. We buy ours at MOMs in bulk.

Unexpected “Fries” Surprise! (+ A Kickin’ Tomato Dipping Sauce)

I like eggs. I love plants. 

But for some reason, I’ve never been much of a fan of eggplant…And really, couldn’t we have come up with a better name? It’s called “aubergine” in French. Doesn’t that make it sound more appealing? 🙂

I’ve eaten it a few times, mixed in with a ratatouille, fried as “chips” when I was in Spain, and probably thrown into a soup at some point (people are sneaky!). I don’t know if it’s the texture or what, but I’ve never been crazy about this odd-looking vegetable.

IMG_3404

As I experiment with recipes each week, I like to incorporate foods I’ve never eaten before or try them using a new preparation. In my Hometown Harvest bag this week, I came across none other than…eggplant!

I’ve never actually bought or cooked eggplant before, but I’m up for the make-eggplant-taste-good challenge!

Whenever I need inspiration for recipes, I check out the dozen or so cookbooks I have, browse through my favorite blogs, or search on Pinterest. I found two yummy recipes and am sharing both with you today!

Baked Eggplant Fries & Kickin’ Tomato Dipping Sauce

**The KEY to making sure these don’t become limp, soggy eggplant mush is to put them on a paper towel on a baking sheet and sprinkle salt on them to pull out the water. Let them sit for about 25 minutes and pat them dry. The more moisture you pull out, the “crispier” the fries will be.**

IMG_3421

The crispy baked fries are on the left and the easy paleo fries are on the right

Ingredients

Eggplant Fries – Version 1
1 medium eggplant, peeled and cut into matchsticks
1 cup almond flour/meal + 2 tablespoon arrowroot powder OR 1 ½ cups cornmeal (Both work – your choice!)
1 ½ teaspoon fine grain sea salt, divided
½ teaspoon dried oregano
½ teaspoon garlic powder
½ teaspoon paprika
1 tablespoon olive oil or coconut oil, melted
2 free-range organic eggs

Almond meal/flour can be on the pricy side, but I usually find a good deal at Trader Joe’s, or you can click here for how to make your own! 

Spicy Tomato Sauce
1 tablespoon olive oil
½ teaspoon crushed red pepper flakes
½ teaspoon fine grain sea salt
1 clove of garlic, finely chopped
1 14 oz can crushed red tomatoes
zest of half lemon
1 tablespoon oregano

Click here for the full recipes for the crispy fries and tomato sauce! Also, check out my step-by-step pictures below for how to make the fries!

Here is the recipe for the Easy Paleo Eggplant Fries – Version 2

I didn’t know what to expect because I have only really ever had mushy eggplant, but the “breaded” fries held up really well! There is a nice crunch when you bite into them, and the breading is delicious. The kickin’ tomato sauce is really tasty, and that is coming from someone who doesn’t like “spicy” food!

Cut the eggplant discs into matchsticks after you peel it

After you peel the eggplant, cut it into discs and then into matchsticks

Lay the sticks out on a paper towel-lined baking sheet and sprinkle with salt to pull out the moisture

Lay the sticks out on a paper towel-lined baking sheet and sprinkle with salt to pull out the moisture

Dip the sticks in the egg base and then coat with almond and herb mixture before laying on baking sheet

Dip the sticks in the egg base and then coat with the almond and herb mixture before laying them on the baking sheet

Prepare the kickin' tomato sauce dip while the fries are roasting!

Prepare the kickin’ tomato dipping sauce while the fries are roasting!

Rotate the fries halfway through cooking for even browning and then dip in tomato sauce - YUM!

Rotate the fries halfway through cooking for even browning and then dip in tomato sauce and enjoy – YUM!

It was my first time cooking eggplant, so I have a lot more I want to learn, but I would say this first attempt was a success 🙂

What did you think? Do you have any other eggplant recipes that you like to make? Feel free to share any of your favorites in the comments below!

Soup’s On! My Favorite Cookbook & A Soup You Have to Try {Vegan, GBOMBS}

I was eagerly anticipating a long weekend away to the southern coast of Portugal with several friends from my program in Spain…until something awful happened.

IMG_0281

I got food poisoning.

After all, who doesn’t want to deal with embarrassing GI issues in a foreign country hours away from home and everything familiar? I’ll be honest, it was a pretty miserable and uncomfortable week, and aside from the temporary weight loss, nothing good came of it.

I told my Spanish mom, Matilde, that all I wanted was crushed ice and “cookies without sugar” because I didn’t know how to say “Saltine crackers” in Spanish.

Well, I was told that ice is “dirty” so I shouldn’t eat it, and I didn’t get anywhere with my description of Saltines.

Bummer.

So, aside from some physical discomfort, embarrassment, and frustration, since I had to delay my trip to Portugal, what did my illness mean?

Several days of clear fish broth until I felt better.

Since I had never really eaten any soup other than Campbell’s less-than-impressive and rather sparse chicken noodle soup and didn’t like seafood, eating fish broth was a real treat.

Fortunately, over the next few months, Matilde redeemed the fish broth by introducing me to a variety of other soups and stews that were brimming with vegetables and bursting with deep flavors.  They were filling, warming, and comforting.

We love soups and chilis now and prepare them almost weekly this time of year.

IMG_3230

Here are a few reasons why we are souper excited about soup!

  • They’re cheap. Beans, vegetables, broth, greens, and grains are the base ingredients in most soups. They can be purchased in bulk and are really inexpensive.
  • They last for days, which saves time and money. Cook once, eat three (or more!) times. I love finding ways to save time in the kitchen, especially during the workweek. By taking some time to prepare a soup one day, we save ourselves time (and money!) preparing lunch and several dinners during the rest of the week. Now that football season is over, try to commit to making a soup on Sunday afternoon, and don’t worry about prepping dinner until Tuesday at the earliest!
  • They’re low maintenance and easy to prepare. The great thing about soup is that you can “set it and forget it” by putting it in a crock pot or just leaving it on a low simmer on the stove. The longer it simmers, the more the flavors build. Mmmm…
  • They’re healthy comfort food. Comfort food makes us happy because it is reminds us of home, family or friends and often has a very traditional and simple preparation. Soups are warming, soothing, rich and often reflective of our heritage, too, and there is something really satisfying about that.
  • They’re a great way to get in the healthiest foods on the planet, including leafy greens, beans, and onions! Check out this recipe for an amazing Tuscan Bean Soup we made the other day. We incorporated our Tuscan (AKA dino) kale from Hometown Harvest along with other GBOMBS foods like beans and onions. The addition of red wine added a sweetness and richness that I can still taste!IMG_3235

As a gift to celebrate my completion of graduate school, my mother-in-law gave me what is now one of my absolute favorite cookbooks. Clean Food: A Seasonal Guide to Eating Close to the Source is written by Terry Walters, a fellow IIN graduate.

From the Basic Balsamic Vinaigrette (you will never want store-bought salad dressing again!), Three Bean Chili, and Roasted Kabocha Squash and Creminis to the Ginger and Pear Crisp and Banana Coconut Chocolate Chip Cookies, we have enjoyed over a dozen of the wholesome, nourishing recipes from Terry’s Clean Food cookbook.

Clean Food

Also, for anyone who has food sensitivities or allergies, this cookbook will give you tons of new inspirations and alternatives, and you will not feel deprived or slighted in the least!

The Tuscan Bean Soup was the most recent recipe we prepared from Clean Food and is one we will definitely be making again.

You can check out other delicious soups posted on my Pinterest boards!

Do you have a favorite healthy soup recipe? Feel free to share below! 

Powered by WordPress & Theme by Anders Norén