I’m a big advocate of eating food that is as fresh and unprocessed as possible.
Sometimes, for convenience sake, I opt for minimally processed versions of certain foods.
Like pumpkin puree.
Most of the time, it’s easier and quicker to buy a can of it to put into my smoothies, muffins, and overnight oats than to make it from scratch.
But last week I got this in my Hometown Harvest bag and knew it was time for me to figure out how to make my own.
The squash below is actually just an autumn squash, but you can follow the process I outline for autumn squash, butternut squash or pumpkin to make your own puree.
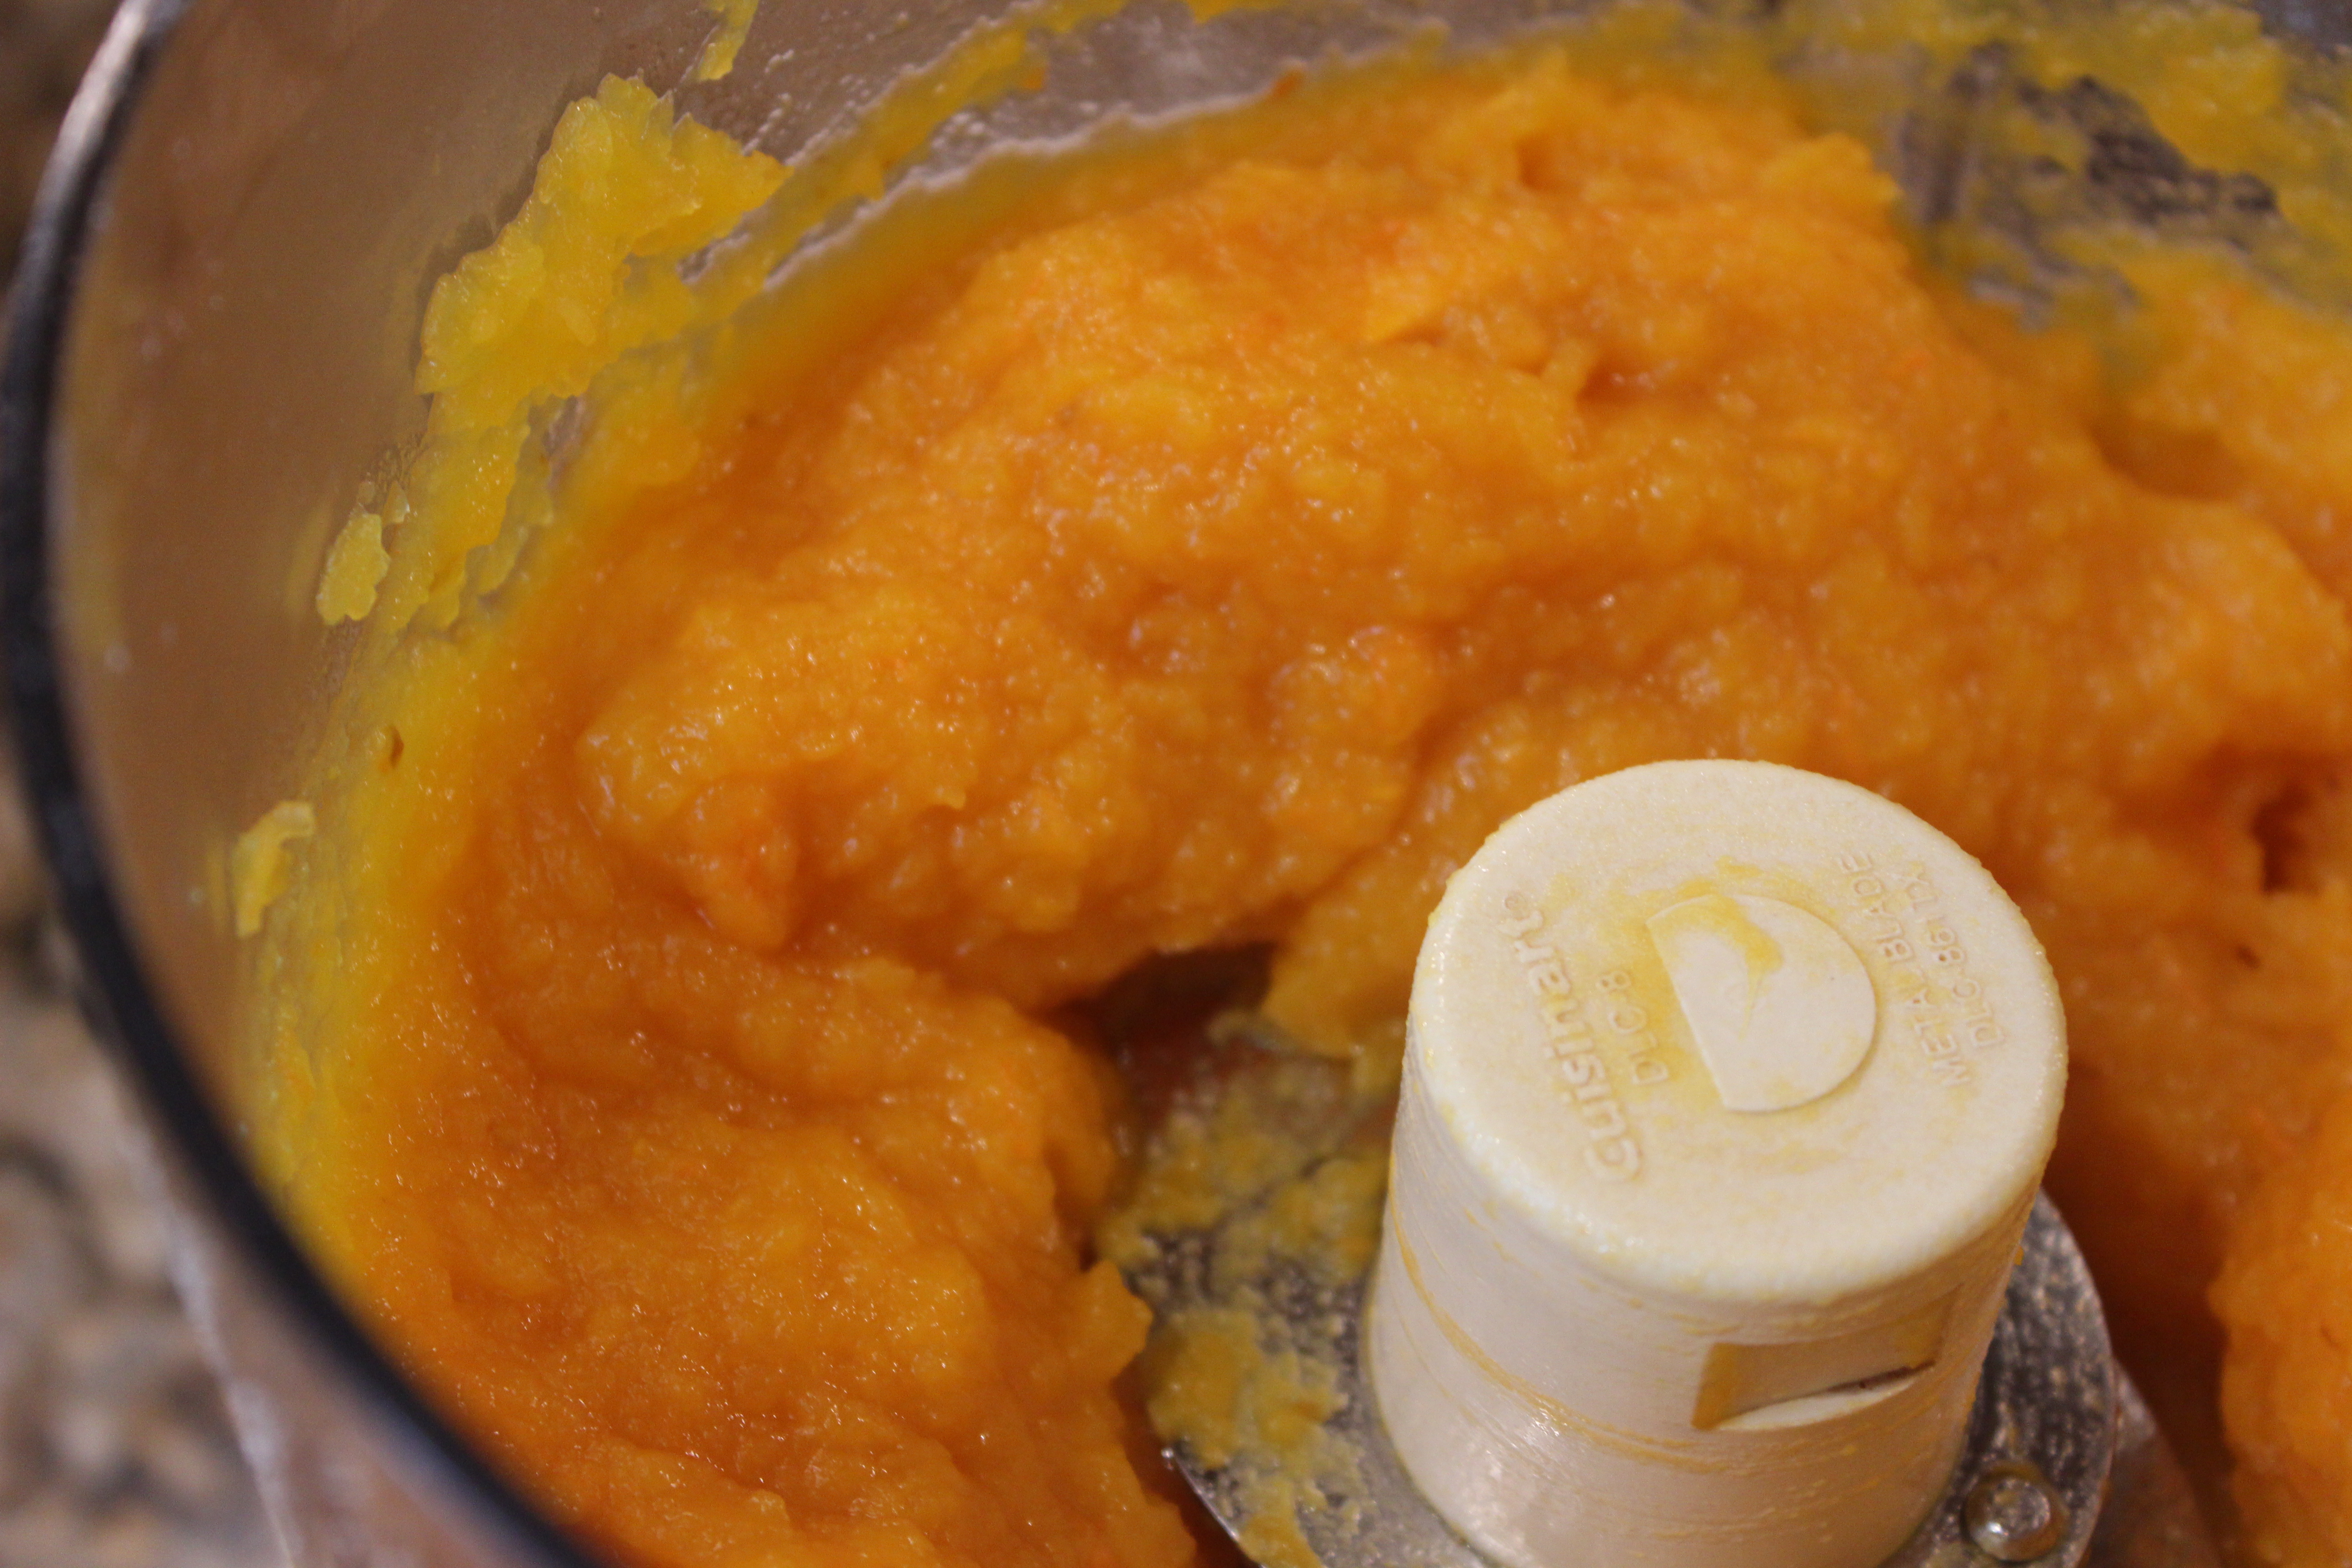
Roasting your own vegetables for this puree gives them a velvety smooth texture and deep flavor that definitely tastes better than the canned stuff!
Step-by-step instructions for how to make your own squash puree
Preheat the oven to 350F.

For a round squash, cut off the top (including the stem) with a sharp knife and then cut the squash in half. For flatter squash, like the one I had, cut it in half with a sharp knife, cutting one side first and then the other on either side of the stem.

Scoop out the seeds with a spoon. Save them to make your own toasted seeds (something I plan to do in the future).

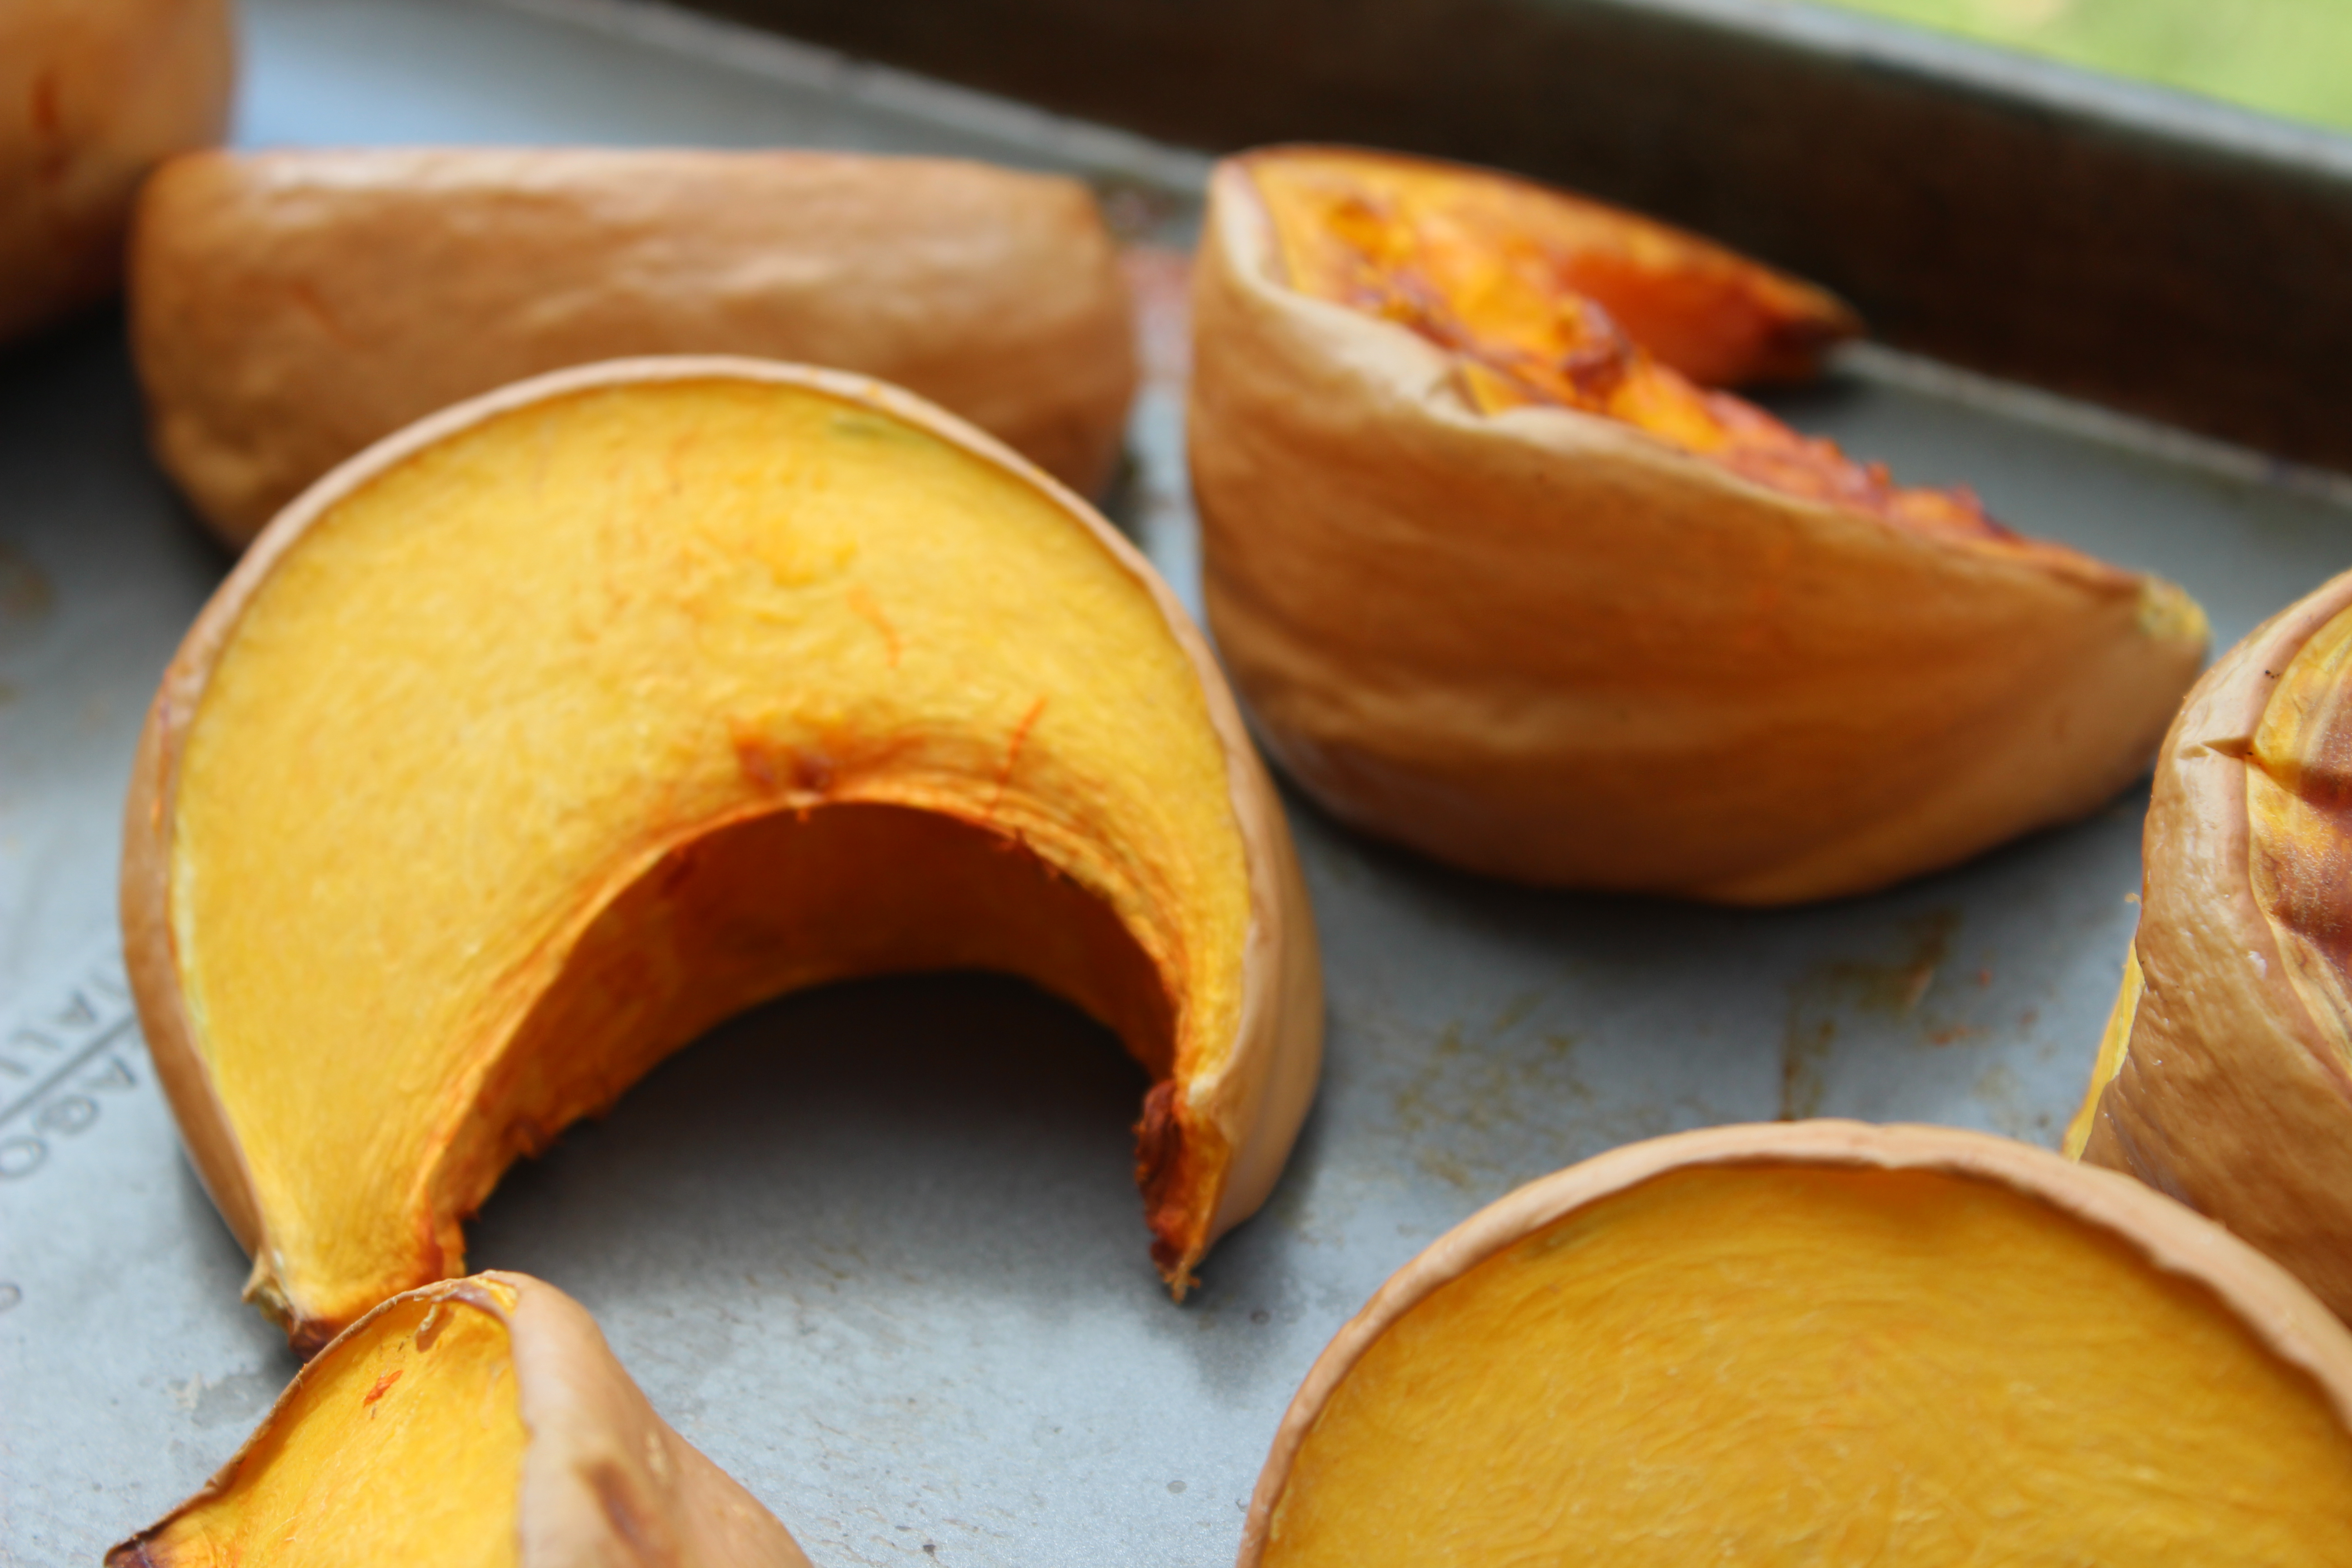
Put the squash slices on a baking sheet and roast in a 350F oven for 45-60 minutes oven or until you can easily pierce the squash with a fork.
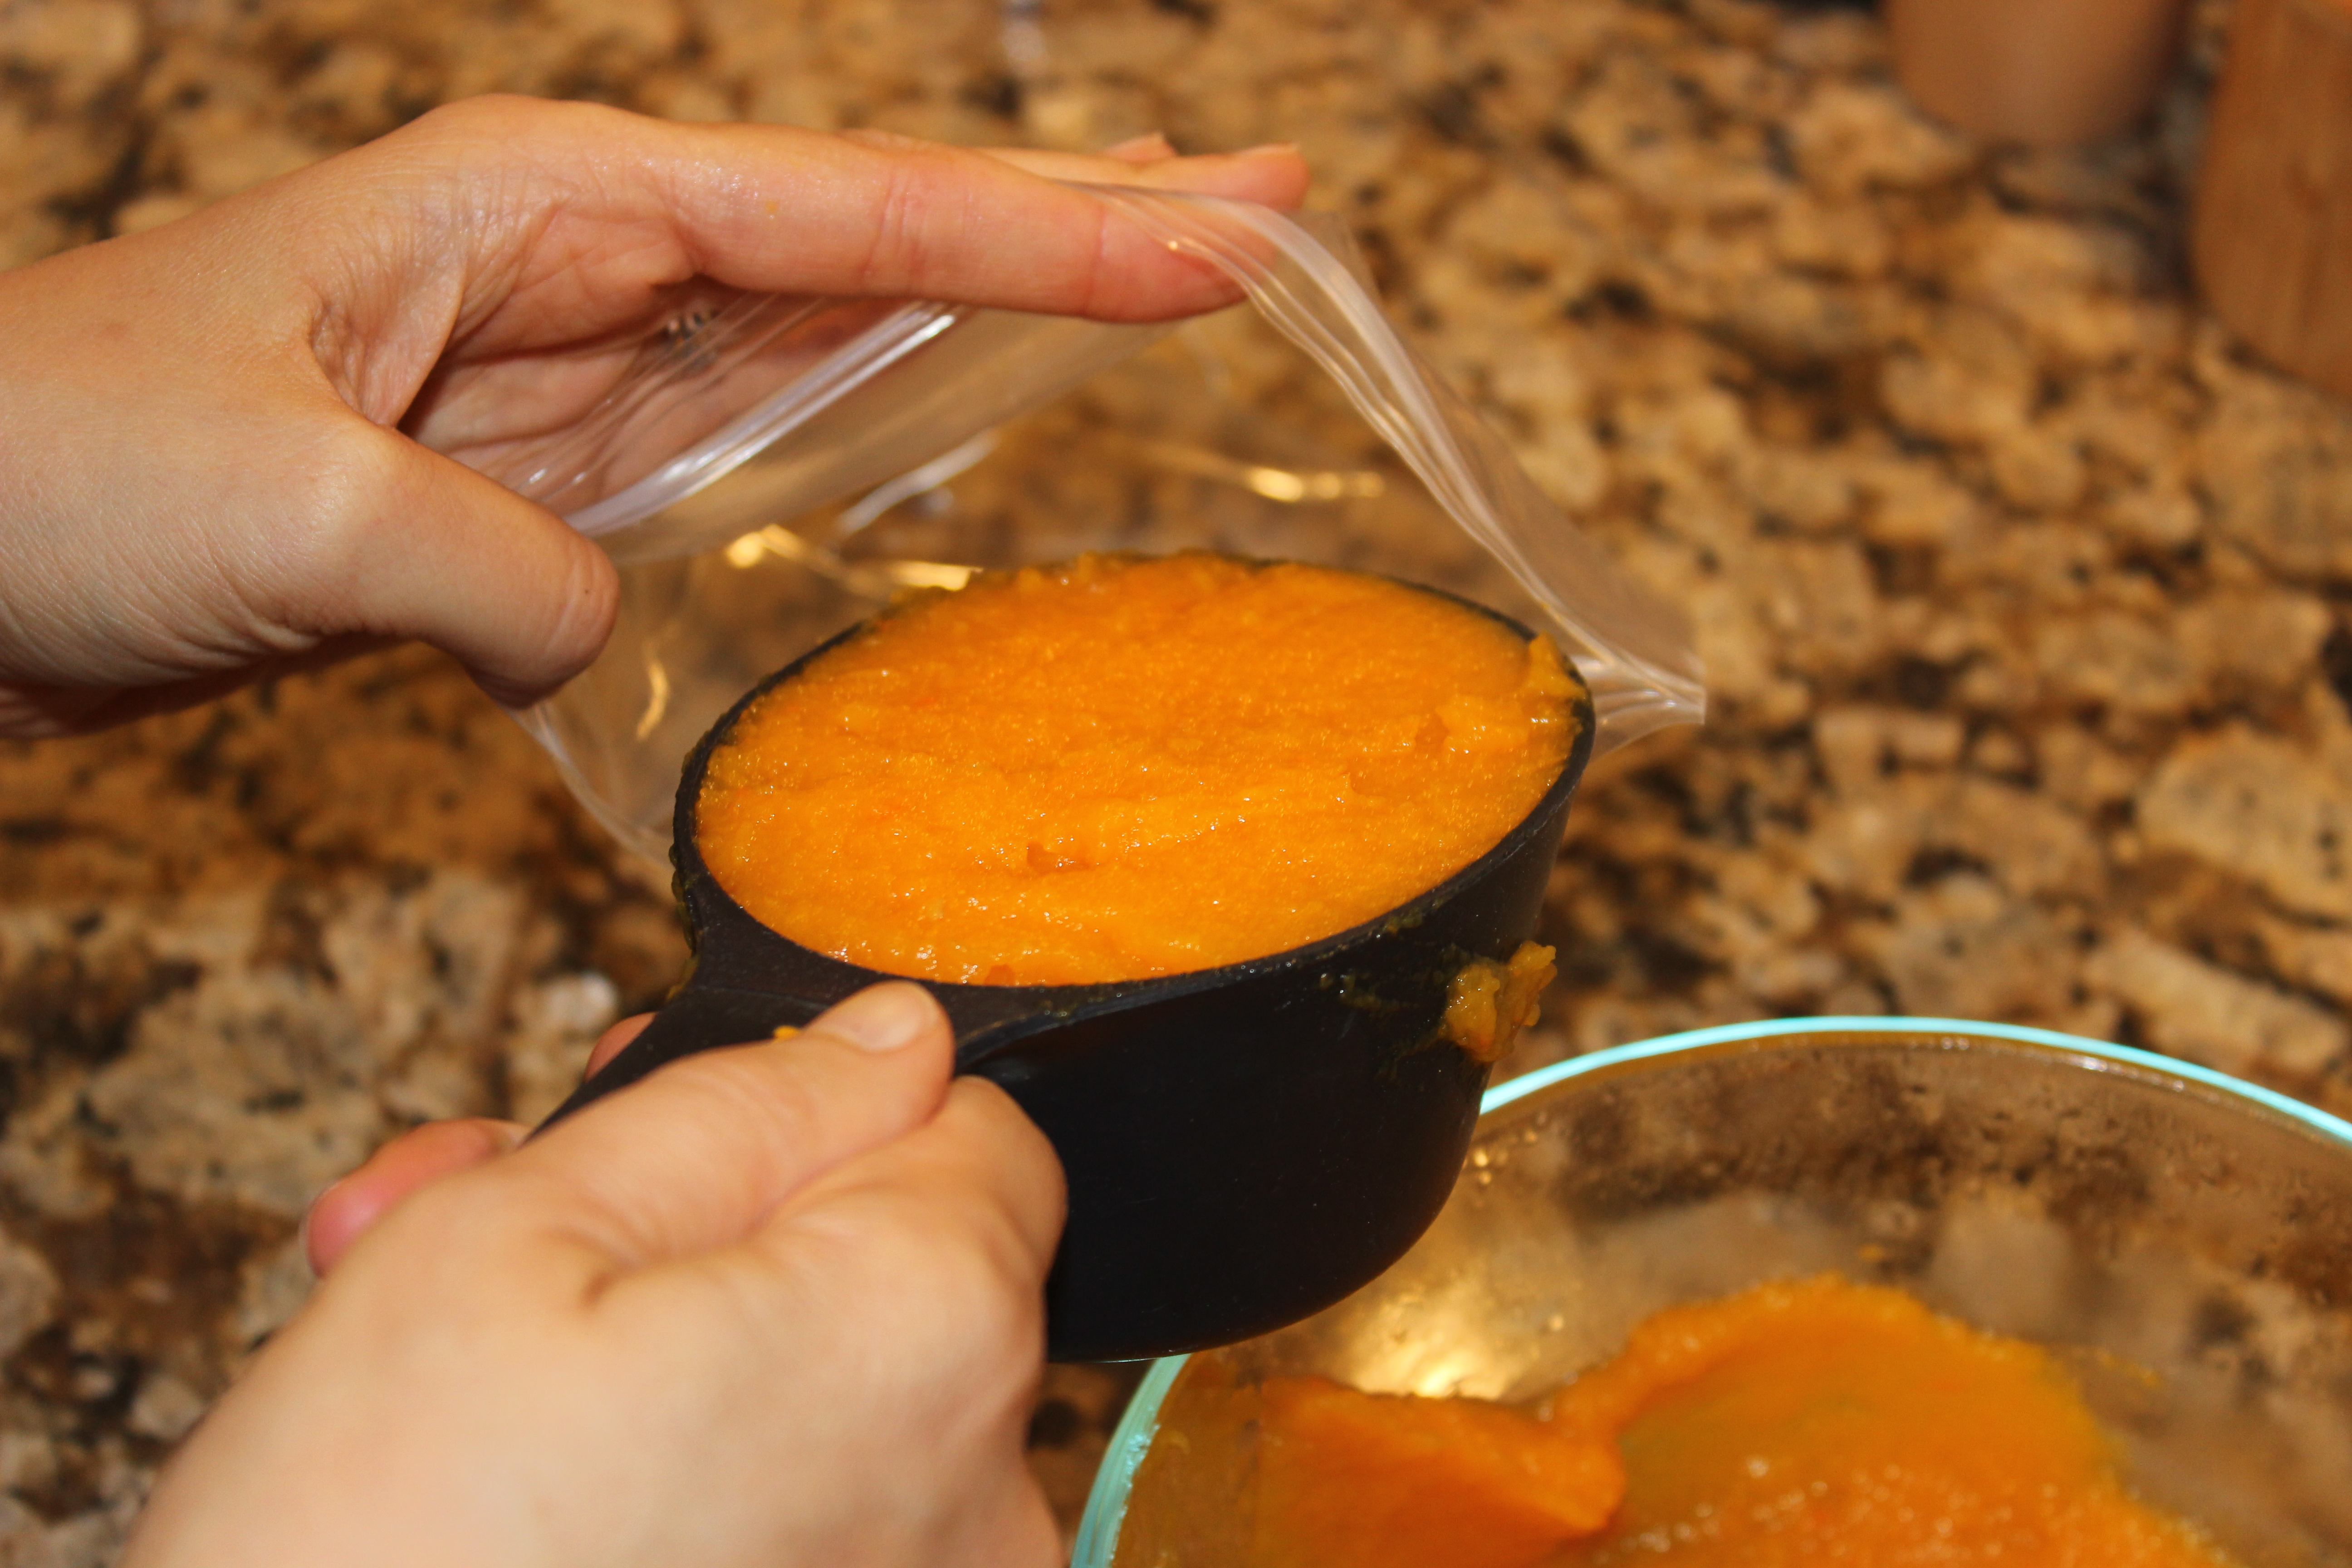
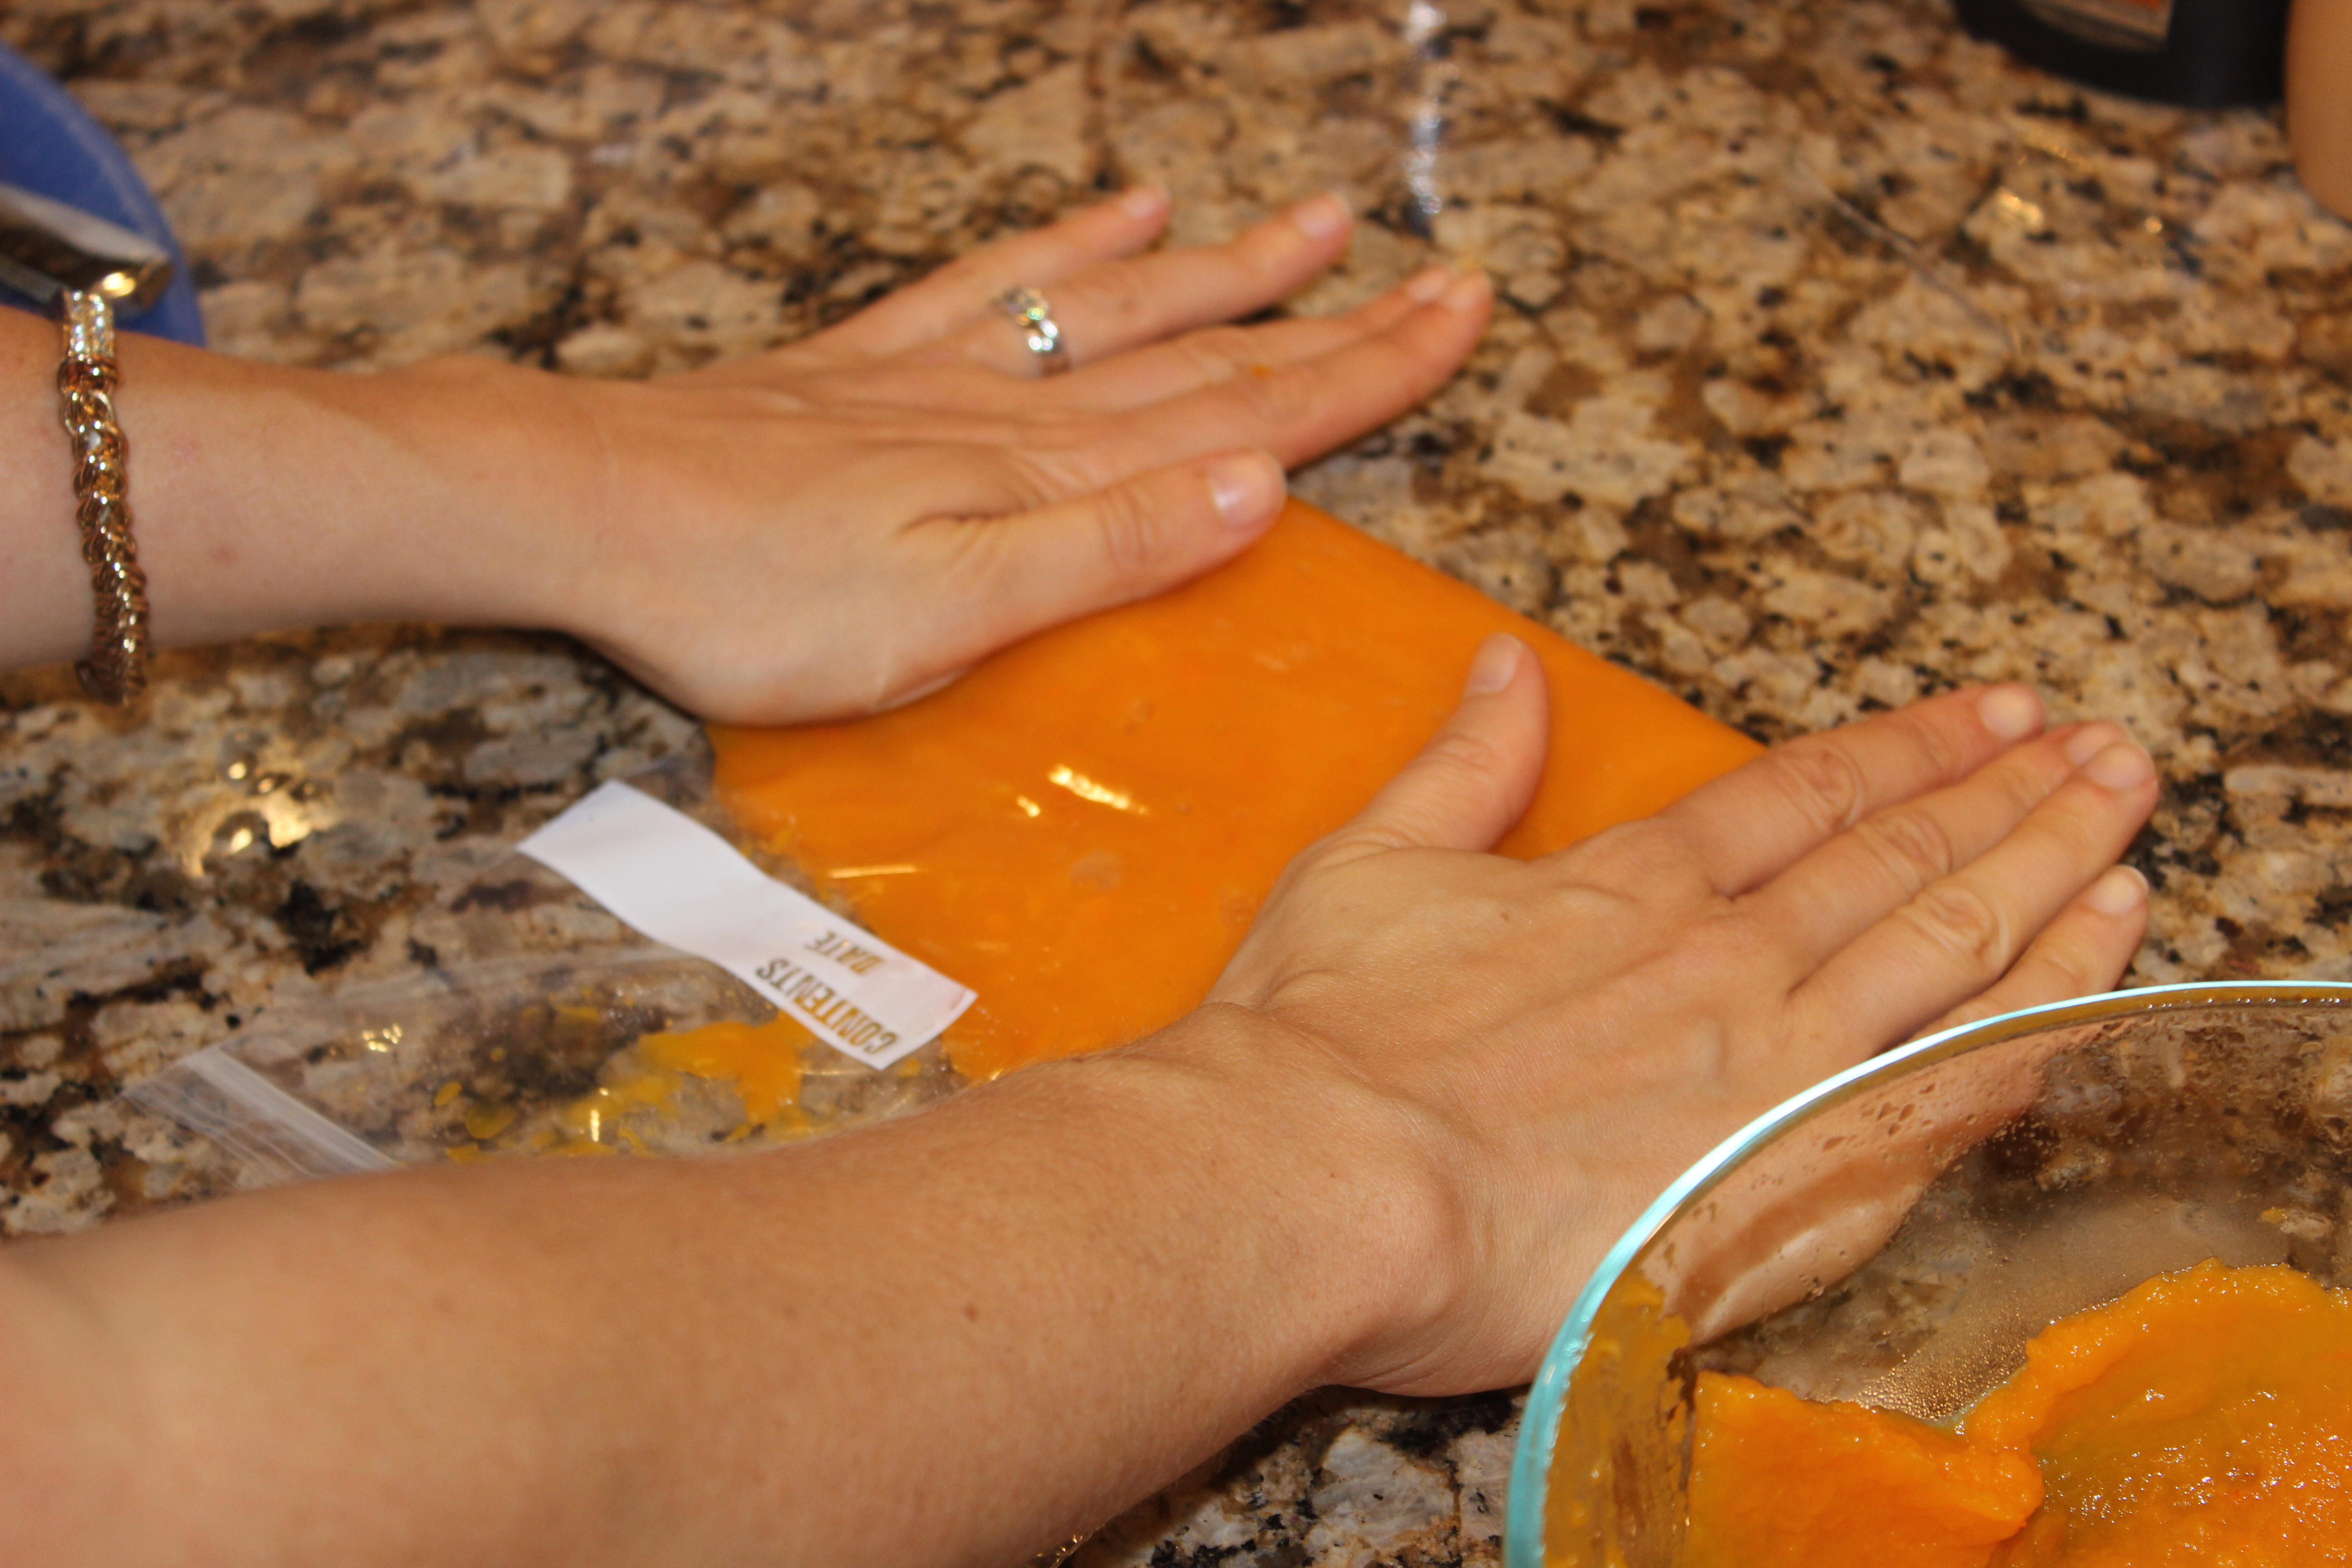
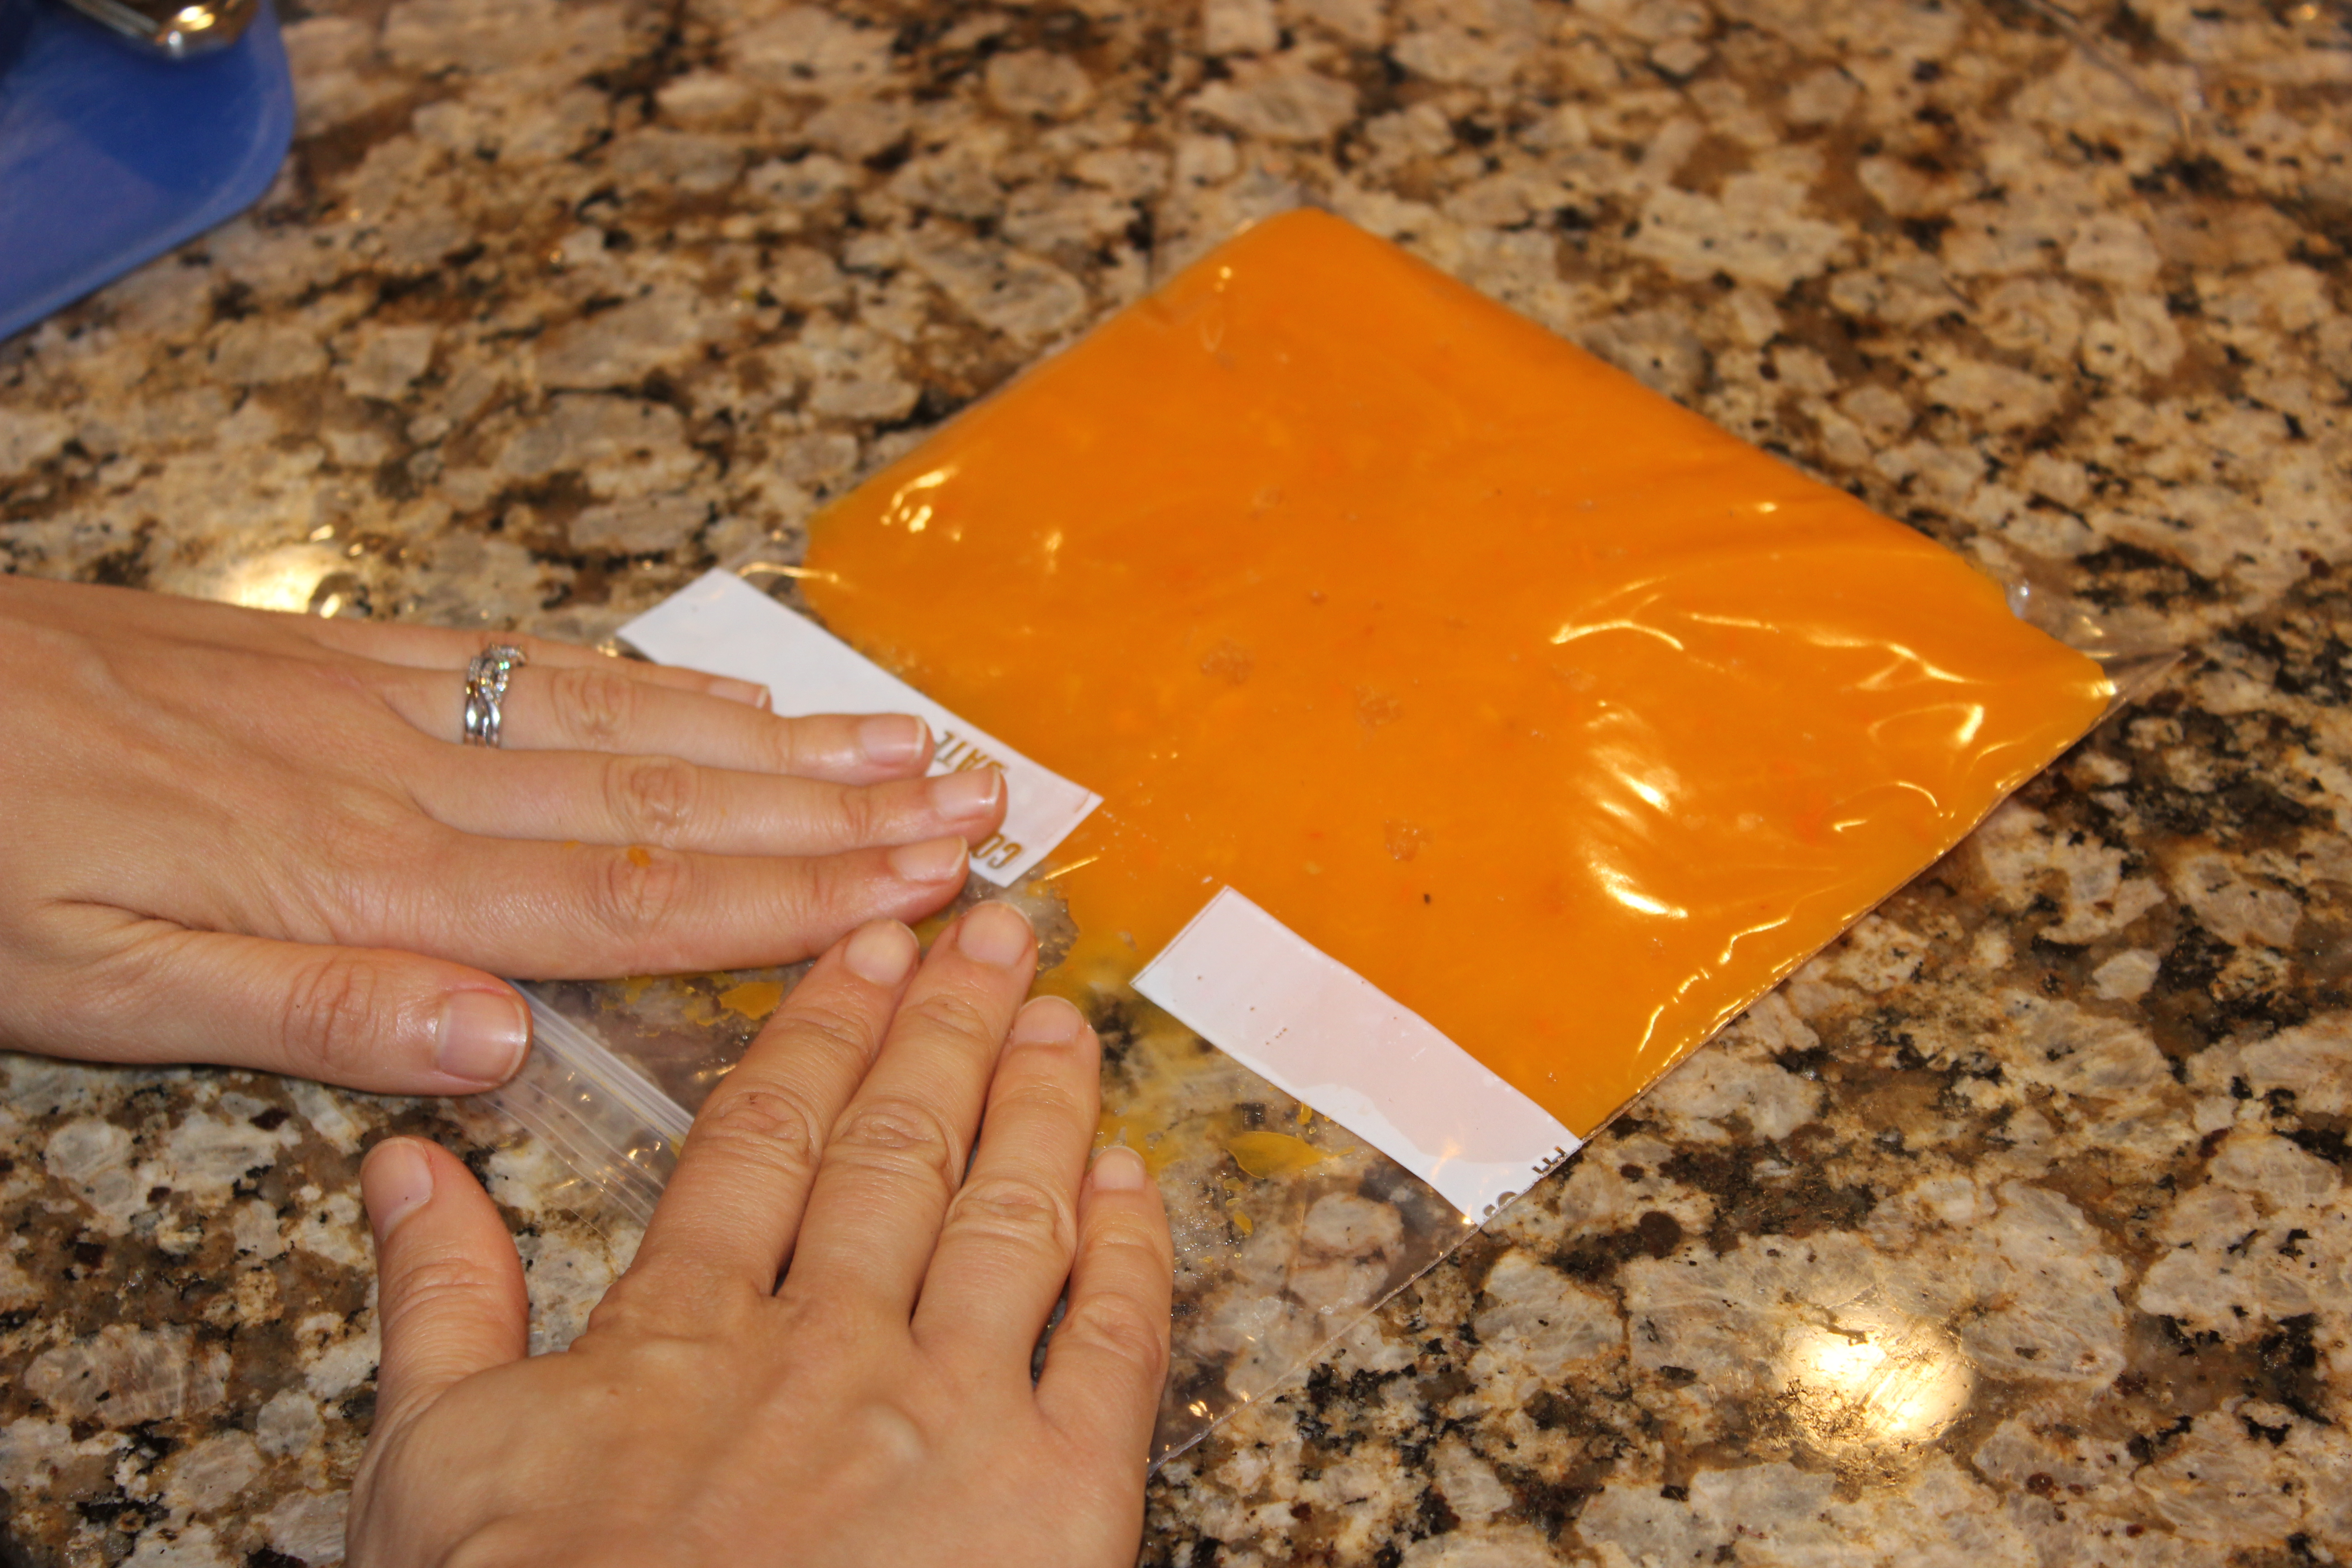
Use the puree immediately OR measure out 1-cup servings and put the puree in freezer bags, squeezing out all of the air, so it’s ready to use whenever you need squash in the future.
Follow the step-by-step process below!
If you’re using pumpkins, once you have your puree ready, try using it in this Ultimate Pumpkin Pie Smoothie Recipe, Pumpkin Pie Overnight Oats, or these Paleo Pumpkin Spice Muffins!







Nancy Bryant
You are so ambitious with taking the time to make things from scratch. Smart and healthy!
racheldruck
Thanks, mom! It’s kind of fun to do 🙂