Notice: Function _load_textdomain_just_in_time was called incorrectly. Translation loading for the social_sharing domain was triggered too early. This is usually an indicator for some code in the plugin or theme running too early. Translations should be loaded at the init action or later. Please see Debugging in WordPress for more information. (This message was added in version 6.7.0.) in /var/www/wp-includes/functions.php on line 6114
Anti-Inflammatory Archives · Page 6 of 8 · Rachel's Nourishing Kitchen

Category: Anti-Inflammatory Page 6 of 8

Chewy Cherry Chocolate Brownie Bites {Gluten-Free, Paleo, Vegan}

Chocolate + peanut butter = awesome

Chocolate + caramel = awesome

Chocolate + sea salt = awesome

Chocolate +…just about anything = awesome!

I recently wrote about my favorite chocolate place in Baltimore, which features combinations of chocolate most of us would never think of that happen to taste aaaamazing.

In the spirit of yummy chocolate treats, today’s recipe features chocolate + cherries, another winning food combo that doesn’t get enough love.

My friend, Anna (check out her photography site!) recently posted an action shot of her daughter Paisley after enjoying this chocolate-covered cherry smoothie.

paisley2

Bill and I have been making that smoothie a lot lately for breakfast, and the flavors in it inspired today’s recipe for chewy cherry chocolate brownie bites.

YUM.

Several ingredients in these brownie bites are anti-inflammatory, health boosting and super satisfying, including almonds, walnuts, and cacao powder.  Those three foods also made my Top 11 Sweet Treat Staples pantry list.

Cherries are known for their inflammation-fighting, antioxidant-rich properties, and their tart flavor works really well with the slight bitterness from the chocolate and the sweetness from the dates.

My friends and coworkers, Michela and Jillian, were all over these when I brought them to a party last week. Jillian called them Cherry Bombs, which is pretty appropriate since they are like an explosion of flavor! 🙂

cherry choco bitescherry bomb

Yield: 20-24 bites

Ingredients

  • 1/4 cup raw cacao nibs
  • 1/2 cup raw almonds
  • 1 cup raw walnuts
  • 1 cup Medjool dates, pitted (about 10-12 dates)
  • 3/4 cup dried bing cherries, unsweetened (Trader Joe’s sells these cheapest)
  • 1/3 cup almond butter
  • 1/3 cup raw cacao powder
  • 1 teaspoon vanilla extract
  • 1/4 teaspoon almond extract
  • 1/4 teaspoon fine grain sea salt + a pinch

Directions

  1. In a food processor fitted with the “s” blade or a coffee grinder, process the cacao nibs until they are broken into smaller pieces. Set them aside.
  2. Put the almonds and walnuts in the food processor and process until finely ground, about 45 seconds.
  3. Add the rest of the ingredients and process until the mixture becomes sticky – about 2 minutes.
  4. Form into balls about 1 inch in diameter, and roll them in the crushed cacao nibs for some crunch! Store them in the fridge. They taste even better after they’ve had a chance to sit for a couple of hours, so all the flavors can meld.

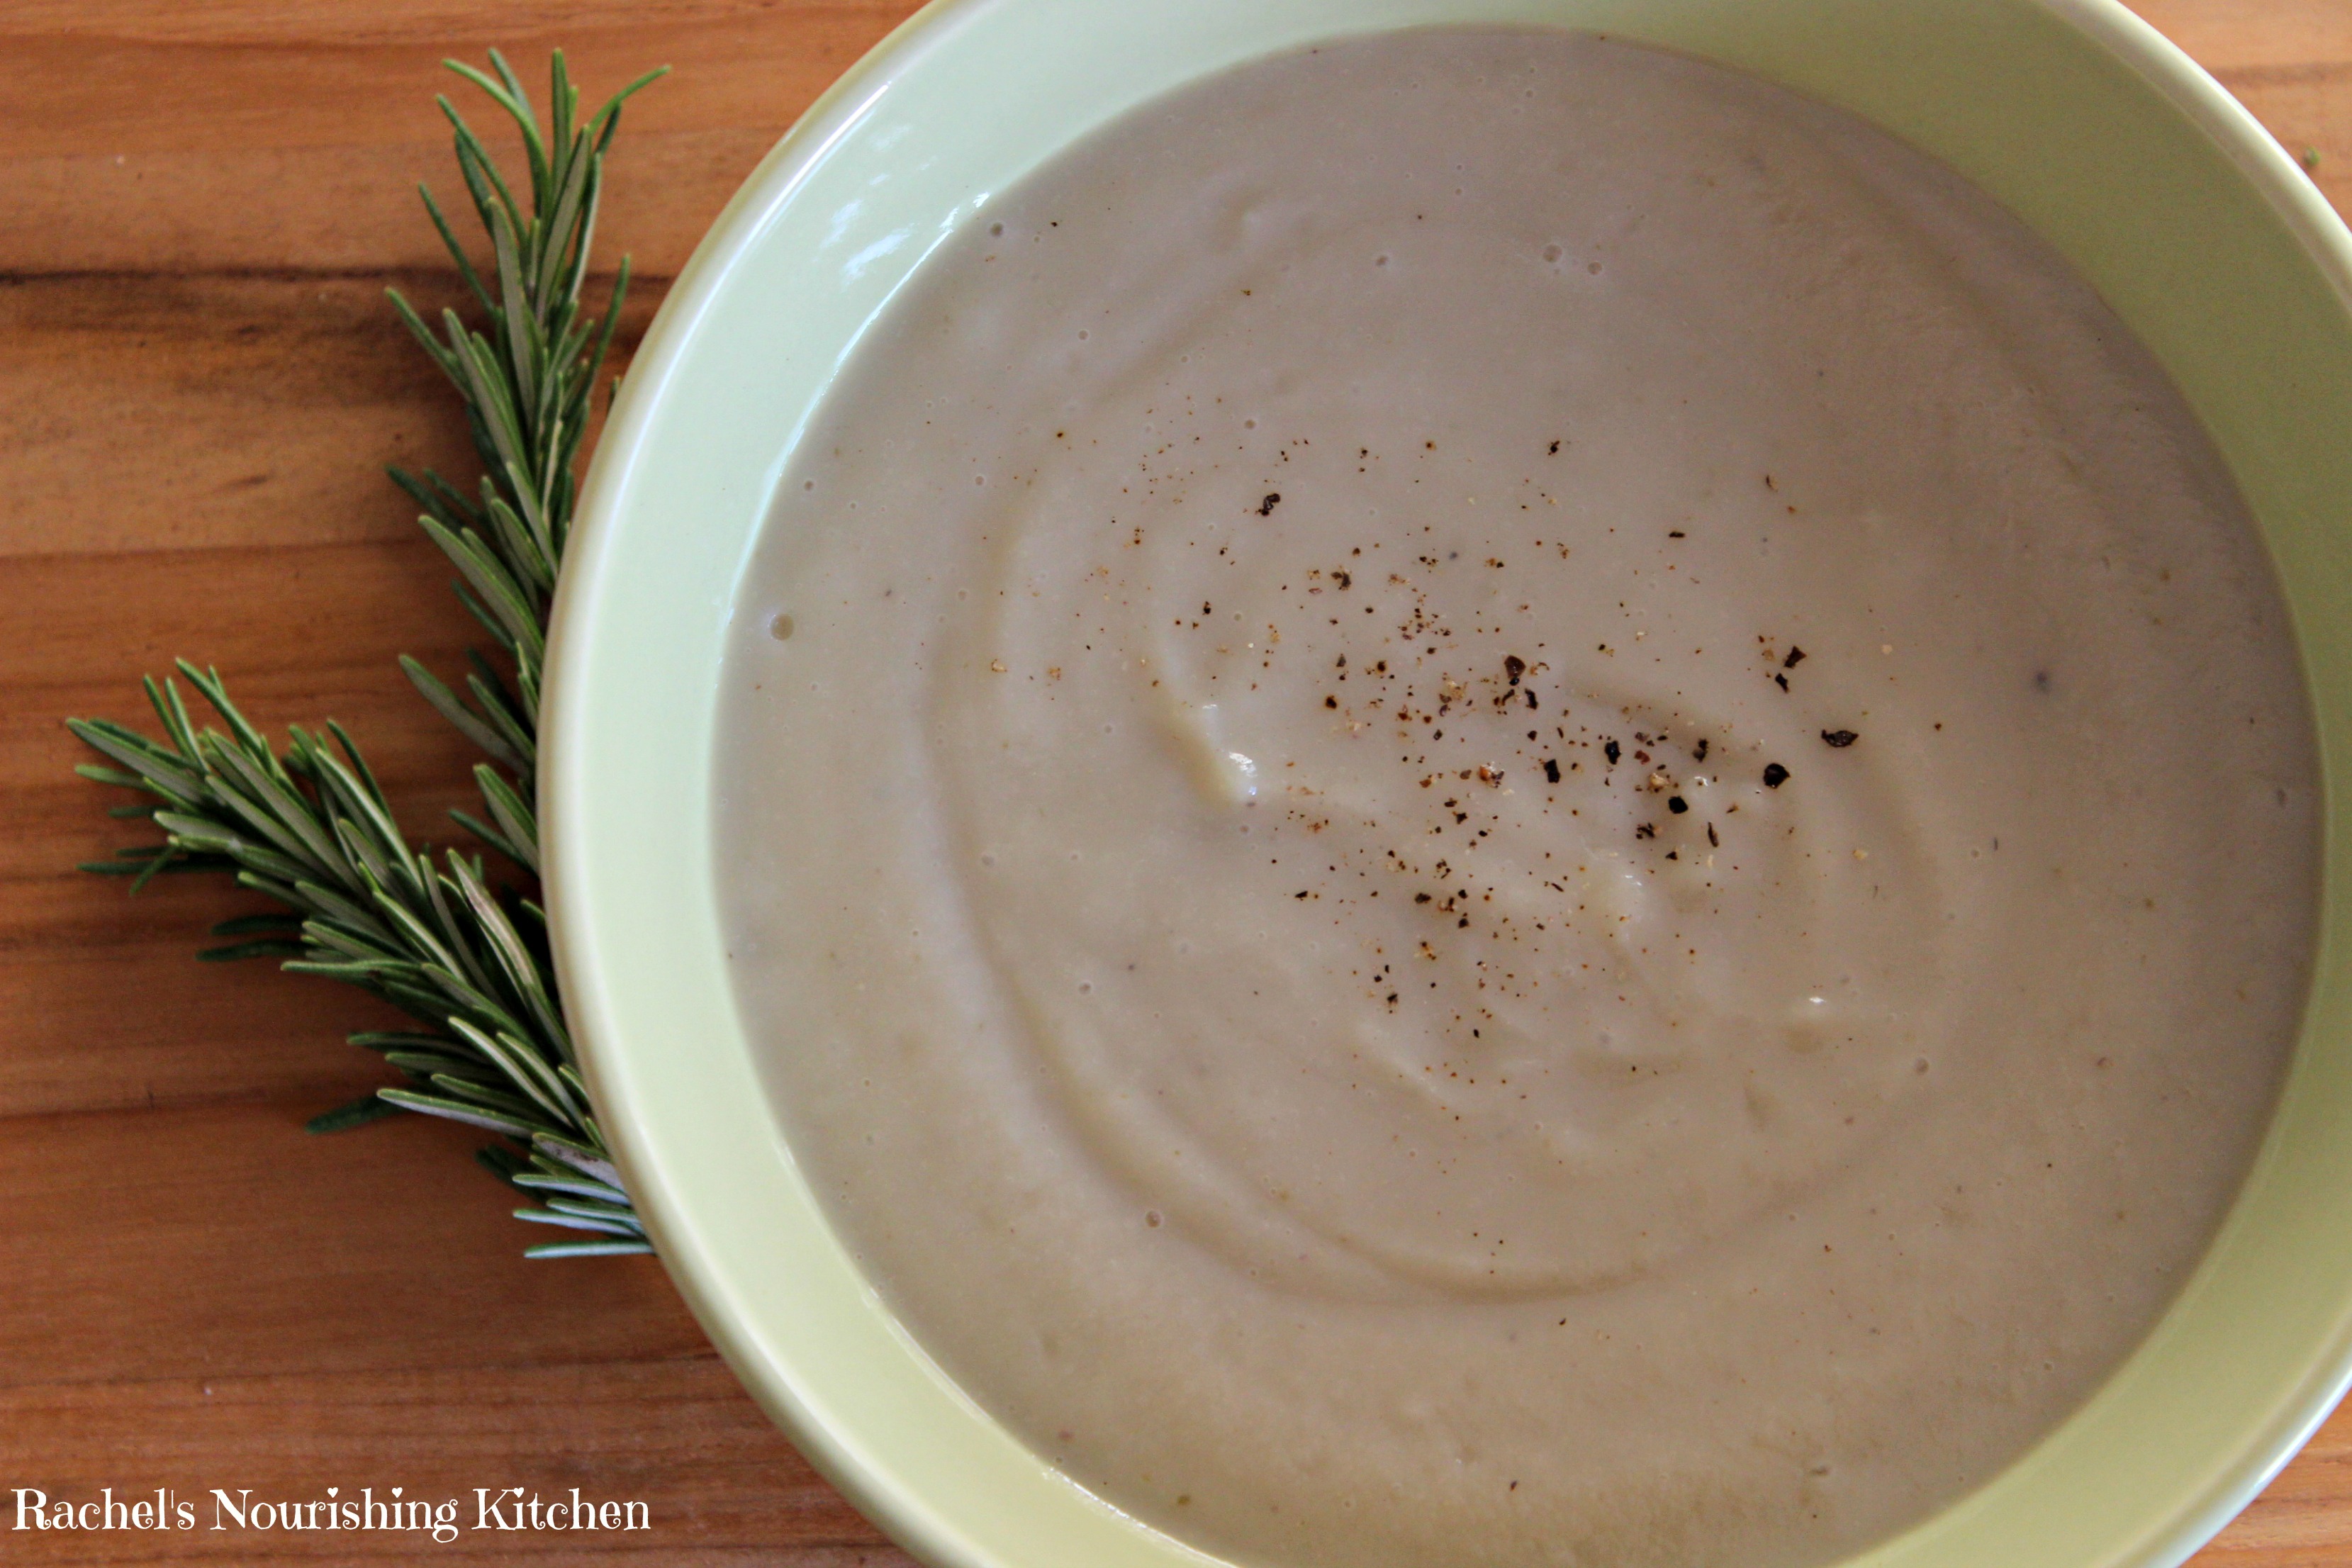
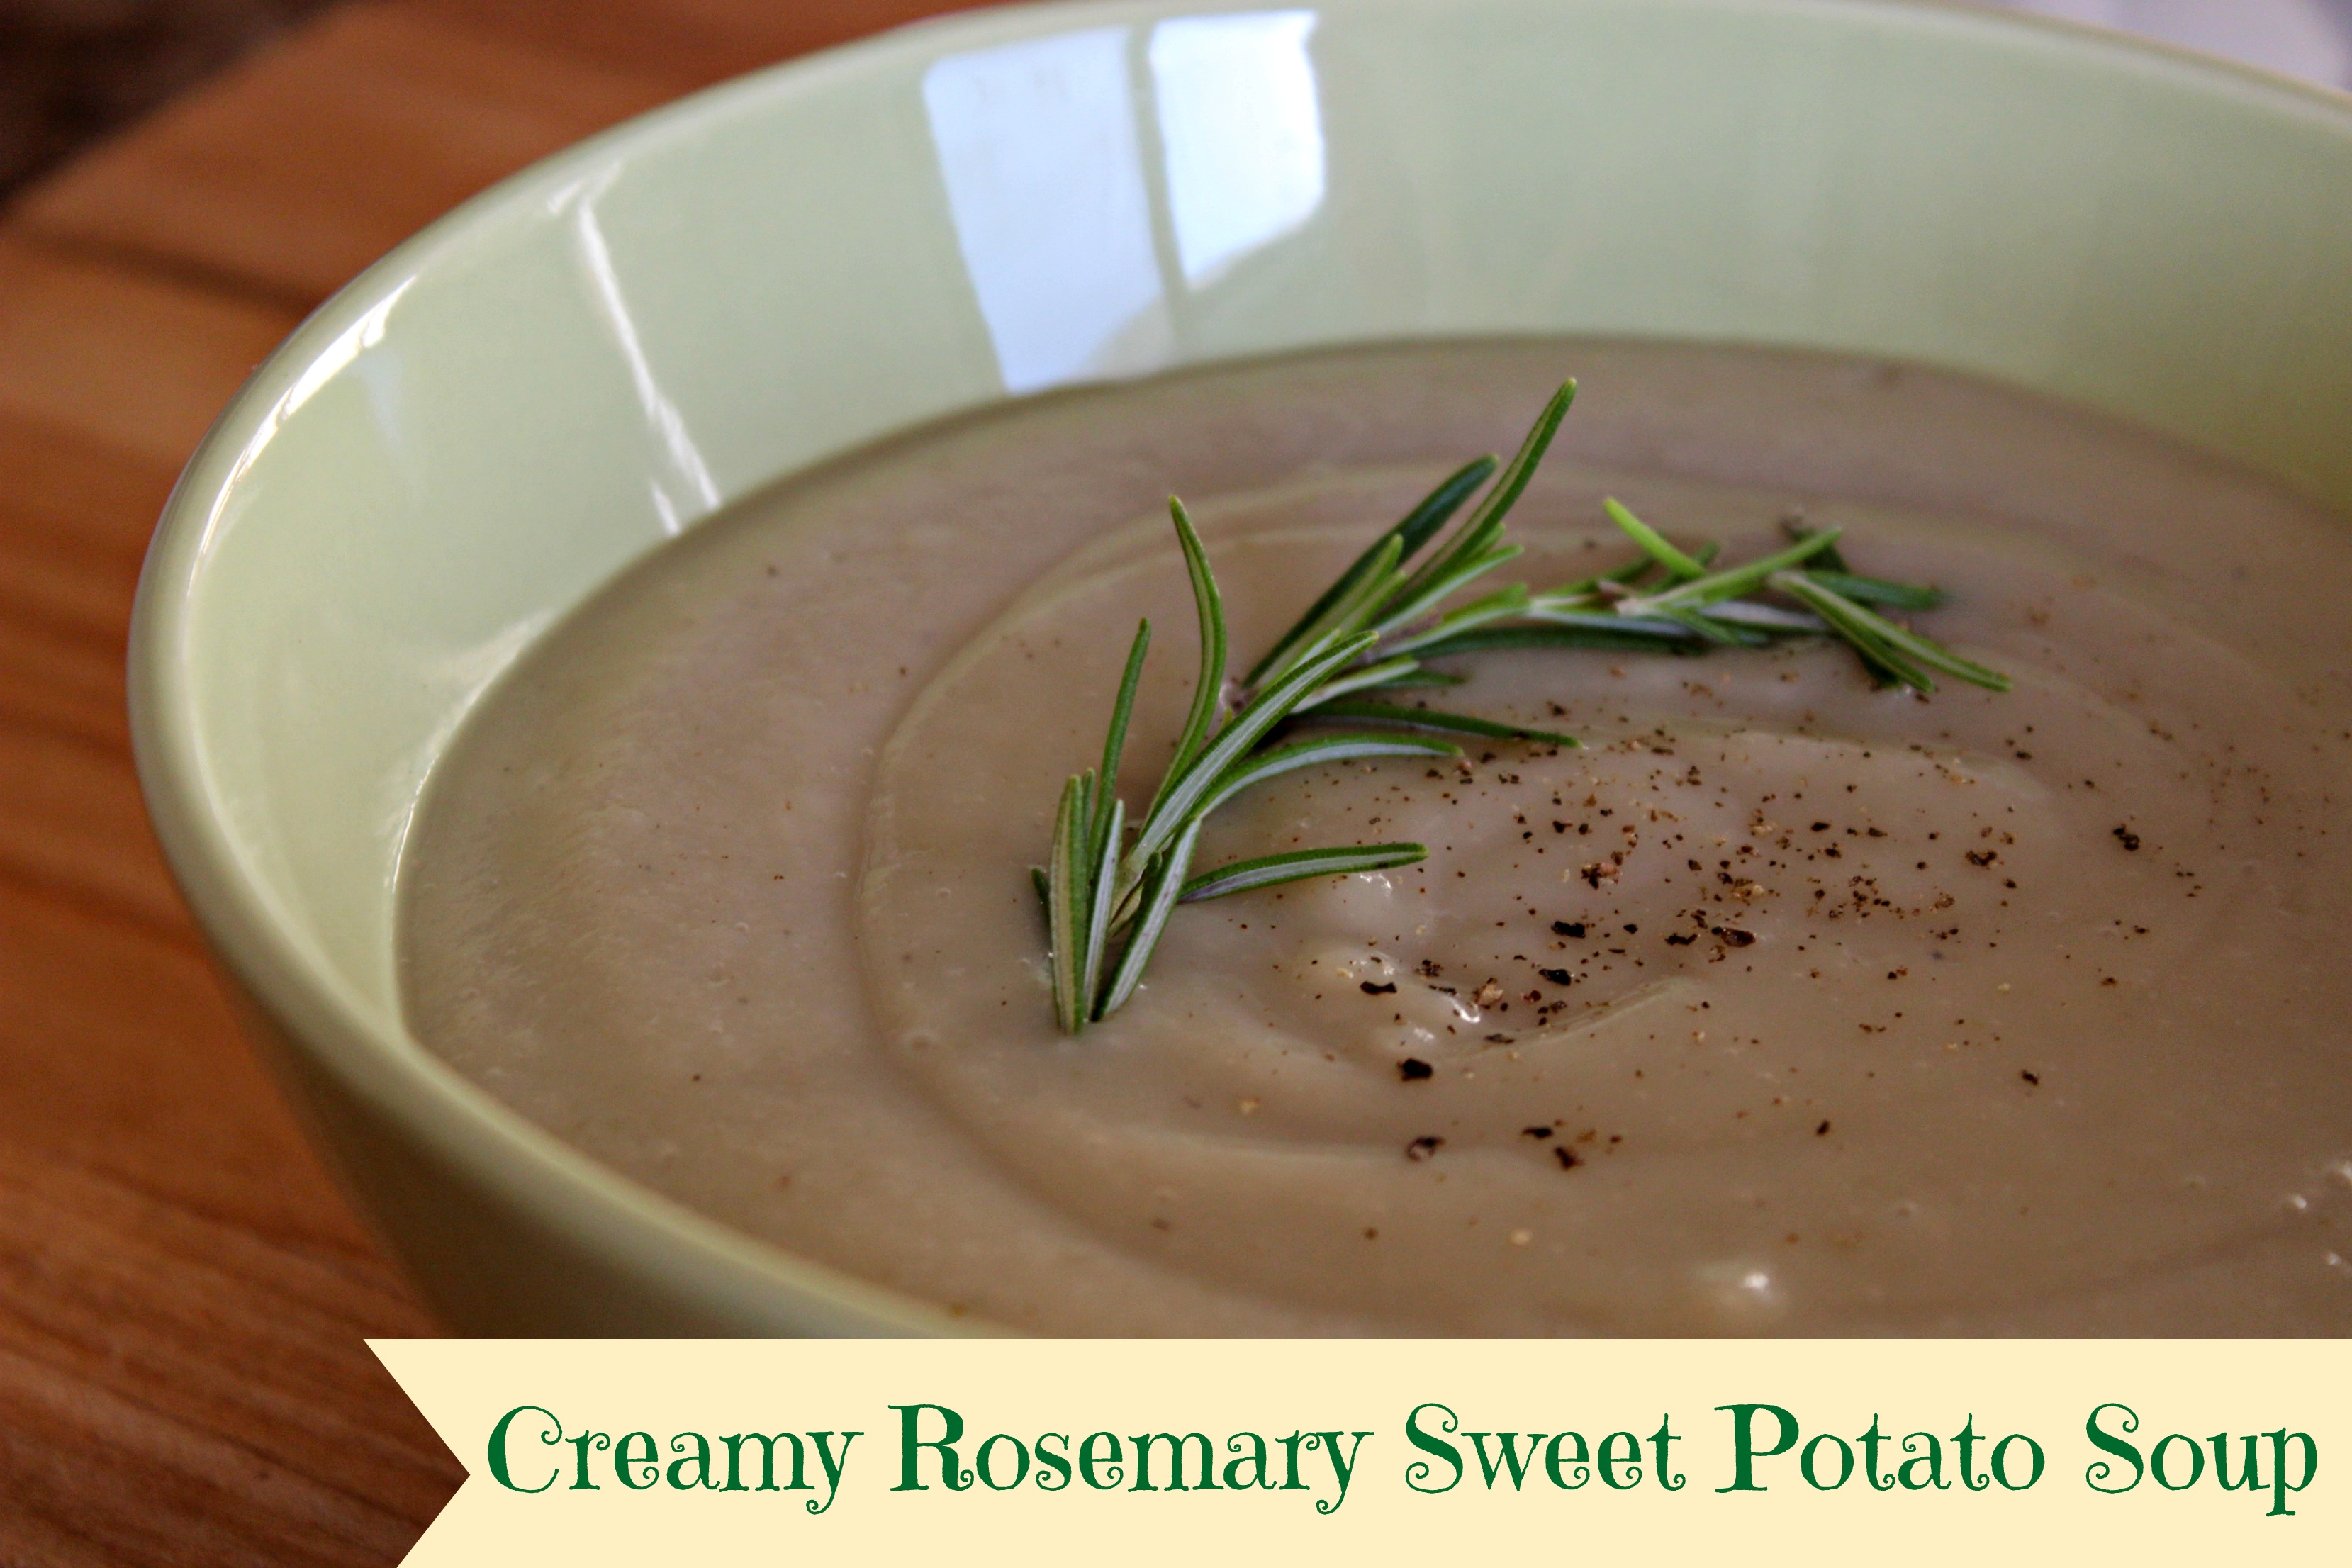
Creamy Rosemary Sweet Potato Soup {Dairy-Free, Paleo, Vegan}

Creamy foods are comforting and satisfying.

Since removing dairy products from my diet, I’ve had to get more creative about ways to recreate the silky texture that dairy provides.

soup

One of the best ways to do that is using cauliflower, one of the GBOMBS vegetables (AKA some of the best foods we can eat!).

These roasted garlic cauliflower mashed “potatoes” and this creamy caulifredo sauce are some of my favorite ways to use cauliflower to create creaminess!

IMG_6721

Because winter feels like it is never going to end here on the East Coast, I’ve been in hibernation mode and have been really into soups lately. I thought I would try blending cauliflower in with a soup to make it creamy and delicious without the downsides of dairy, so that’s what brings us to this recipe!

This soup is simple to make and uses basic ingredients that are easy to find at any grocery store or farmer’s market.

We used Japanese sweet potatoes, which is why the soup is white instead of orange, but any sweet potato will work.

Give it a try, and let me know what you think! 🙂

IMG_8875Soupbanner soupIMG_8876soup2

Ingredients

Directions

  1. In an 8-quart stockpot, melt the coconut oil over medium-high heat.
  2. Saute onion, garlic and a 1/2 teaspoon sea salt and cook until soft, about 4 to 5 minutes.
  3. Add the sweet potatoes, rosemary, and vegetable stock and bring to a boil.
  4. Once boiling, add the cauliflower and cover the pot with a lid. Reduce the heat to a simmer until the vegetables are very tender, about 20 to 25 minutes.
  5. Turn off the heat and stir in the remaining 1/2 teaspoon sea salt and black pepper. Using an immersion blender or regular blender*, blend until very smooth.
  6. Return soup to pot and whisk in the maple syrup. Add more sea salt and pepper, to taste.
  7. Keep the soup warm over low heat until ready to serve. Top with fresh cracked black pepper and a few lightly toasted pumpkin seeds, if you’d like!

*NoteIf using a blender, vent it either by removing the lid’s pop-out center or by lifting one edge of the lid as you blend. Drape the blender jar with a kitchen towel. Blend the soup in batches, filling the jar about 1/3-1/2 for each batch.

How I Healed 10 Years of Heartburn & Reflux Naturally

It’s been almost two years since I filled my last prescription after taking a pill daily for almost a decade.

I was first diagnosed my sophomore year of college.

I had chronic acid reflux (more commonly known as heartburn or indigestion) and swallowed a pill daily to quiet my symptoms.

I was terrified to eat anything without taking my pill for fear of unbearable burning sensations in my chest or bloating and sharp pains in my stomach.

But what was the medicine actually doing to my body?

Why did I have reflux in the first place?

protonix

I kept my last filled prescription for Protonix, even though I never used it, as a reminder to myself of what I’ve done to heal my body

For years I didn’t think about it and didn’t ask.

Sure, I was “compliant” and took my medicine every day (sometimes twice a day), but I wasn’t getting better, and I hated that I depended on a pill to eat.

Over time, I learned that the medicine I was taking wasn’t helping me heal. All it was doing was masking my symptoms and keeping them quiet, so I could eat what I wanted and not change anything else.

It was actually harming me.

Lab testing over the past 18 months revealed that I had nearly a dozen nutrient deficiencies, including some pivotal to energy, immunity, and anxiety, like magnesium, Vitamin B12 and Vitamin D.

This, in spite of that fact that I was eating lots of plants and avoiding stuff like fried food, fast food, and processed and packaged food.

So, what was happening?

I learned that suppressing my stomach acid by taking pills was actually preventing me from fully breaking down food and absorbing nutrients.

The body needs adequate stomach acid to break down food, so nutrients can be absorbed.

My body wasn’t doing that properly, as I had shut off its natural ability to produce adequate acid by taking acid blockers every day.

IMG_7778

Despite the fact that my grandparents, aunts and uncles and mom had reflux, I didn’t think it had to be my genetic destiny. I believed something could be done.

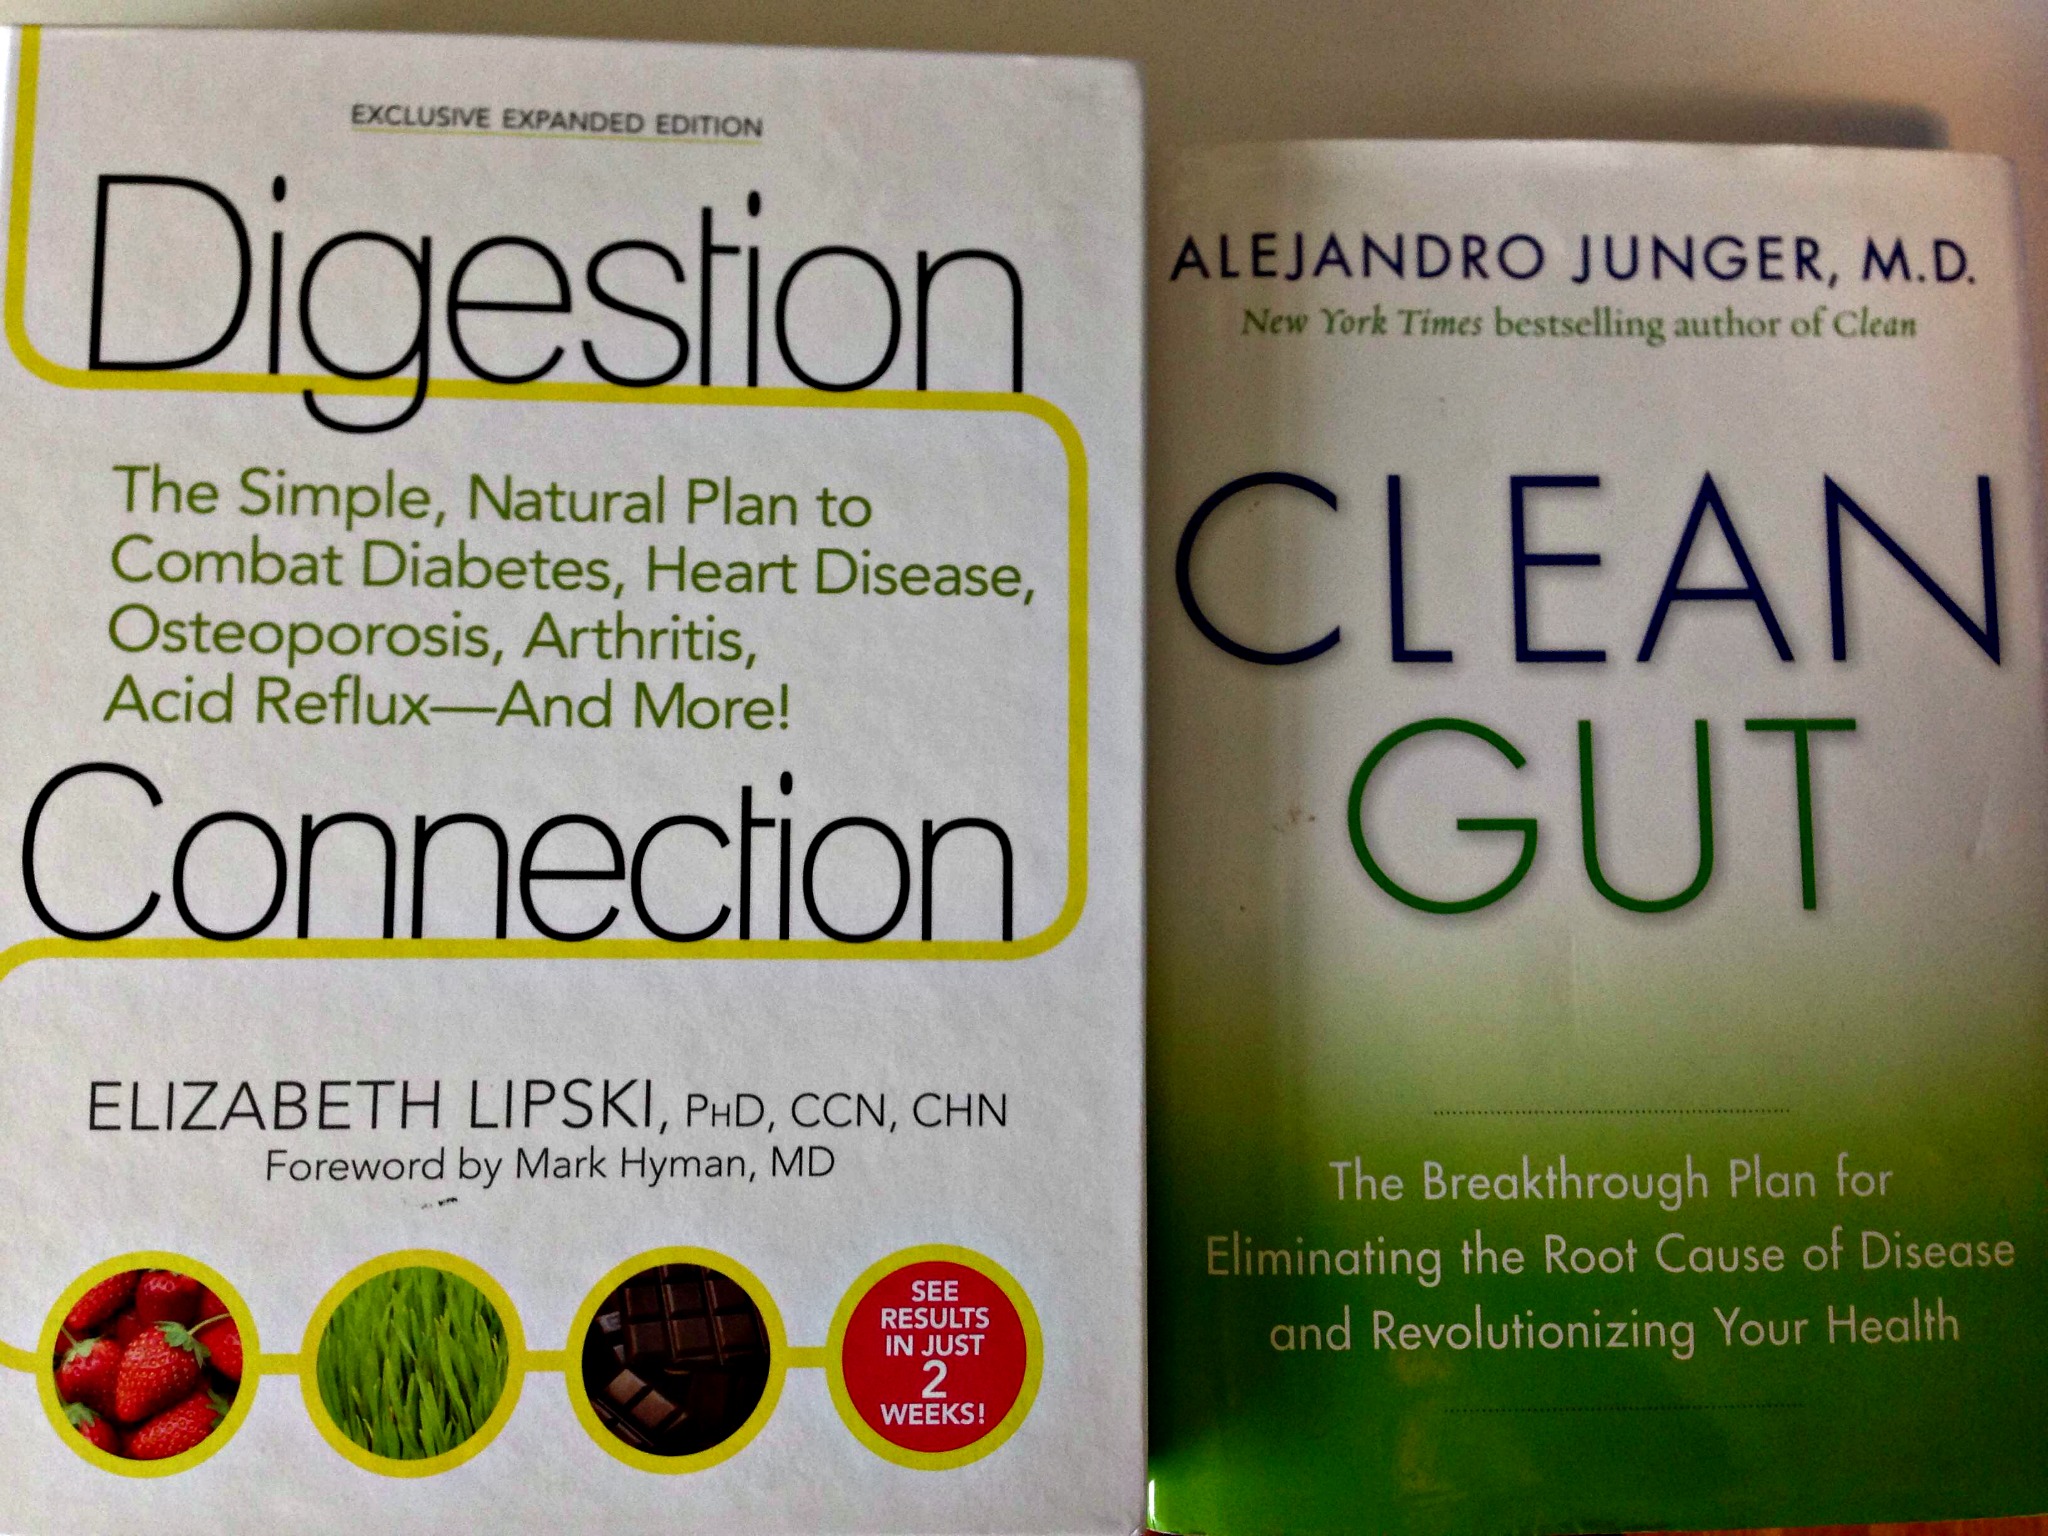
I knew I didn’t want to be medicated forever, so I read several books (like the two below) and dozens of articles on the topic of healing reflux naturally and learned through experts in my health coaching program that there was another way.

My nutritionist also helped me get to the bottom of the issues I was having, and I am forever grateful to her for that!
books

I started making some changes and am happy to report I have been COMPLETELY OFF of my acid blocking medicine for almost two full years! 🙂

Below are the eight steps that work for me.

Disclaimer: I am not a medical doctor, and this information is not intended to diagnose, treat or cure any health condition. Rather it’s a reflection of what I have learned on my journey to heal my body. Never stop taking medication without consulting your doctor, as there can be negative side effects to doing so. If you have concerns about a particular health concern, including gastroesophageal reflux disease (GERD), I highly recommend seeing a health care provider who understands that there are and is open to trying alternative approaches to treating (and even reversing) reflux. I’ve shared my full list of links and recommended providers here but have also embedded links below:

1) Chew Your Food & SLOW Down

This might seem simple, but most of us don’t do it! Enzymes in our mouth help us start the digestive process. If we inhale our food, we bypass that step, which makes our stomach work harder to break down our food.

2) Drink Water BEFORE Not During Meals

When we drink liquid during a meal, we can dilute our stomach acid and fill up our stomachs too much, which can put pressure on the LES (lower esophageal sphincter). The LES is the muscle that prevents food from going back up our esophagus. Drinking room temperature water 10-15 minutes before a meal and only sipping water or warm tea as needed (if at all) during a meal has helped me. When we chew our food thoroughly, we don’t need as much liquid to “wash it down.”

3) Eliminate Trigger Foods.

For me and many other people, those foods were dairy and gluten. For others it’s things like coffee or fried food. Cheese, ice cream, milk, cream, yogurt, milkshakes triggered my symptoms the most. Every time I ate them, I felt like something was coming back up. This is not normal. I was embarrassed to talk about it because it was “gross.” Now, I know better, and I’ve found healthier ways to make (and enjoy!) those foods without dairy.

Gluten (the sticky “glue-like” protein in wheat, barley and rye) disrupts the healthy bacteria balance in our gut and can trigger inflammation and digestive irritation, like reflux. Cutting out gluten was key to reducing bloating, gas, and other symptoms that tended to come along with digestive conditions like reflux.

*Every recipe on this blog is dairy-free AND gluten-free, including dairy-free smoothies like this one…*

IMG_6864

4) Repopulate My “Gut” with Probiotics

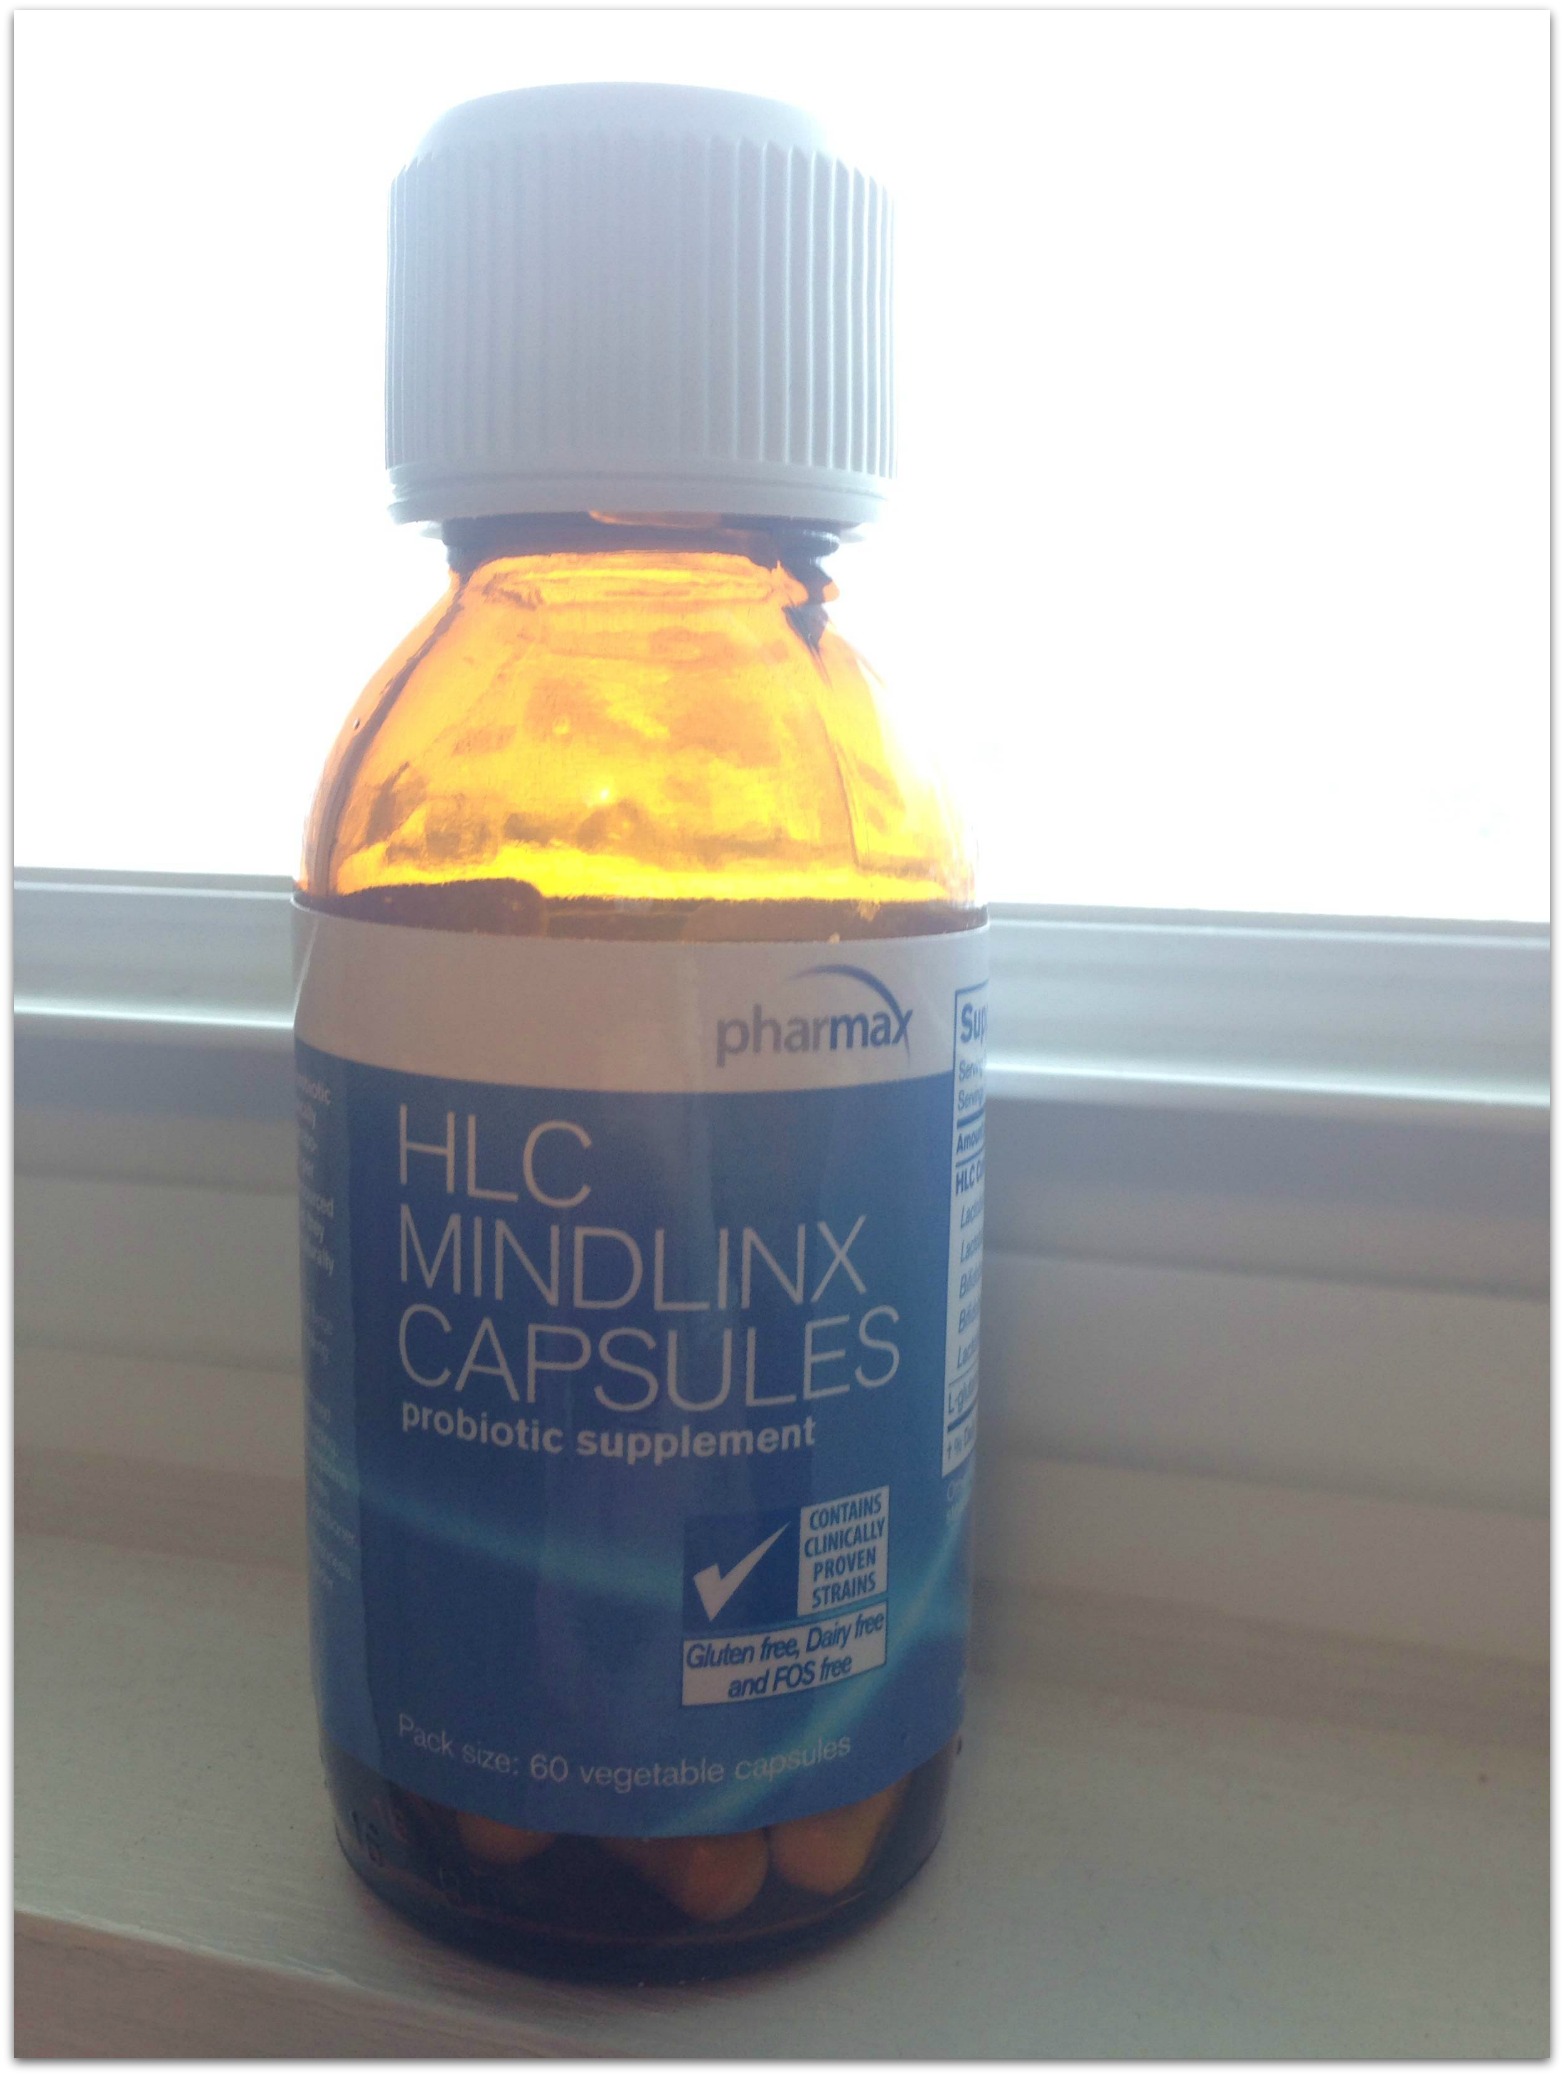
The healthy bacteria in our digestive system (AKA our “gut”) need to be fed the right stuff to keep our body healthy and our digestion smooth. This is especially true for those of us who have taken countless rounds of antibiotics (yup!) and therefore repeatedly wiped out all of the bacteria in our gut – both the good guys and the bad guys.

Taking a probiotic daily helps me. I take one through my nutritionist that is specifically designed for people with sensitivities to gluten and dairy.
mindlinxx

5) Relax with Magnesium

Magnesium plays a key role in relaxing our muscles, including the ones in our digestive tract that can act up and send food and acid in the wrong direction. I was deficient in magnesium and started supplementing with it through my nutritionist, and it helped me tremendously. I would encourage anyone facing the same issues I was to add magnesium citrate powder to your diet so it helped me a lot.

6) Protect with Licorice Root

Adding soothing foods like licorice in the form of teas and tablets help to coat my stomach and protect it before and between meals. DGL tablets are one option for this and can work wonders.

This is the primary way my MOM was able to stop taking Nexium after being on it for about 12 years! My mom was taking Nexium for years because her friend had recommended it to her but she recently found out that one of the Side Effects of the drug is a 20-50% increased risk of developing fatal kidney disease. This obviously got alarm bells ringing so she knew she had to find a way to get off the medication. She and my dad both switched from their traditional doctor – who told them they were his “best patients” even though my mom still took daily reflux meds – to Dr. Bill Rollow. He helped my mom safely wean off of Nexium (this is SO important) and transition to a natural way, and she is now Nexium-free! She swears by these DGL tablets and takes one 15-20 minutes before each meal.
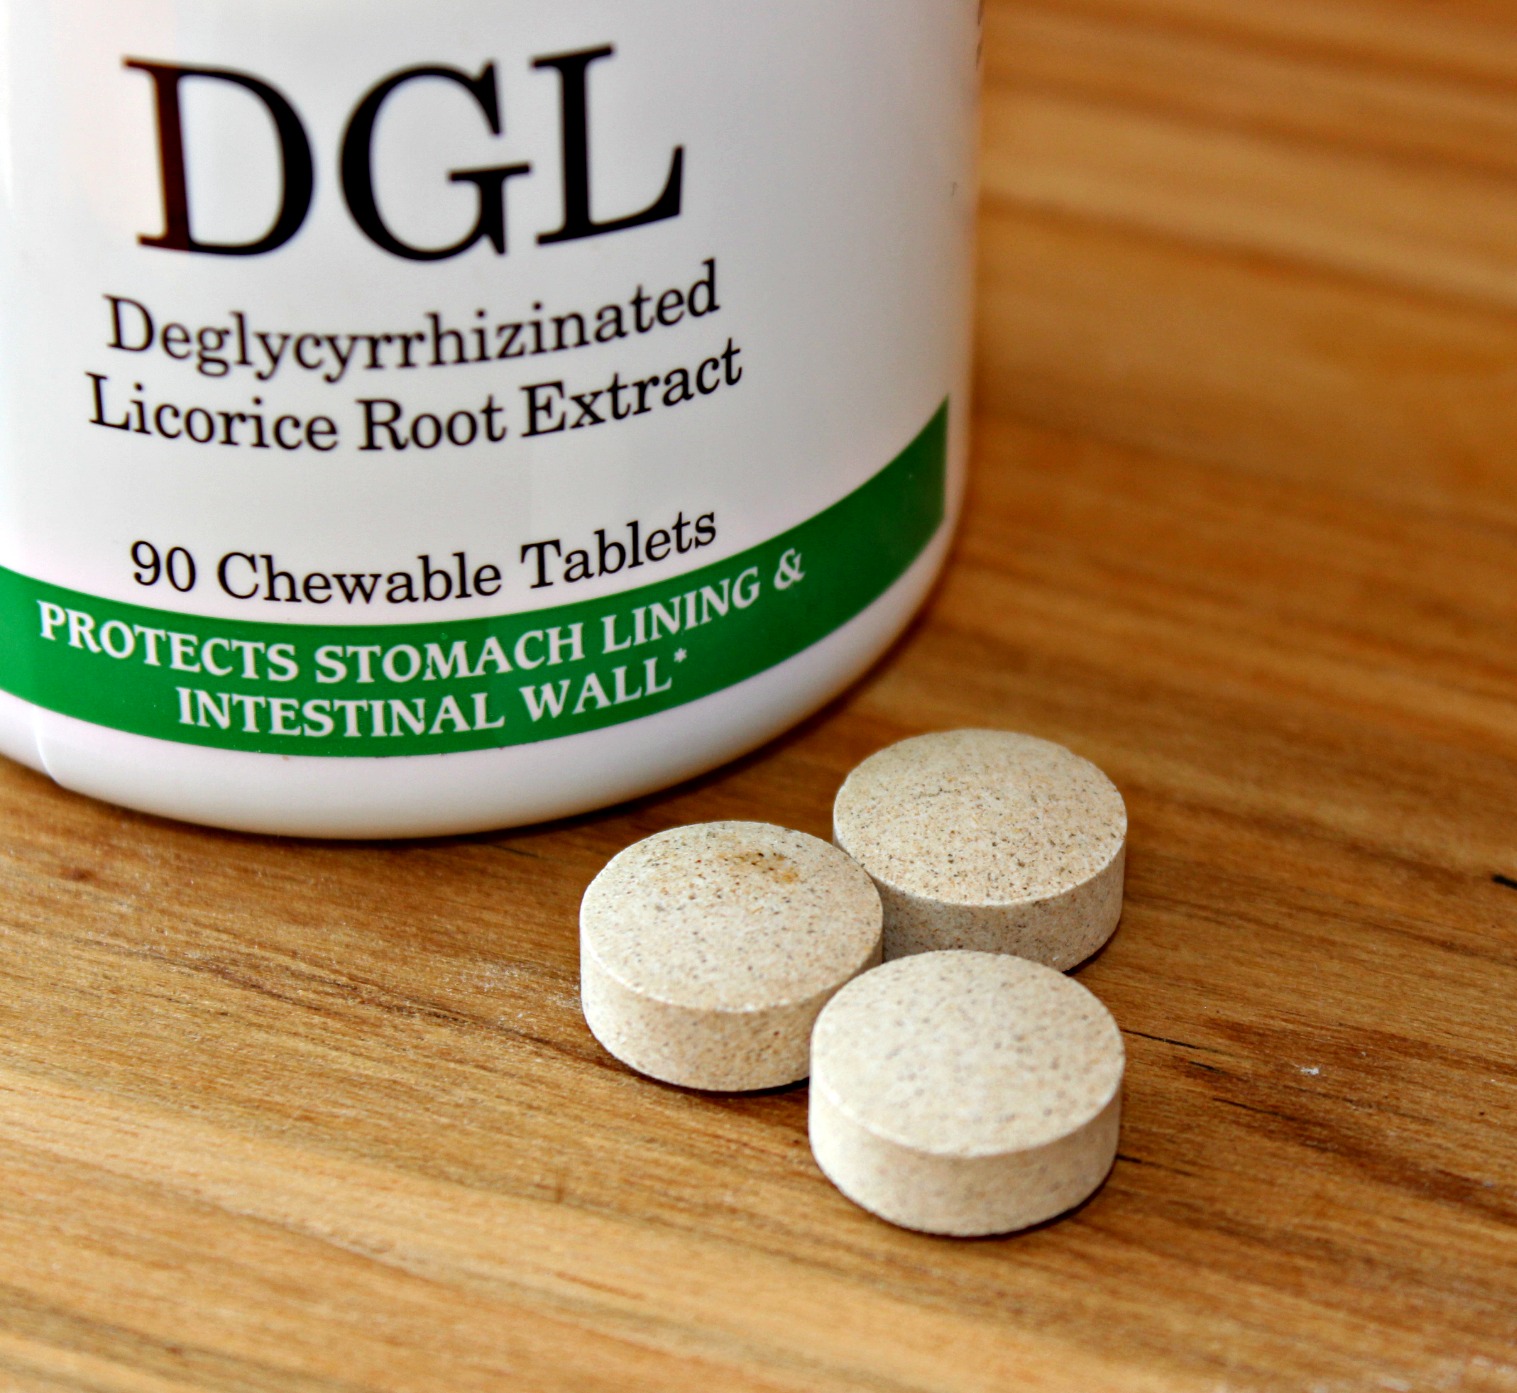
DGL

7) Add in hydrochloric acid (HCl)**

(See important note about this below!). It turns out some people suffering from reflux have LOW stomach acid, not too much. Totally counterintuitive, right?? That was the case for me, especially after years of suppressing normal acid levels with daily medication. My nutritionist put me on a regimen of taking hydrochloric acid tablets (betaine HCl) with meals containing protein to get my stomach acid levels back up. This helped my body break down food into a form it could use to nourish and heal me and helped minimize symptoms like burping and bloating, which can be indicative of low acid. I make sure to avoid these 4 mistakes when taking HCl and have been closely supervised by my nutritionist throughout the process.

**IMPORTANT NOTE: SOME people with reflux symptoms have stomach ulcers, hernias and other bacterial infections, so it is CRUCIAL that you see a doctor for a proper diagnosis and not self-prescribe things like betaine HCl. I’m just sharing my story and what worked for me. A trained functional medicine doctor will be able to talk more in-depth about this option with you to determine if it’s the right path of treatment for your body.

8) Soothe with Aloe

Sometimes if I overeat or otherwise do something to upset my stomach, I like to have something on hand to “put out the fire.” For me, Aloe Force does that. Dozens of people have shared their testimonials about how this product has healed their digestive issues, including reflux. I’m not compensated by them in any way for saying this – I’ve just used their product and liked the results. It doesn’t taste all that great, but you can mix it in with water to dilute it.
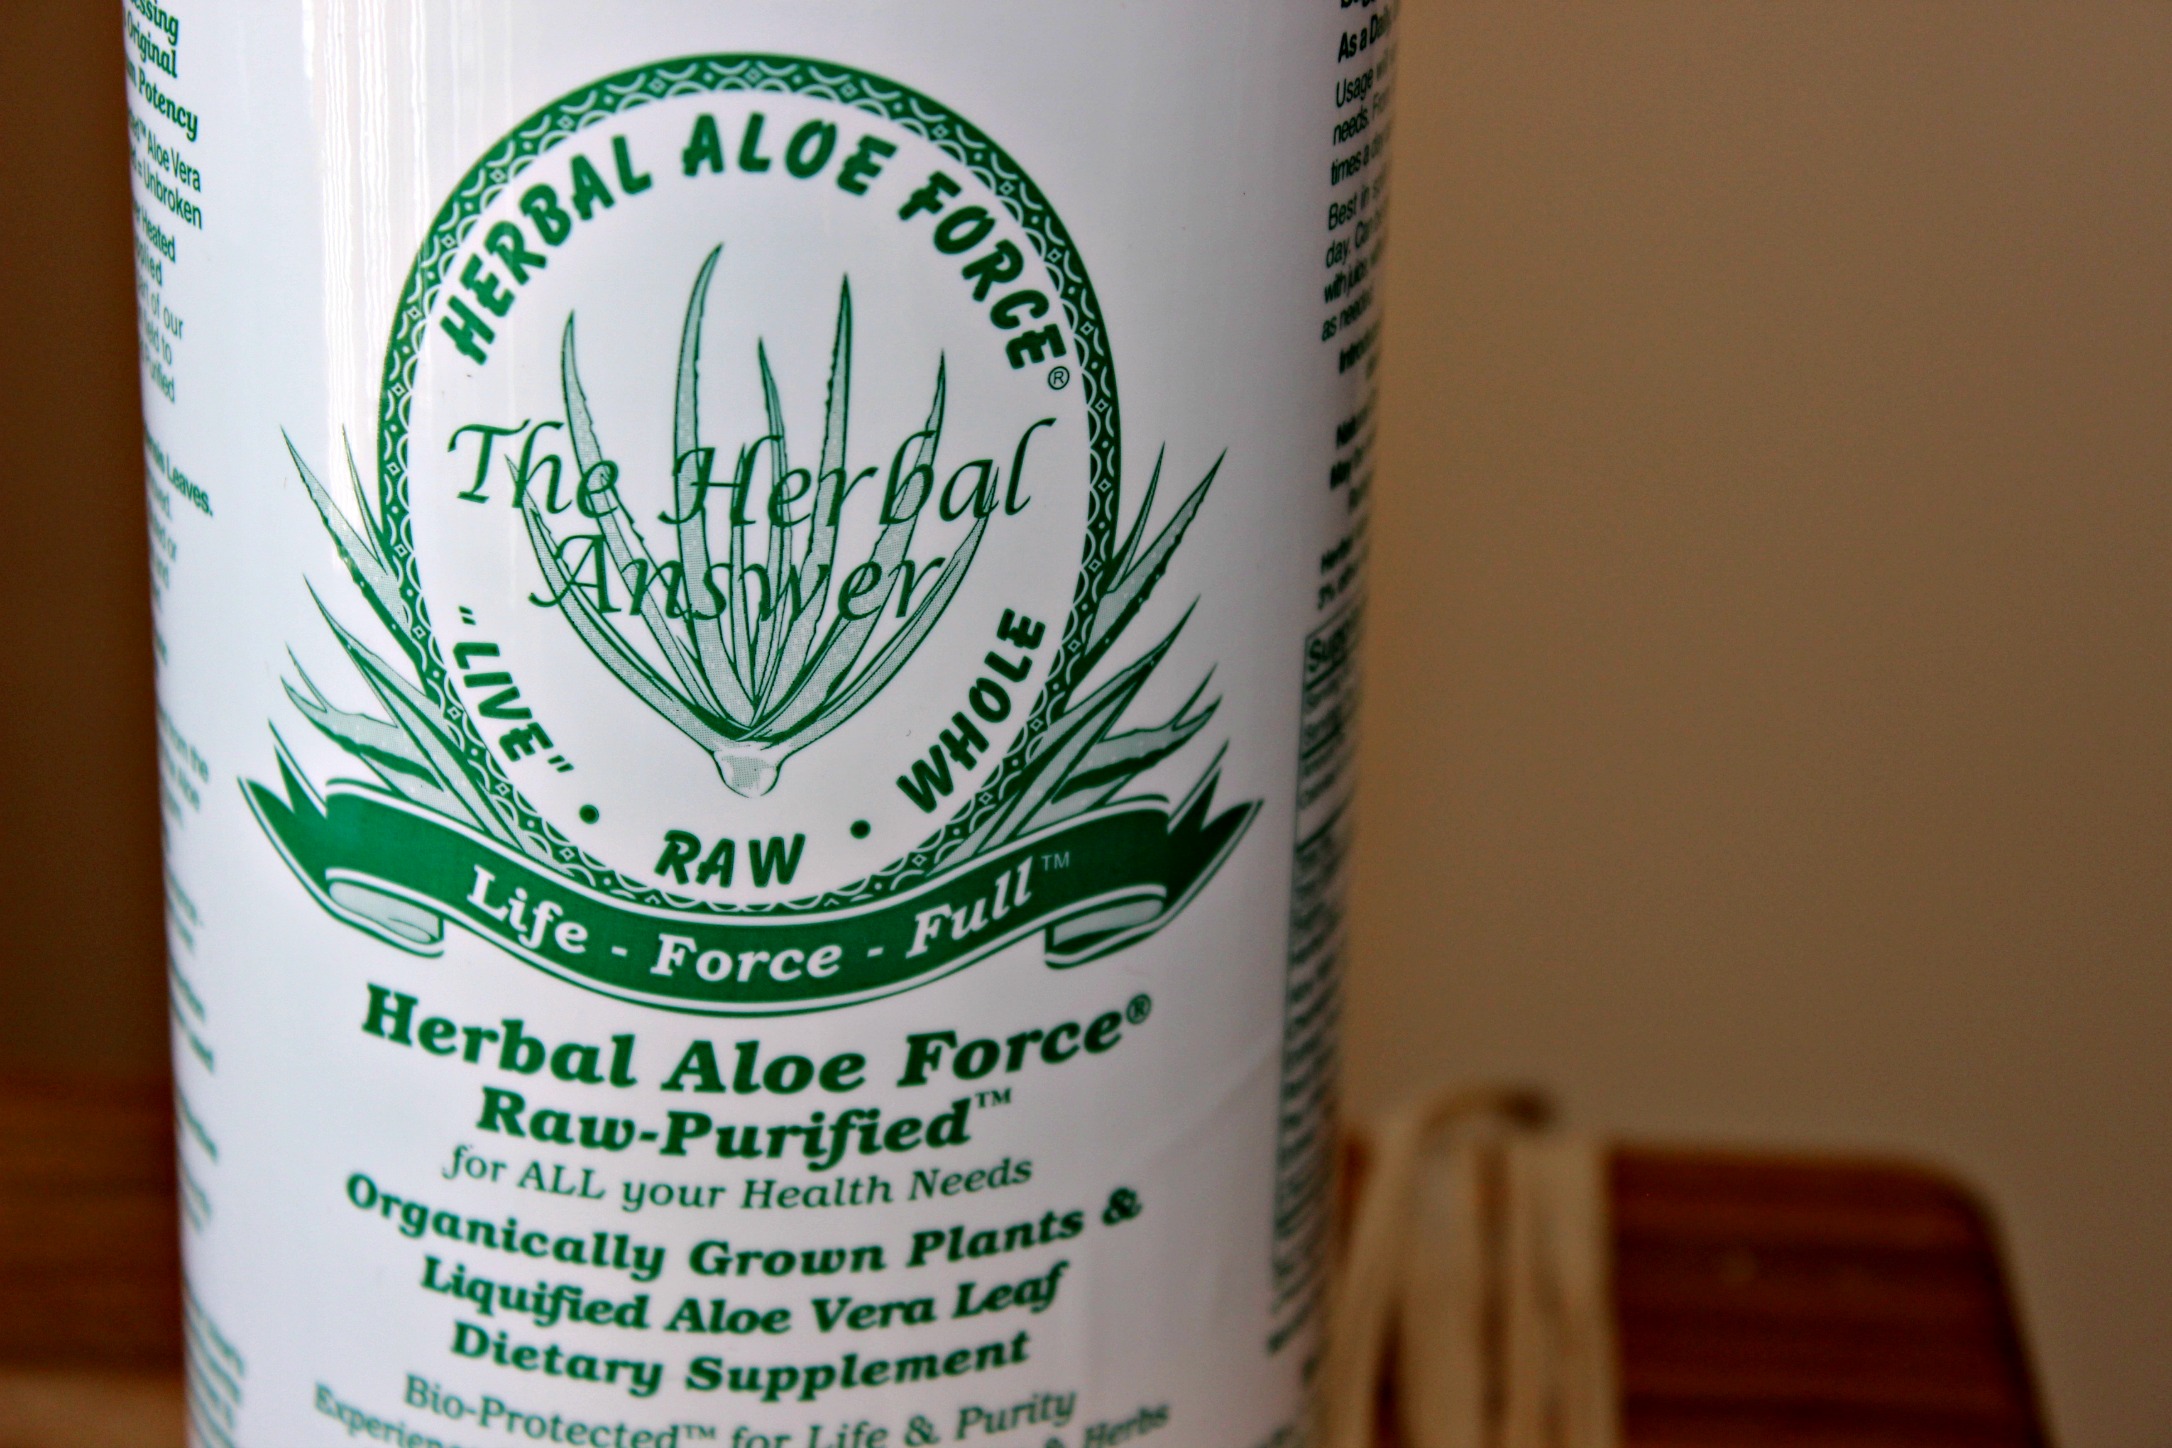
aloe

The quality of aloe is important, so not just any aloe (there are a lot on the market) will work. The most important thing my nutritionist told me about taking aloe is to avoid the ingredient “aloin” which can have a laxative effective and be damaging to the digestive tract. Aloe Force’s aloe does not contain aloin. I called the company to ask. I buy Aloe Force at MOMs Organic Market.

——————————————————————————————————————————

Here are my top 3 resources for healing reflux naturally, including my favorite books, websites and local healthcare providers who ROCK! 🙂

PLEASE share this information with anyone you know who suffers from GERD, reflux, heartburn, etc. It may help them find relief from years of pain and discomfort!

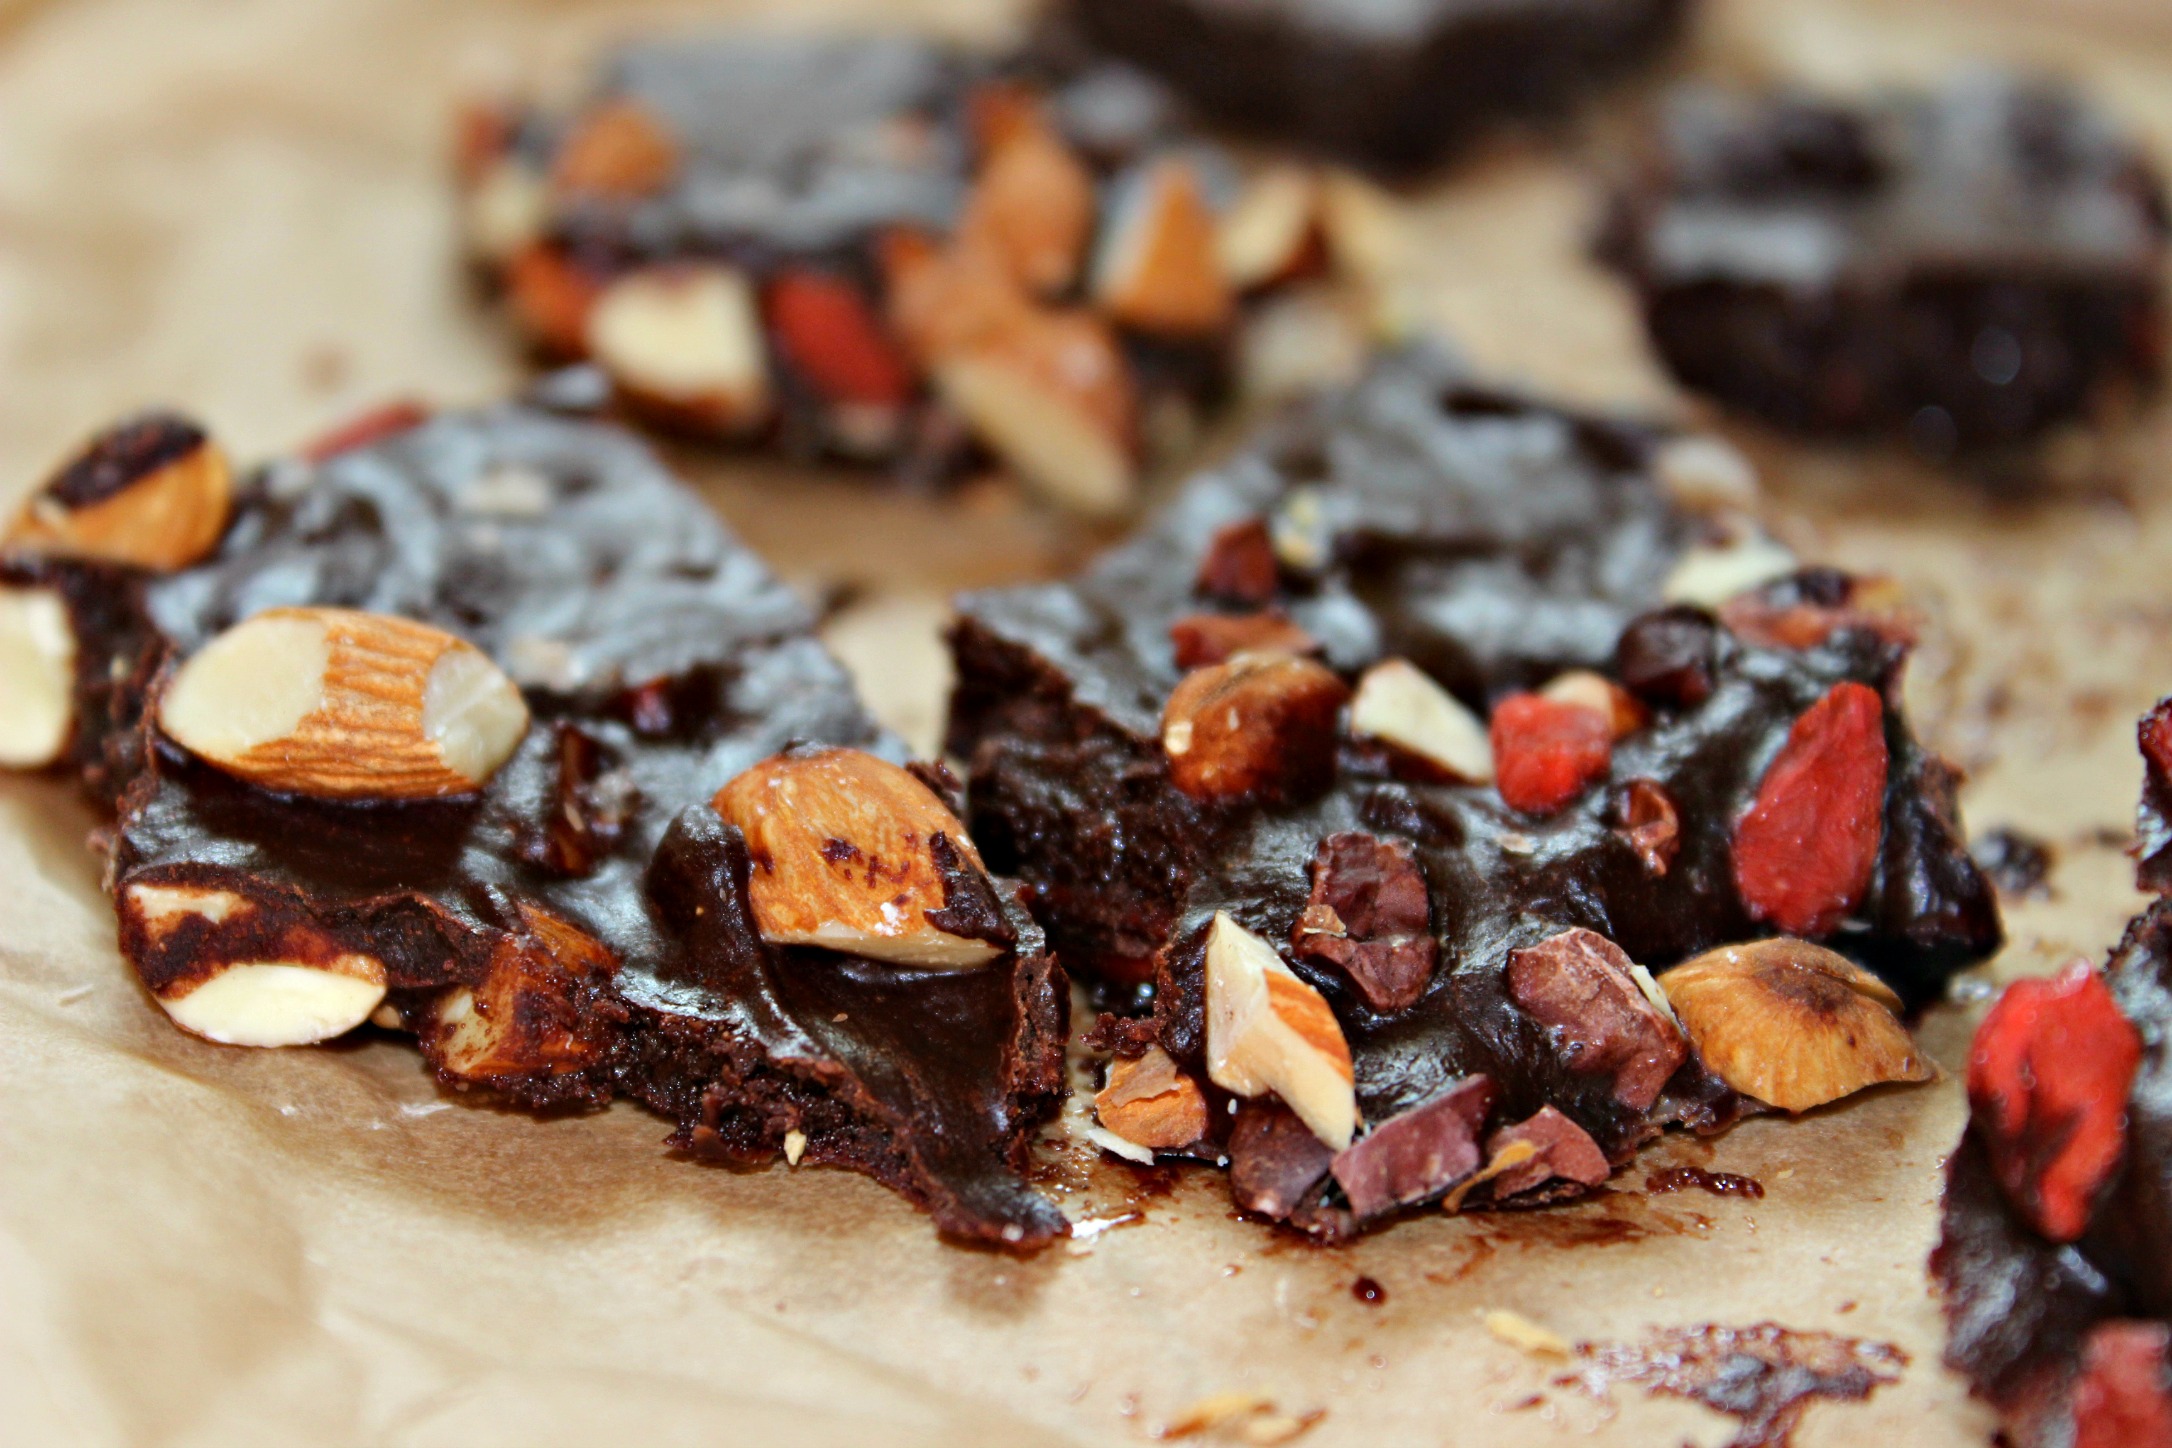
Sweet & Salty Super Food Chocolate Bark {Dairy-Free, Paleo}

Chocolate.

bark2

It’s one of the foods we think we “can’t have” when we eat in a way most people would consider healthy.

Fortunately, chocolate is one of the foods that absolutely can (and should!) be part of a nourishing, satisfying way of eating.

When it comes to chocolate, quality matters.

Raw cacao beans and powder (pronounced ka-KOW) have more antioxidants than any other food. Raw cacao isn’t treated by heat (and therefore damaged) like the more familiar cocoa powder, so its supercharged, health-boosting, disease-fighting antioxidant properties remain intact.

When we hear about the health benefits of chocolate, this is the kind we’re talking about.

bark3

Here are just a few more of the health benefits of raw cacao:

This bark recipe is truly a super food recipe because it contains TWO types of chocolate – cacao powder and cacao nibs.

Raw cacao nibs come from the whole cacao beans, so they are a bit bitter but have a nice crunch to them. They work well in this recipe because the sweetness of the bark offsets the bitterness.

I served it last week at a luncheon at work and this past weekend at a women’s retreat where I did a presentation about taking a “Real Food Reset.” It was so much fun!

gfc

I also used almonds, which are rich in heart healthy monounsaturated fats, and provide an additional crunch factor.

In another variation of the recipe, I used pumpkin seeds instead of almonds. Both were delicious!

bark aerial

There’s one more ingredient in this bark that might not be so familiar – goji berries – but don’t let that deter you!

Goji berries, also known as wolfberries, are considered a superfood because of their high antioxidant concentration (when you hear “antioxidant,” think anti-aging, protective and pro-health!). Some of their antioxidant compounds can help protect our vision, too.

They tend to be a bit pricy, but a bag lasts me for several months, so I find that it’s worth it. I buy them on Amazon or at our local Asian grocery store (cheapest place to buy!), Vitacost.com, Wegmans, Whole Foods, Home Goods and most natural food stores.

barkmain

pumpkinseedbark1

Ingredients

  • 1/2 cup coconut oil
  • 1/4 cup coconut nectar, raw honey or 100% pure maple syrup
  • 1 1/2 teaspoons vanilla extract
  • 1/3 cup raw cacao powder
  • 2 teaspoons maca powder (optional but recommended)
  • 2 tablespoons almonds or pumpkin seeds, lightly toasted and roughly chopped
  • 2 tablespoons goji berries
  • 2 tablespoons raw cacao nibs
  • 1/4 cup dried cherries or cranberries, roughly chopped
  • coarse sea salt, to taste

bark2

Directions

  1. Line a 9 x 13 baking dish with parchment paper. Spread nuts/seeds, goji berries, and cacao nibs evenly on the sheet.
  2. Fill a small saucepan with 1-2 inches of water and place it on the stove top. Rest a small glass bowl on top and turn the heat to medium low. Put the oil and sweetener in the glass bowl and whisk together until the oil melts.
  3. Once oil and sweetener are combined, gently whisk in the vanilla extract, raw cacao powder, and maca powder until silky smooth. **Be careful not to overmix or the chocolate will get clumpy.** That’s what happened to us the first time we made this!chocolate melting
  4. As soon as chocolate is smooth and shiny, pour it on top of the nuts/seeds, berries/fruit and nibs to cover them. Shake the sides of the parchment paper, so all of the nuts/berries/nibs collect in the middle and are covered with chocolate then use a spatula to spread it out in an even layer.
  5. Sprinkle a couple pinches of sea salt on top of the chocolate.
  6. Set in the freezer to harden for about 30 minutes.
  7. Remove bark from parchment paper, break into pieces and enjoy! Store in the freezer or refrigerator, as coconut oil begins to melt as it warms up to room temperature.

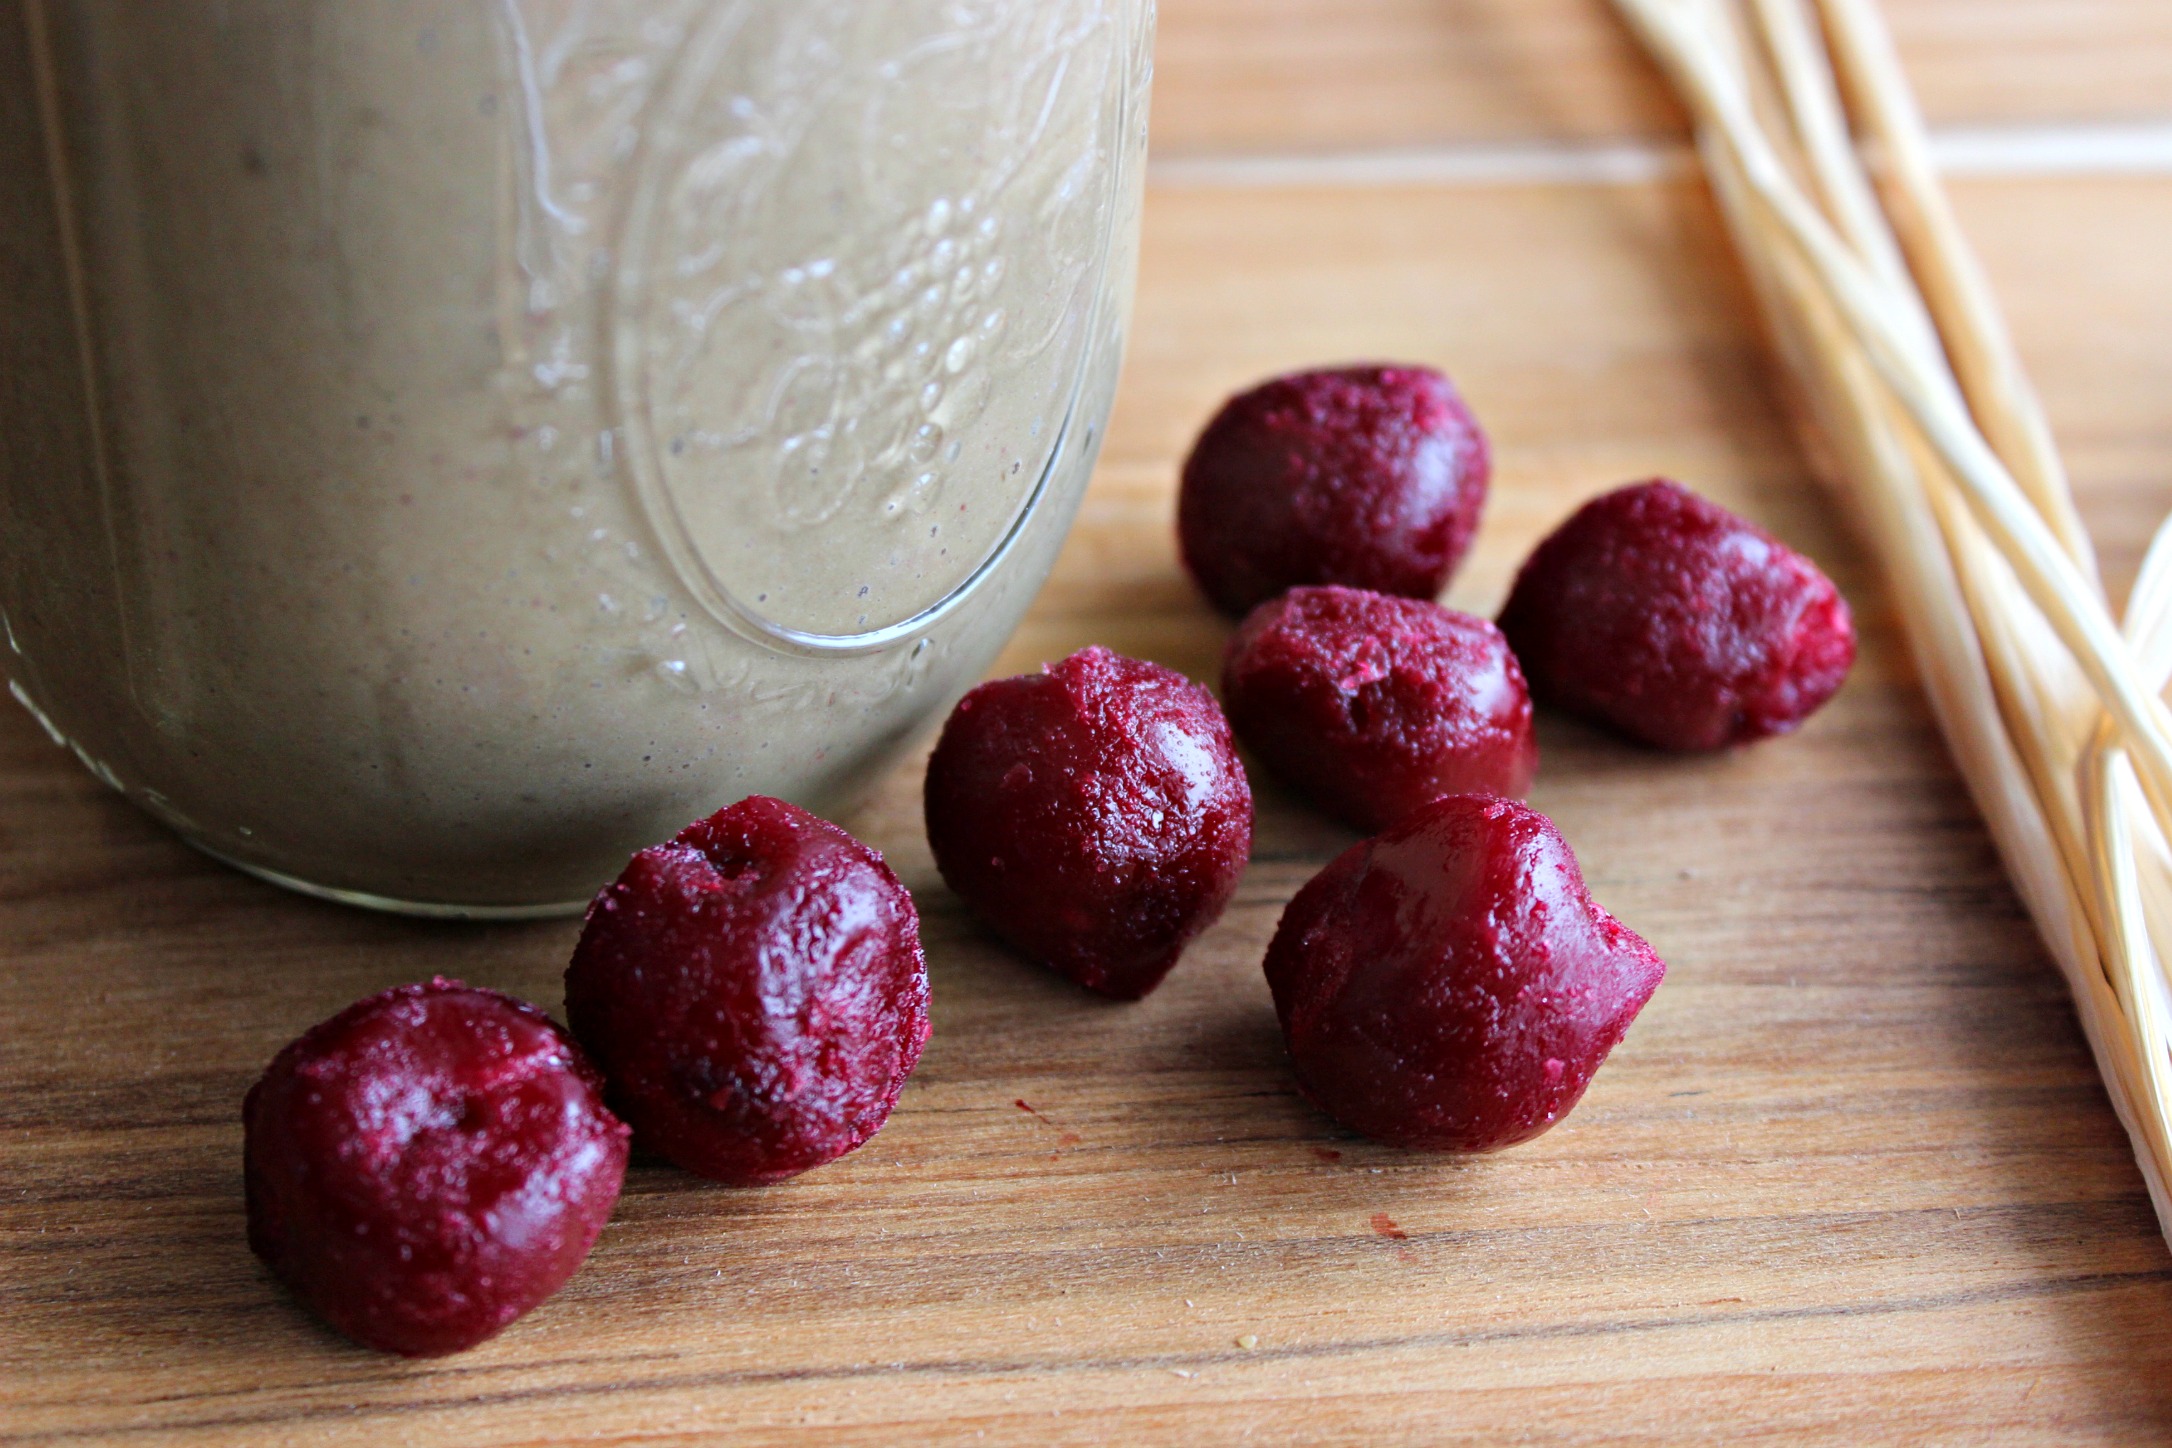
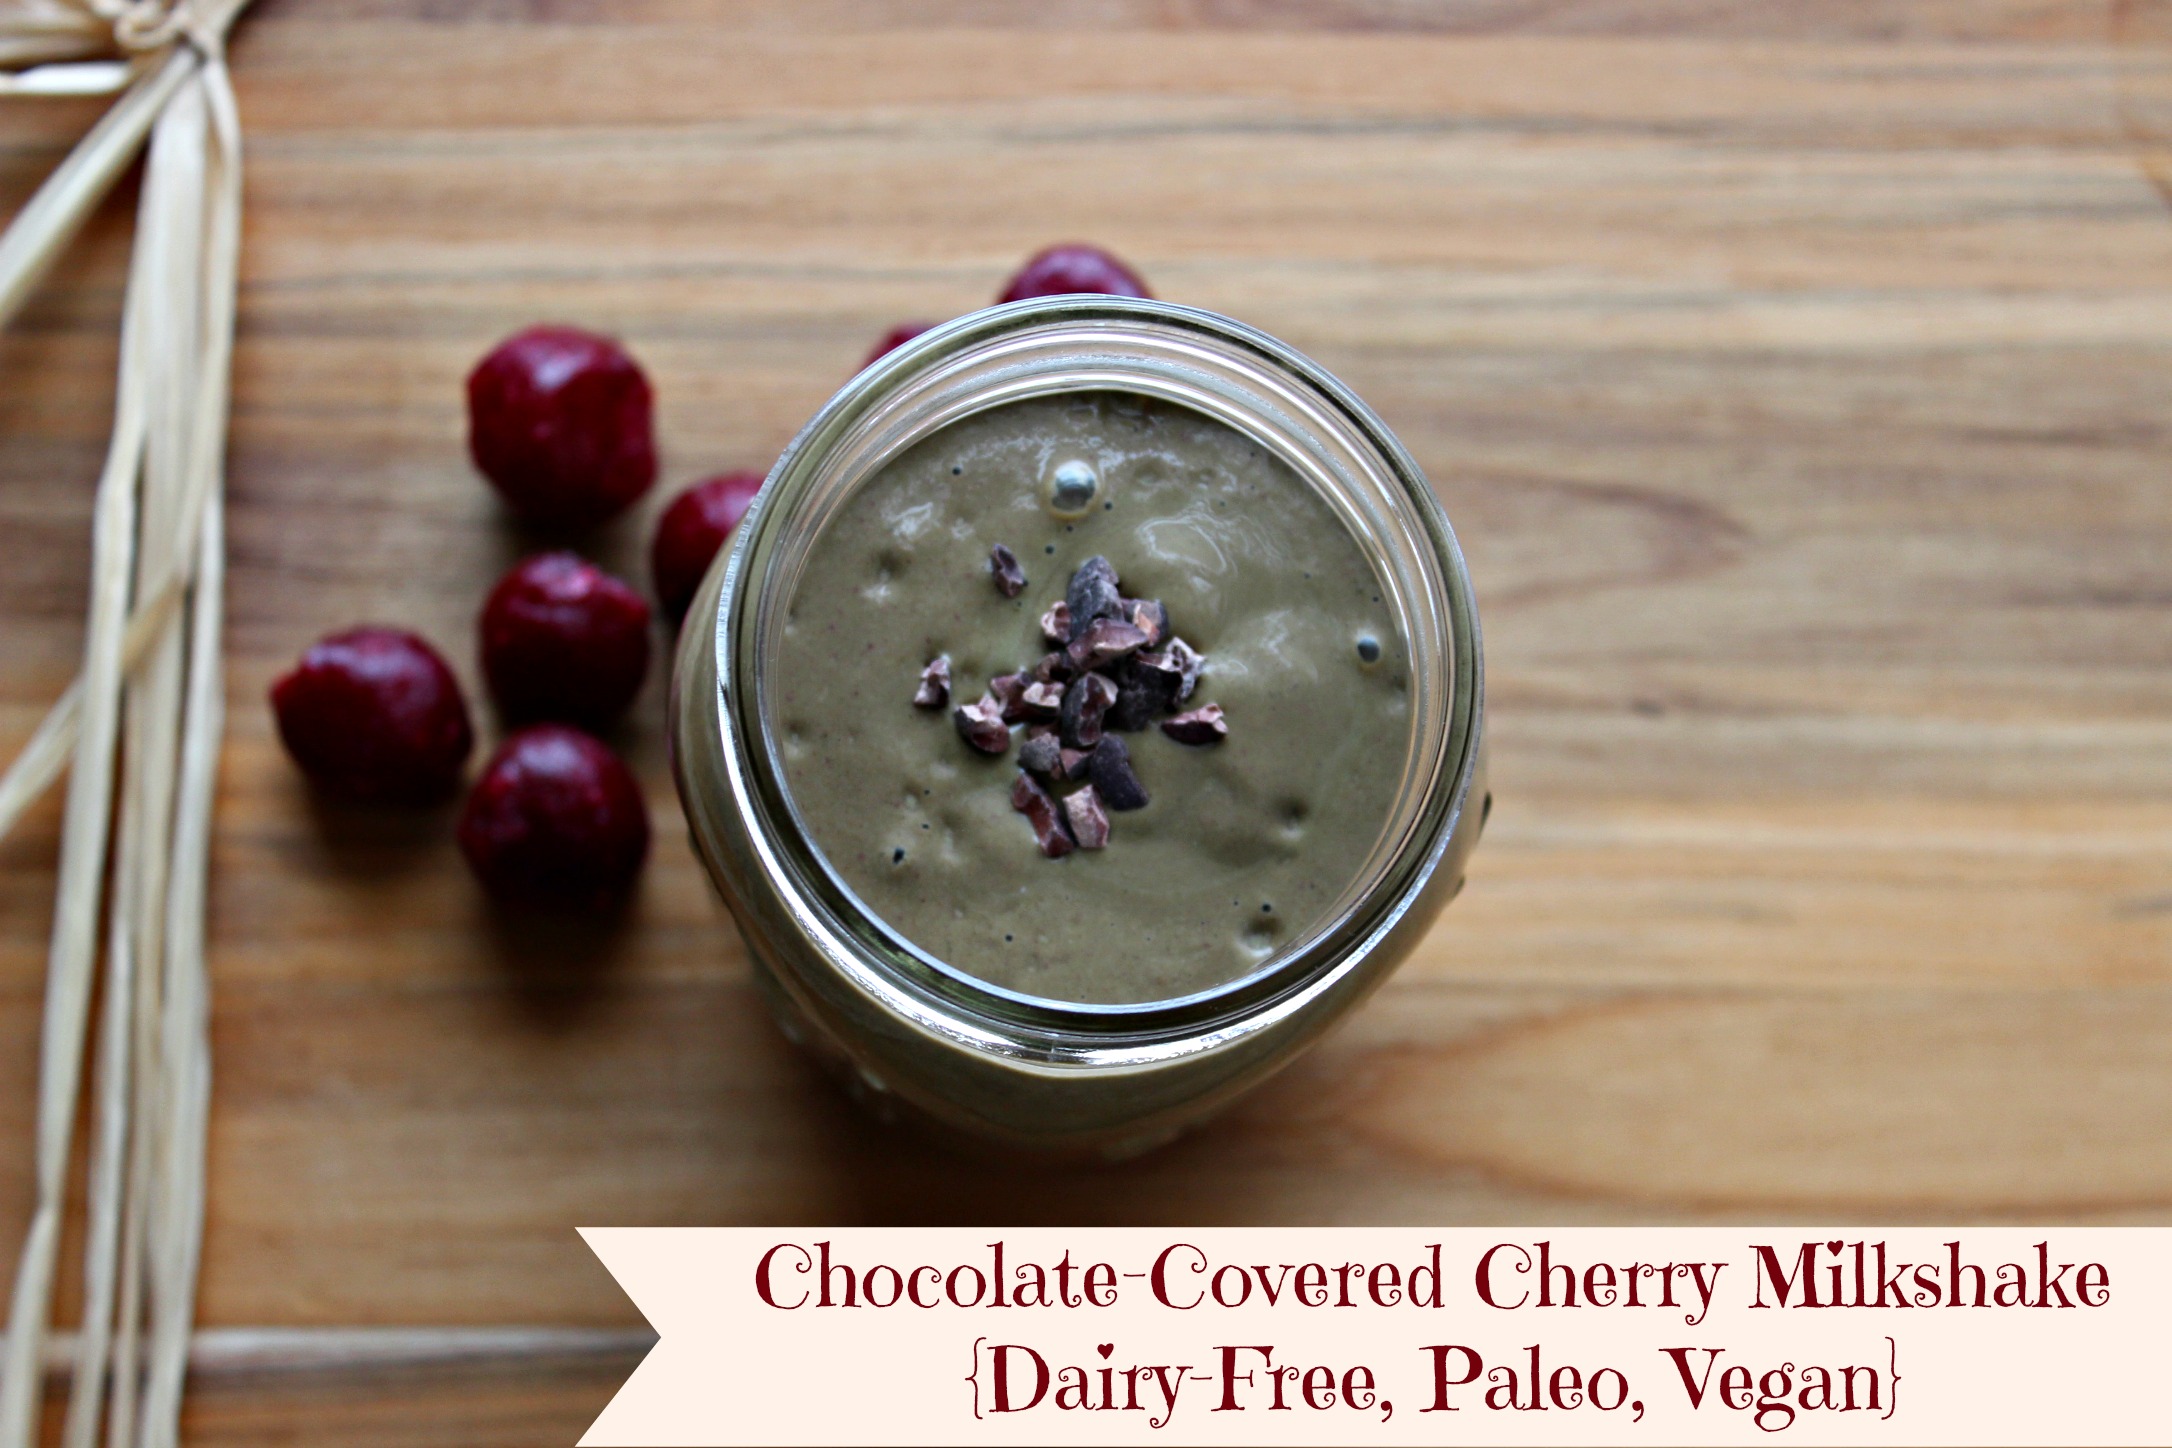
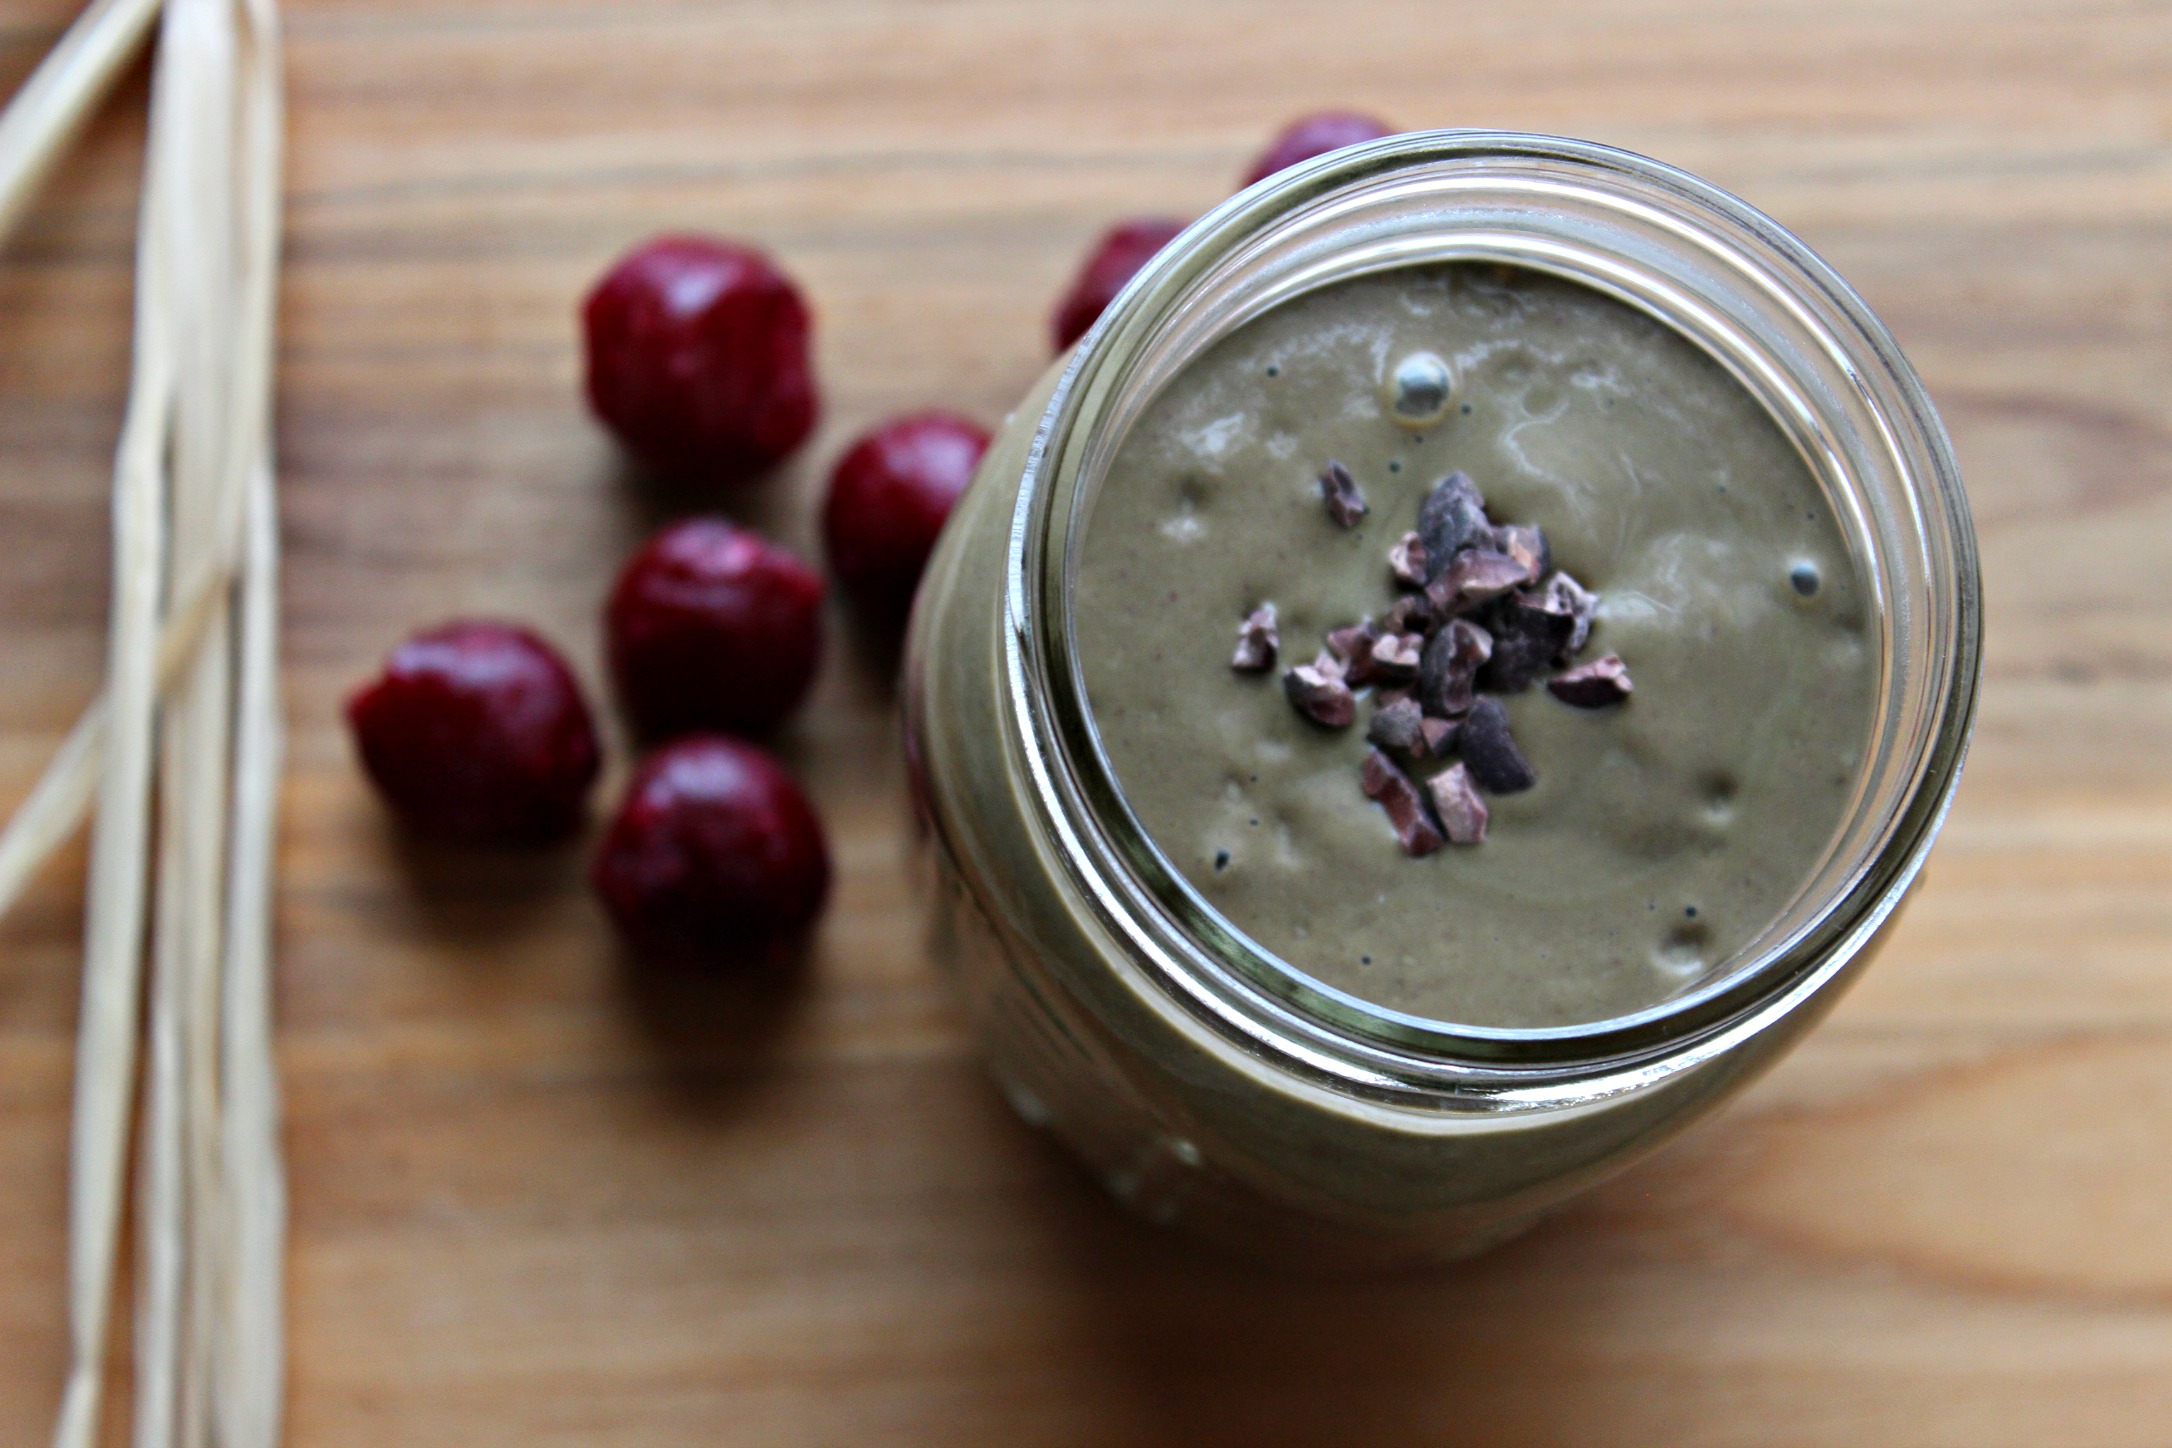
Chocolate-Covered Cherry Smoothie {Dairy-Free, Paleo, Vegan}

You guys…THIS IS AMAZING!

Seriously, it’s so good! It tastes like a decadent dessert, but you can have it for breakfast.

I couldn’t decide whether to call it a smoothie or a milkshake, so I opted for “smoothie shake.” 🙂

I was inspired to make this recipe after making a cherry chocolate pudding and thought I would try to make a drinkable version. It’s one of the tastiest things I’ve made and is now Bill’s “go to” smoothie in the morning.

What I like the most about smoothies (or, in this case, milkshakes!) is how easily you can pack lots of energy, immune and beauty-boosting nutrients into ONE glass.

This one is loaded with anti-inflammatory and beautifying foods like hemp seeds, cacao powder, avocado and spinach.

But cherries are the star. They’re a fruit that we’re all familiar with but don’t hear too much about healthwise. Check out all of the health-boosting benefits of cherries below.

cherries

Why I love cherries:

Check out this link from Dr. Mercola or this one from Dr. Joel Fuhrman to learn about even more of the health benefits of these power-packed fruits 🙂

Not only is this smoothie shake fueling and nourishing, it’s also rich, creamy, chocolatey and silky smooth. You have to try it!

choco cherry 1Cherrychocshake1

Ingredients

  • 2 cups baby spinach, loosely packed (this has the LEAST flavor of any greens)
  • 1 Medjool date, pit removed
  • 1/4 avocado
  • 2 tablespoons hemp seeds (my go to protein source for smoothies!)
  • 1 tablespoon raw cacao powder
  • 1/4 teaspoon almond extract (optional but amazing)
  • 3/4 cup frozen cherries (BJs Wholesale club now sells bags of organic frozen cherries)
  • 1 – 1 1/2 cups unsweetened almond milk (check out my video for how to make your own)
  • Pinch fine grain sea salt
  • Optional: sprinkle some cacao nibs on top for a chocolatey crunch!

Directions

Put all ingredients in a blender in the order listed above and blend for about a minute or until smooth and creamy.

**If you don’t have a high-speed blender like a Vitamix, Blendtec or Ninja, blend the liquid and spinach FIRST and then add the other ingredients 🙂

5-Minute Basil Walnut Pesto Sauce & Cucumber Bites {Paleo, Vegan, Dairy-Free}

If you are looking for ideas for a healthy New Year’s Eve appetizer recipe, look no further! After I shared this dish at a friend’s Christmas party and everyone devoured it, one of my friends there asked me for the recipe so she could make it for her family’s Christmas dinner. This is tried, tested, and approved 🙂 And you can whip it up in 5 minutes!

—————————————————————————————————————-

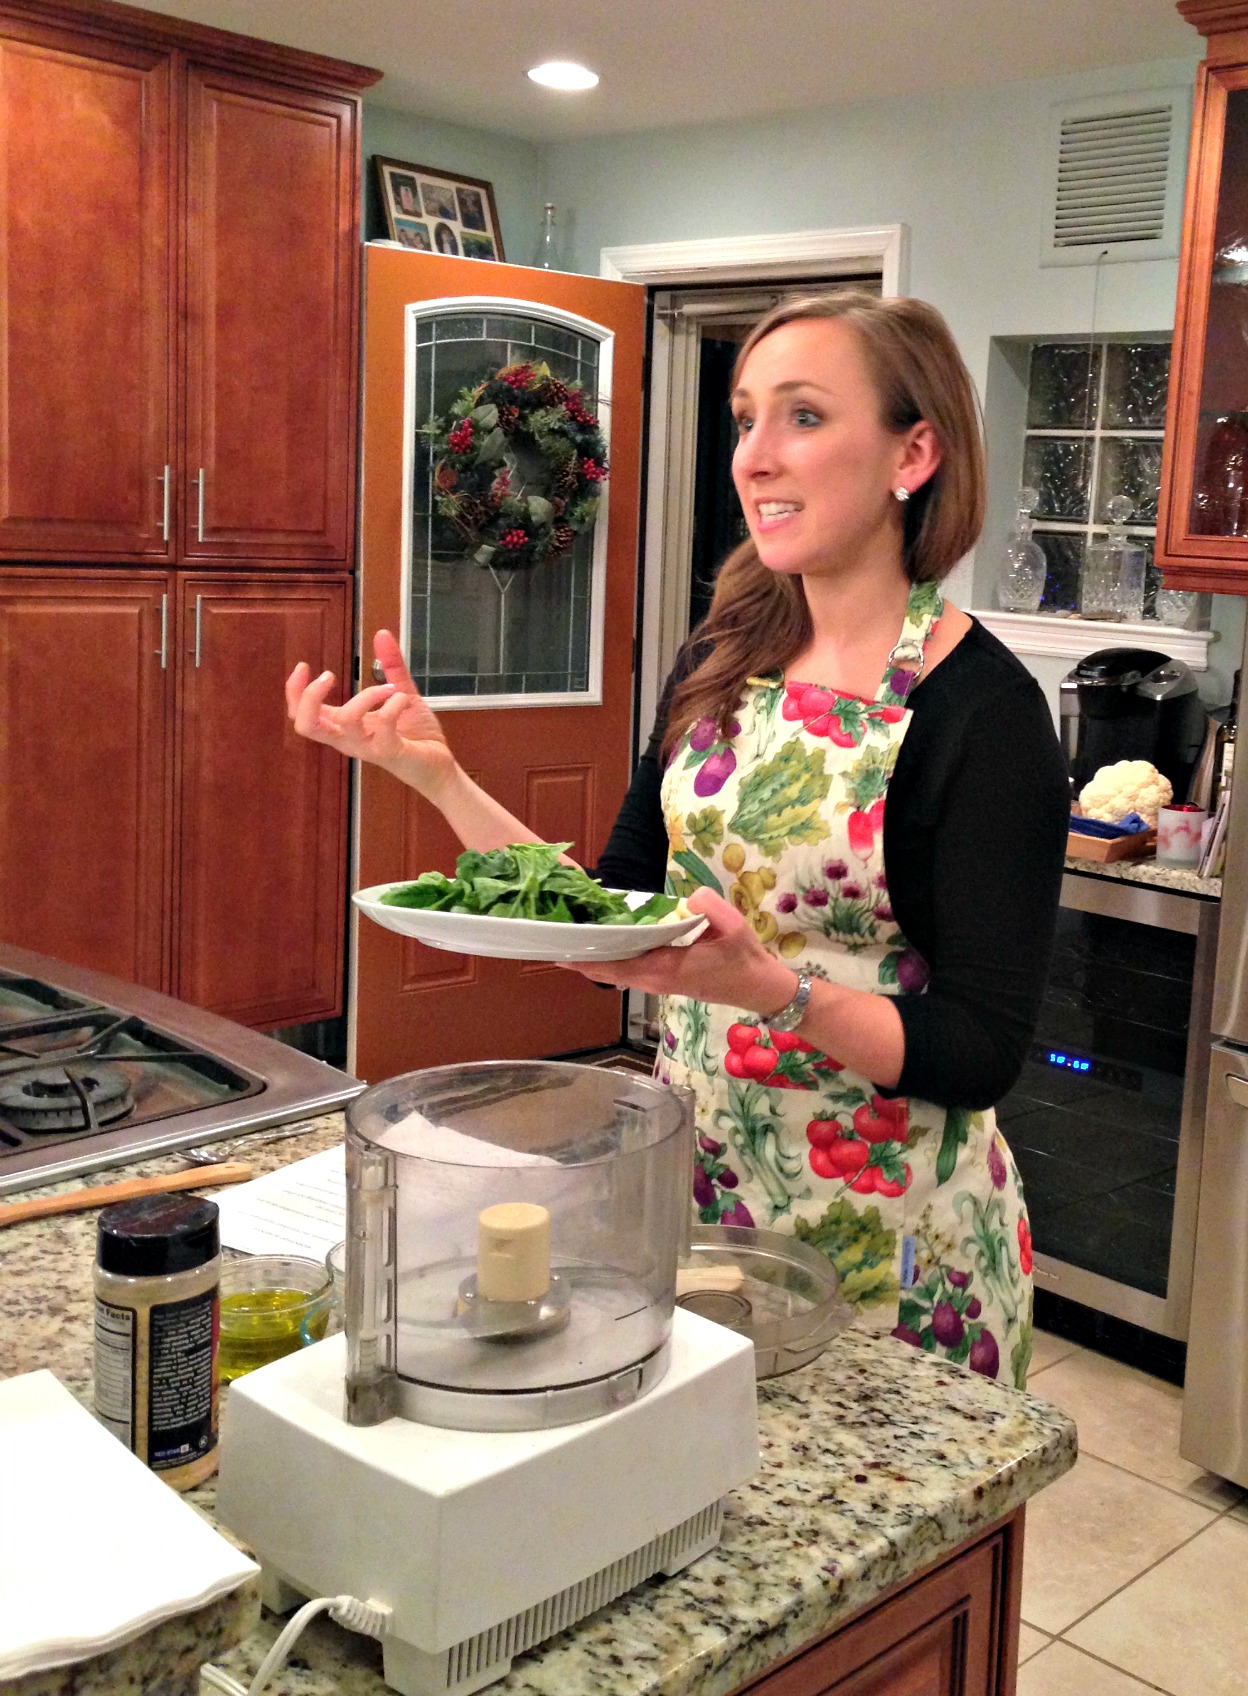
The first time I shared this recipe was two weeks ago during my very first cooking class. I had so much fun teaching it and can’t wait to do more classes in 2015!

During the class, we focused on making recipes that “cool,” calm and nourish the body. One of those recipes was for an Italian favorite – pesto sauce.

pesto demo

Teaching everyone about the health benefits of basil!

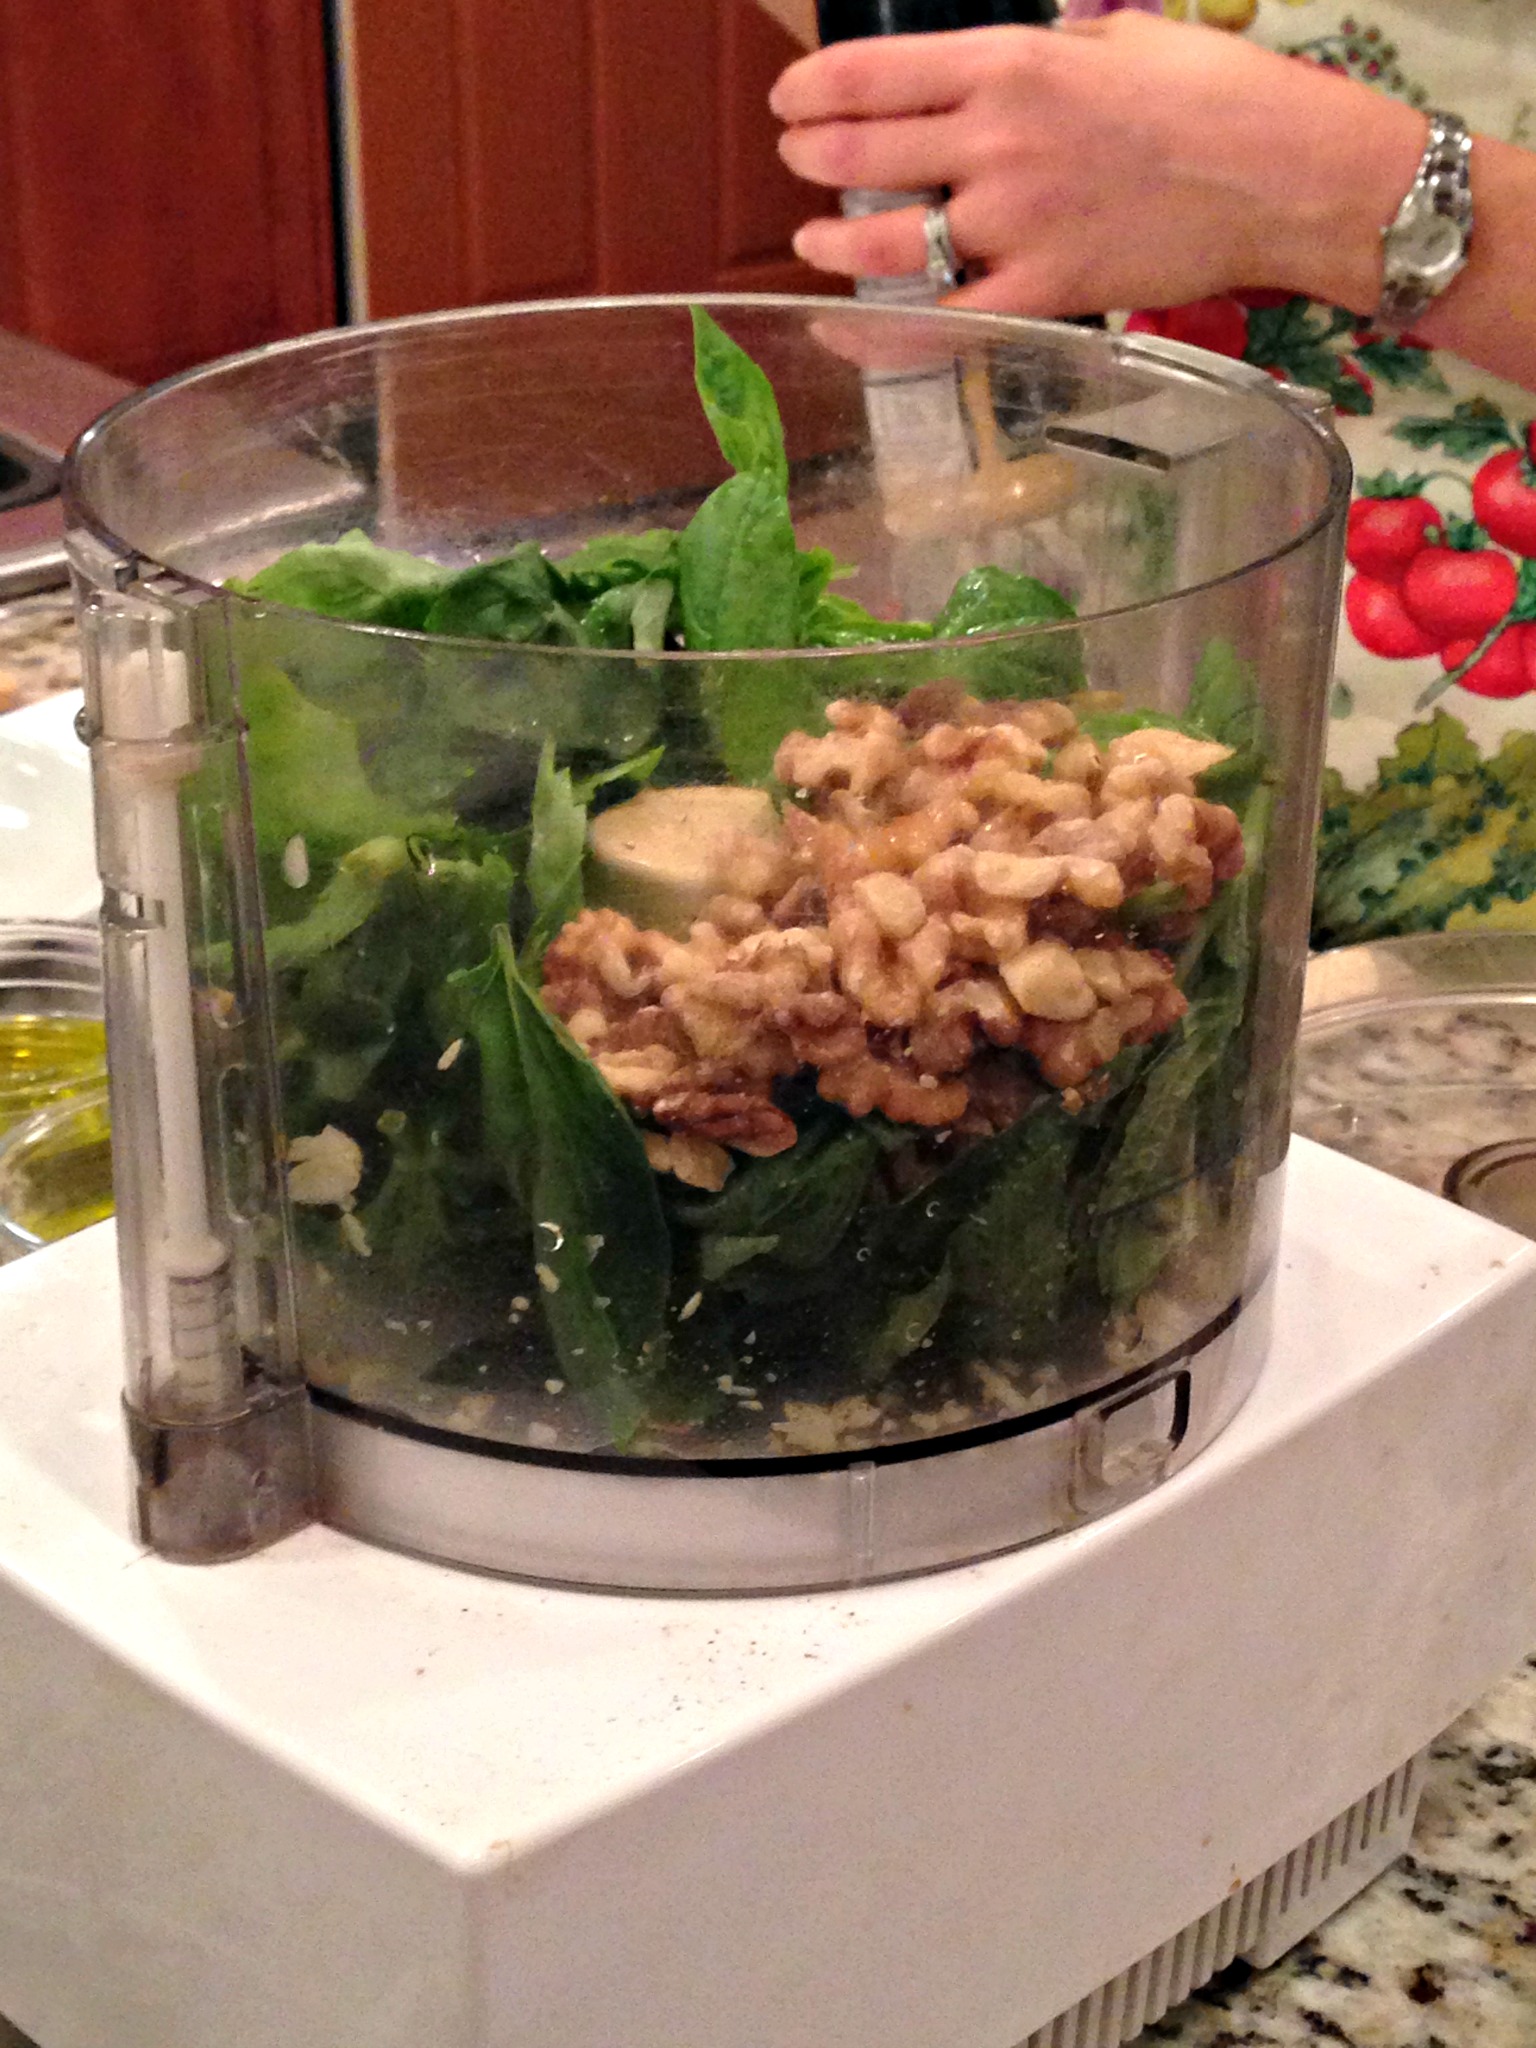
pesto food processor

All of the ingredients in the food processor before they are blended together.

Traditional pesto sauce is made with either parmesan or romano cheese, and since I’m dairy-free, I wanted to come up with a recipe that I could eat.

Something I’ve learned over the past couple of years that was news to me is that conventional dairy products are pro-inflammatory.

They promote inflammation in our bodies – and show up in annoying symptoms like excess mucous production and congestion, and other digestive, sinus and respiratory issues. Many people find that ditching dairy helps them get rid of or reduce all of those symptoms.

I never would’ve thought it was possible that I could go through a winter without bronchitis or congestion, but I have now for 2 years in a row, so I can attest to the fact that going dairy-free works 🙂

After experimenting with about 5 different versions of this recipe for pesto sauce, I finally came up with one that I liked. The ingredients in it are amazing for our health because they are immune & beauty-boosting and inflammation-reducing.

plate of pesto

Inflammation is one of the main reasons most of us are carrying around extra weight and getting sick.

Fat tissue is often inflamed tissue, and as long as our bodies are inflamed, we will have trouble keeping off weight long-term.

Not only that, but inflammation is at the root of most major diseases from digestive issues like heartburn, Crohn’s disease and irritable bowel syndrome to diabetes, heart disease, asthma, bronchitis, sinusitis, and arthritis. For many of us, it’s “silent” so we may not even know it’s happening. We want to eat foods that help us “cool” our body from the inside out, so we can be well.

Check out the amazing anti-inflammatory benefits of this pesto:

  • Garlic. Known as an “allium” vegetable (same family as onions, leeks, shallots, etc.), garlic is a potent anti-inflammatory and antibacterial food. Two of garlic’s sulfur compounds inhibit the activity of inflammatory messenger molecules in our body, thereby reducing inflammation.
  • Walnuts. These brain-shaped nuts are an excellent source of an anti-inflammatory omega-3 fat known as alpha-linolenic acid (ALA). Omega-3 fats also help keep our blood sugar levels regulated, which helps us avoid inflammatory spikes. Extra virgin olive oil, which is also used in this recipe, is another source of healthy omega-3 fats.
  • Basil. This green herb contains an oil that blocks harmful enzyme activity that promote inflammation in our body. It’s also rich in flavonoids (plant pigments found in high levels in deeply colored fruits and vegetables) and antioxidants, which help “cool” and calm our body.
  • Lemon. Citrus fruit high in flavonoids and antioxidants that combat harmful free radicals that damage our body and its cells and promote disease.

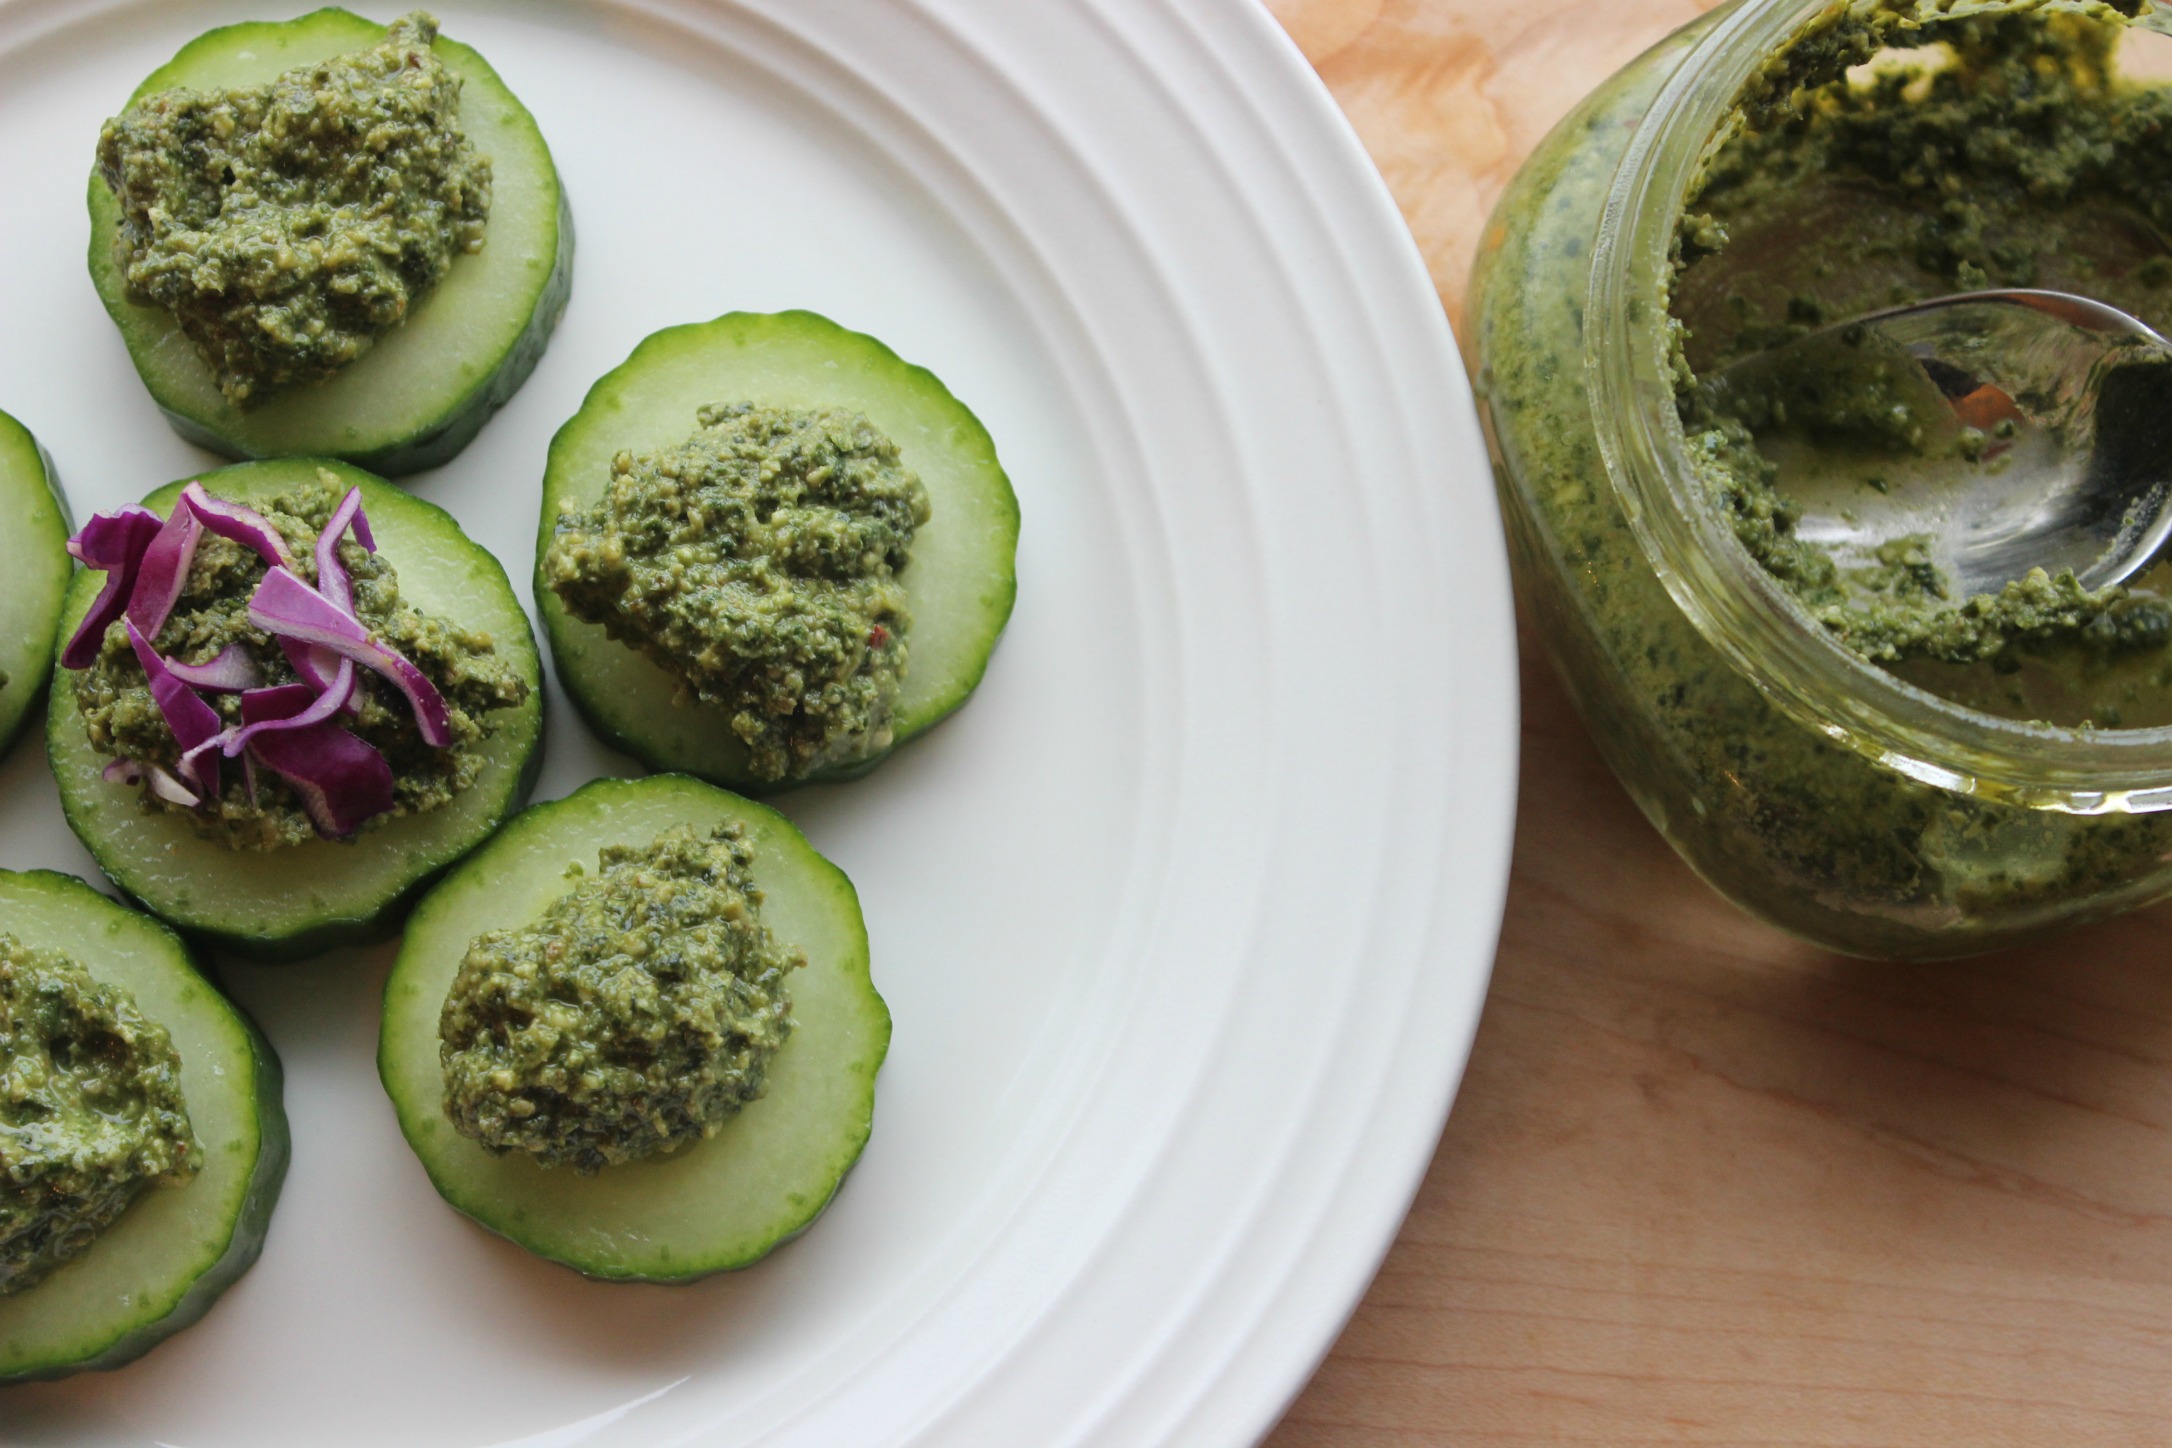
I served the pesto on cucumber slices and topped them with some shredded red cabbage. They are PERFECT for a holiday appetizer or just as a snack. Your guests will rave about them if you bring them to a party! 🙂

pesto bites

Ingredients

2 small cloves garlic, peeled (or 1 medium)
2 cups packed fresh basil (I bought one pack of organic basil from Trader Joe’s and it was the perfect amount!)
1/2 cup raw walnuts
3 tablespoons lemon juice (juice from about 1 1/2 lemons)
1/4 teaspoon sea salt
Few dashes black pepper
1/8 teaspoon crushed red pepper flakes
2 tablespoons nutritional yeast
1/3 cup extra-virgin olive oil

2 cucumbers
Optional: shredded purple cabbage

Directions

  1. Process garlic cloves in the food processor until the garlic is minced.
  2. Add the basil, walnuts, lemon juice, salt and pepper, red pepper flakes, and nutritional yeast. Process until a uniform paste has formed. Scrape down the sides of the bowl as needed.
  3. Turn on the food processor and drizzle in the olive oil in the top hole.
  4. Process until the pesto reaches your desired consistency, stopping to scrape down the sides as necessary. Taste and add more lemon juice or salt if necessary.
  5. Cut ends off of cucumber and slice into 1/2 inch circles. Top each cucumber slice with 1 tablespoon of pesto. When I taught my cooking class last week, some of the attendees came up with the awesome idea of putting the crunchy purple cabbage (another super anti-inflammatory food) on top!

Chai-Spiced Yogi Tea: How to Make It Yourself (SO EASY!)

I love tea.

There’s something calming and comforting about wrapping your hands around a warm cup of herbal tea, especially chai tea.

IMG_6853

I used to get chai tea and chai tea lattes from Starbucks this time of year, but my recipe assignment last week for the culinary nutrition program I’m taking gave me a chance to make it myself!

All I can say is WOW.

I had never made my own tea before, but this recipe is definitely a game changer, AND it was super EASY!

IMG_6844

First of all, the recipe makes 8 cups of tea, which is enough for at least half of a week for me. Here are a few more reasons to try this recipe for yourself at home:

  • The spices in this recipe and the ginger are cleansing, healing, comforting, and warming to the body – perfect for this time of year! For more information about the incredible health benefits of the spices in this tea, click here.
  • Cinnamon, ginger, cardamom, and cloves simmering on the stove smells AMAZING.
  • It’s cheaper than buying tea by the box!

If you’d like, you can also add in your favorite non-dairy milk, but I just drank it as is. Deeelicious!

I’ve already made it twice in two weeks and will be serving it t0 everyone attending my cooking class tonight.

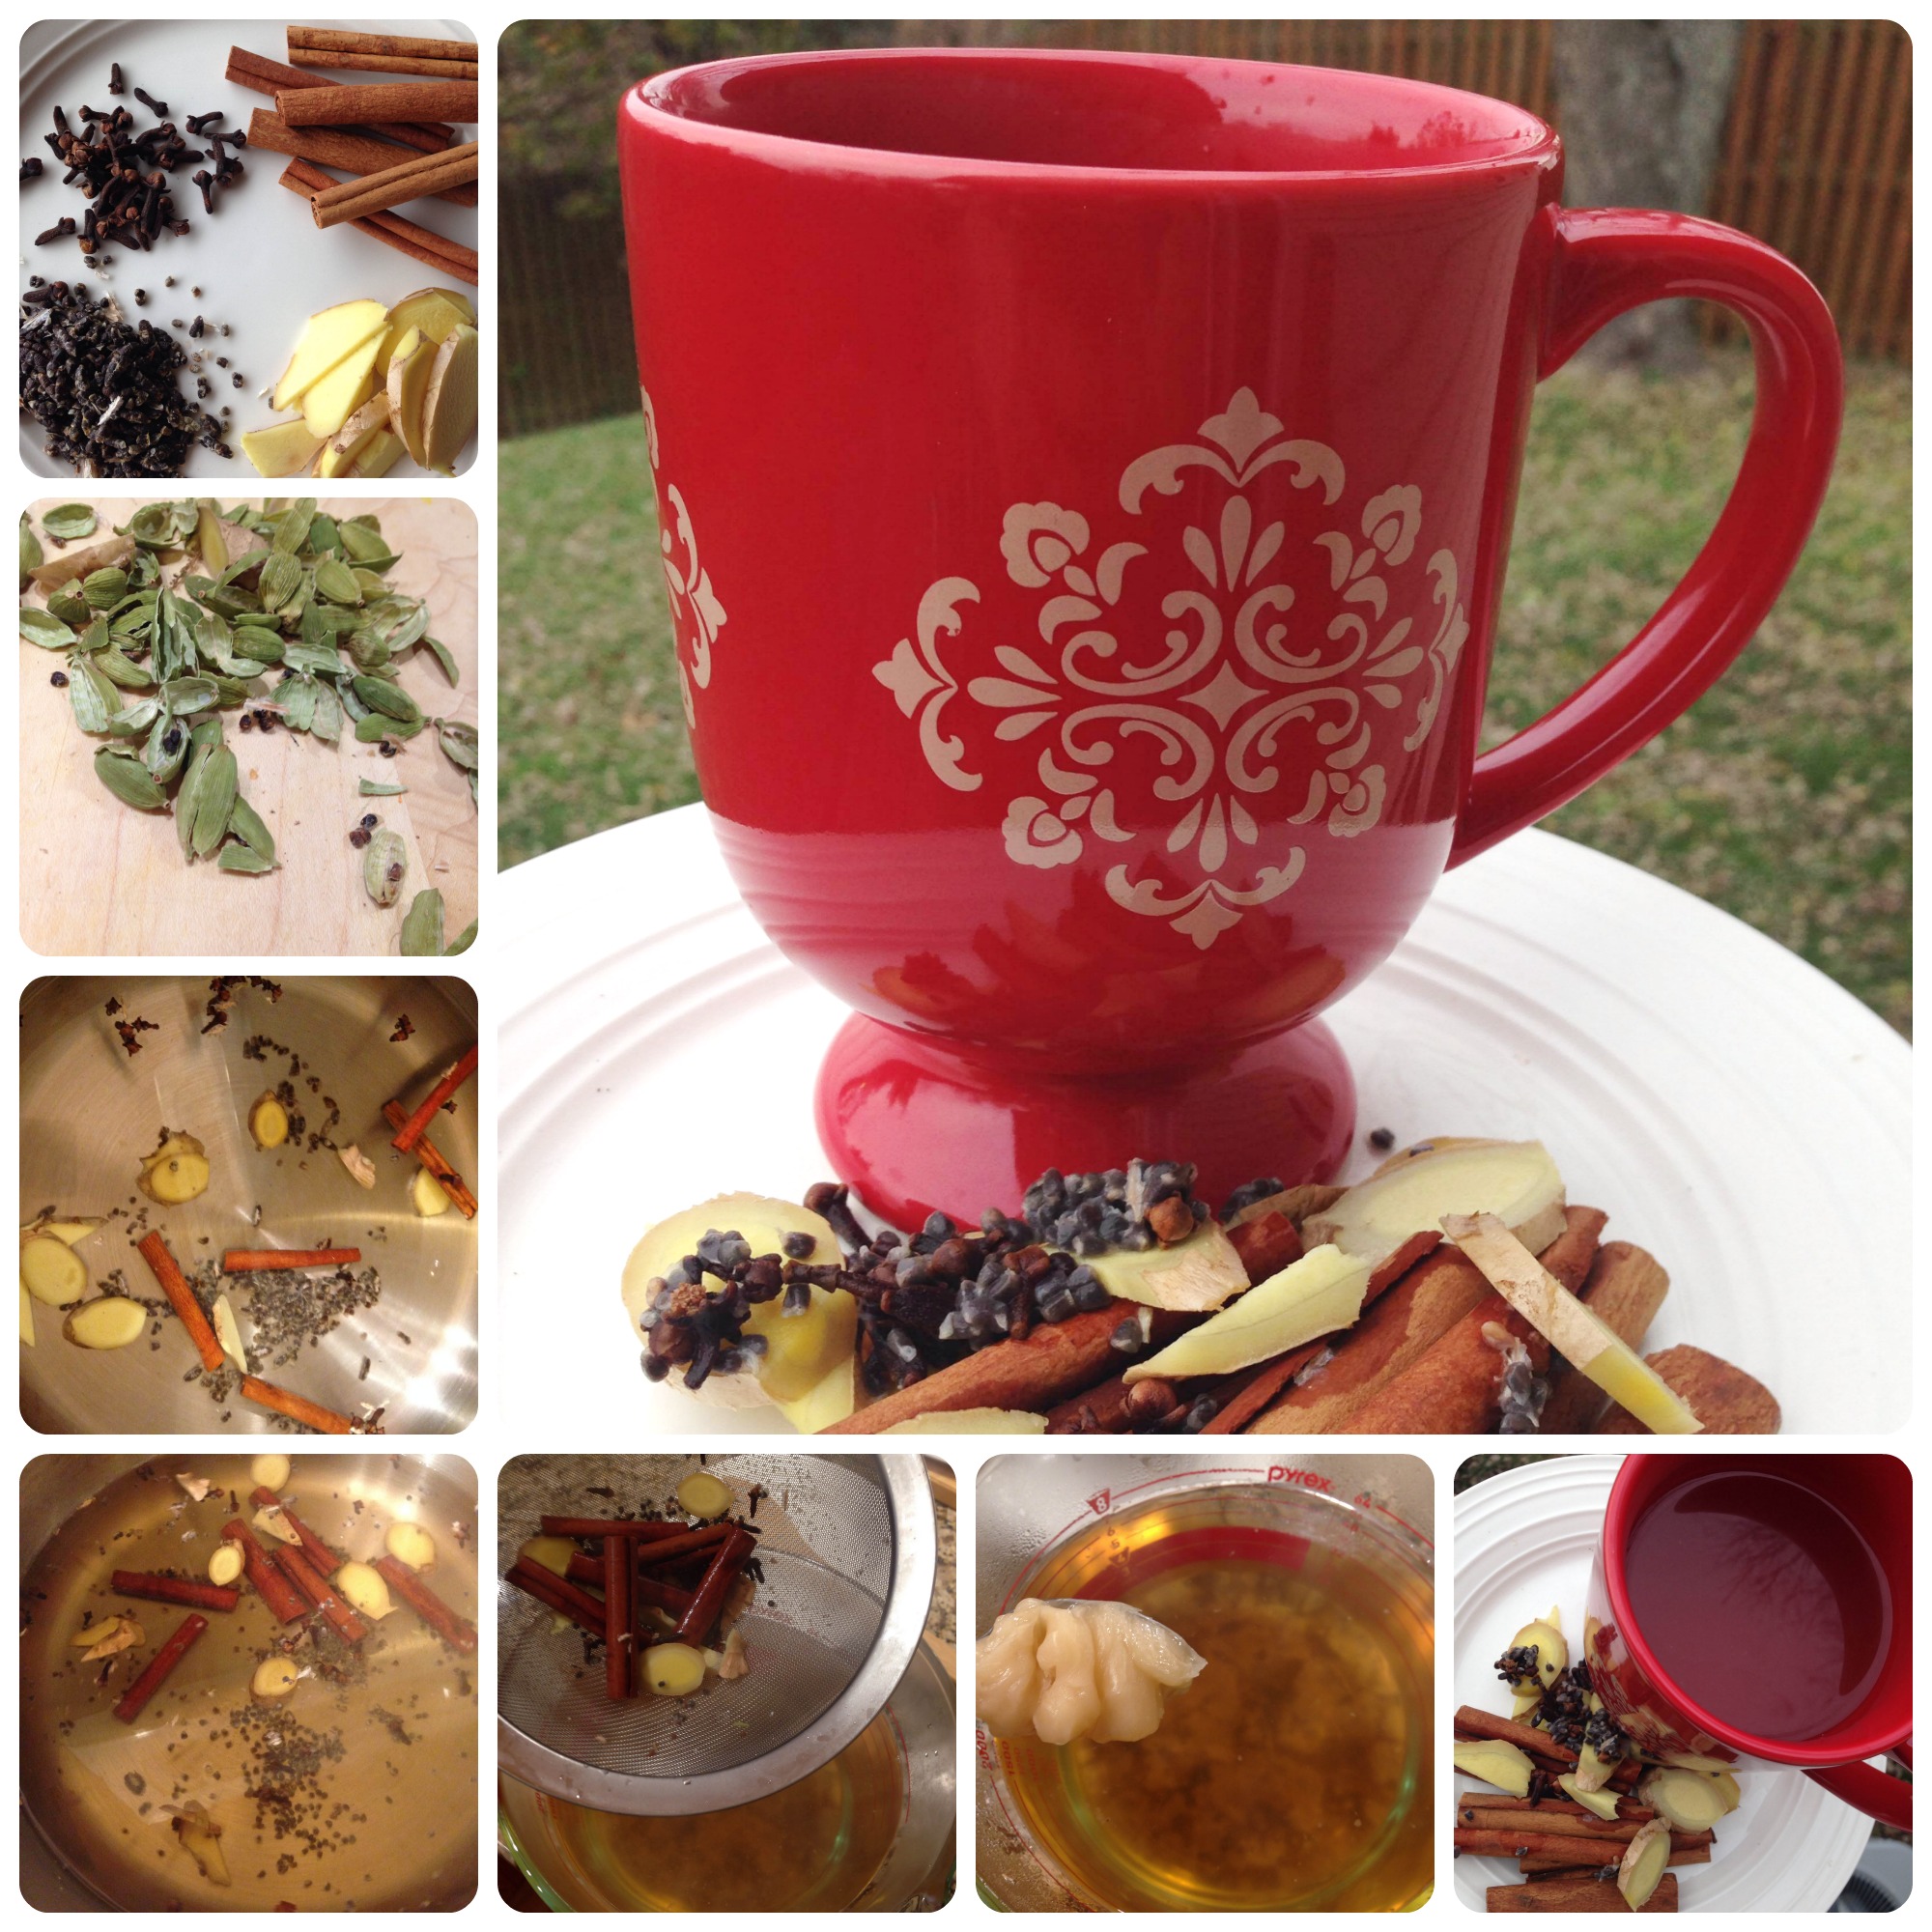
Yogi Tea

Ingredients (8 cups)

  • 8 cups water
  • 6 cinnamon sticks
  • 2 tablespoons cardamom seeds (pop them out of the pods for stronger flavor (that’s what I recommend) or use whole pods for a milder flavor)
  • 2 tablespoons whole cloves
  • 2 inches fresh ginger root (sliced)
  • 1/4 cup raw honey
  • almond milk as desired

Here’s the full recipe from the awesome Meghan Telpner! Just make sure you strain it with a fine mesh strainer as shown above after simmering everything. We don’t want to be eating cinnamon sticks 🙂

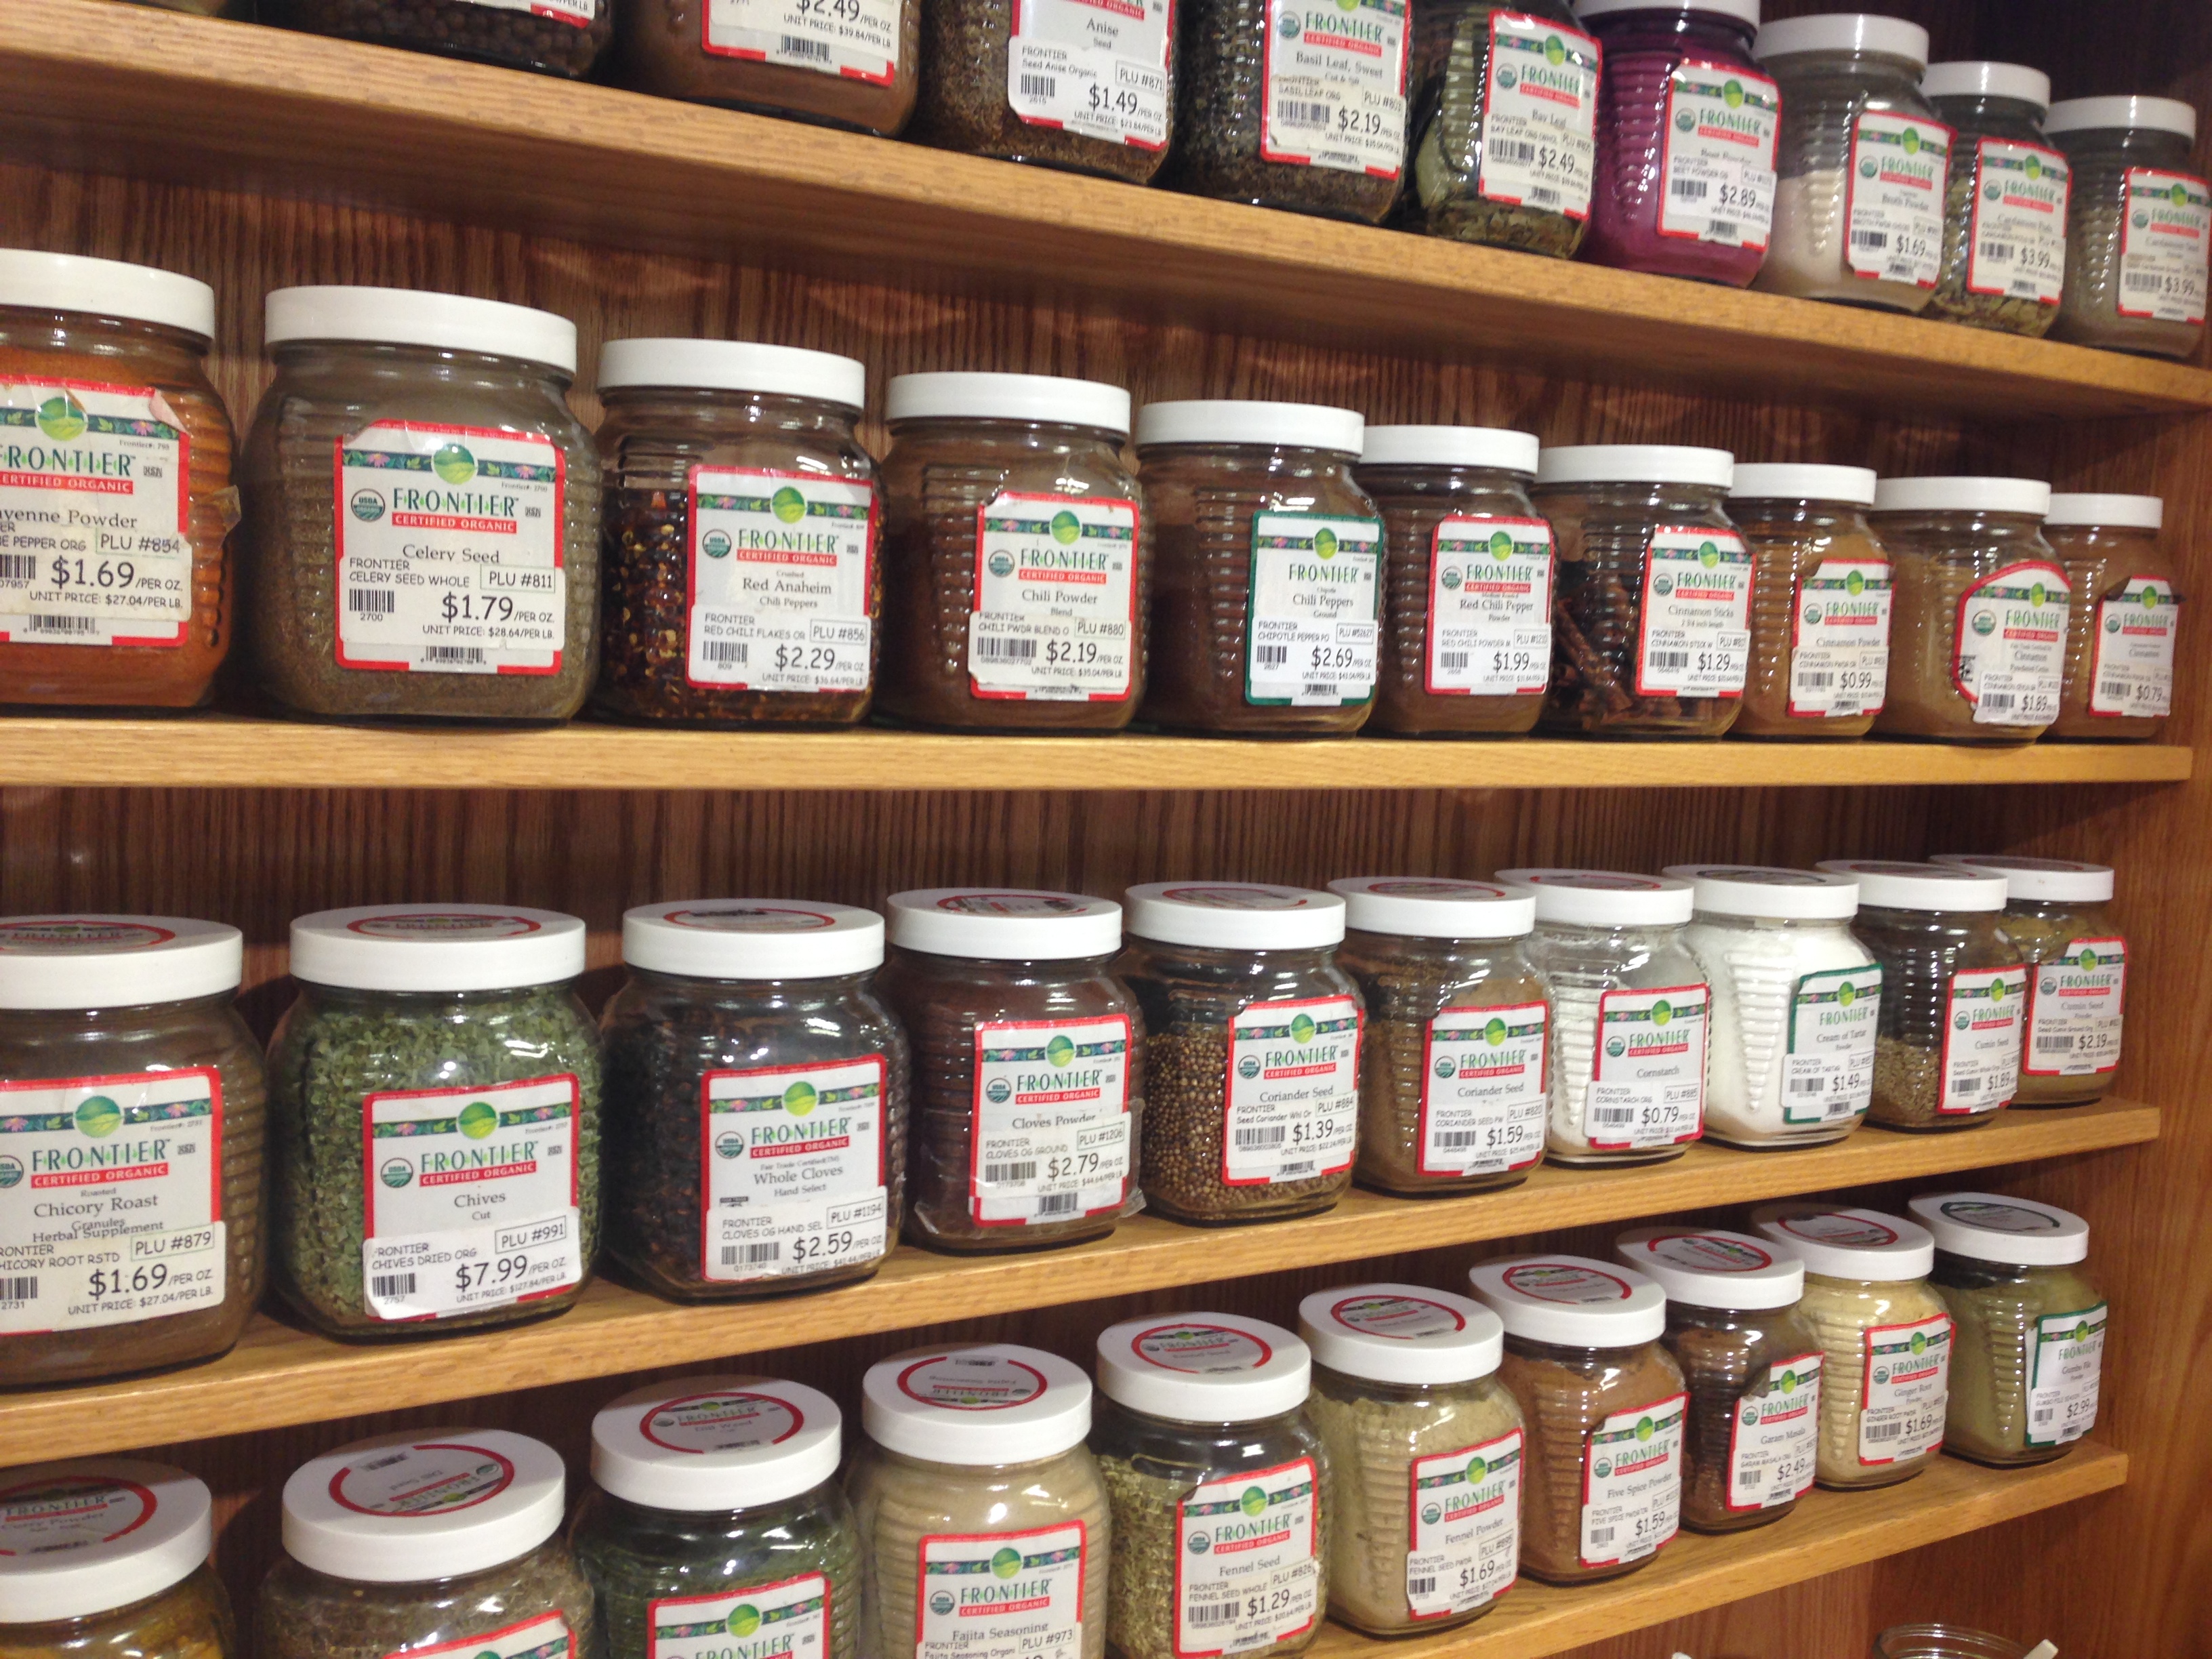
*Helpful Hint: I buy my spices in the individual jars at MOMs Organic Market; you can also find them at Roots Market and other natural food stores. It’s MUCH cheaper than buying an entire jar of something when you only need 1 or 2 tablespoons or a few sticks. You can also order spices online, but a natural food store near you should have fresh spices in bulk if your grocery store doesn’t.

IMG_5712

Sign Up for My First LIVE Cooking Demo on December 5th: Energy-Boosting & Inflammation-Busting Recipes!

I’m SUPER excited to share this post (and am pinching myself that this is actually happening!!). 🙂

I’m ready to kick off my FIRST event to share what I’ve learned about how to use food for energy and healing along with 6 yummy recipes that you’ll get to try and learn how to make yourself.

I wanted to make sure YOU, my loyal blog followers, knew about it before anyone else.

On Friday, December 5th from 7:00-9:00 pm, I will be hosting a LIVE 2-hour, interactive healthy cooking demo in the Overlea/Fullerton area in Baltimore. Check out the description below to see what you can expect if you come! I have space for 8 people, so make sure you sign up below if you want to be a part of it 🙂

Inflammation-Busting, Energy-Boosting Upgrades

IMG_7825

Creamy Alfredo sauce. Cheezy pesto. Chewy pecan pie bites.

What do all of these foods have in common?

#1 – They’re decadent and delicious.

#2 – They’re nourishing, satisfying, and anti-inflammatory.

#3 – They’re gluten-free and dairy-free.

#4 – You’ll learn how to make all of them (plus 3 more recipes!) if you join my cooking class on Friday, December 5th!

For many of us, inflammation is triggered by foods we eat every day and is one of the main reasons many of us are prone to getting sick or holding on to weight.  Symptoms we think are “normal” because they’re common – like asthma, allergies, pain, swelling, joint pain, reflux and even headaches – can often be linked back to inflammation, a “fire” inside our bodies.

From overcoming chronic bronchitis, acid reflux, and ear infections to achieving long-term weight loss, clear skin, and all-day energy, I’ve learned the secrets to eating in a way that helps the body “cool” the fire inside, and I want to share them with you!

Photo courtesy of Photography by Kat

Photo courtesy of Photography by Kat

Join me for this interactive, 2-hour workshop as we explore:

  • The top foods that trigger inflammation and keep us sick and overweight AND foods that fight or “cool” inflammation in our body
  • How to make a kale salad that will convert any kale hater into a lover
  • How easy it is to make your own noodles…out of zucchini!
  • The gadget I use to make mincing garlic a cinch and get rid of that lingering garlic smell on your fingers!
  • The secret ingredient in my creamy Alfredo sauce
  • A quick recipe that a recovering Parmesan cheese addict uses as a substitute
  • My favorite sweet treat that creates a caramel taste and texture…naturally!

**The cost is $40 per person and includes the demo, tastings, recipe packet, and handouts. The class can hold 8 people, so sign up below by noon on December 4th if you want to reserve your spot!**

Zucchini Pasta with Cauli-fredo Sauce!

IMG_6721

The past two weeks have been a bit of a whirlwind.

I haven’t felt quite like myself because I’ve been stretching myself too thin.

All of the projects I’ve been working on have been amazing opportunities, but when I said, “yes” to them separately about 2-3 months ago, I didn’t realize they would ALL end up happening within the same week in November.

I have SO much I want to write about and a ton of new recipes to share, but a few wise friends and family members have suggested that I s-l-o-w d-o-w-n a bit and take a moment to breathe amidst this craziness.

That’s why you may notice fewer blog posts until things calm down and my schedule gets back to normal in the next 2 weeks or so.

One of the things I’m working on is a series of posts about “My Favorite Things,” where I’ll share my favorite gadgets, stocking stuffers and cookbooks, just in time for holiday shopping 🙂

I’m also working with a web designer to do some pretty cool things to this blog over the next few months, and I’m really excited to see what happens with that!

I can’t write this post without mentioning that my husband has been nothing short of a saint over the past few weeks in particular, and I’m so incredibly grateful for his support, encouragement and patience. I am very, very blessed.

IMG_6318

Although I’ve felt stretched and stressed lately, I’ve gotten to do some really fun and exciting things…many of which were milestones that I couldn’t have imagined happening a year ago!

  • I trained the staff of a local restaurant to understand the differences among some current dietary trends and types (like paleo, vegetarian, gluten-free, vegan)
  • I facilitated a documentary movie night at my church where a group of about 20 of us watched Food, Inc. and enjoyed some healthy snacks, including my favorite caramel apple dip and this kickin’ buffalo hummus
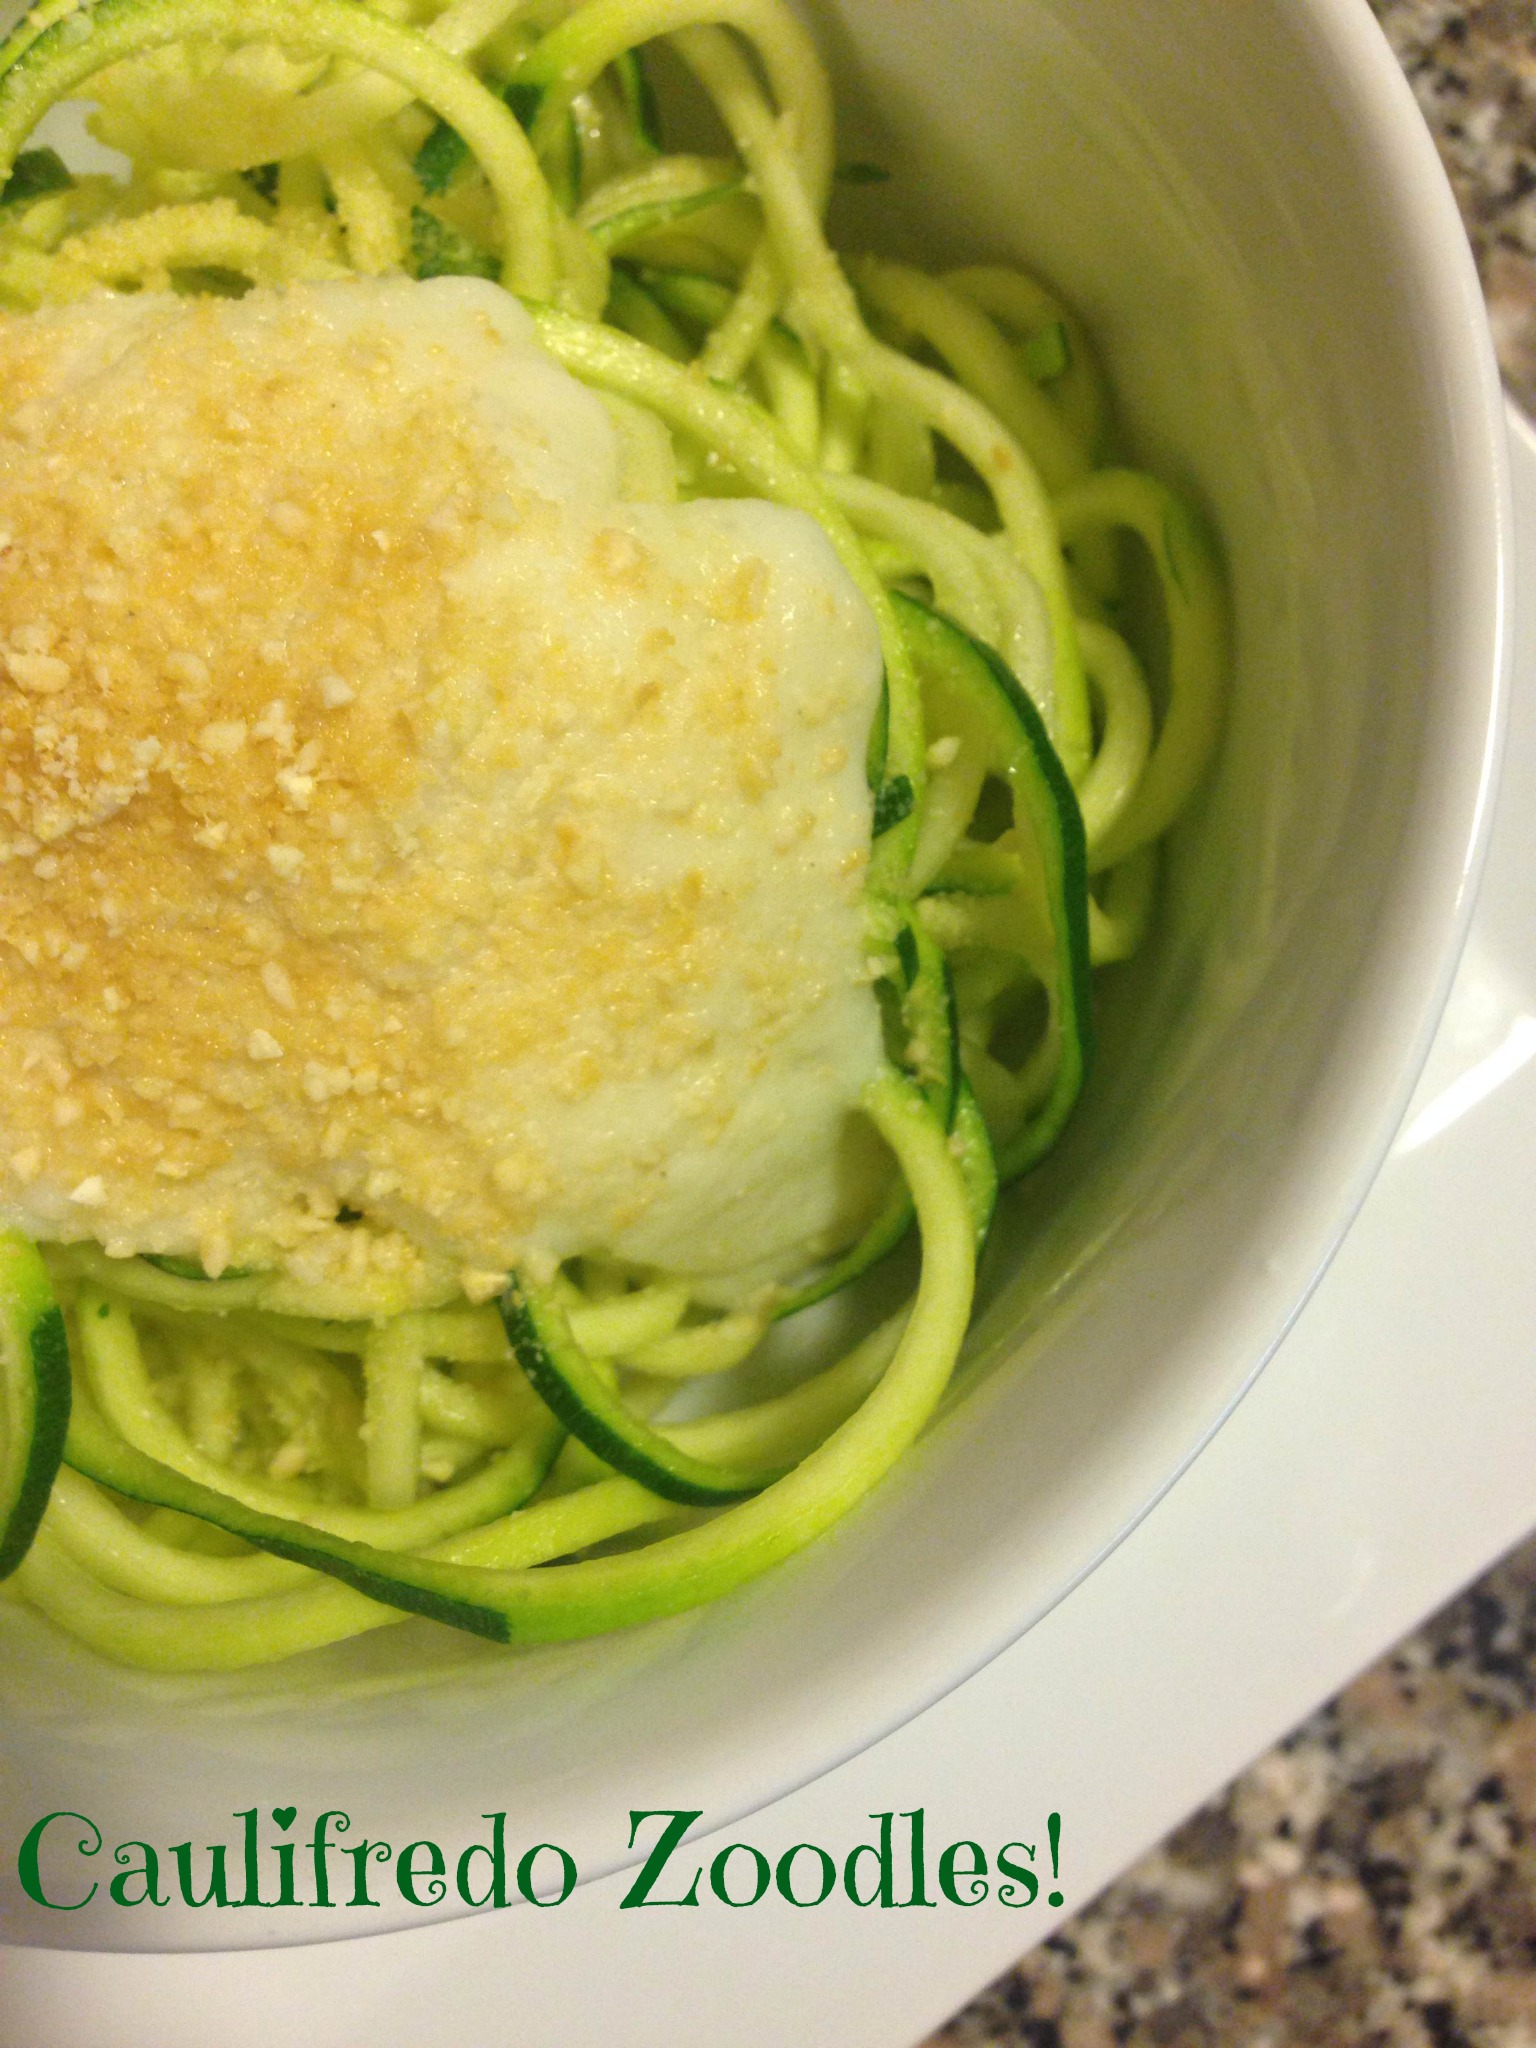
  • I taught my FIRST full cooking class in my friend’s kitchen for a party at her house. I showed the group how to make my favorite kale salad, caulifredo zucchini noodles (recipe below!) and hazelnut truffles.

IMG_7758

The process of planning out and prepping for a cooking demo is intense, and I have a new appreciation for anyone who has their own cooking show and what goes into making that happen.

Phew! It’s definitely a lot of work…but I LOVED having the opportunity to teach the group through hands on cooking.

The most rewarding part of the whole experience was hearing people say things like, “Oh my gosh, this is amazing!” and “I’m shocked by how good that tastes.” 

It’s so fun to see people get excited about eating nourishing food!

We got to play with my NEW favorite kitchen toy (a Paderno Spiralizer) during the demo as we made our own zucchini noodles in seconds. I’ve included a video below for how to use it.

https://www.youtube.com/watch?v=XbLHyAY_KRI&feature=youtu.be

Zucchini noodles are a great alternative to pasta because they don’t spike our blood sugar or contain gluten like most pasta. You’ll be AMAZED at how similar the texture is to pasta…you can still twirl it on your fork, too! The spiralizer is something you’ll want to add to your wish list.

We topped the zucchini noodles with this creamy cauliflower alfredo sauce. It’s a variation of a recipe I shared earlier this year, but I made some tweaks to improve it! I think you’ll love it.

Enjoy!

caulifredo

IMG_6721

Ingredients

  • 4 zucchini, spiralized using this awesome gadget! (You could also sub in your favorite gluten-free pasta of choice – we like the Tinkyada brown rice pasta)
  • 2 teaspoons coconut oil

Caulifredo Sauce

  • 3 cloves garlic, minced
  • 1 tablespoon coconut oil, ghee/clarified butter or grass-fed butter
  • 1 head cauliflower, chopped into florets (here’s how to break apart a head of cauliflower in seconds!)
  • 1 cup water
  • 1 teaspoon sea salt
  • ½ teaspoon onion powder
  • 1 generous pinch of pepper, to taste
  • juice from 1/2 lemon (about 1.5 tablespoons)

Directions

  1. Sauté the minced garlic in coconut oil or butter in a medium saucepan over low heat. Allow to cook for a few minutes, until the garlic is tender and fragrant but not browned.
  2. Add the 1 cup of water to the saucepan, along with the cauliflower florets, and bring the water to a boil. (The water will not cover the cauliflower, but that’s okay.) Once the water is boiling, reduce the heat to a simmer and cover the pot for 12-15 minutes or until the cauliflower is fork-tender and very soft.
  3. Transfer the entire contents of the saucepan into a blender or food processor, and season with salt and pepper. Add in lemon juice and onion powder. Process until very smooth and creamy, with a texture similar to traditional cream sauce. (Always be careful when blending hot liquids– the steam pressure can blow the lid off your blender!).
  4. Season with additional salt and pepper, if desired, and serve hot. If it seems thick, add more water. If it seems dry, add a liberal drizzle of olive oil.
  5. Place spiralized zucchini in a medium-sized frying pan greased with coconut oil, and stir for 3-4 minutes or until zucchini takes on a cooked pasta texture, sort of wilted and soft. Be careful not to overcook.
  6. Transfer zucchini noodles (AKA “zoodles”) to a plate or bowl and pour sauce on top. Sprinkle this 3-ingredient paleo parmesan cheeze on top and start eating!

Rainbow Super Food Kale Salad {Paleo}

Today’s post is inspired by Skittles.

Skittles-Wrapper-Small

Whenever I hear the phrase, “Taste the Rainbow,” I always think of Skittles.

They were one of my favorite candies as a kid, especially the purple and red ones!

Not so fun when you reach a wet hand into a bag of Skittles after an hour of swimming at the pool in the summer though… 🙂

Okay, so this post isn’t exactly about Skittles, but this recipe and the chewy bite size candies do have one thing in common…

IMG_7825

They are both very colorful…and look like a rainbow!

I taught a group of a dozen coworkers how to make this kale salad last week and they LOVED it!

In fact, there wasn’t any left for me by the end of the demo – which is a good sign! Here’s what one of my coworkers said about the salad:

“I have a new appreciation for kale. I never eat it but the salad today was so good. I also want to start making my own dressings and that was fabulous.”

See what I mean?? You have to try this salad!

IMG_7833

So, what inspired this recipe?

I’m currently going through a certification program to become a Culinary Nutrition Expert, and one of our assignments has been to focus on a particular health condition and come up with recipes and meal plans that would help someone with that issue.

I chose inflammation.

If you’ve ever had any kind of “itis” (dermatitis, laryngitis, bronchitis, colitis, rhinitis, gastritis, arthritis, thyroiditis, etc.), you’ve dealt with inflammation.

Our body is really smart, and it’s naturally designed to protect us from harm.

At its most basic level, inflammation is the body’s response to an attack from a “foreign invader,” such as an injury, infection, bacteria, or virus. It’s designed to help us fight the bad guys, so we can stay healthy.

We want our body to respond with inflammation temporarily when we do something like sprain our ankle or scrape our knee. Inflammation brings a rush of blood, nutrients and fighter white blood cells to the area to start the repair and healing process.

IMG_7814

For many of us though, inflammation is driven in part by the food we eat (and don’t eat). Most of the Standard American Diet (abbreviated SAD) is full of pro-inflammatory processed, refined foods loaded with chemicals most of us can’t pronounce and would be more likely to find in a lab than a farmer’s market.

If we can reduce inflammation, we set ourselves up to be much better at preventing or delaying disease and even getting to a healthy weight. Dr. Mark Hyman has written extensively about inflammation and how to reduce it. Click here to learn more from him.

The key dietary recommendation to heal or “cool” inflammation is to consume an unrefined, whole food (ideally organic), high fiber, plant-rich diet, which naturally stabilizes our blood sugar (and energy levels!) – another key to keeping inflammation at bay.

When I was creating this recipe, I focused on making it an anti-inflammatory powerhouse, something that your body would love for you to eat…and that would taste amazing.

Crunchy, creamy, sweet, and the slightest bit salty, this salad has all of the flavors and textures we crave and love.

IMG_7819

I’m about to get a little nerdy here, but just go with it 🙂

The healing foods in this recipe contain anti-inflammatory compounds like antioxidants, polyphenols, and flavonoids that not only help us reduce inflammation but also boost our immune system, slow the aging process, sustain our energy, and regulate our weight.

Here are just a few reasons why you’ll want to upgrade your diet and add in this super nourishing salad that’s loaded with immune, beauty and energy-boosting ingredients!

  • Avocado, hemp seeds, tahini, pumpkin seeds, and extra virgin olive oil are excellent sources of anti-inflammatory fats that are not only good for our body but also for our brain (our brain is 60% fat!).
  • The sulfur-containing compounds in garlic are also anti-inflammatory and immune-boosting.
  • Leafy green vegetables like dino kale contain flavanoids and antioxidants that reduce inflammation in the body.
  • Isothiocyanates (eye-so-thio-CYA-nates), sulfur-containing phytochemicals found in red cabbage, regulate the body’s inflammatory response.
  • Turmeric contains over two dozen anti-inflammatory compounds, the most powerful of which is the antioxidant curcumin, which gives it its bright yellow color.

Ok, now that you’re super stoked about eating anti-inflammatory foods, here’s the recipe! Bring it to your next potluck or holiday party – it’ll be a hit!

taste the rainbow salad

IMG_7839


Taste the Rainbow Kale Salad

This is my #1 favorite salad of all time and is always a hit at parties and potlucks. Packed with anti-inflammatory ingredients and full of flavor, this salad will turn any kale hater into a fan in no time!

Creamy Lemon Tahini Dressing

  • 3 tablespoons tahini
  • 3 tablespoons fresh lemon juice
  • 1 tablespoon maple syrup (or raw honey)
  • 1 tablespoon tamari ((gluten-free soy sauce))
  • 1/2 teaspoon turmeric
  • 1 pinch crushed red pepper flakes
  • 2 garlic cloves (peeled and minced)
  • 1/4 cup olive oil (extra virgin)

Salad

  • 1 bunch kale (dino kale is best)
  • 1 cup purple cabbage (shredded)
  • 1 cup carrots (shredded)
  • 1/2 cup raw pumpkin seeds
  • 1 avocado (diced)
  • 1/4 cup hemp seeds (shelled)
  • 1/4 cup goji berries or dried cranberries
  1. Whisk all dressing ingredients together in a bowl OR place them in a blender for 30 seconds until smooth. Taste and make adjustments to dressing, if necessary. Add a few tablespoons of filtered water to thin it out if needed. I like mine thick.

  2. In a large bowl, place kale greens and add dressing. Massage dressing into kale leaves for about 2 minutes (until volume reduces by about 1/3). Add purple cabbage and toss to coat. Let sit for 15-30 minutes, so the dressing can continue breaking down the kale and cabbage.

  3. When ready to serve, add in shredded carrots, pumpkin seeds, avocado, hemp seeds, and goji berries (if using). Toss to combine.

This salad will stay good for about two days in the refrigerator. The heartiness of the kale greens prevents it from wilting like other salads would.

Double this recipe if you’re bringing it to a party!

You can add in any vegetables you like. Try this salad with some diced bell peppers, chopped broccoli, cooked sweet potato cubes or other vegetables. To make more of a complete meal, add in your favorite animal or plant-based proteins (chicken, salmon, lentils, beans, tempeh). Chickpeas or white cannellini beans would pair well with this salad.

Page 6 of 8

Powered by WordPress & Theme by Anders Norén