This is the third and final post in a series of three posts about how to make meal planning easy and doable. In case you missed the previous posts, here they are!
Step 1…Get Inspired
Step 2…Get Organized {Plus My #1 Meal Planning Tool!}
—————————————————————————————————————————————————
 By this point, we’re inspired and organized, so all that’s left for us to do is to “get to it” and get it done! 🙂
Check out my top tips below for how to make meal planning a reality!
1) Prep!
For starters, you can chop your fruits and vegetables when you get home BEFORE you put them away. Just think of it as an extension of your shopping trip. Since you already have your meal plan prepped, you know exactly what you need to do to each ingredient throughout the week. However, I realize chopping can be tedious and boring, especially if there’s a lot of fruit and veg to get through. Why not enlist the help of a vegetable chopper? It’ll save you plenty of prep time and saves you from boredom. If you’re unsure of what you’re looking for, check out what people are saying online about individual choppers, like this chopper review!
Making soup? Chop onions, celery and carrots.
Serving up a stir fry? Cook a pot of brown rice (set it and forget it!).
Having tacos on Tuesday? Brown your meat or cook your lentils if you’re going meatless.
Do you like smoothies? Measure out your dry ingredients (seeds, nuts, powders, dried fruit) at the beginning of the week, so you just have to dump them in the blender when you’re ready to whip up a nutrient-packed breakfast. Store them in the fridge.

Ingredients for everything from smoothies to snacks prepped and ready for the week!
2) Pack & Store
This is where your mason jars come in handy. Once you’ve prepped and chopped all of your ingredients, grab a roll of masking tape and write what recipe that ingredient is for and stick it on the mason jar. Then, when it’s time to cook, the chopping is already done and you just have to dump it in!
We’re also fans of Pyrex bowls with lids and glass baking dishes. One of the prep and stores steps we take at the beginning of the week is chopping up a head of celery into stalks and a few carrots into sticks. Then, we put them in a 9 x 13 glass baking dish and fill the dish with water until the veggies are just about covered. We store it in the fridge for a week, so we have easy grab and go snacks.
Once the week wraps up, if we still have veggies left, we dump out the water, refill it and then enjoy the veggies for ANOTHER week. It’s a great way to extend the life of your produce 🙂
To pack and store food, we’re also fans of thermos’, since they can be used to keep food cold (like smoothies for breakfast) or hot (like soups for lunch). They’re not expensive.
If you don’t have one already, invest in an insulated lunch box to make it easier for you to transport healthy food with you no matter where you are.
3) Freeze It!
When it comes to meal planning and saving time and money, the freezer is your friend. Whether you’re prepping ingredients for crock pot meals ahead of time, storing leftover broth or soup, or using frozen fruit or vegetables, the freezer can come in handy. (BJs Wholesale Club has organic frozen fruits and veggies that we LOVE to use in our smoothies!)
If you’re storing liquids in the freezer in mason jars, just make sure you leave 2 inches of open space between the bottom of the lid and the top of your liquid, as the liquid will expand as it freezes. We don’t want broken glass jars or shards of glass in our freezer (although it has happened to me!).

Hearty Black Bean and Rice Stew that we froze and enjoyed over multiple weeks!
Make a double batch of soup or stew or a casserole and throw it in the freezer. If you’re in a pinch one night or have a busy week it’s easy to just reheat it in the oven or on the stove.
4) Love Those Leftovers
This goes along with #3 above but uses up your fridge space, too! When you make a big batch of a casserole, soup, stew or other dish, store some in the fridge (what you know you’ll eat up in a few days) and freeze the rest.
Check out this page for a list of my soup and casserole recipes as well as a recipe for mini make-ahead frittatas – perfect for breakfast, lunch or dinner!

We love making batches of soup to have throughout the week, along with chopped veggies, energy bites, and paleo parmesan cheeze.
5) Make It Social
You can get really creative with this, but here are some ideas that have inspired me:
*Have a meal swap potluck party with neighbors or friends. Invite a small group of friends over (you could even do this with 1-2 other couples) and have each person prepare a dish or two. Then, bring your glass jars and containers, so you can take home a little bit of everything. It’s a great way to try new recipes and enjoy other people’s cooking.
*Use a meal planning tool like the one I shared in the second post in this series and plan meals together with coworkers, friends or family. I read on another blog that two moms did this while their daughters were at ballet lessons. They brought cookbooks and planned out the week’s meals together. It was a great way to bond and get stuff done!

My favorite meal planning tool!
*Have a crock pot party with a group of friends (everyone bring your crock pots together with the ingredients you need and then set it and forget it!). You could even make a day of it – prep in the morning, head out to do something fun and then come back to the mouthwatering smells emanating from your crock pots!
*Create a dinner party group and rotate who hosts the group. The host is responsible for the main dish and everyone else brings a simple side. Bring containers for leftovers!
6) Pump Up the Volume
I’ve always loved music, and rocking out in the kitchen to my favorite Pandora or other radio station is a great way to add some fun into a seemingly boring task…like chopping vegetables.
Working out is more fun with music (which is probably why I love Zumba so much), so why not apply the same way of thinking to cooking?! Time will fly, and you’ll have fun 🙂
7) Make Cooking Time Quality Time
Instead of cooking being something that “takes up time” or pulls you away from other ways you want to spend your time, make cooking time quality time – time to spend with your family and friends – with everyone having a task to do to help pull together a meal.
One of the easiest ways to make cooking time quality time is to pick a theme that makes it fun to be together. From Take Out Fake Out Thursday to Eat Like a Viking night, check out all of the ideas about how to “Get Inspired” from the first post of this series.
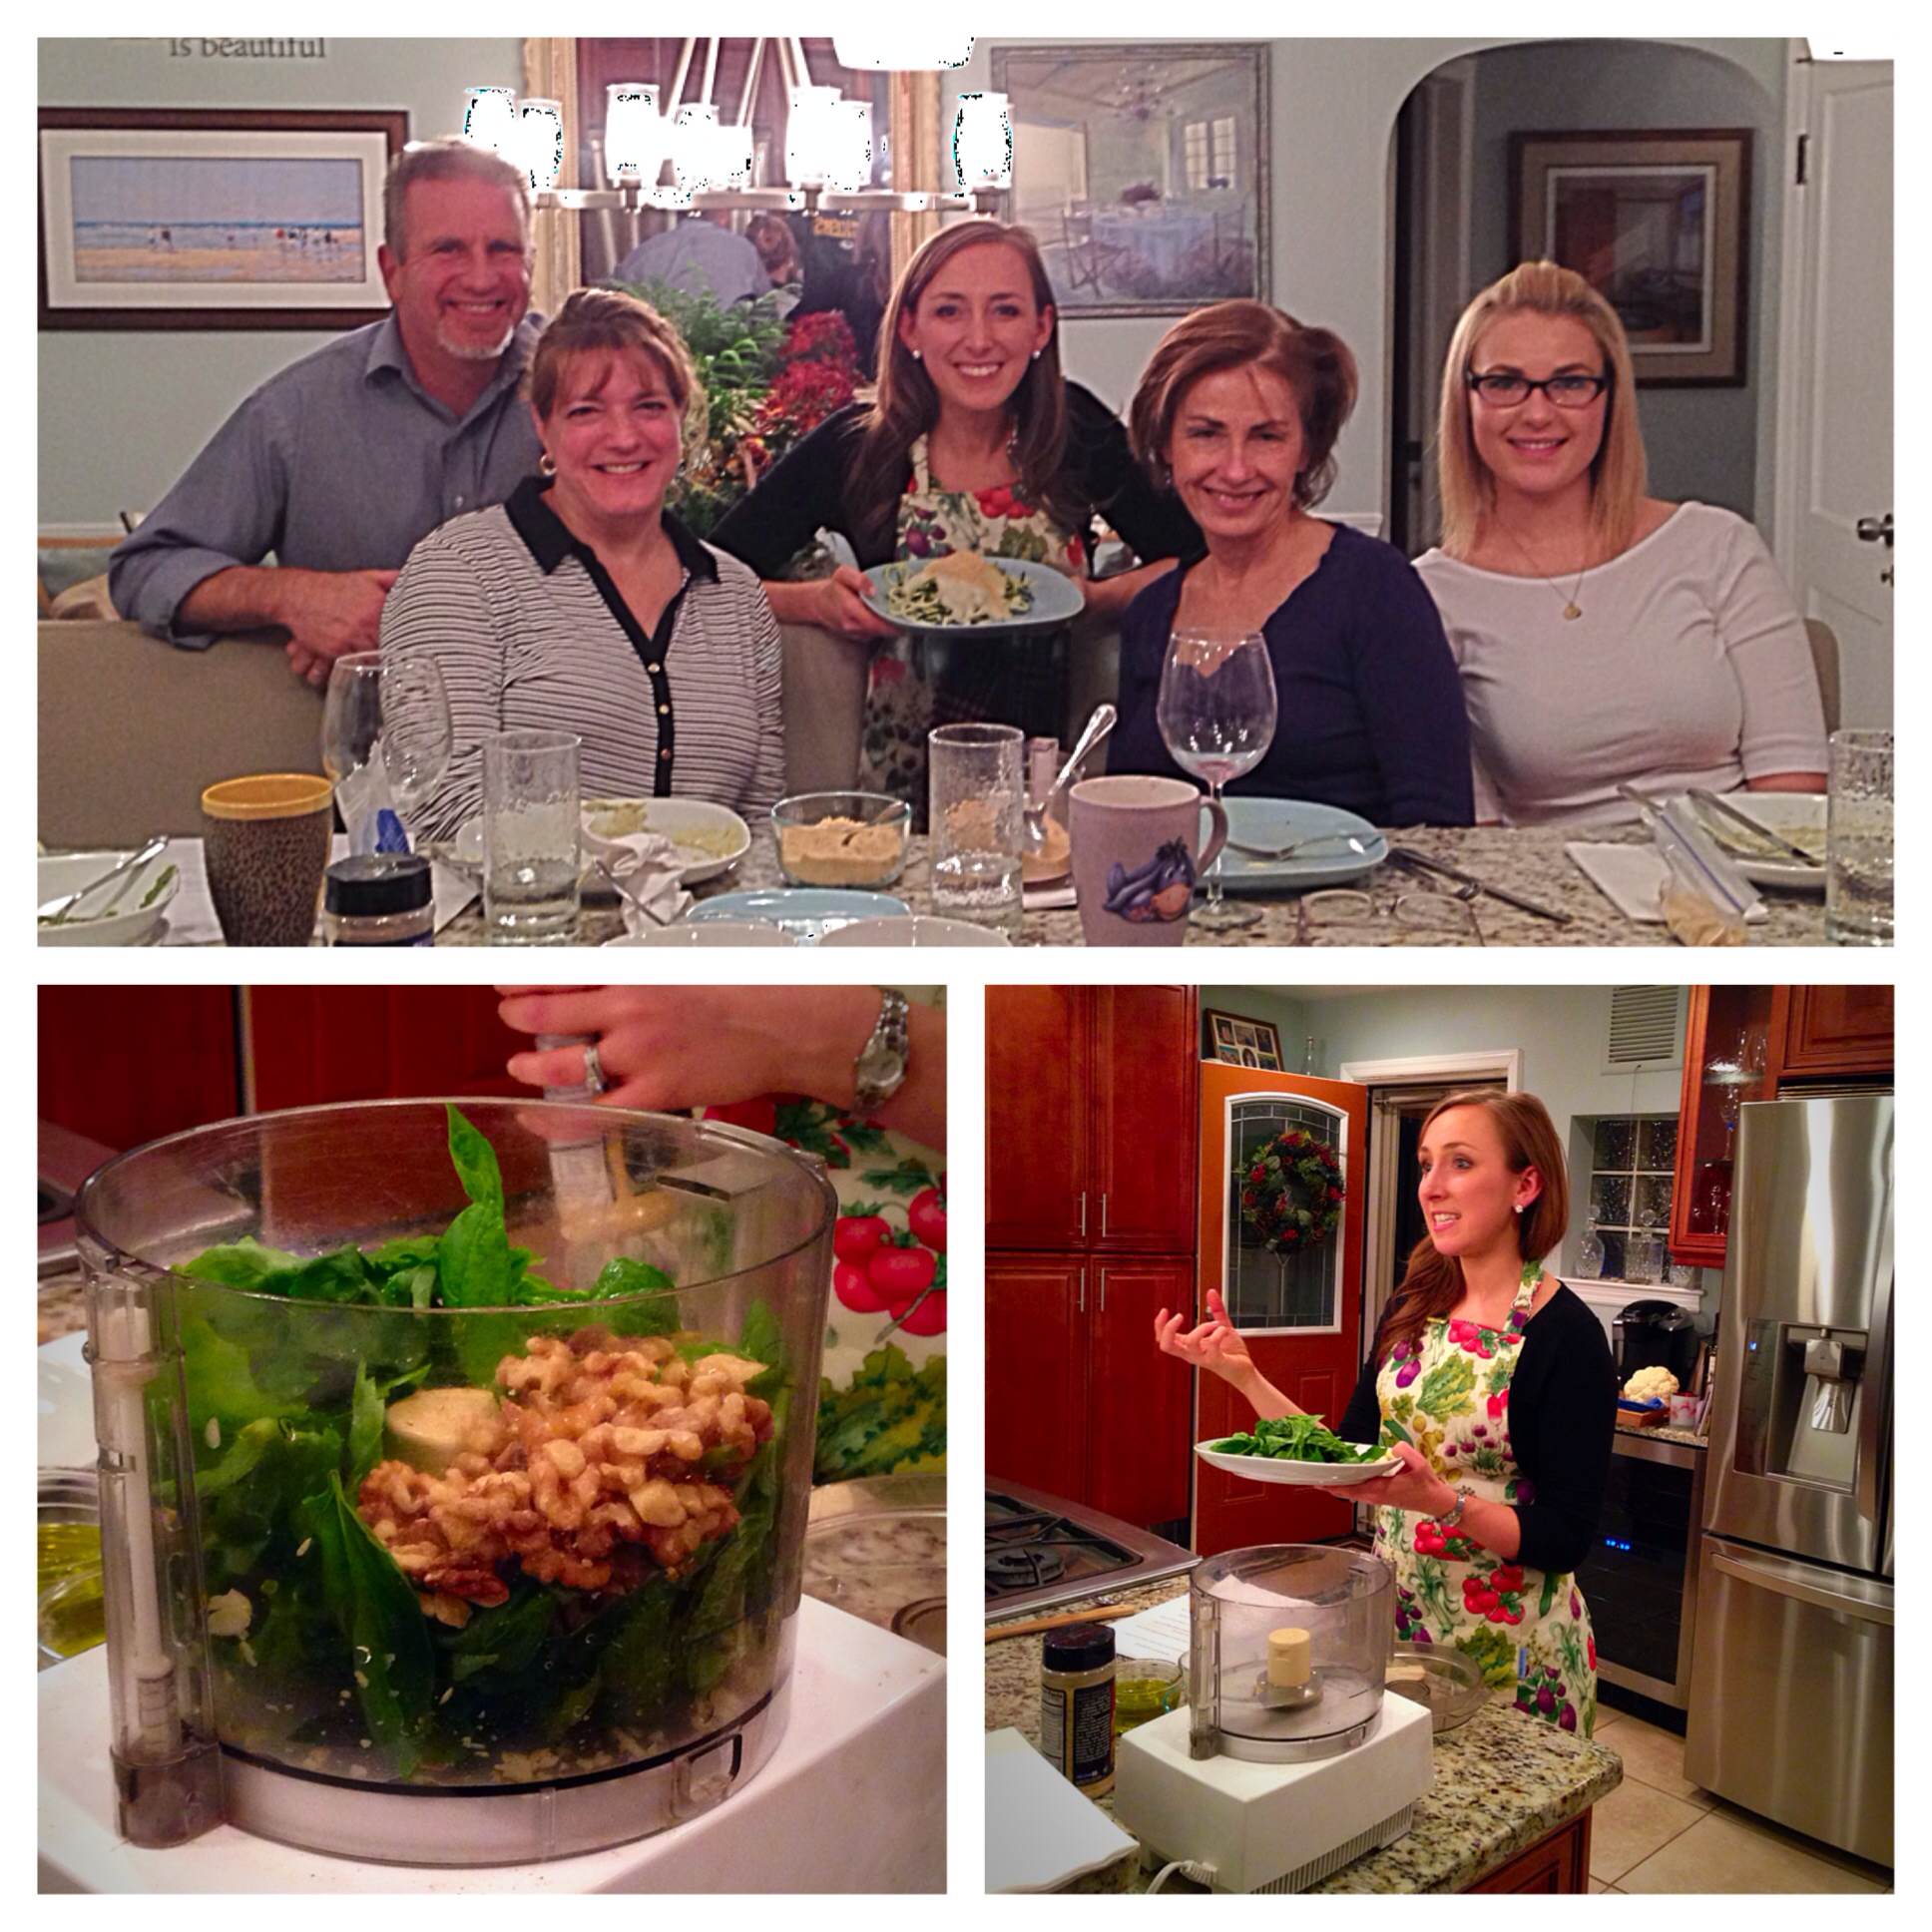
You can even host a cooking class at your house to bring friends and/or family together to learn new recipes and get inspired. Contact me here if you want to learn more about classes I can teach!

8) Use a Meal Kit Service
If you like to cook but hate the idea of doing all of this prep, check out one of the meal planning kit services below! I also recommend taking a look at the benefits of home chef vs blue apron. You pay for the convenience of having everything done for you, but it may be worth it, even if just once a week. Meal prep and planning can be very tiring so a meal kit might be a great option for you if you have a busy lifestyle.
- BlueApron
- HelloFresh
- Plated
And, there you have it! Those are my 3 steps to make meal planning fun and time and money-saving. From getting inspired to getting organized and then finally “getting to it,” I hope you learned at least one new thing that will help you make meal planning easier!
Ok, now it’s your turn! Do you have any meal planning tips you’d like to share?What did you find MOST helpful from this series? Feel free to share below! I really do love hearing from you 🙂
Like this:
Like Loading...


 By this point, we’re inspired and organized, so all that’s left for us to do is to “get to it” and get it done! 🙂


