Notice: Function _load_textdomain_just_in_time was called incorrectly. Translation loading for the social_sharing domain was triggered too early. This is usually an indicator for some code in the plugin or theme running too early. Translations should be loaded at the init action or later. Please see Debugging in WordPress for more information. (This message was added in version 6.7.0.) in /var/www/wp-includes/functions.php on line 6121
Products I Use Archives · Page 7 of 11 · Rachel's Nourishing Kitchen

Category: Products I Use Page 7 of 11

Chewy Cherry Chocolate Brownie Bites {Gluten-Free, Paleo, Vegan}

Chocolate + peanut butter = awesome

Chocolate + caramel = awesome

Chocolate + sea salt = awesome

Chocolate +…just about anything = awesome!

I recently wrote about my favorite chocolate place in Baltimore, which features combinations of chocolate most of us would never think of that happen to taste aaaamazing.

In the spirit of yummy chocolate treats, today’s recipe features chocolate + cherries, another winning food combo that doesn’t get enough love.

My friend, Anna (check out her photography site!) recently posted an action shot of her daughter Paisley after enjoying this chocolate-covered cherry smoothie.

paisley2

Bill and I have been making that smoothie a lot lately for breakfast, and the flavors in it inspired today’s recipe for chewy cherry chocolate brownie bites.

YUM.

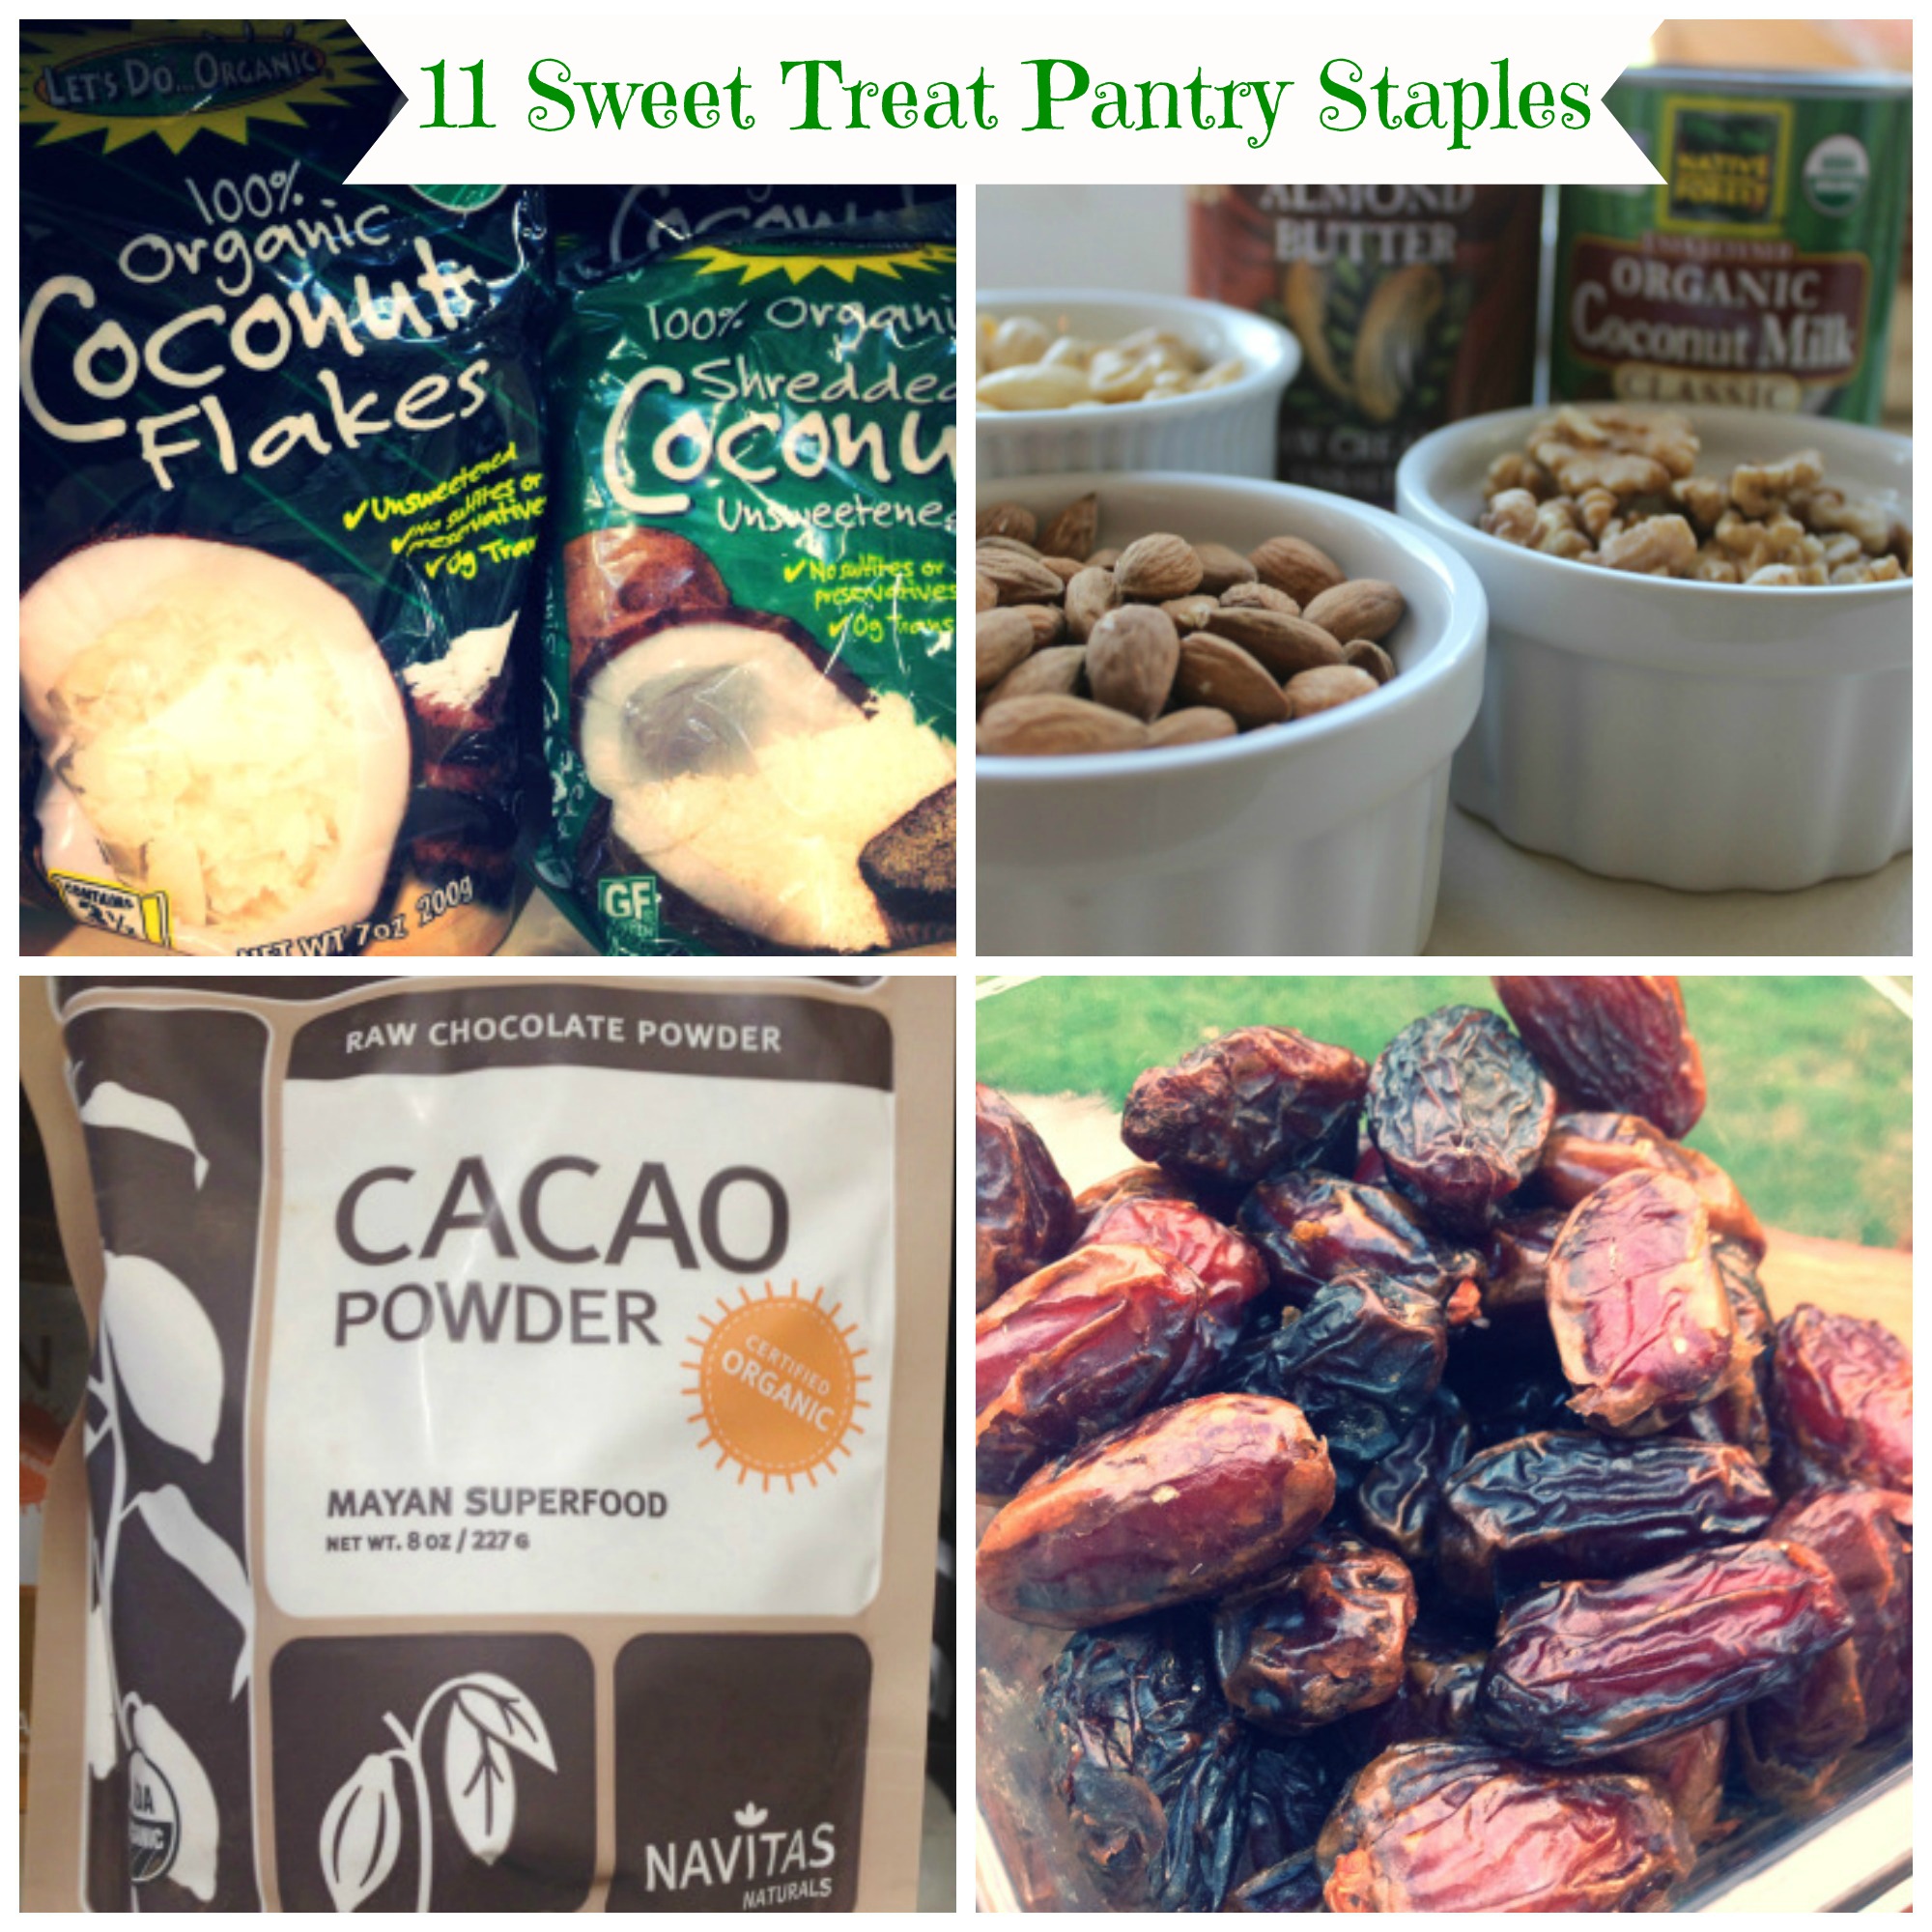
Several ingredients in these brownie bites are anti-inflammatory, health boosting and super satisfying, including almonds, walnuts, and cacao powder.  Those three foods also made my Top 11 Sweet Treat Staples pantry list.

Cherries are known for their inflammation-fighting, antioxidant-rich properties, and their tart flavor works really well with the slight bitterness from the chocolate and the sweetness from the dates.

My friends and coworkers, Michela and Jillian, were all over these when I brought them to a party last week. Jillian called them Cherry Bombs, which is pretty appropriate since they are like an explosion of flavor! 🙂

cherry choco bitescherry bomb

Yield: 20-24 bites

Ingredients

  • 1/4 cup raw cacao nibs
  • 1/2 cup raw almonds
  • 1 cup raw walnuts
  • 1 cup Medjool dates, pitted (about 10-12 dates)
  • 3/4 cup dried bing cherries, unsweetened (Trader Joe’s sells these cheapest)
  • 1/3 cup almond butter
  • 1/3 cup raw cacao powder
  • 1 teaspoon vanilla extract
  • 1/4 teaspoon almond extract
  • 1/4 teaspoon fine grain sea salt + a pinch

Directions

  1. In a food processor fitted with the “s” blade or a coffee grinder, process the cacao nibs until they are broken into smaller pieces. Set them aside.
  2. Put the almonds and walnuts in the food processor and process until finely ground, about 45 seconds.
  3. Add the rest of the ingredients and process until the mixture becomes sticky – about 2 minutes.
  4. Form into balls about 1 inch in diameter, and roll them in the crushed cacao nibs for some crunch! Store them in the fridge. They taste even better after they’ve had a chance to sit for a couple of hours, so all the flavors can meld.

Sweet & Salty Super Food Chocolate Bark {Dairy-Free, Paleo}

Chocolate.

bark2

It’s one of the foods we think we “can’t have” when we eat in a way most people would consider healthy.

Fortunately, chocolate is one of the foods that absolutely can (and should!) be part of a nourishing, satisfying way of eating.

When it comes to chocolate, quality matters.

Raw cacao beans and powder (pronounced ka-KOW) have more antioxidants than any other food. Raw cacao isn’t treated by heat (and therefore damaged) like the more familiar cocoa powder, so its supercharged, health-boosting, disease-fighting antioxidant properties remain intact.

When we hear about the health benefits of chocolate, this is the kind we’re talking about.

bark3

Here are just a few more of the health benefits of raw cacao:

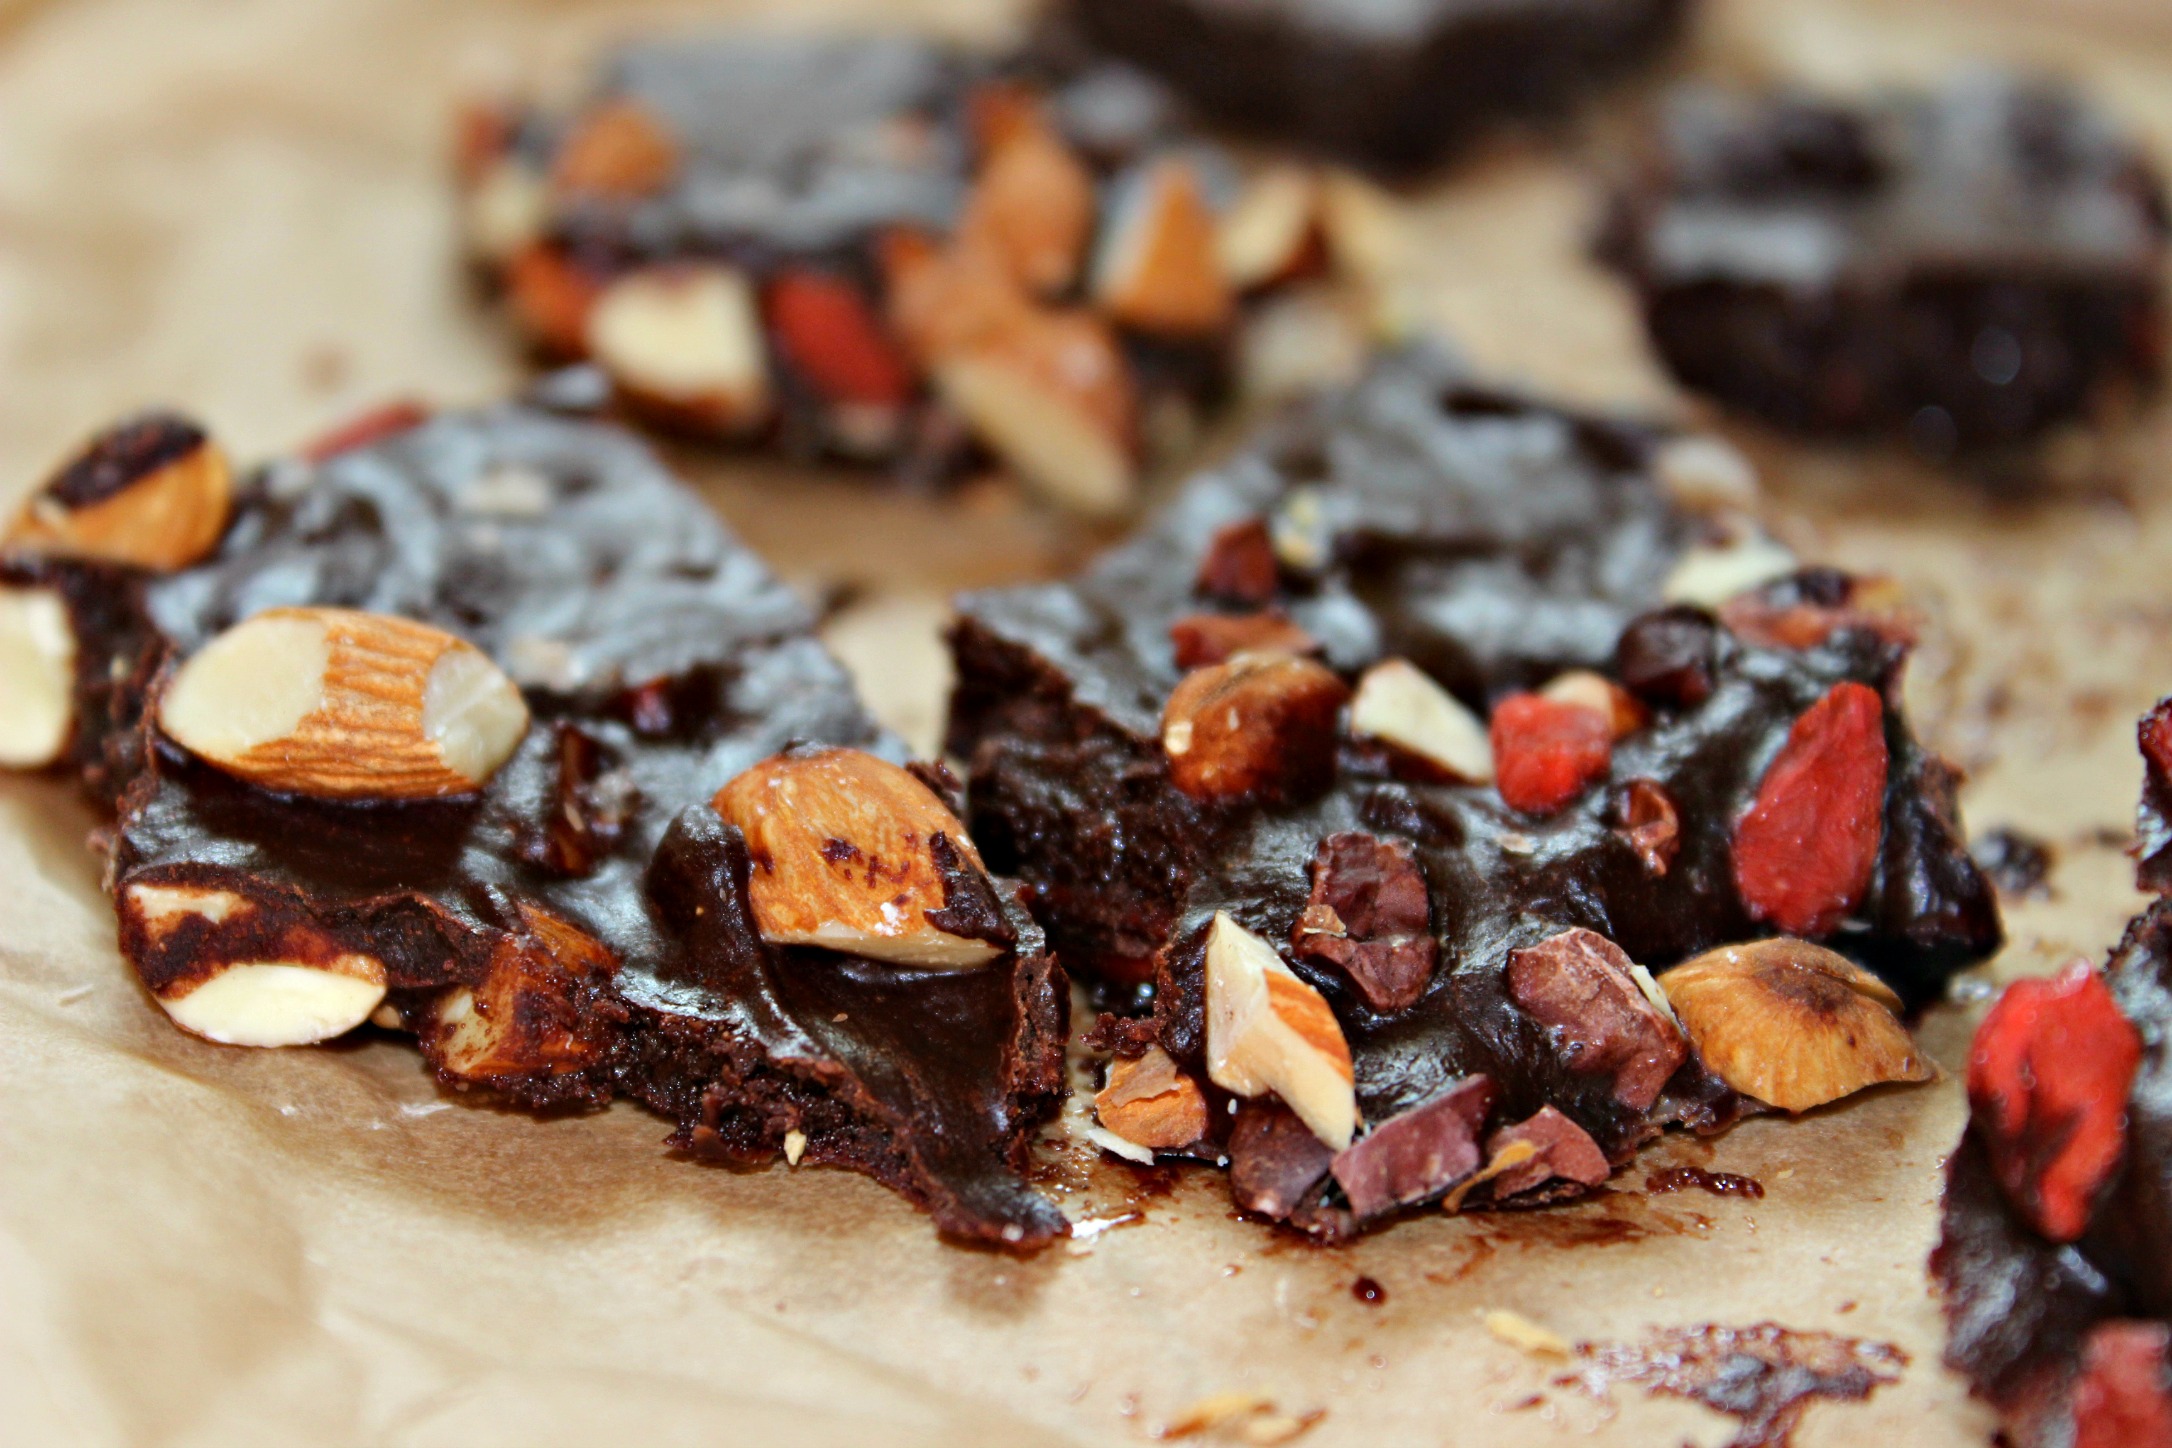
This bark recipe is truly a super food recipe because it contains TWO types of chocolate – cacao powder and cacao nibs.

Raw cacao nibs come from the whole cacao beans, so they are a bit bitter but have a nice crunch to them. They work well in this recipe because the sweetness of the bark offsets the bitterness.

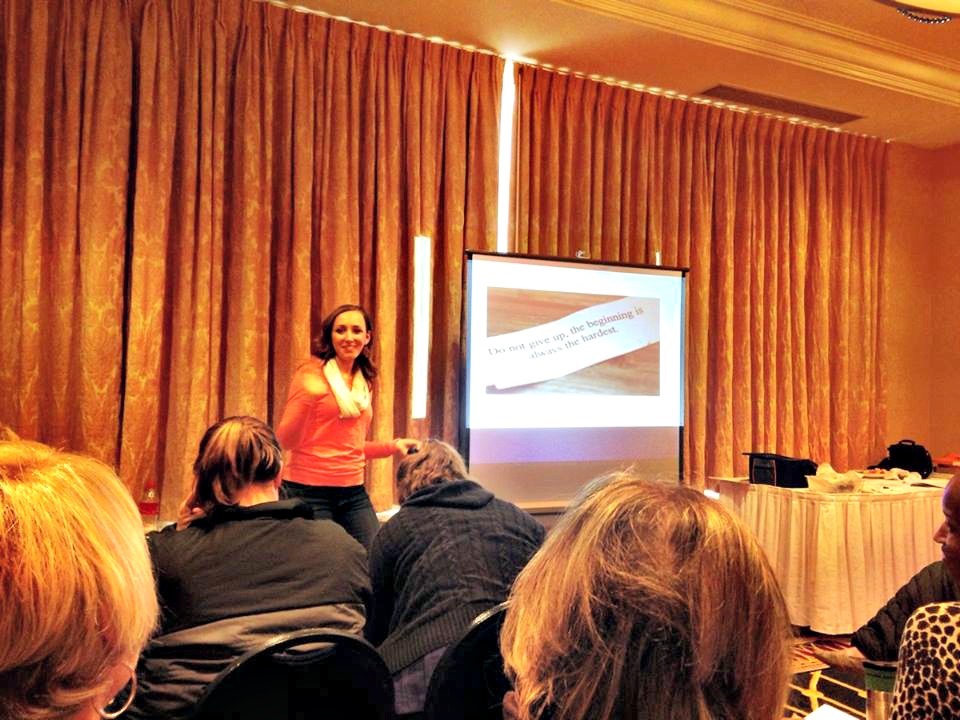
I served it last week at a luncheon at work and this past weekend at a women’s retreat where I did a presentation about taking a “Real Food Reset.” It was so much fun!

gfc

I also used almonds, which are rich in heart healthy monounsaturated fats, and provide an additional crunch factor.

In another variation of the recipe, I used pumpkin seeds instead of almonds. Both were delicious!

bark aerial

There’s one more ingredient in this bark that might not be so familiar – goji berries – but don’t let that deter you!

Goji berries, also known as wolfberries, are considered a superfood because of their high antioxidant concentration (when you hear “antioxidant,” think anti-aging, protective and pro-health!). Some of their antioxidant compounds can help protect our vision, too.

They tend to be a bit pricy, but a bag lasts me for several months, so I find that it’s worth it. I buy them on Amazon or at our local Asian grocery store (cheapest place to buy!), Vitacost.com, Wegmans, Whole Foods, Home Goods and most natural food stores.

barkmain

pumpkinseedbark1

Ingredients

  • 1/2 cup coconut oil
  • 1/4 cup coconut nectar, raw honey or 100% pure maple syrup
  • 1 1/2 teaspoons vanilla extract
  • 1/3 cup raw cacao powder
  • 2 teaspoons maca powder (optional but recommended)
  • 2 tablespoons almonds or pumpkin seeds, lightly toasted and roughly chopped
  • 2 tablespoons goji berries
  • 2 tablespoons raw cacao nibs
  • 1/4 cup dried cherries or cranberries, roughly chopped
  • coarse sea salt, to taste

bark2

Directions

  1. Line a 9 x 13 baking dish with parchment paper. Spread nuts/seeds, goji berries, and cacao nibs evenly on the sheet.
  2. Fill a small saucepan with 1-2 inches of water and place it on the stove top. Rest a small glass bowl on top and turn the heat to medium low. Put the oil and sweetener in the glass bowl and whisk together until the oil melts.
  3. Once oil and sweetener are combined, gently whisk in the vanilla extract, raw cacao powder, and maca powder until silky smooth. **Be careful not to overmix or the chocolate will get clumpy.** That’s what happened to us the first time we made this!chocolate melting
  4. As soon as chocolate is smooth and shiny, pour it on top of the nuts/seeds, berries/fruit and nibs to cover them. Shake the sides of the parchment paper, so all of the nuts/berries/nibs collect in the middle and are covered with chocolate then use a spatula to spread it out in an even layer.
  5. Sprinkle a couple pinches of sea salt on top of the chocolate.
  6. Set in the freezer to harden for about 30 minutes.
  7. Remove bark from parchment paper, break into pieces and enjoy! Store in the freezer or refrigerator, as coconut oil begins to melt as it warms up to room temperature.

Meal Planning Made Easy: Step 3…Get To It!

This is the third and final post in a series of three posts about how to make meal planning easy and doable. In case you missed the previous posts, here they are!

Step 1…Get Inspired

Step 2…Get Organized {Plus My #1 Meal Planning Tool!}

—————————————————————————————————————————————————

pinteresBy this point, we’re inspired and organized, so all that’s left for us to do is to “get to it” and get it done! 🙂

Check out my top tips below for how to make meal planning a reality!

1) Prep!

For starters, you can chop your fruits and vegetables when you get home BEFORE you put them away. Just think of it as an extension of your shopping trip. Since you already have your meal plan prepped, you know exactly what you need to do to each ingredient throughout the week. However, I realize chopping can be tedious and boring, especially if there’s a lot of fruit and veg to get through. Why not enlist the help of a vegetable chopper? It’ll save you plenty of prep time and saves you from boredom. If you’re unsure of what you’re looking for, check out what people are saying online about individual choppers, like this chopper review!

Making soup? Chop onions, celery and carrots.

Serving up a stir fry? Cook a pot of brown rice (set it and forget it!).

Having tacos on Tuesday? Brown your meat or cook your lentils if you’re going meatless.

Do you like smoothies? Measure out your dry ingredients (seeds, nuts, powders, dried fruit) at the beginning of the week, so you just have to dump them in the blender when you’re ready to whip up a nutrient-packed breakfast. Store them in the fridge.

Ingredients for everything from smoothies to snacks  prepped and ready for the week!

Ingredients for everything from smoothies to snacks prepped and ready for the week!

2) Pack & Store

This is where your mason jars come in handy. Once you’ve prepped and chopped all of your ingredients, grab a roll of masking tape and write what recipe that ingredient is for and stick it on the mason jar. Then, when it’s time to cook, the chopping is already done and you just have to dump it in!

We’re also fans of Pyrex bowls with lids and glass baking dishes. One of the prep and stores steps we take at the beginning of the week is chopping up a head of celery into stalks and a few carrots into sticks. Then, we put them in a 9 x 13 glass baking dish and fill the dish with water until the veggies are just about covered. We store it in the fridge for a week, so we have easy grab and go snacks.

Once the week wraps up, if we still have veggies left, we dump out the water, refill it and then enjoy the veggies for ANOTHER week. It’s a great way to extend the life of your produce 🙂

To pack and store food, we’re also fans of thermos’, since they can be used to keep food cold (like smoothies for breakfast) or hot (like soups for lunch). They’re not expensive.

If you don’t have one already, invest in an insulated lunch box to make it easier for you to transport healthy food with you no matter where you are.

3) Freeze It!

When it comes to meal planning and saving time and money, the freezer is your friend. Whether you’re prepping ingredients for crock pot meals ahead of time, storing leftover broth or soup, or using frozen fruit or vegetables, the freezer can come in handy. (BJs Wholesale Club has organic frozen fruits and veggies that we LOVE to use in our smoothies!)

If you’re storing liquids in the freezer in mason jars, just make sure you leave 2 inches of open space between the bottom of the lid and the top of your liquid, as the liquid will expand as it freezes. We don’t want broken glass jars or shards of glass in our freezer (although it has happened to me!).

Hearty Black Bean and Rice Stew that we froze and enjoyed over multiple weeks!

Hearty Black Bean and Rice Stew that we froze and enjoyed over multiple weeks!

Make a double batch of soup or stew or a casserole and throw it in the freezer. If you’re in a pinch one night or have a busy week it’s easy to just reheat it in the oven or on the stove.

4) Love Those Leftovers

This goes along with #3 above but uses up your fridge space, too! When you make a big batch of a casserole, soup, stew or other dish, store some in the fridge (what you know you’ll eat up in a few days) and freeze the rest.

Check out this page for a list of my soup and casserole recipes as well as a recipe for mini make-ahead frittatas – perfect for breakfast, lunch or dinner!

We love making batches of soup to have throughout the week, along with chopped veggies, energy bites, and paleo parmesan cheeze.

5) Make It Social

You can get really creative with this, but here are some ideas that have inspired me:

*Have a meal swap potluck party with neighbors or friends. Invite a small group of friends over (you could even do this with 1-2 other couples) and have each person prepare a dish or two. Then, bring your glass jars and containers, so you can take home a little bit of everything. It’s a great way to try new recipes and enjoy other people’s cooking.

*Use a meal planning tool like the one I shared in the second post in this series and plan meals together with coworkers, friends or family. I read on another blog that two moms did this while their daughters were at ballet lessons. They brought cookbooks and planned out the week’s meals together. It was a great way to bond and get stuff done!

My favorite meal planning tool!

My favorite meal planning tool!

*Have a crock pot party with a group of friends (everyone bring your crock pots together with the ingredients you need and then set it and forget it!). You could even make a day of it – prep in the morning, head out to do something fun and then come back to the mouthwatering smells emanating from your crock pots!

*Create a dinner party group and rotate who hosts the group. The host is responsible for the main dish and everyone else brings a simple side. Bring containers for leftovers!

6) Pump Up the Volume

I’ve always loved music, and rocking out in the kitchen to my favorite Pandora or other radio station is a great way to add some fun into a seemingly boring task…like chopping vegetables.

Working out is more fun with music (which is probably why I love Zumba so much), so why not apply the same way of thinking to cooking?! Time will fly, and you’ll have fun 🙂

7) Make Cooking Time Quality Time

Instead of cooking being something that “takes up time” or pulls you away from other ways you want to spend your time, make cooking time quality time – time to spend with your family and friends – with everyone having a task to do to help pull together a meal.

One of the easiest ways to make cooking time quality time is to pick a theme that makes it fun to be together. From Take Out Fake Out Thursday to Eat Like a Viking night, check out all of the ideas about how to “Get Inspired” from the first post of this series.

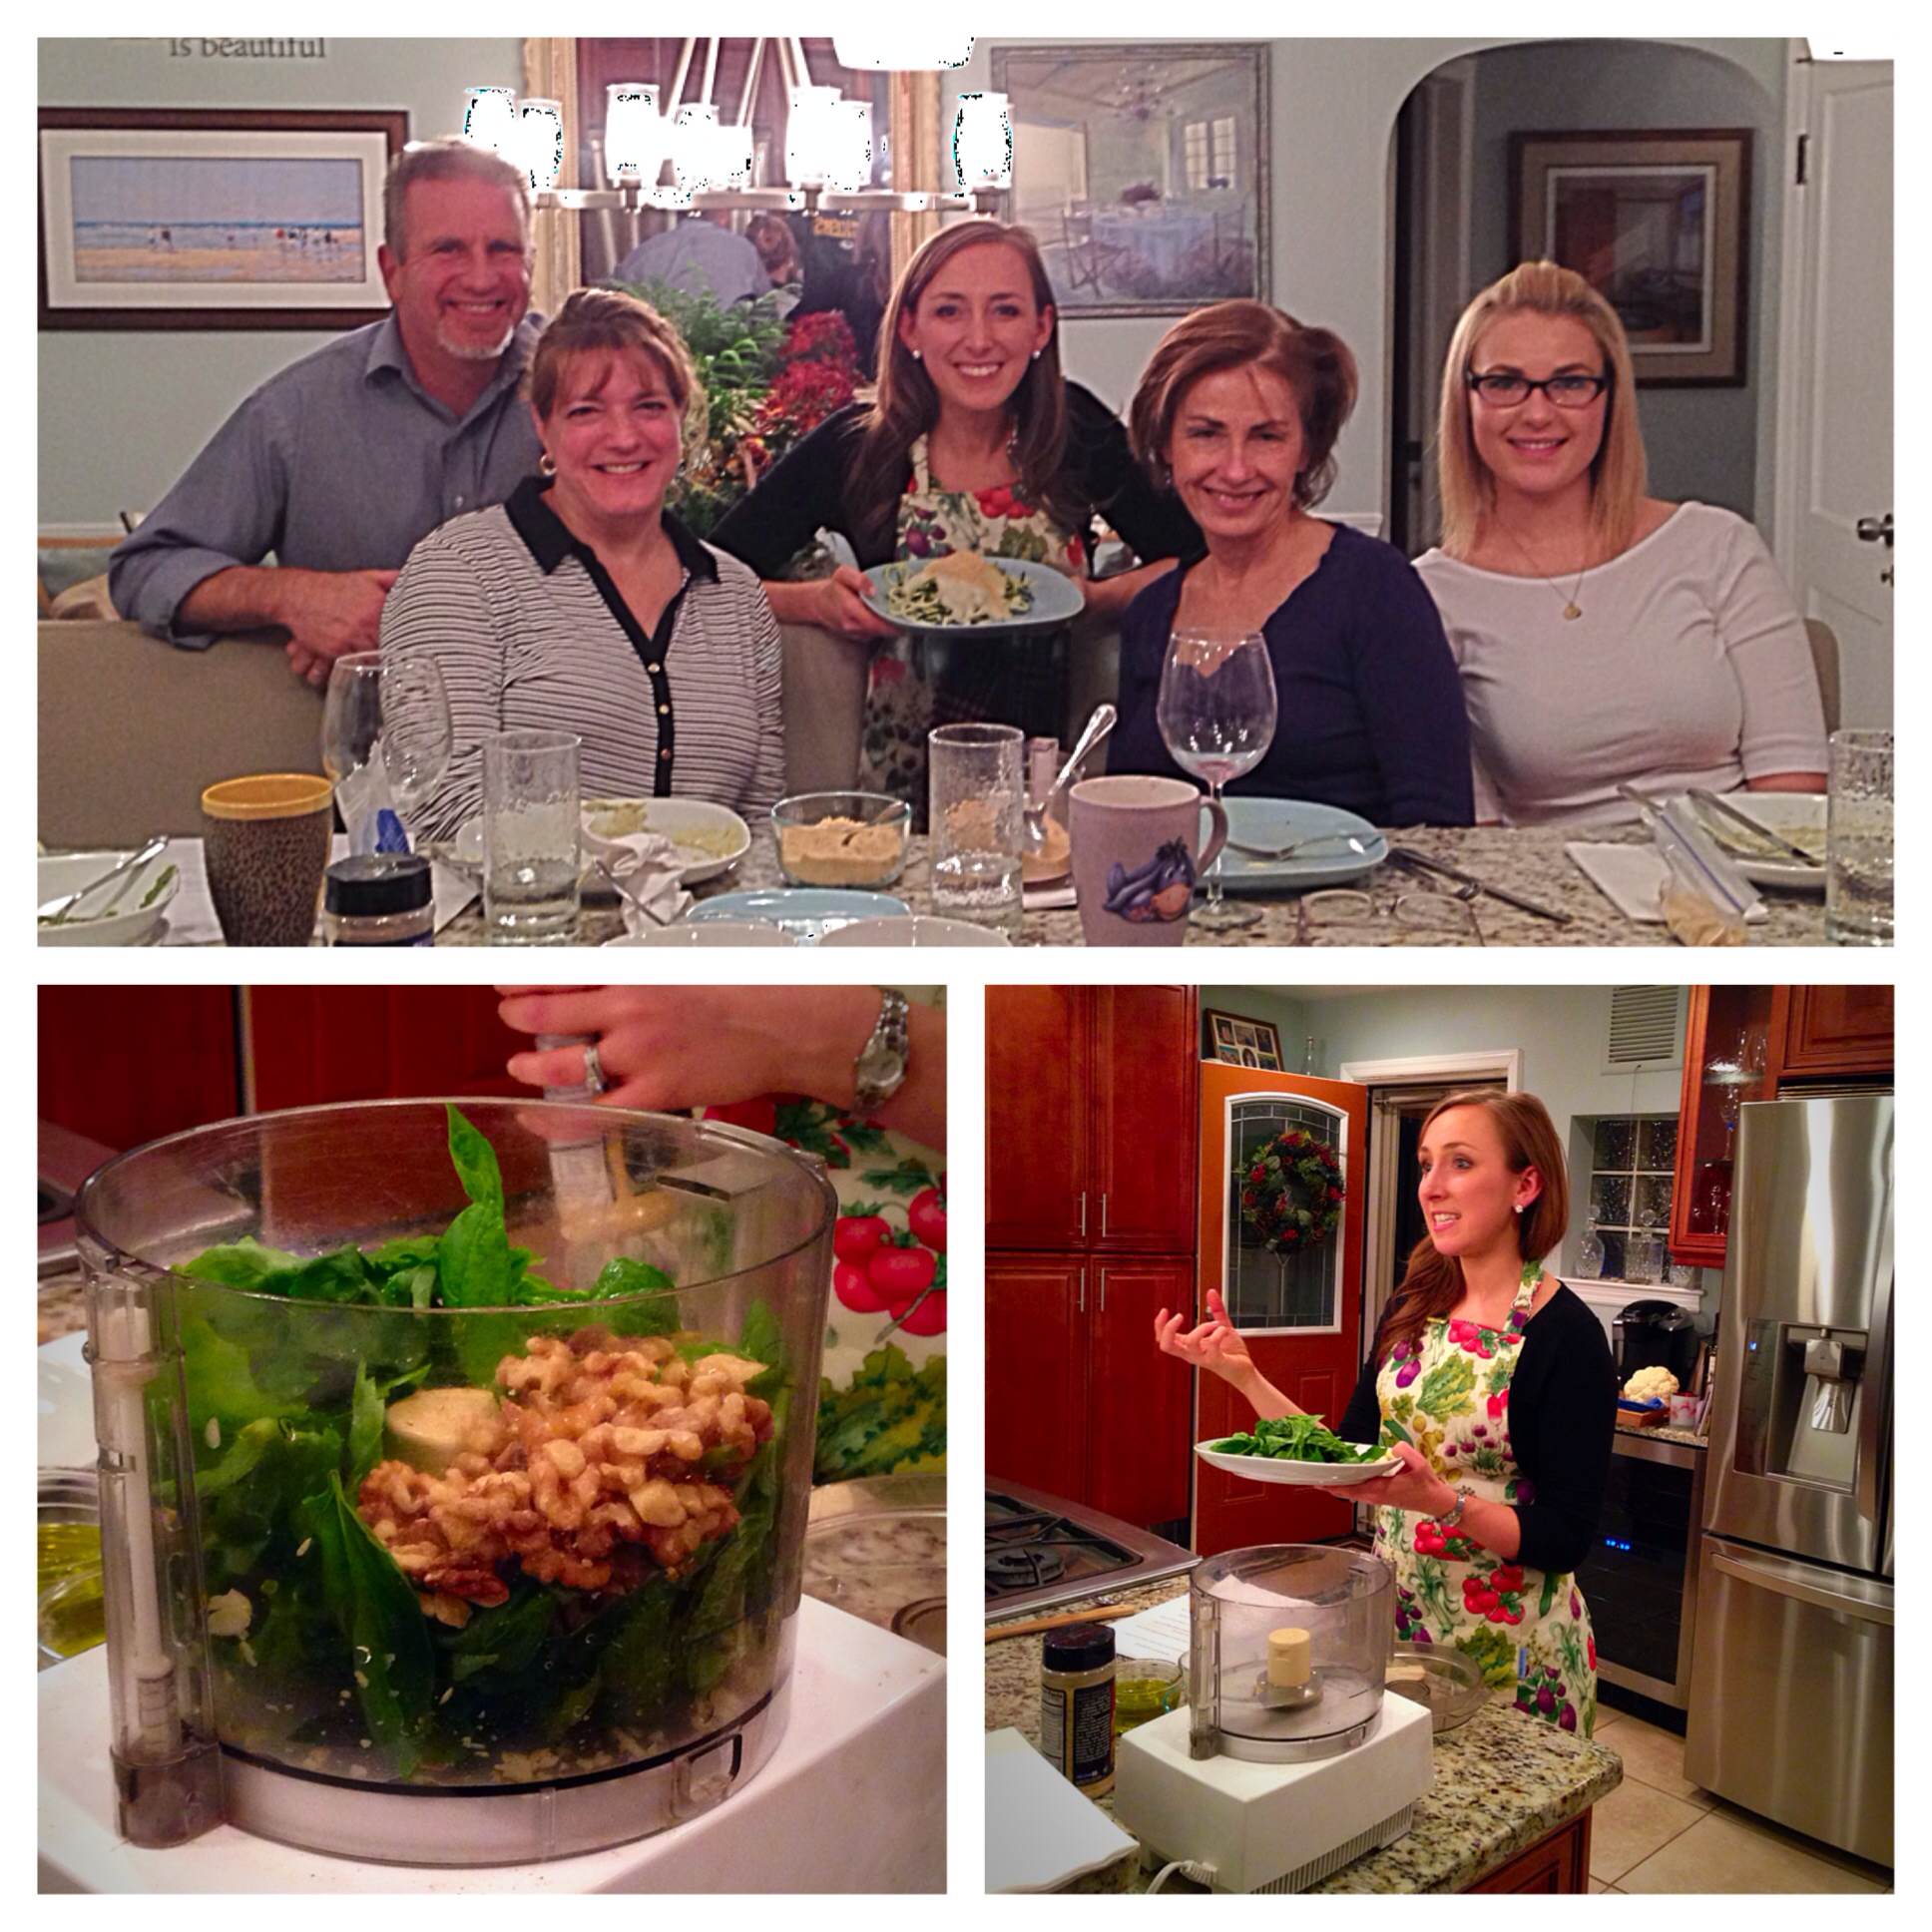
You can even host a cooking class at your house to bring friends and/or family together to learn new recipes and get inspired. Contact me here if you want to learn more about classes I can teach!

IMG_7040 (1)

8) Use a Meal Kit Service

If you like to cook but hate the idea of doing all of this prep, check out one of the meal planning kit services below! I also recommend taking a look at the benefits of home chef vs blue apron. You pay for the convenience of having everything done for you, but it may be worth it, even if just once a week. Meal prep and planning can be very tiring so a meal kit might be a great option for you if you have a busy lifestyle.

  1. BlueApron
  2. HelloFresh
  3. Plated

And, there you have it! Those are my 3 steps to make meal planning fun and time and money-saving. From getting inspired to getting organized and then finally “getting to it,” I hope you learned at least one new thing that will help you make meal planning easier!

Ok, now it’s your turn! Do you have any meal planning tips you’d like to share?What did you find MOST helpful from this series? Feel free to share below! I really do love hearing from you 🙂

Meal Planning Made Easy: Step 2…Get Organized

As I shared in my first post in this series, Meal Planning Made Easy: Step 1…Get Inspired!, meal planning doesn’t have to be a drag or feel like a chore…it can even be FUN once you start to get some creative ideas flowing 🙂

In today’s post, I’m going to tell you about my absolute FAVORITE meal planning tool. It makes meal planning and easy and even gives you the option to print a shopping list directly from the site!

Let’s take a look at my top 3 tips to Get Organized!

1) Tackle your toolbox.

I’m not talking hammers and nails here, but the truth is, if we want to plan and start cooking our meals, we have to have the right tools in our kitchen to make prepping and cooking easier and more efficient.

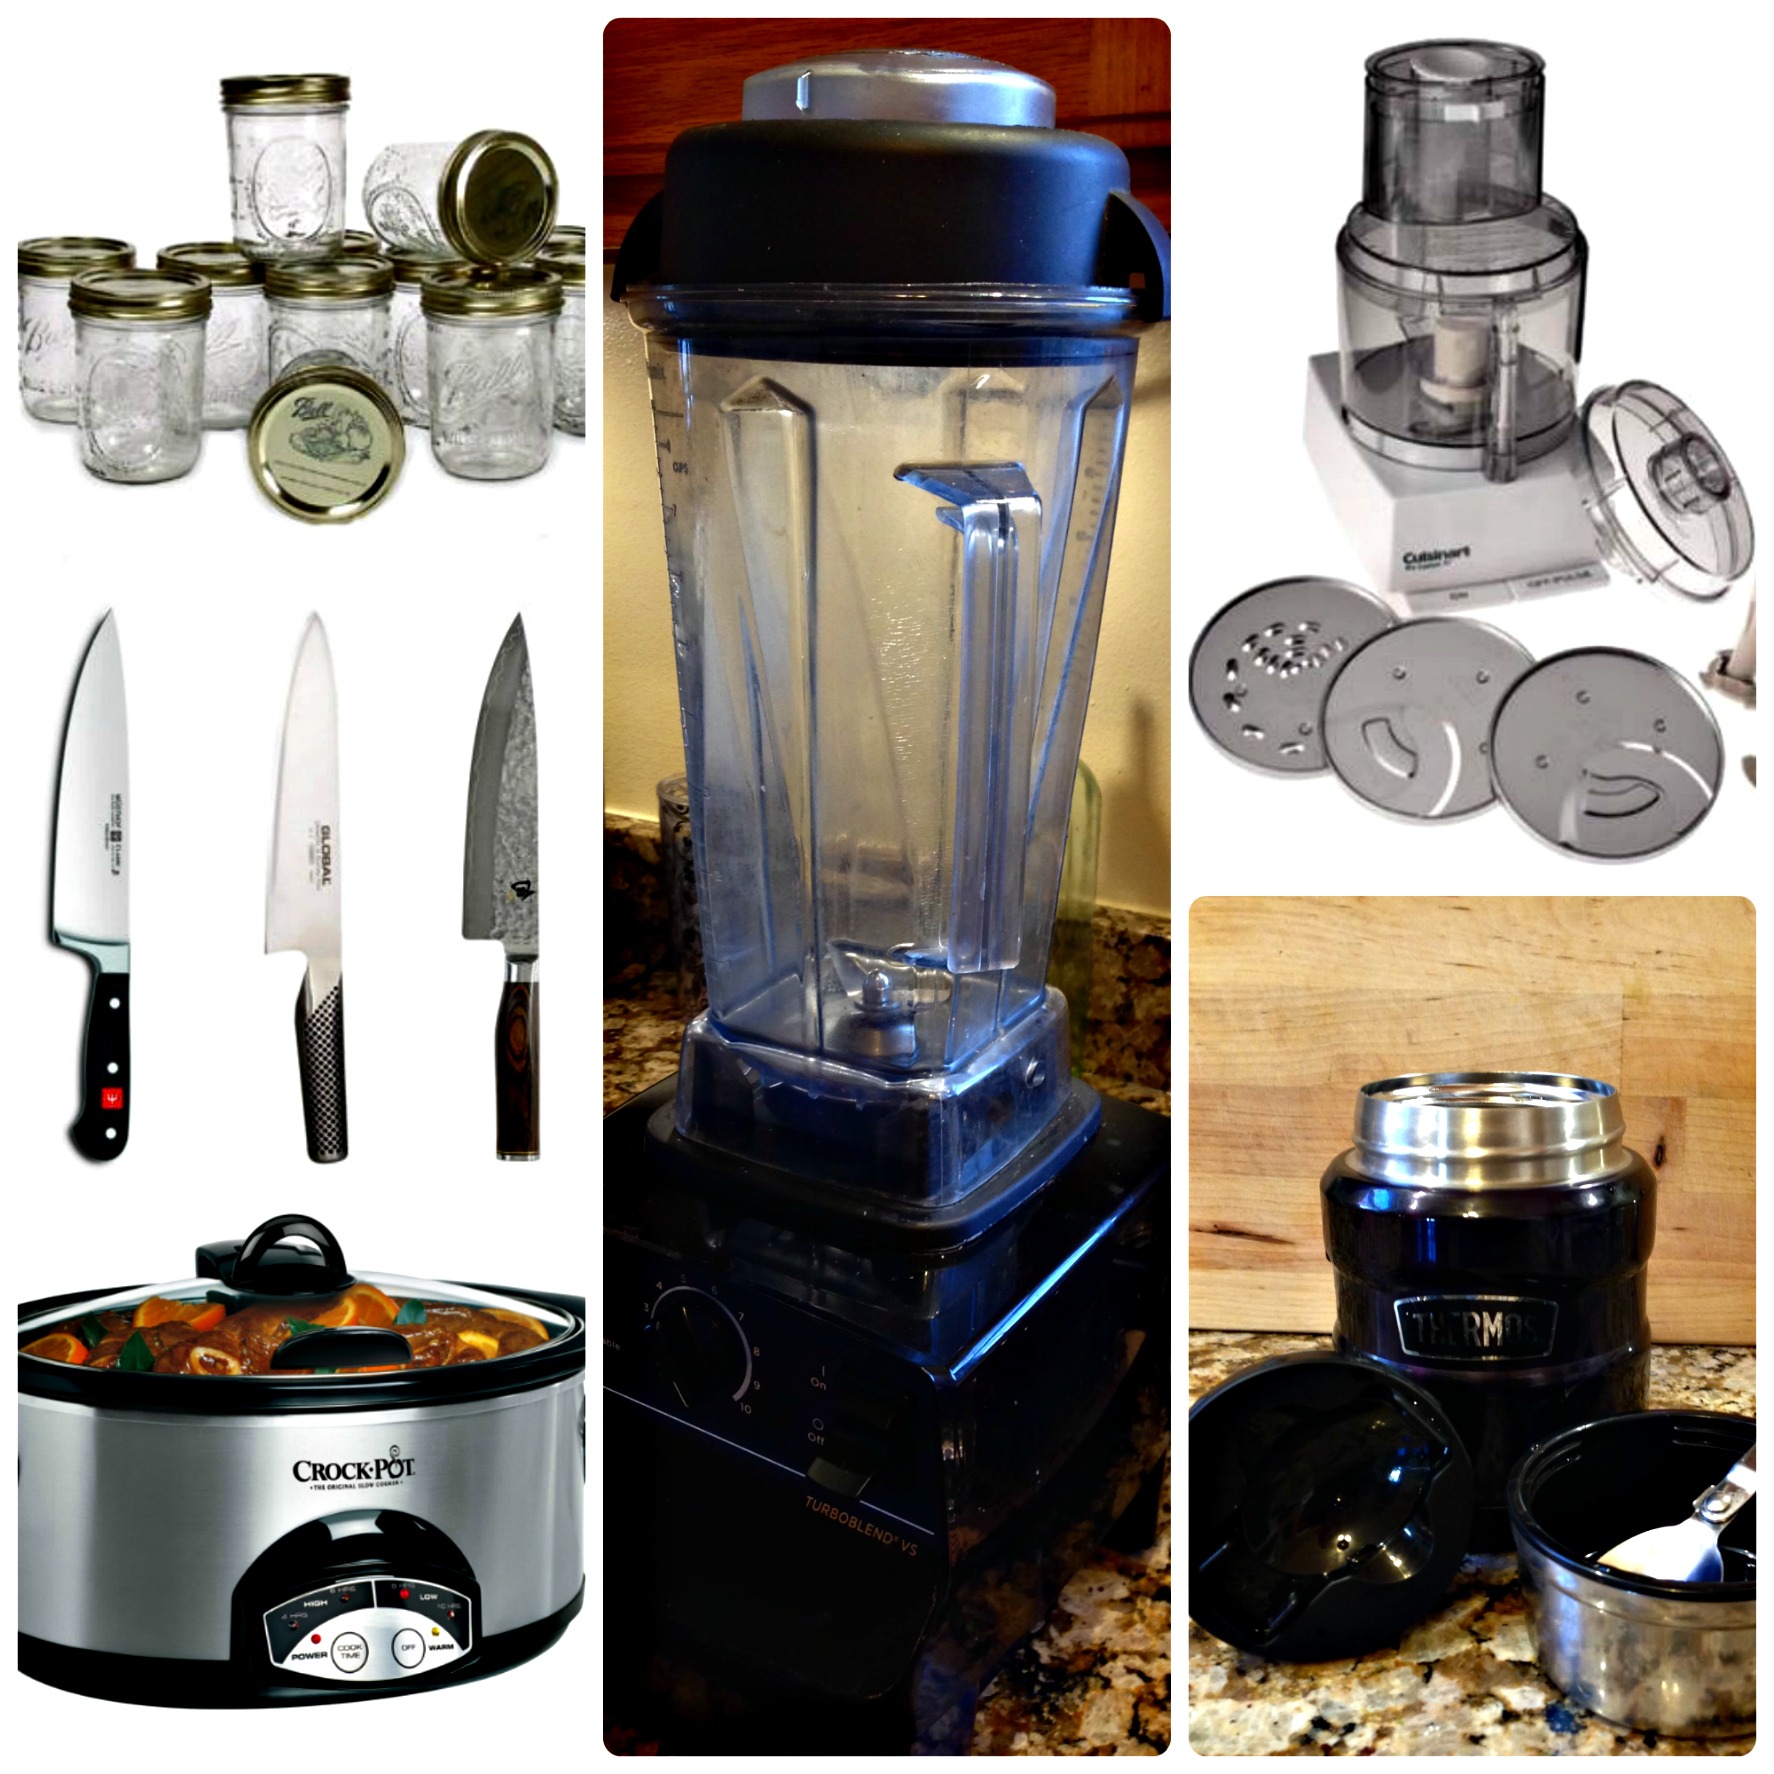
Here are my top 6 tools: (1) glass mason jars for food prep, storage and freezing; (2) a chef’s knife; (3) crock pot; (4) high-speed blender; (5) food processor; and (6) thermos (to transport hot & cold food!).

kitchen tools

The key to using these tools is to make them accessible. If they’re stowed away in a closet in your basement, you won’t use them. Trust me. Put them on the countertop or on a table in your kitchen or dining room. If they are easy to access, you will be much more likely to use them!

2) Clean out & restock your pantry.

I like to think of my approach to eating as “common sense nutrition,” so here’s a simple rule of thumb – If you keep healthy food in your house, you will eat healthy food. If you keep junk food in your house, you will eat junk food.

Start with a pantry clean out and toss anything that is expired or that you don’t use. (That would include your jar of sage from 2003 🙂) Ask yourself,

“Does this support my healthy goals? The person I want to be? How I want to feel?”

If the answer is “no,” toss it. Make it easier for yourself to make healthy choices!

I’ve shared my top 10 everyday pantry essentials and my top 11 sweet treat staples in previous posts, so check them out if you want to know some staples I always have on hand in addition to the basics like beans, lentils, peas, brown rice, and quinoa.

pantry staples text

3) Use a Meal Planning Tool!

My favorite is Plan to Eat. I introduced it to my coworkers a few weeks ago, and they LOVED it. Here’s why!

  1. Add Recipes: You can add your own recipes manually, use the Plan to Eat bookmark bar just like the Pinterest pin icon to automatically upload whatever recipe you’re viewing into your recipe book, or paste a URL from a recipe website into the box on the Recipes page using the Add Recipe button.
  2. Plan Using the Calendar: Drag and drop your recipes into the calendar and plan meals for a day, week or for several months!PTE
  3. Printable Shopping List: As you add recipes to your planner, the shopping list will update and add in all ingredients you need for each meal. You end up with an organized, easy to follow shopping list that you can print out and take with you to the store. You can check off items you already have and even add certain items to your grocery staples list.
  4. Add Stores: Do you shop at multiple stores? No problem! Add each store to your list and you can move items on your shopping list to the store where you buy them.
  5. Get Social: You can Add Friends, which lets you access each other’s recipes.

They don’t have an app, but the website is 100% mobile-enabled, so you can easily use it from any device.

You can sign up for a free 30-day trial to try it out yourself before you commit. They don’t take your credit card info ahead of time like other websites do, so it really is free. The cost for an annual membership is $39. Renew on Black Friday to get a year for $19!

Check out the quick video below to learn more about how Plan To Eat works and see it in action!

https://www.youtube.com/watch?v=XPKa2XHkkIo

If you’re interested in checking out meal planning apps, take a look at MealBoard or Paprika. I can’t speak from experience on those, but they do have good reviews online.

In my final post of this series, I’ll be sharing some practical tips for how to actually “Get To It” and start putting the ideas in steps 1 and 2 into practice!

What’s your favorite meal planning tool? Do you have any tips you’d like to share?

Meal Planning Made Easy: Step 1…Get Inspired!

This is the first in a series of three posts about my top tips for meal planning. Planning our meals is one of the keys to eating healthy, saving time and money, and taking the stress out of mealtime!

—————————————————————————————————-

We have lots of priorities and commitments that demand our time, attention, and energy, but we only have so much we can do in one day.

It can be easy to let something like food slip into the lower level of those priorities, especially if we associate it with being stressful and having to do more work.

A recent study found that 85% of people said eating a healthy dinner was important to them, despite the fact that fewer than 50% were reaching that goal.

Easy healthy dinner idea!

Easy healthy dinner idea!

So, where’s the disconnect?

We’re not cooking...

But why?

Many people don’t cook because they don’t think they can, others rely on a partner who does all the cooking, some hate cleaning up the mess or say they don’t have time to cook, and most think going grocery shopping takes too much time.

guy fieri

Let’s talk about time.

In 2013, the average American, regardless of weekly earnings, watched 2-3 hours of TV per day.

Hear me out on this one.

This isn’t about guilt, blame, shame, or condemnation – I’m never about those things on this blog. And I like watching Jimmy Fallon, The Voice, and Top Chef as much as the next person.

This is about taking a step back and being honest with ourselves. Here’s the reality:

If we want to have ENERGY, feel GREAT and be HEALTHY, then we have to make food a priority.

It’s not about having time, it’s about making time. Each of us has 24 hours each day – no more, no less.

The idea of meal planning initially SEEMS time intensive, but trust me, once you make it a habit, you will be amazed by how much money (AND time) you save, how much healthier you eat, and how calm and unstressful mealtime can become.

Remember, if food is what fuels and nourishes us throughout the day, and we want to feel energized, then taking ownership over what we eat by planning and preparing our meals is the #1 way to get there.

Inspired by The Kitchn, an awesome website for all things cooking, food, and tips and tricks, I want to share with you 3 keys to get you excited about meal planning!

  1. Get Inspired
  2. Get Organized
  3. Get To It

*Get Inspired*

1) Grab a cookbook! If you want to take the intimidation factor of meal planning and cooking down a notch, just use ONE cookbook to pull recipes from instead of spending hours searching online. Five Below often has great deals on Paleo and other healthy cookbooks.

Take Action: Here’s a post I wrote about some of my top picks for healthy & delicious cookbooks.

IMG_6709

2) Use recipe templates. The Environmental Working Group and a grad student from NYU have created two handy guides that you can use to find healthy recipes for breakfast, lunch, dinner, and snacks. What I like about templates is that they give us flexibility and can take some of the stress out of cooking for fear we will “mess up.”

Take Action: Click here to go to the full post I wrote about eating healthy on a budget to access the 2 FREE guides or click on the links below:

Good Food on a Tight Budget Recipes

Eat Well on $4/Day: Good & Cheap Guide

3) Pin It! If you like Pinterest (it took me awhile to warm up to it), that can be a great place to go for inspiration and specific searches.

Some of my top words and phrases to search on Pinterest are: “paleo,” “dairy-free,” “vegan,” “gluten-free,” and “clean eating” plus whatever ingredient I want to use or cuisine I’m in the mood for (i.e., Mexican, Indian, Chinese, etc.). Anything that is paleo or vegan will, by definition, be dairy-free, too (except butter, the paleo way of eating includes grass-fed butter).

Take Action: Click here to follow my boards on Pinterest!

pinning recipes

4) Make It FUN and follow a theme. Meatless Monday, Taco Tuesday, Wacky Wednesday (Viking Night – eat with your hands!), Take Out Fake Out Thursday (stir fry, make your own healthy pizza station, make your own salad station), Fish or Fiesta Friday, Souper Saturday, and Casserole or Crockpot-Style Sunday are just a few ideas to get you started.

Take Action: Pick ONE theme idea that appeals to you. Try it out next week and see how you like it!

Come back tomorrow as I share my top tips to help you “Get Organized” as well as my FAVORITE meal planning tool and how you can get it free for 30 days! 

Which of these ideas is most helpful to you? I’d love to hear from you!

Love in a Bowl White Bean & Fennel Soup {Vegan, Dairy-free, Gluten-free}

The cold weather we’ve been having lately has put me in a serious soup/stew/chili-making mood.

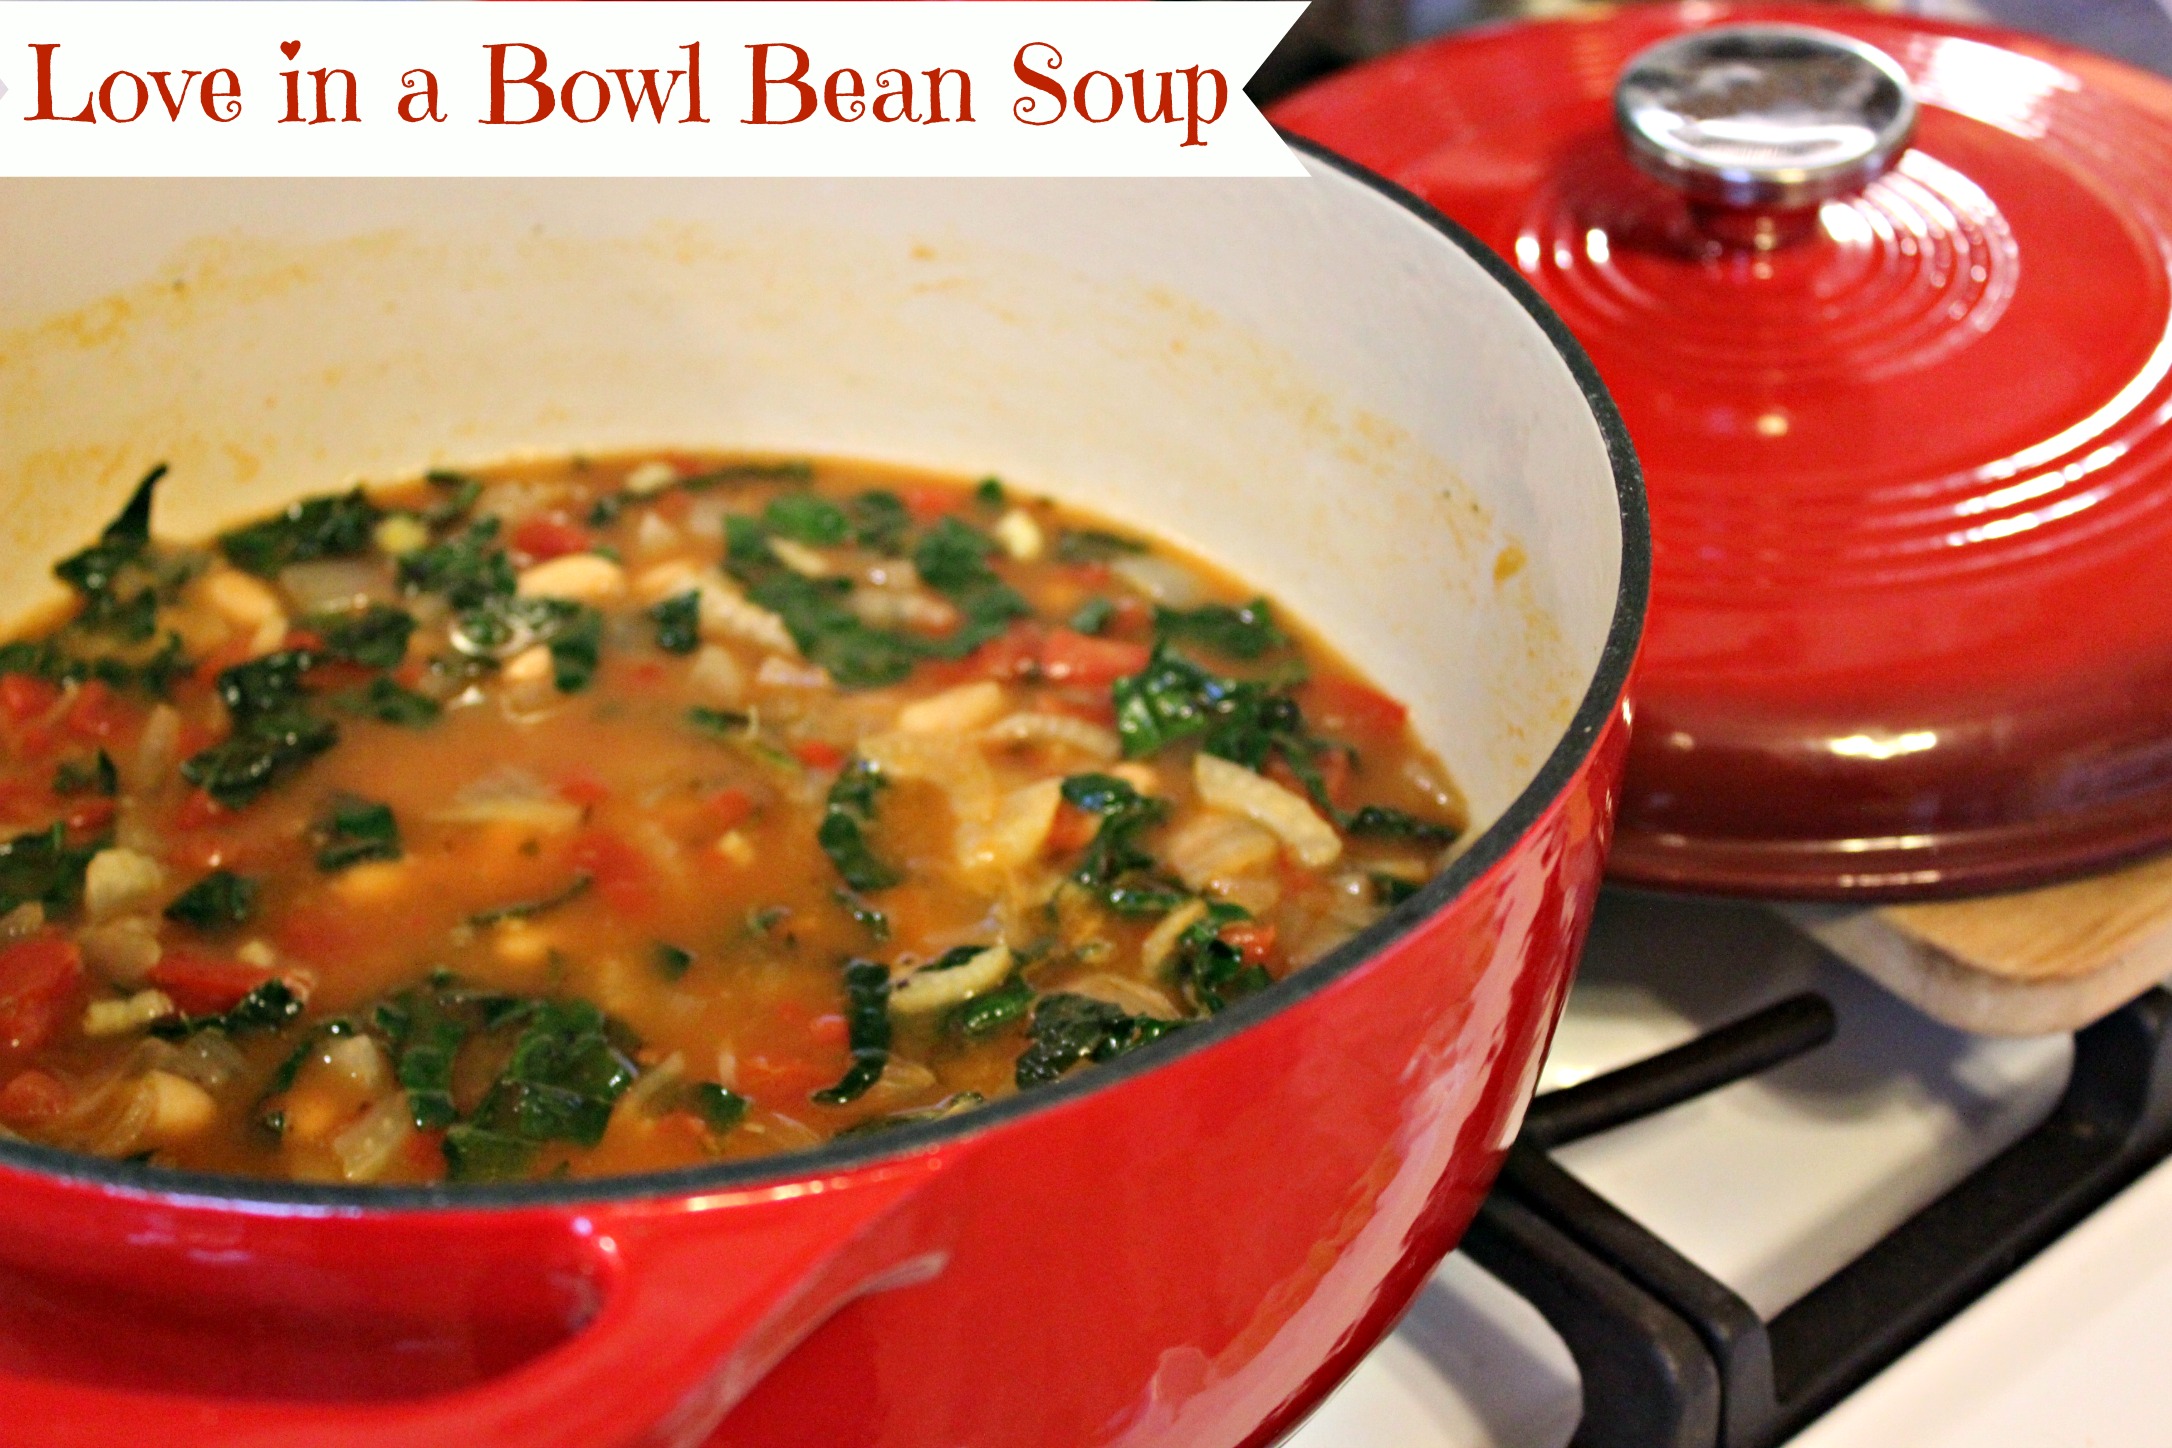
And since my husband gave me this cast iron Dutch oven for Christmas, making these one pot meals has been easier than ever!

Atwater’s, Great Sage, and Zia’s Cafe are my favorite places in Baltimore to buy soups for lunch or dinner when I’m out on the road, but I also like making them myself.

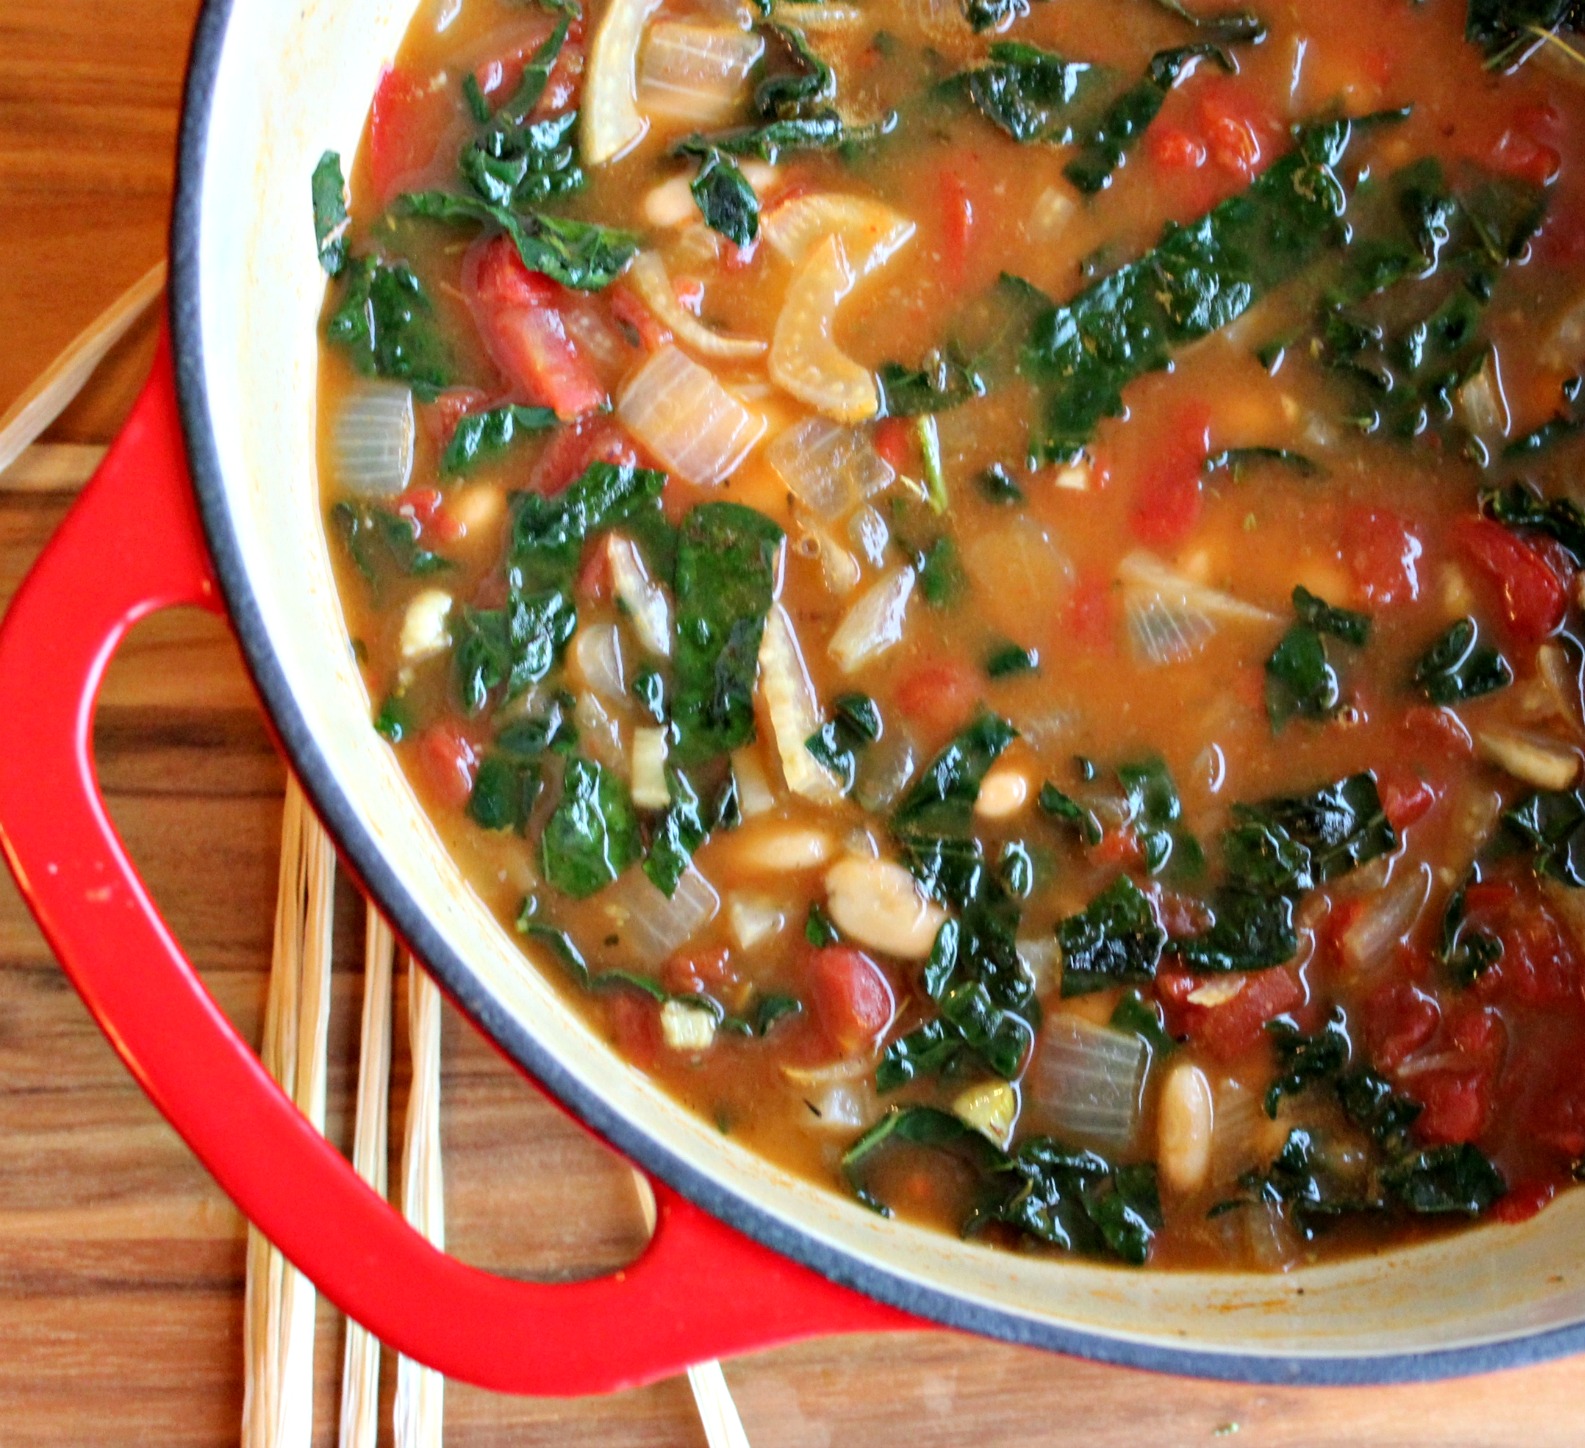
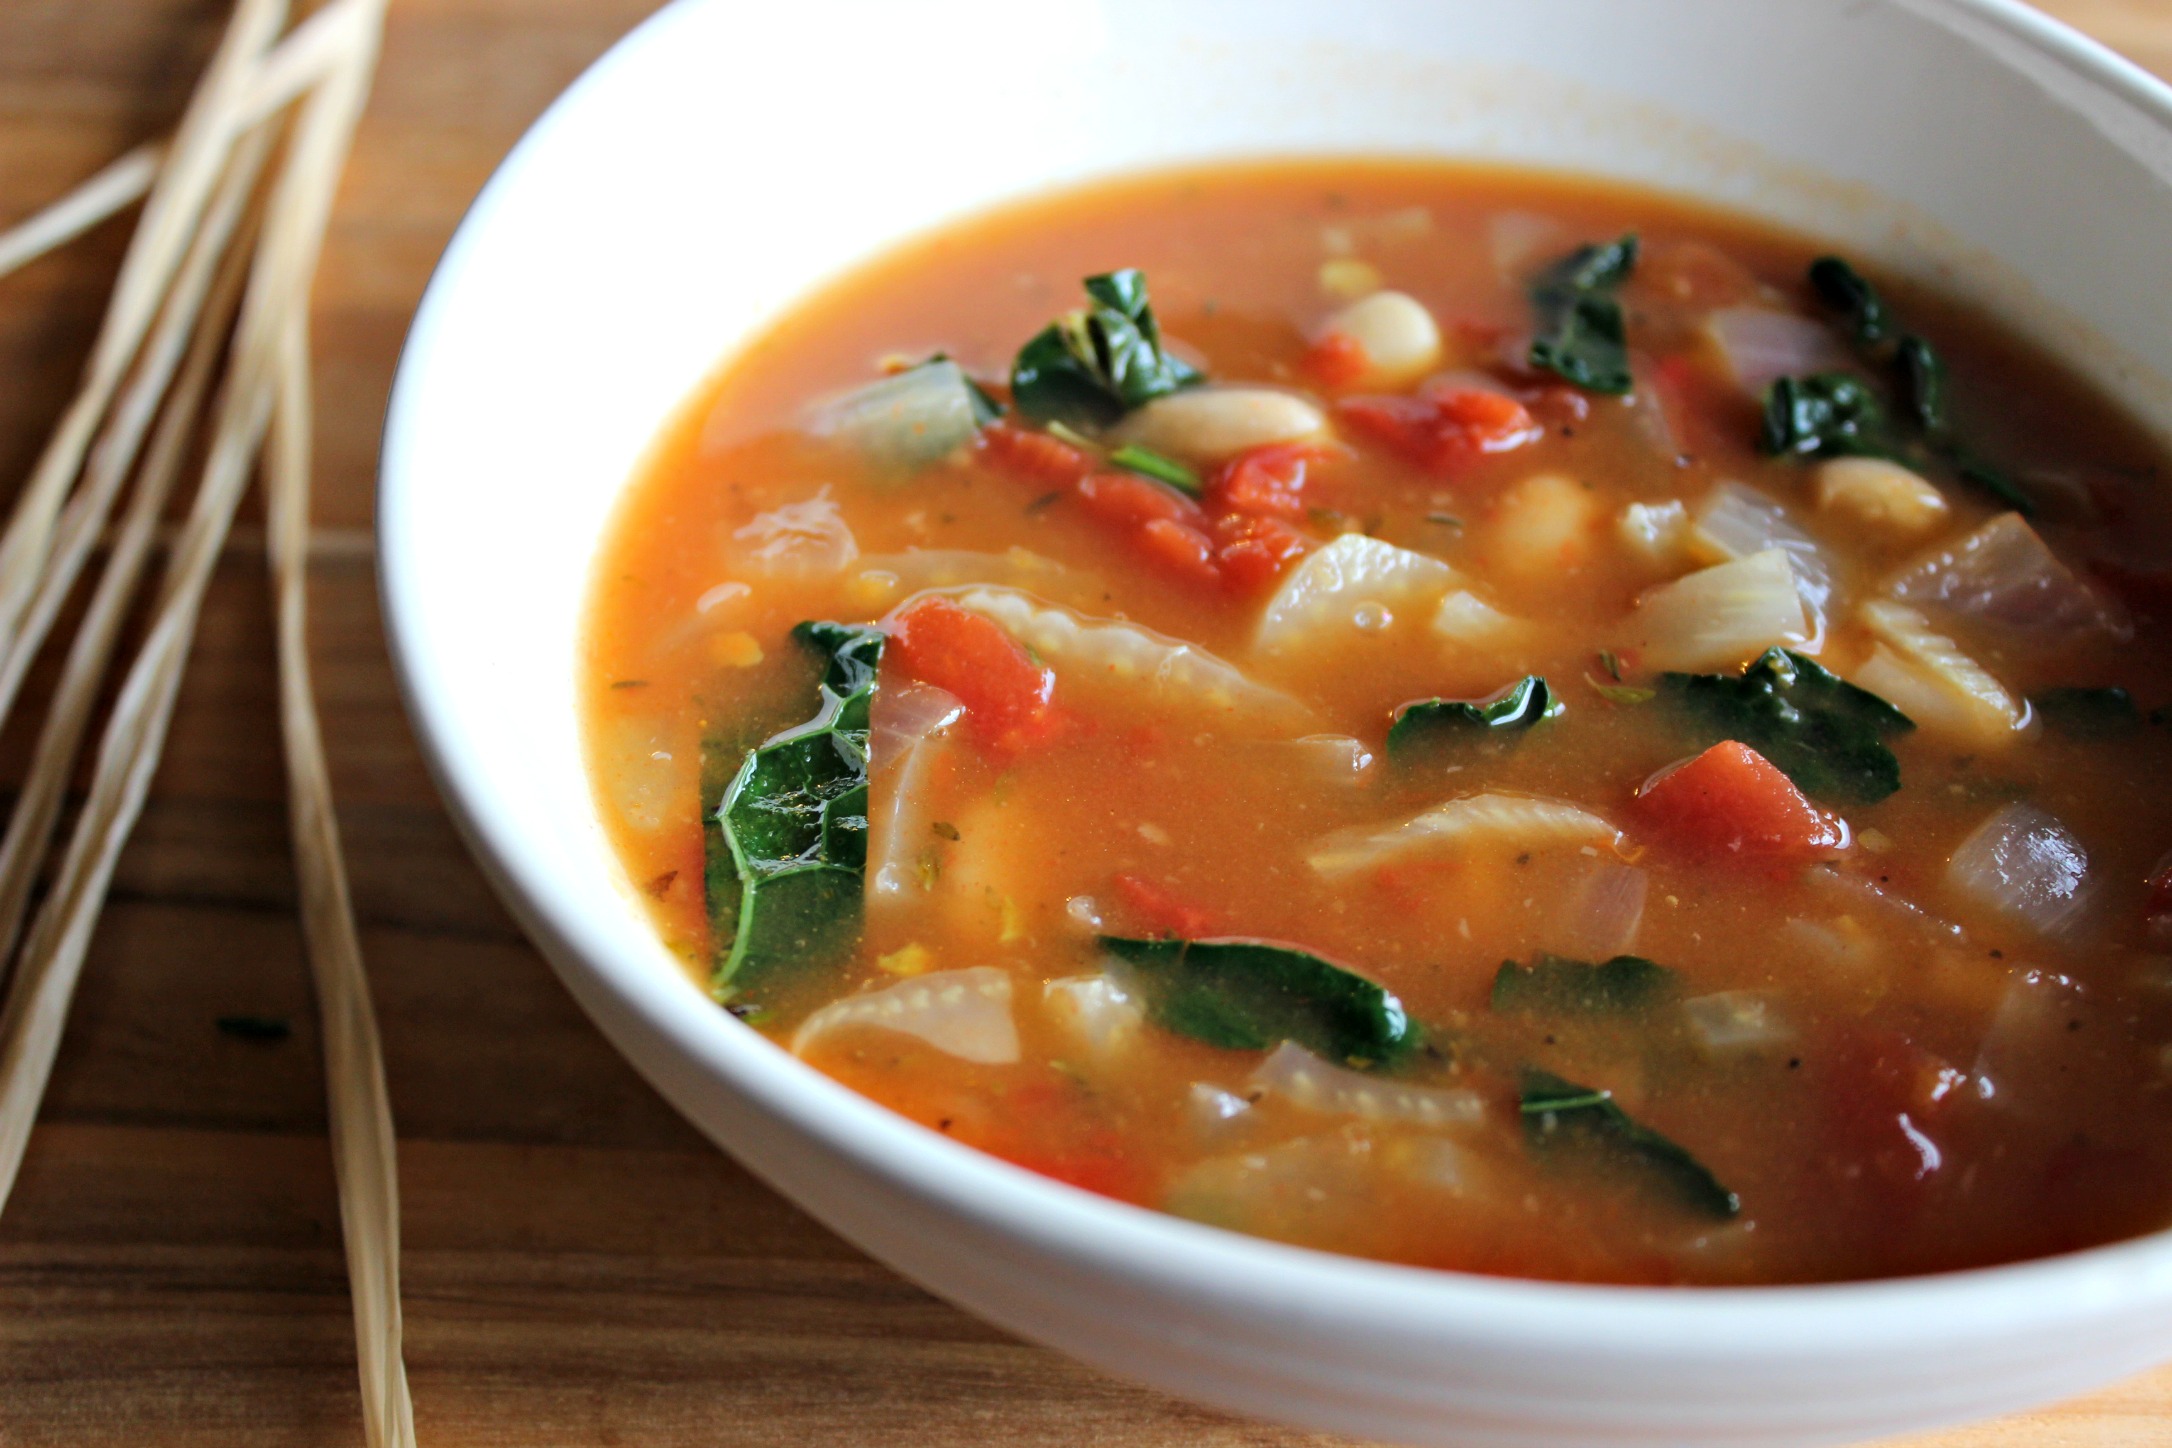
Today’s recipe is for a hearty, colorful White Bean & Fennel Soup that is bursting with flavor. It’s full of powerful, anti-inflammatory veggies like onions, garlic, fennel, and kale, along with fiber-filled beans and a tasty blend of Italian herbs.

When you eat it, it’ll make you smile and warm your soul. That’s why I call it Love in a Bowl 🙂

crockpot bean soup ennel bean souplove in a bowl

Ingredients

1 tablespoon coconut oil or extra virgin olive oil
1 medium onion, chopped
fennel bulb (stalks removed) and thinly sliced (see how to pictures below directions)
3 cloves garlic, minced
1 teaspoon dried thyme
1 teaspoon dried oregano
1/4 teaspoon black pepper
1/4 teaspoon crushed red pepper flakes
3/4 teaspoon coarse sea salt, divided
1 box or can no/low-sodium fire roasted or plain diced tomatoes, with juices (don’t drain)
6 cups vegetable broth
1 bay leaf
4 cups dino kale, destemmed and shredded
1 (15-ounce) BPA-free can cannellini beans, drained and rinsed (We love the brand Eden)
Juice from half a lemon, more to taste

Directions

  1. In a large Dutch oven or 8-quart pot, saute onion and fennel in coconut oil until tender, about 5-7 minutes.
  2. Add garlic, herb blend, pepper, red pepper flakes, and 1/4 teaspoon salt and stir constantly for 30 seconds.
  3. Add tomatoes with juices, broth and bay leaf and bring to a boil. Reduce heat, cover and simmer for 30 minutes.
  4. Discard bay leaf. Add remaining 1/2 teaspoon sea salt and kale, and continue simmering until kale is tender, about 5 minutes.
  5. Stir in beans, and simmer until heated through, about 2 minutes.  Taste and add more salt and/or pepper if necessary. Finish with lemon juice. Serve & enjoy!

In case you missed it, make sure you check out this post for the easiest and cheapest way to make your own vegetable broth from scratch.

How to chop fennel

My 5 Favorite Healthy Cookbooks…All Gluten-Free {And My Wish List!}

“The pictures looked so good online. I don’t know why it didn’t turn out that way when I made it!”

Entire articles are dedicated to capturing people’s Pinterest fails when it comes to attempting new recipe creations.

hilarious-pinterest-fails-25

It can be discouraging to put all of the effort into trying something new only to have it end up in the trash. It’s one of the reasons people don’t try new recipes.

“What if it doesn’t turn out right?”

“What if I ruin it?”

“I hate wasting food…and money on food.”

Yes, yes, yes! I’m with you on all three of those. I want my dishes to be tasty and delicious and to feel like buying the ingredients was money well spent.

One of the ways I’ve learned to give myself a better chance of making successful recipes over the years is using cookbooks. What I’ve found is if I like a few of someone’s recipes, I tend to be more confident that other dishes they’ve created will be good, too. And usually, I end up with a yummy meal.

Whether you’ve been cooking for years, are just getting started or are learning a new way to cook based on some health challenges or the way you want to feel, using a cookbook can be a great way to bring some excitement and variety to your kitchen.

Check out a few of my favorite go-to cookbooks when I’m feeling burnt out from Pinterest, am looking for inspiration, or just want to go old school and use an actual book instead of a website. I’ve also given you a list of the top cookbooks on my wish list. Any of these would make great Christmas gifts for yourself or the food lovers in your life!

IMG_6709

Nourishing Meals: Healthy Gluten-Free Recipes for the Whole Family by Alissa Segersten & Tom Malterre

You know a book has good recipes when you have about 100 Post-it flags sticking out of it of all of the recipes you have made or plan to make. My nutritionist raves about Tom Malterre, the co-author of this cookbook, citing him as one of the best nutrition experts out there. He and his wife, Alissa, have 5 kids and are incredibly knowledgeable about how to eat for health AND make kid-friendly meals and snacks.

Favorite Recipes: Asian Chicken Salad, Apple Cider Baked Beans, Cajun Red Beans and Quinoa, Chipotle Yam Fries, Chana Masala, Mint Chocolate Chip Ice Cream and Peanut Butter Monster Cookies. I could go on forever! This is hands-down one of our favorites.

The Whole Life Nutrition Cookbook by Alissa Segersten & Tom Malterre

In their newest cookbook, Alissa and Tom feature 300 Delicious, Whole Foods Recipes, including Gluten-free, Dairy-Free, Soy-Free, and Egg-Free Dishes. They don’t just share recipes for everything from smoothies and muffins to dressings, dips and desserts. They also teach some vital information about food sensitivities (we’re not just talkin’ peanuts), digestive health, how to stock your kitchen, and cooking techniques. Not only that, but the photos are stunning!

Favorite Recipes: Banana Almond Pancakes, Apple-Cranberry Oatmeal Muffins, Gingered Carrot Soup, Spiced Citrus Salmon, Superfood Fudge, and Chocolate-Raspberry Hazelnut Tart. Hungry yet?

3 Books

Clean Food by Terry Walters

Written by a graduate of my health coach training program, Clean Food, was a gift from my mother-in-law when I finished grad school. Chef Mario Batali said:

“Clean Food is the most exciting book based on fresh produce and simple produce I have used in years.”

He’s seen a lot of cookbooks, too! I love how Terry organizes the cookbook by season and promotes the use of whole, fresh ingredients. Also, for anyone who has food sensitivities or allergies to things like dairy and gluten, this cookbook will give you tons of new inspirations and alternatives, and you will not feel deprived or slighted in the least!

Favorite Recipes: Basic Balsamic Vinaigrette, Three-Bean Chili, Roasted Kabocha Squash, Ginger and Pear Crisp, and Banana Coconut Chocolate Chip Cookies

Undiet by Meghan Telpner

I’ve spent the past three months boosting my culinary nutrition skills and knowledge and being entertained by Meghan as she has taught me and dozens of other students the keys to culinary nutrition. Her book, Undiet, includes practical tips and guidelines for how to get yourself off the “diet” train so you can enjoy life, eat amazingly delicious and nourishing food, and thrive! Any recipe Meghan puts out there, whether it’s in the CNE program, through her blog, or in this book is a winner. She’s releasing her first full cookbook in October 2015, so stay tuned for when that happens. I will definitely be talking about it!

Favorite Recipes: Yogi Tea, Lemon Lentil Vegetable Soup, Sundried Tomato & Bean Hummus, Life-Affirming Chili, Veggie Rice Wraps with Almond Dipping Sauce, and Almond Power Cookies

The Beauty Detox Foods by Kimberly Snyder

I’m not entirely sure what prompted me to buy this book, but I’m glad I did! I use this book not only for the recipes but also for the guide that it includes to highlight which foods are best for which beauty and body goals. I often give this book to brides-to-be as part of a shower gift to help them beautify their bodies before the big day! Because it’s more of a detox-focused book, it’s not something I use every day, but I have found some staple recipes and have learned a lot about different foods and their beauty benefits, which has made this book worth it for me!

Favorite Recipes: Creamy Dijon–Tahini Dressing, Raw Purple Cabbage Slaw, and Raw Gorilla Taco Wraps

And now for a few cookbooks on MY Wish List 🙂

ohsheglows

The Oh She Glows Cookbook: Over 100 Vegan Recipes to Glow from the Inside Out by Angela Liddon

Don’t let the word “vegan” in this title scare you off. You’ll miss out if you do. One of the reasons I like vegan recipes is because they automatically nix dairy products (a trigger food for my history of health issues – and many other people’s as well!) and because they make plants the focal point of the dish. Most of us don’t eat enough plants, even though they are the most nutrient-dense, antioxidant-rich foods out there.

practical-paleo

Practical Paleo: A Customized Approach to Health & A Whole-Foods Lifestyle by Danielle Sanfilippo

I’ve heard from multiple people that this book is a must-have for anyone living a dairy-free, gluten-free, grain-free lifestyle. The cookbook includes 30-day meal plans, over 120 easy recipes, and even some handy tear-out guides.Danielle also writes for a paleo blog called Balanced Bites, which is definitely worth checking out!

blendergirl

The Blender Girl by Tess Masters

I’ve heard great things about this book (and the beautiful pictures in it) from one of my favorite people (and head of the CNE program I just finished), Meghan Telpner. She raved about this book, so I plan to get it! I’ve also checked out some recipes on Tess’s blog and love the variety, especially for smoothies. She even has a smoothie app now, too. The app lets you punch in what you feel (happy, sluggish, wired), need (a detox, to lose weight, to chill out), and crave (light and fruity, clean and green, an exotic ride) to find the right smoothie for that day. For great detox and weight loss smoothies, check out this list from Dherbs.

make-ahead-paleo

Make-Ahead Paleo: Healthy Gluten-, Grain- & Dairy-Free Recipes Ready When & Where You Are by Tammy Credicott

I was not familiar with this book, but a classmate from the Culinary Nutrition program I just finished suggested it as one of her “go to” cookbooks, so I thought I would add it to my list! Bill and I meal plan most weeks (as often as we can!) to make it easier and more affordable to eat the way we do – fresh, whole, unprocessed. Just this past week, we thawed out a vegetarian Shepherd’s Pie we had made in October and enjoyed it again for a few lunches this week. It saves so much time to have meals made ahead of time.

bittman

How to Cook Everything: Completely Revised 10th Anniversary Edition by Mark Bittman

As the title says, use this book as a guide to learn every basic (and not so basic) cooking technique you could ever imagine. Bittman explains in simple, how to steps with lots of pictures and has even given a really great TED Talk about food. I gave this book to one of my best friends, who doesn’t feel confident in her cooking skills, as part of her wedding gift this year.

What are some of YOUR favorite cookbooks? Feel free to comment below!

Goodbye Plastic Baggies, Hello LunchSkins! {Perfect for Lunches & Snacks On the Go}

Whether you’ve been reading my blog for some time or are just stopping by, I want to take a second to let you know something about me as you read this post. One of the things I’m passionate about doing is helping people make upgrades to their lives to include more nourishing foods. The products I’m promoting in this post are being done purely because I think they’re super cool and make it easier to pack and eat healthy food, not because I am being paid by someone to promote them. I’m all about transparency!

——————————————————————————————————–

Lunchskins are the perfect way to transport snacks, like my homemade donut holes :)

LunchSkins are the perfect way to transport snacks, like my homemade donut holes

I think everyone knows that we need to start using things like plastic free snack containers and stop using plastic products in order to do our bit to save the world. If we continue the way we are, there won’t be any resources left for us to use and nature will be in crisis. This is why when I first learned about these LunchSkins when I was at the Natural Products Expo East in Baltimore this fall I was SO excited. As a blogger, I had the opportunity to take part in an amazing event that showcased thousands of products, foods, supplements and other items in the natural foods industry and community.

It was like adult trick-or-treating…only healthier! I had SO MUCH FUN.

As my dad would say, I was as happy as a pig in slop 🙂

I learned about lots of new products while I was there – some that I never knew existed and others I had tried before but didn’t know much about.

The coolest part was meeting the people behind the brands – Brad from Brad’s Raw Kale Chips, Mamma Chia herself, the Nibmor girls (a fellow health coach!), and Brendan Brazier, a triathlete who wrote the book Thrive and is the face of Vega protein supplements.

expo east

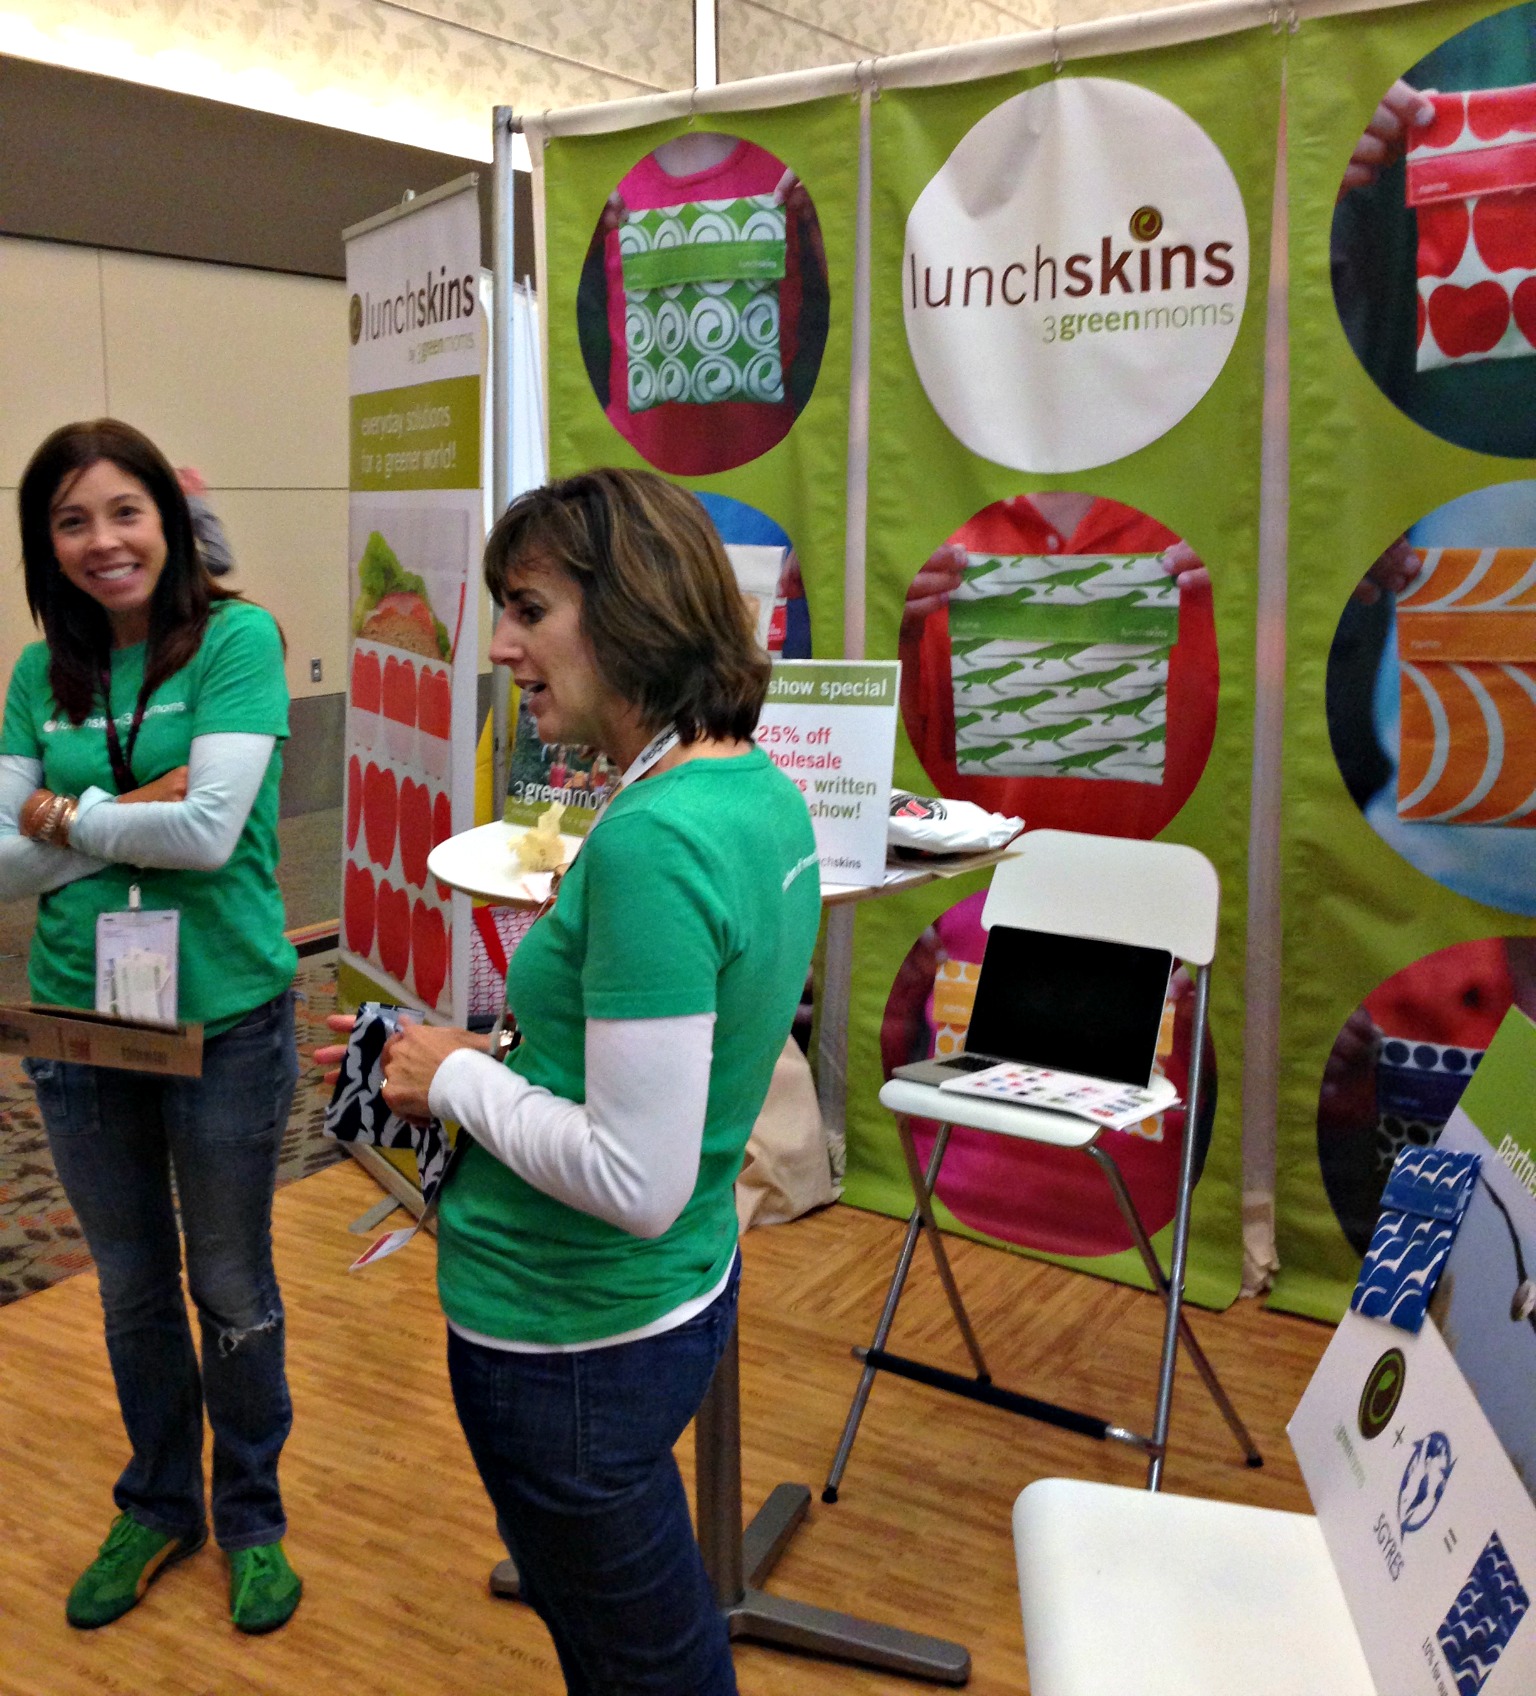
One of the companies I learned about at the expo was 3GreenMoms. They’ve created a product called LunchSkins that basically gets rid of the need to use plastic baggies. They were inspired to create their products when they learned this staggering statistic:

Every day, more than 20 million sandwich bags from school lunches go into landfills in the U.S.

This concern is very similar to that which started the move away from plastic straws and towards sustainable solutions like these metal boba straws.
Their mission was to create a solution to that problem and to do so in a way that was “fresh” and “colorful.” Their bags are lined with European pastry bag material, which makes them eco-friendly, food-safe and dishwasher safe. They come in lots of cool colors and designs and even have a place to write your name, too 🙂

Sneaking a pic of the 3 green moms at the expo!

Sneaking a pic of the 3 green moms and their display at the expo!

lunchkins

I’m an advocate of living in a way that is as health-supportive as possible, and until recently, the impact my choices were having on the health of the environment wasn’t something I thought or cared about…at all.

I’ve used and tossed thousands of plastic baggies without thinking twice about it.

Over the past six months, Bill and I have switched from plastic containers to all glass or ceramic (Pyrex, mason jars, Corningware) and are in the process of making upgrades to other household products to make them safer (To learn more about why we did this, click here).

Our latest upgrade has been using LunchSkins instead of plastic baggies. Bill uses them to take his lunch and snacks to school, and I use them in my lunchbag at work or when I’m on the road traveling to meetings. Not only are we saving money by not buying plastic baggies, but we don’t have to deal with that nasty plastic bag taste that has a way of seeping into whatever food is stored in the baggie. I’m thinking of carrying on in a similar vein of doing our bit for the environment by purchasing foldable reusable shopping bags to save on the use of plastics when I’m out doing the food shopping for the week. They’re 100% natural, nontoxic and machine washable so I’m running out of reasons not to get one!

IMG_8072

When I first learned about LunchSkins in September, I was trying to figure out the best time to share this information with you and thought the holiday season would be a great time to do it.

3GreenMoms make sandwich, snack, and sub bags as well as lunch bags and bibs. I just saw on their website that they have “wet and sweat” bags, which can be used at the gym or pool or for a baby and are meant to replace larger plastic bags.

Any of these would make a great stocking stuffer or holiday gift, especially for someone who has kids, brings lunch to work or likes to pack snacks! I plan to get some for some of the mamas in my life 🙂

Here’s the link to their website to check out their products. You can also buy LunchSkins on Amazon, and I even found some at a local store called Stebbins-Anderson and at Whole Foods.

Lunchskins are the perfect way to transport snacks, like my homemade donut holes :)

LunchSkins are the perfect way to transport snacks, like my homemade donut holes

Oh, and by the way, here’s the recipe for these delicious donut holes. I just posted version 2 (Orange Cranberry Breakfast Bites) the other day, and they are also delicious! Both recipes are paleo, gluten-free and vegan and are amaaaazing 🙂

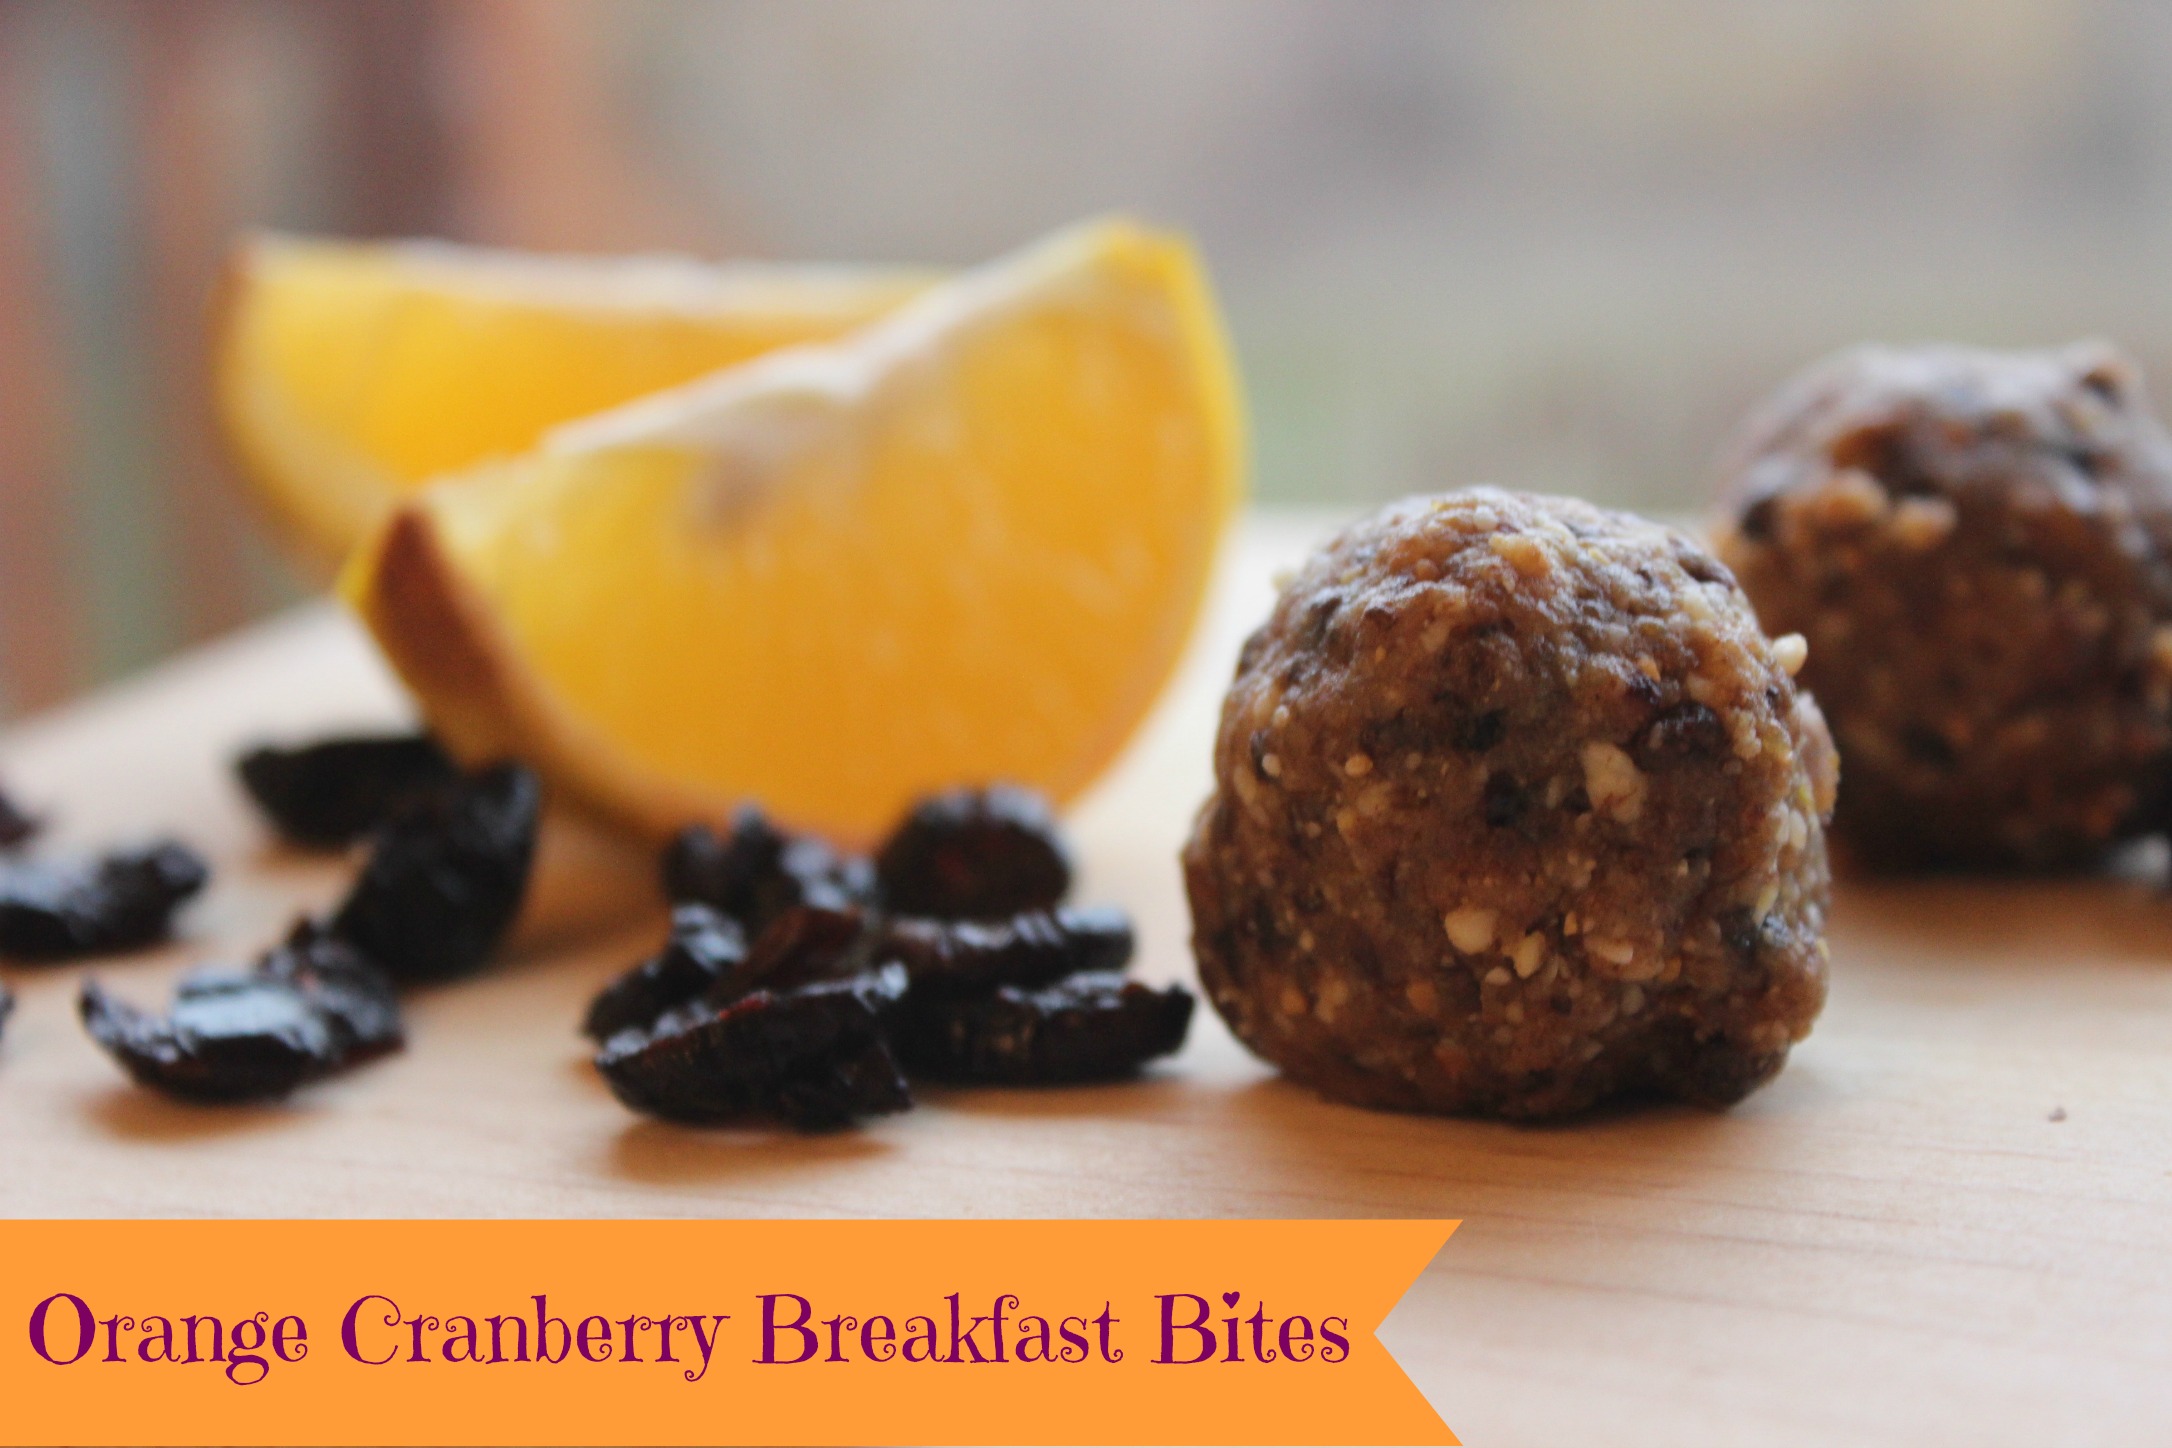
No-Bake Orange Cranberry Breakfast Bites {Paleo, Vegan, Gluten-Free}

I was inspired to make these when I was making a batch of healthy donut holes for a presentation last week.

Mmm delicious!

Mmm delicious!

I had some dried cranberries left over from another recipe for a grain-free apple tart that I made recently, and I had one or two oranges in my fridge.

Oranges and cranberries go well together, especially with a hint of ginger, so I did a little experimenting and ended up with these little hunks of yumminess!

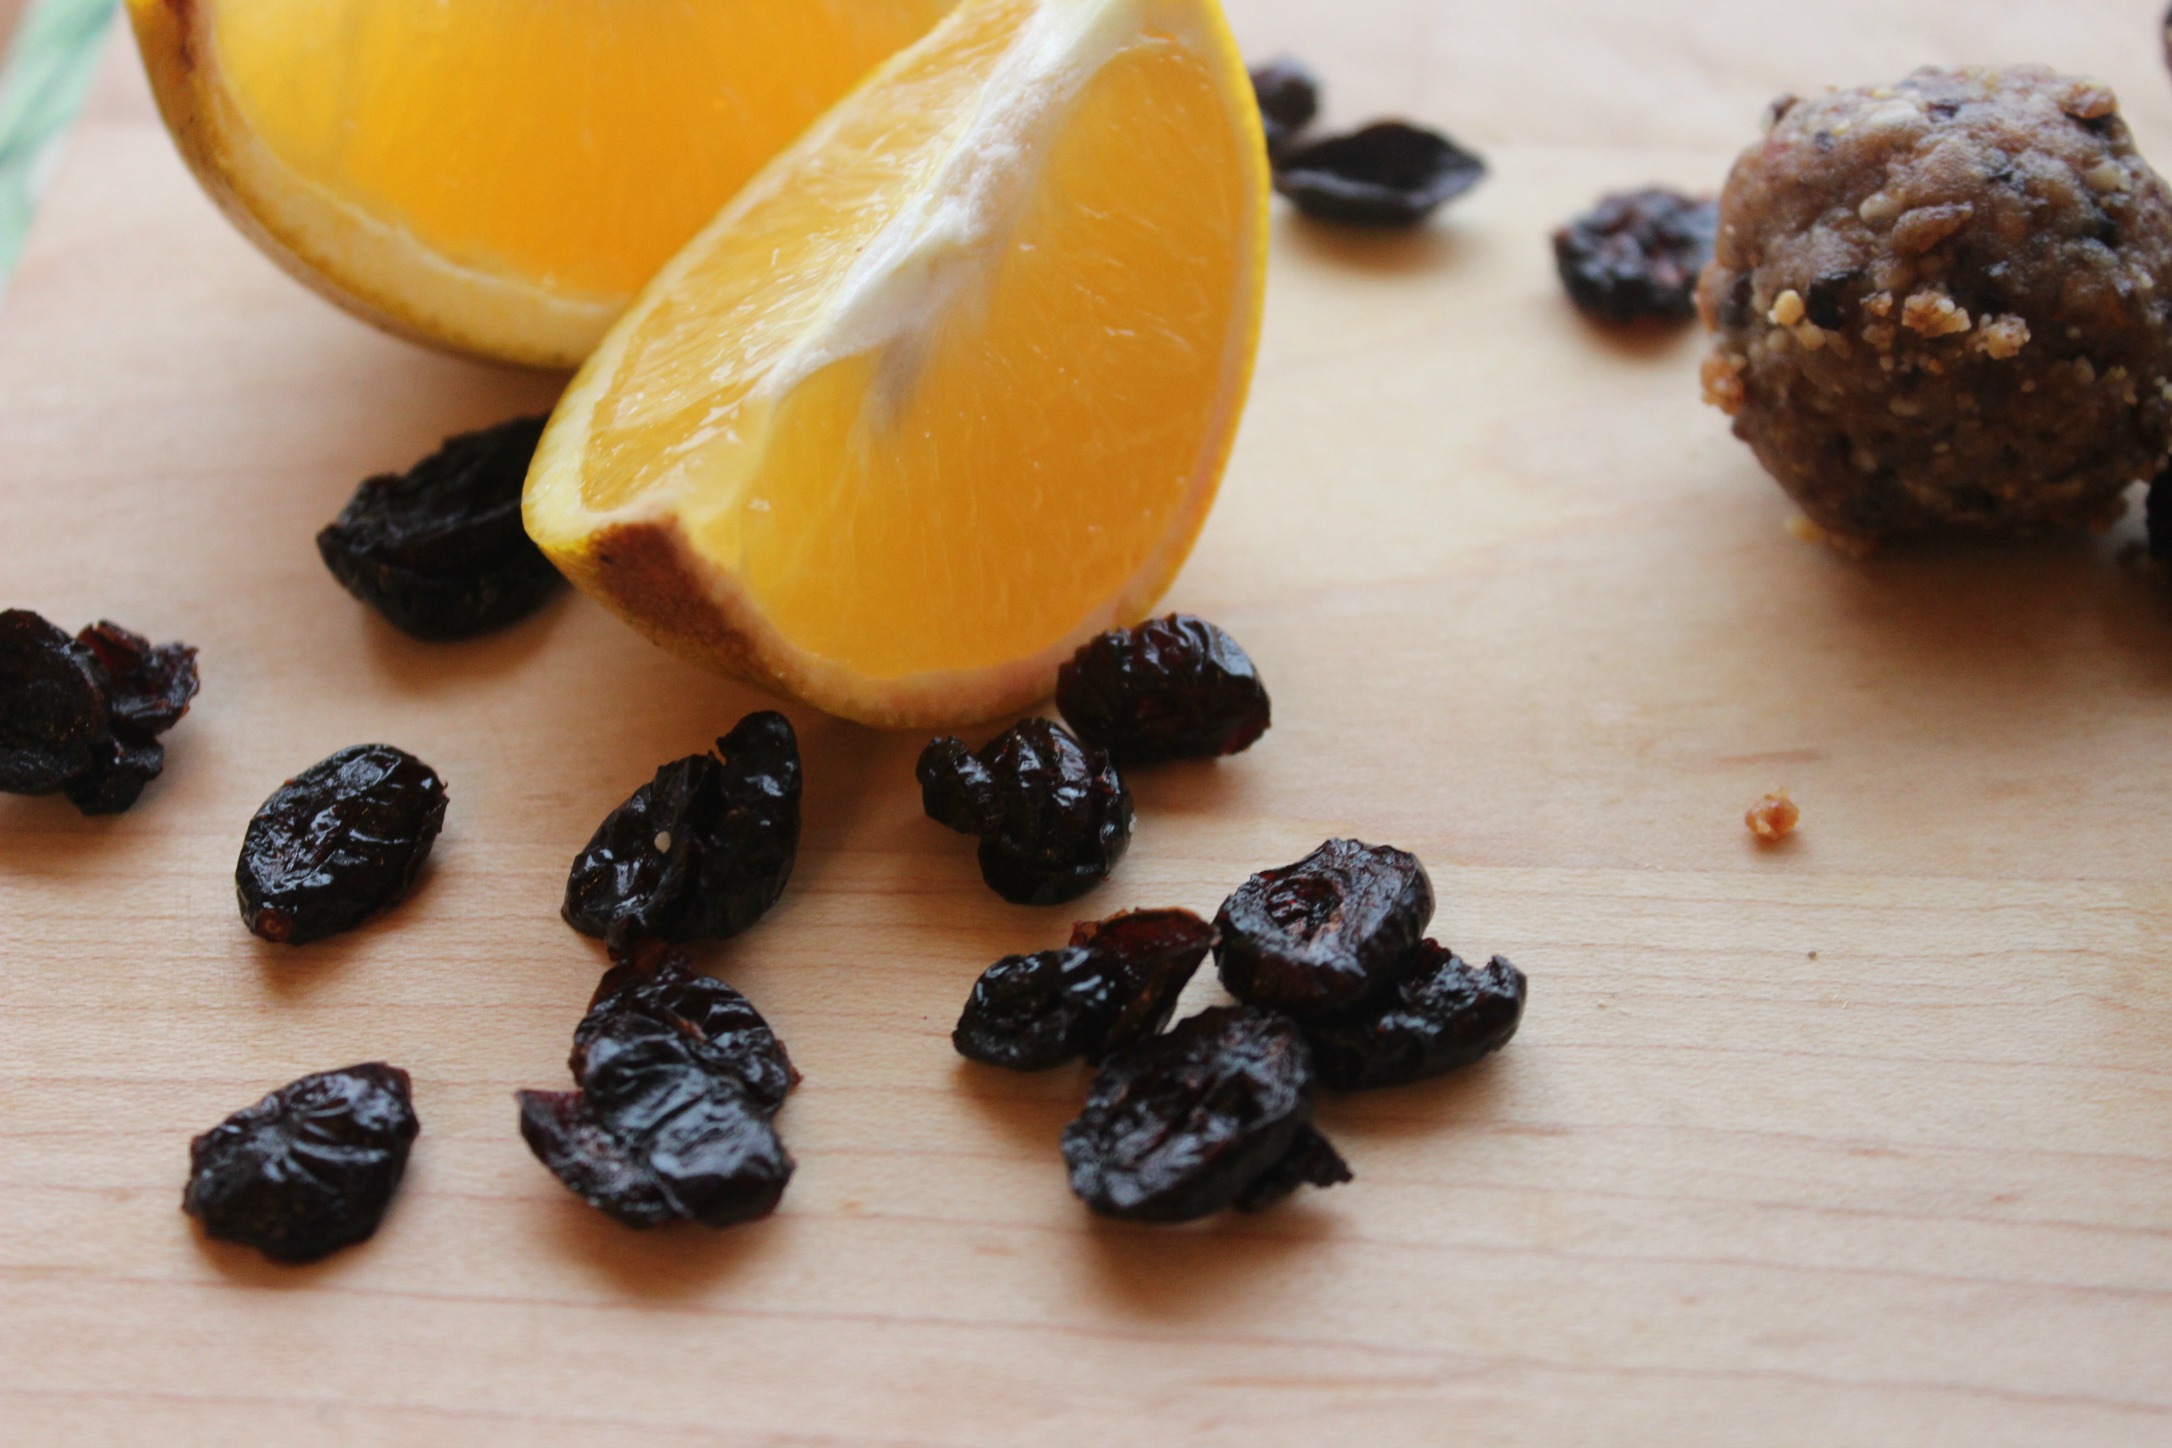
orange slices

bitten bite

These are a quick and easy option for a grab-and-go breakfast, pre or post workout snack, afternoon snack, or even dessert, just like last week’s Paleo Pecan Pie Poppers!

These could also be called “Energy Bites” because of the combination of healthy fats and protein from the nuts and almond butter, fiber from the dates, and blood-sugar stabilizing cinnamon. The orange zest is also energizing and adds a little something special.

They are SO GOOD! There’s just enough orange flavor from the zest, and it pairs nicely with the tartness from the cranberries and mild bite from the ginger.

These little treats are addictive. You’ve been warned 🙂

OJ bites

bites cluster

Yield: 16-18 Bites

Ingredients

  • 1/2 cup raw almonds
  • 1/2 cup raw walnuts
  • 1 cup Medjool dates, pitted
  • 1/4 cup dried cranberries (Try to use cranberries sweetened with apple juice instead of sugar)
  • 1/2 teaspoon ground cinnamon
  • 1/2 teaspoon ground ginger
  • 1 teaspoon orange zest (Use a microplane or other fine grater to grate the skin of the orange…AKA the “zest”) OR 3 drops therapeutic grade Wild Orange essential oil
  • 1/4 teaspoon sea salt
  • 1/4 cup raw almond butter
  • 1 teaspoon vanilla extract
  • Optional: shredded, unsweetened coconut

Directions

  1. In the food processor fitted with the “s” blade, grind the almonds and walnuts until finely ground.
  2. Add the dates, cranberries, spices, orange zest and salt and grind until blended.
  3. Add the almond butter and vanilla extract and process again until completely mixed.
  4. Form into balls about 1 inch in diameter, and, if you like coconut, roll in shredded coconut.

Rachel’s Healthy Holiday Gift Guide Part 2: Kitchen Gifts Under $20!

Bill and I finished up most of our Christmas shopping this weekend, which was a big relief! We have a few more things to do, including sending out our Christmas cards, but the end is in sight.

In case you missed my post a couple of weeks ago, I shared my budget-friendly favorites and seasonal splurges, which you could add to your wish list this year…or get for a friend or family members who likes to cook and spend time in the kitchen.

Kitchen gadgets make great gifts for any foodies in your family, but if you are looking for something a little larger, a BBQ smoker can make an excellent present. Not sure where to start looking? Check out some of these gear reviews over on gearsurfer.com to make your search a little easier.

Today’s post is about some smaller gifts, many of which could make great stocking stuffers. Check out the info below about some of my favorite kitchen gifts!

stocking stuffers

I wrote a post earlier this year about my favorite kitchen tools, and a few reappear on today’s post. Check out Part 1 and Part 2 of those blog posts for the complete list.

OXO Ice Cream/Muffin Scooper. So, we don’t just use this to scoop homemade ice cream. It’s also a GREAT way to ensure that you measure out evenly sized muffins or cupcakes.

Citrus Squeezer. I love lemons. They fight inflammation, detoxify or “clean out” the body, are anti-aging, anti-bacterial, and help fight infections and disease. For all of those reasons (and because they taste great!), we juice a lot of lemons throughout the week. This lemon squeezer makes it easier. I got this stainless steel one for my dad, and it’s even better than the one I have, but I recommend either one!

Stainless Steel Garlic Crusher. This is something everyone should have in their kitchen and is one of my favorite gadgets. Why? Well, it makes mincing garlic fun and simple AND it’s stainless steel. Just rub your fingers on the ends after you’re done mincing to get rid of the garlic smell! Trust me, it works 🙂

Switch It Spatula. So, this is one of my *new* favorites! One of the annoying things about the Vitamix is that the jar is REALLY tall, making it almost impossible to fit a normal sized spatula in it to reach the stuff at the bottom. This is important, especially when we’re making raw caramel apple dip or queso dip and don’t want to waste a bit of the deliciousness! The Switch It spatula is long enough to reach the bottom and also is super handy when you’re trying to get the remnants of almond butter or tahini out of a jar.

Avocado Cuber. Whenever I bring this to a cooking demo or workshop, people are always fascinated by it! You can easily score an avocado with a knife and then scoop or pop out the cubes, but this kitchen toy makes it more fun. My hubby got it for me as a stocking stuffer a few years ago, and I love it! Williams-Sonoma sells it.

Mason Jars. Over the past 4 months, as we’ve gotten rid of the plastic containers in our house to support our health, we’ve switched to mason jars. #1 – They’re cheaper than plastic containers; #2 – You can freeze stuff in them and still get them open (not something I could easily do with plastic lids); #3 – They rinse out much more easily than plastic and won’t stain. We have a variety of sizes. We bought some at Target, others at Michaels with a coupon, and larger ones at Home Goods.

Microplane Zester/Grater. We use this tool to grate ginger and turmeric root and to zest lemons, limes and oranges. We are thinking about getting these gloves because if you’re not careful with this thing you can definitely nick yourself!

Cookie Dough Baller. Whenever I make cookies or brownie bites, this little gadget ensures that I’ll have even sizes. It’s fun and simple to use.

What are your favorite healthy cooking gadgets and stocking stuffer ideas? Feel free to share below!

Page 7 of 11

Powered by WordPress & Theme by Anders Norén