Notice: Function _load_textdomain_just_in_time was called incorrectly. Translation loading for the social_sharing domain was triggered too early. This is usually an indicator for some code in the plugin or theme running too early. Translations should be loaded at the init action or later. Please see Debugging in WordPress for more information. (This message was added in version 6.7.0.) in /var/www/wp-includes/functions.php on line 6114
Paleo Archives · Page 7 of 13 · Rachel's Nourishing Kitchen

Category: Paleo Page 7 of 13

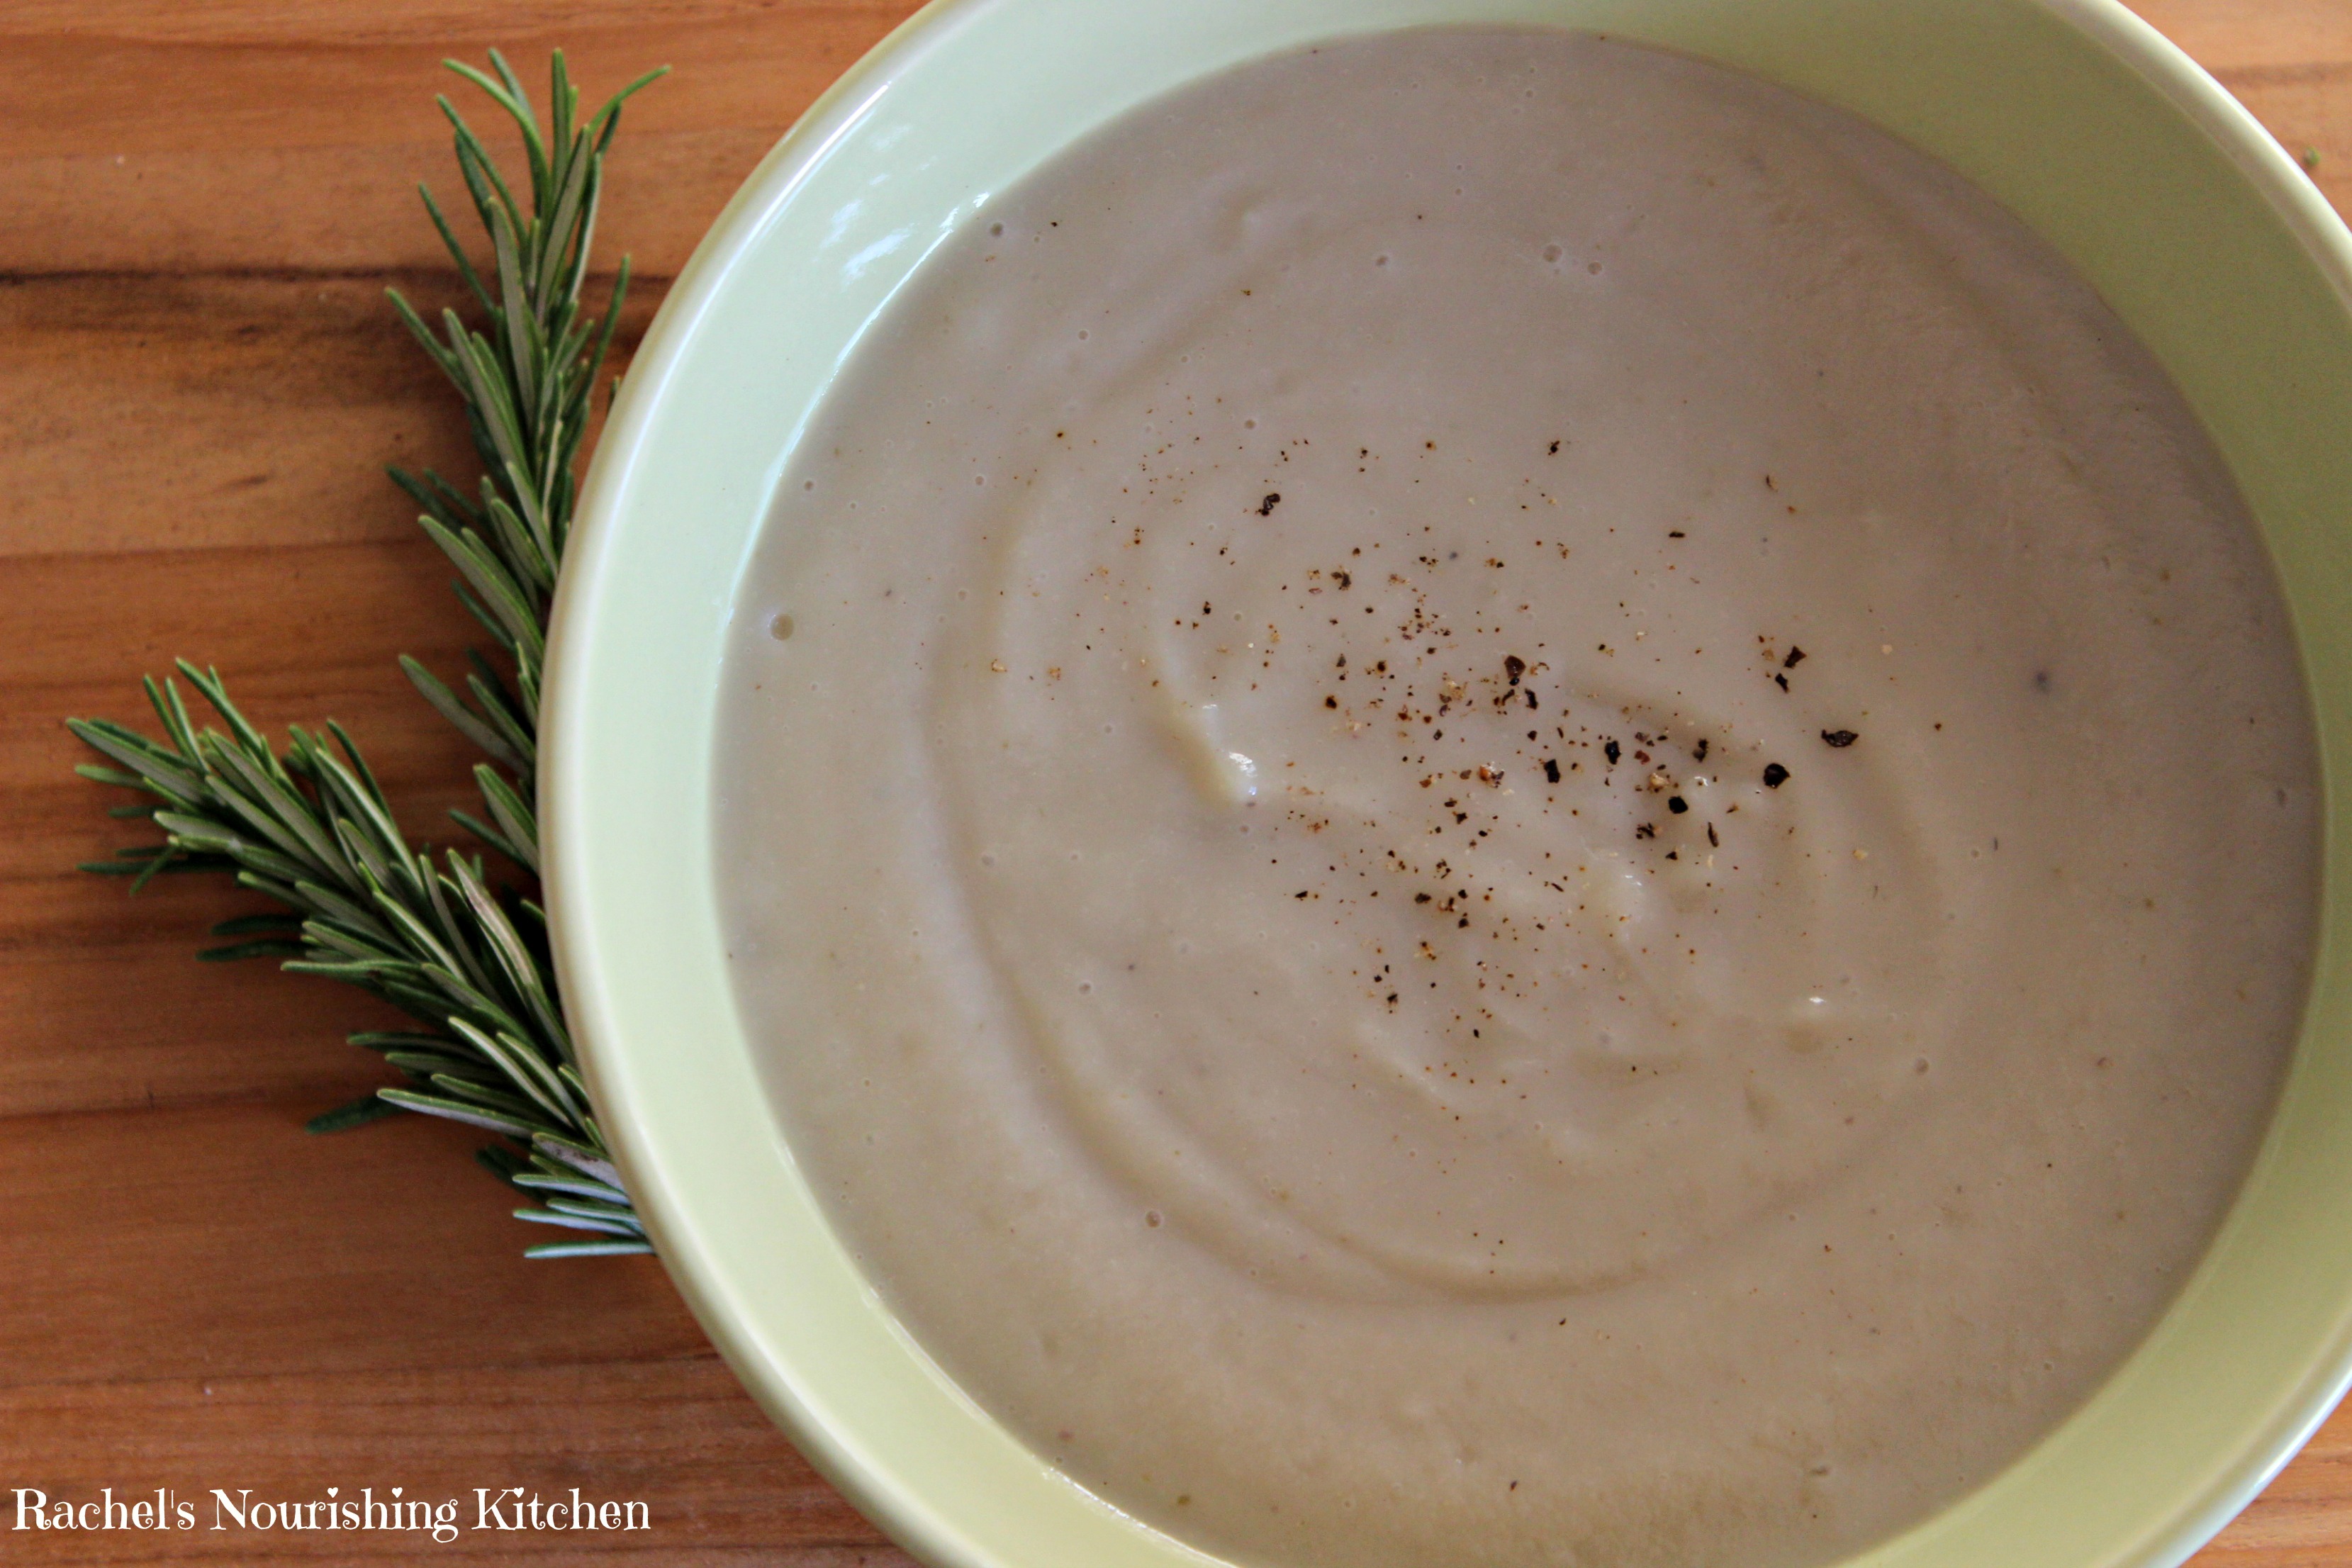
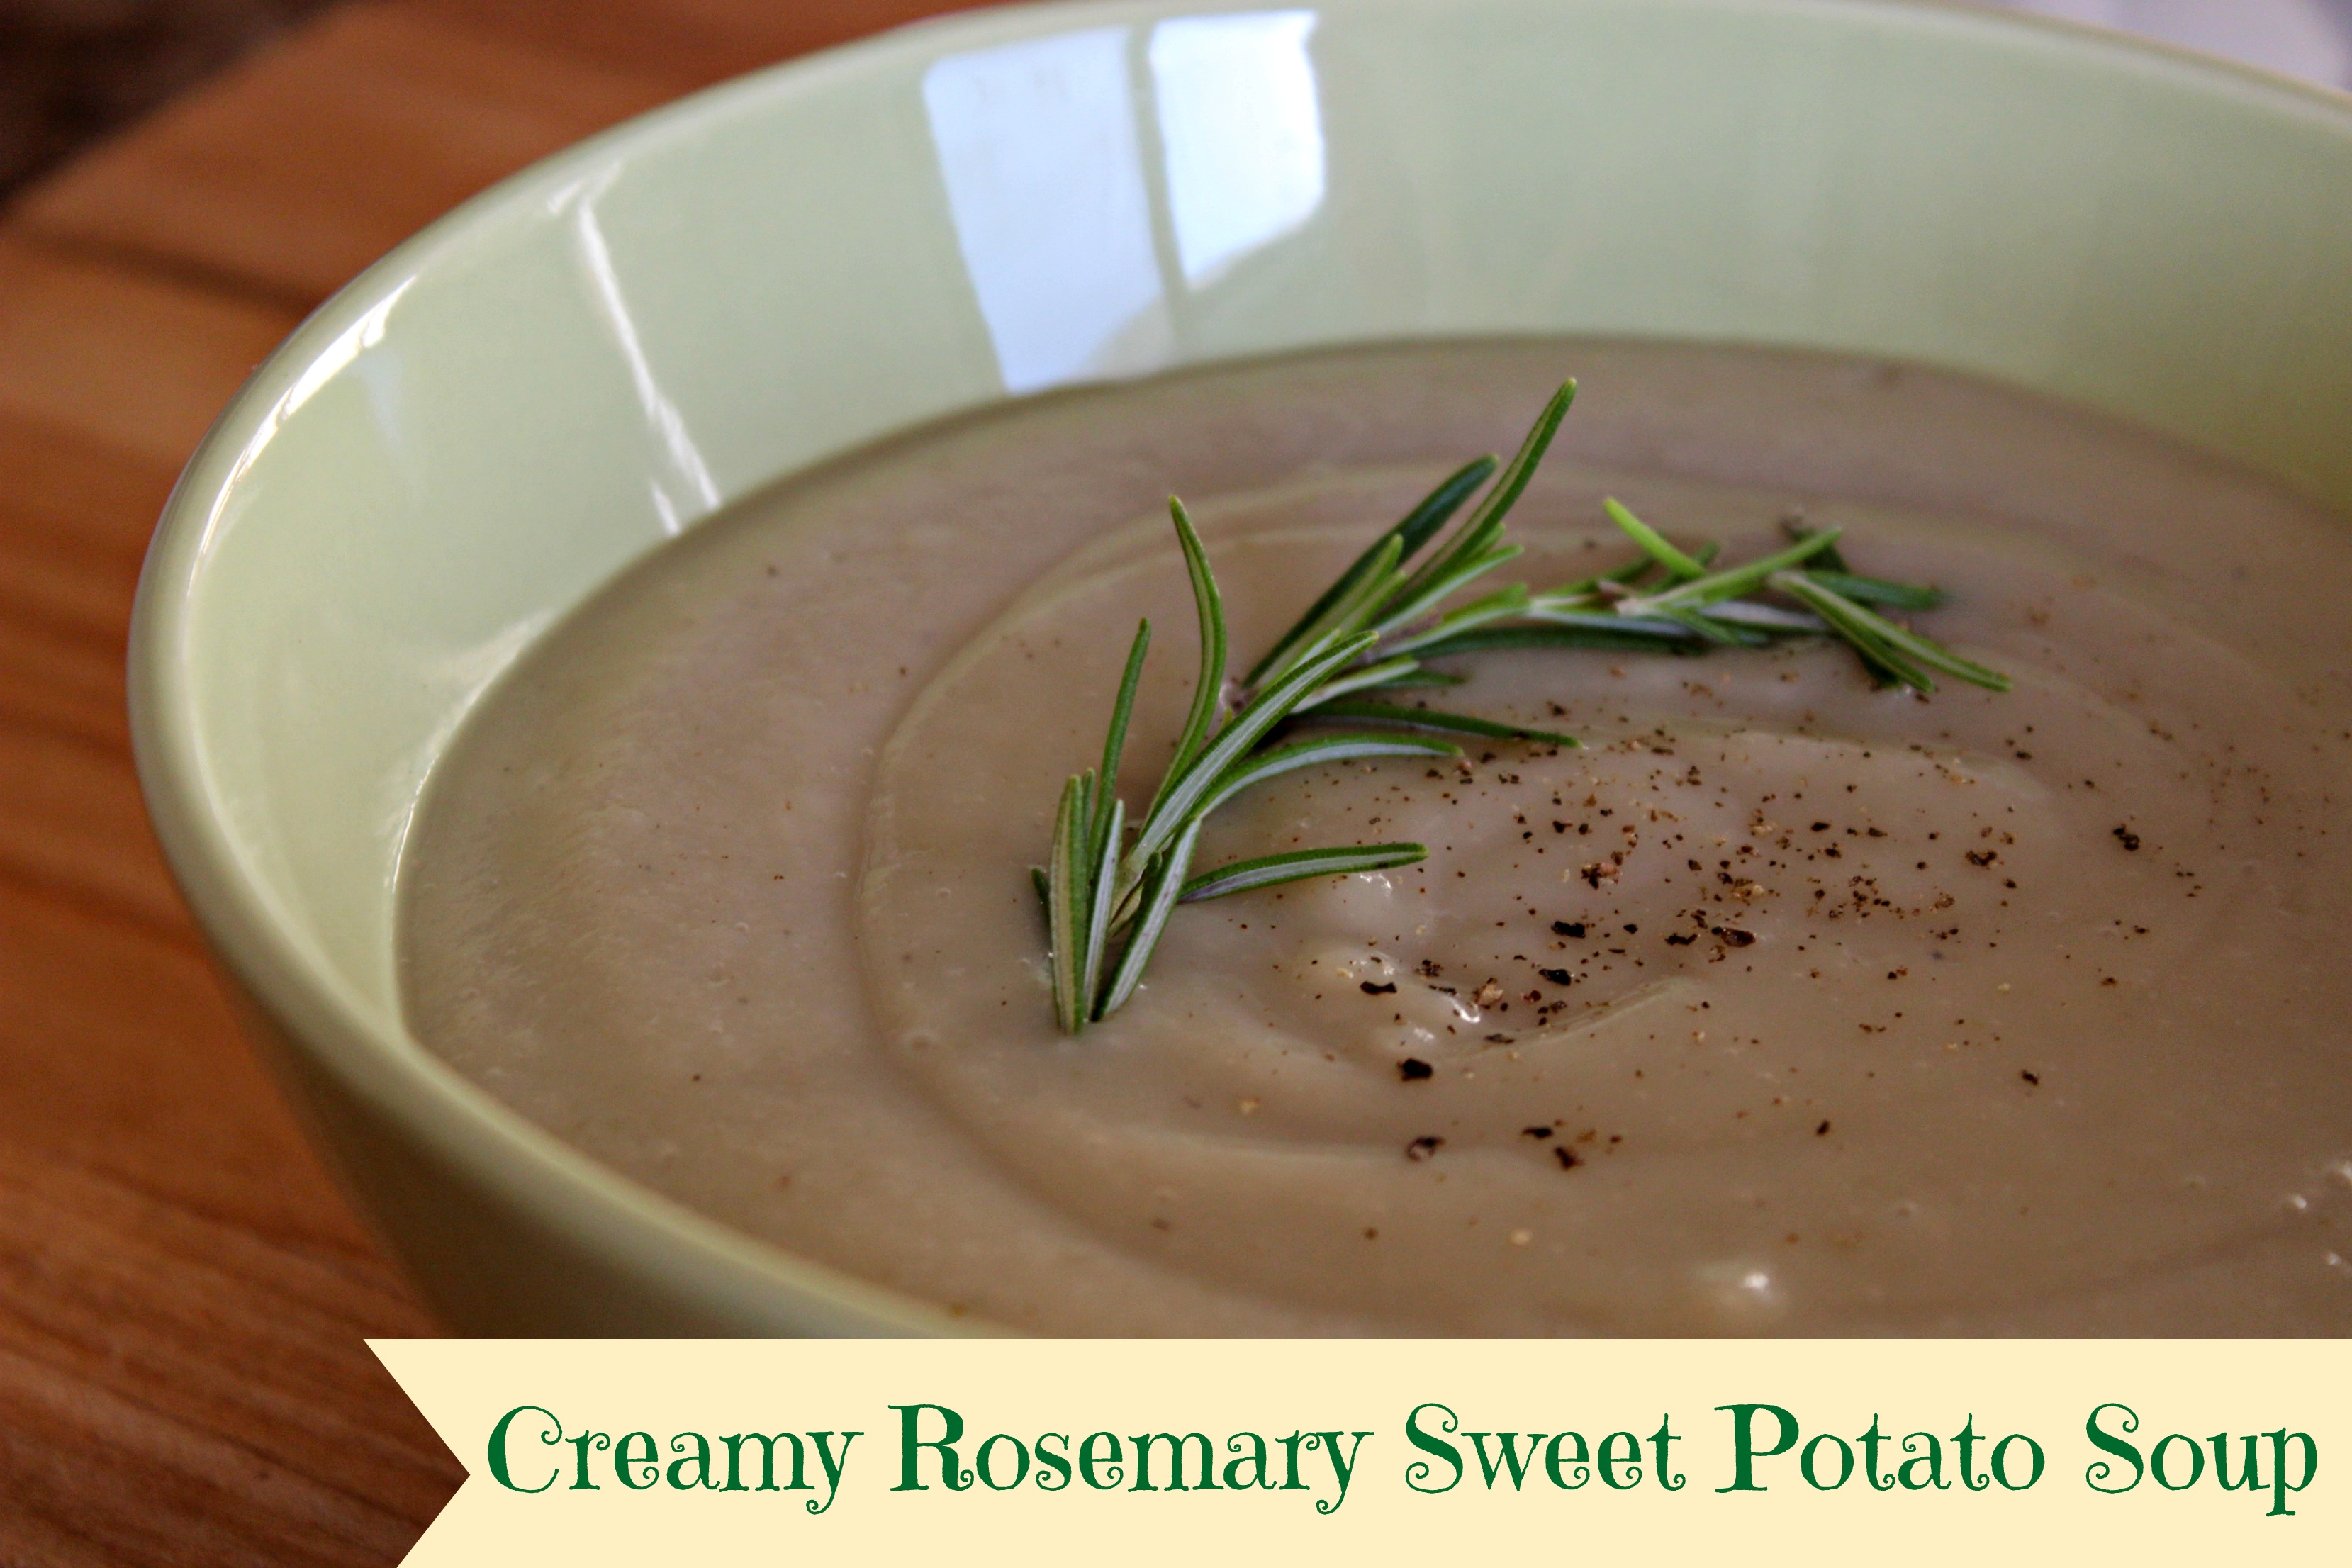
Creamy Rosemary Sweet Potato Soup {Dairy-Free, Paleo, Vegan}

Creamy foods are comforting and satisfying.

Since removing dairy products from my diet, I’ve had to get more creative about ways to recreate the silky texture that dairy provides.

soup

One of the best ways to do that is using cauliflower, one of the GBOMBS vegetables (AKA some of the best foods we can eat!).

These roasted garlic cauliflower mashed “potatoes” and this creamy caulifredo sauce are some of my favorite ways to use cauliflower to create creaminess!

IMG_6721

Because winter feels like it is never going to end here on the East Coast, I’ve been in hibernation mode and have been really into soups lately. I thought I would try blending cauliflower in with a soup to make it creamy and delicious without the downsides of dairy, so that’s what brings us to this recipe!

This soup is simple to make and uses basic ingredients that are easy to find at any grocery store or farmer’s market.

We used Japanese sweet potatoes, which is why the soup is white instead of orange, but any sweet potato will work.

Give it a try, and let me know what you think! 🙂

IMG_8875Soupbanner soupIMG_8876soup2

Ingredients

Directions

  1. In an 8-quart stockpot, melt the coconut oil over medium-high heat.
  2. Saute onion, garlic and a 1/2 teaspoon sea salt and cook until soft, about 4 to 5 minutes.
  3. Add the sweet potatoes, rosemary, and vegetable stock and bring to a boil.
  4. Once boiling, add the cauliflower and cover the pot with a lid. Reduce the heat to a simmer until the vegetables are very tender, about 20 to 25 minutes.
  5. Turn off the heat and stir in the remaining 1/2 teaspoon sea salt and black pepper. Using an immersion blender or regular blender*, blend until very smooth.
  6. Return soup to pot and whisk in the maple syrup. Add more sea salt and pepper, to taste.
  7. Keep the soup warm over low heat until ready to serve. Top with fresh cracked black pepper and a few lightly toasted pumpkin seeds, if you’d like!

*NoteIf using a blender, vent it either by removing the lid’s pop-out center or by lifting one edge of the lid as you blend. Drape the blender jar with a kitchen towel. Blend the soup in batches, filling the jar about 1/3-1/2 for each batch.

Asian-Inspired Cilantro Pesto {Dairy-Free, Gluten-Free}

Pesto sauce is one of my all-time favorite condiments.

I was never a big fan of sauces or anything on top of my food for most of my life, but I always had a heart for pasta and all things Parmesan, so, naturally, I liked pesto sauce 🙂

I shared a basil walnut pesto recipe a few months ago that has been a BIG hit among my friends and in my cooking classes.

You should check the recipe out by clicking here!

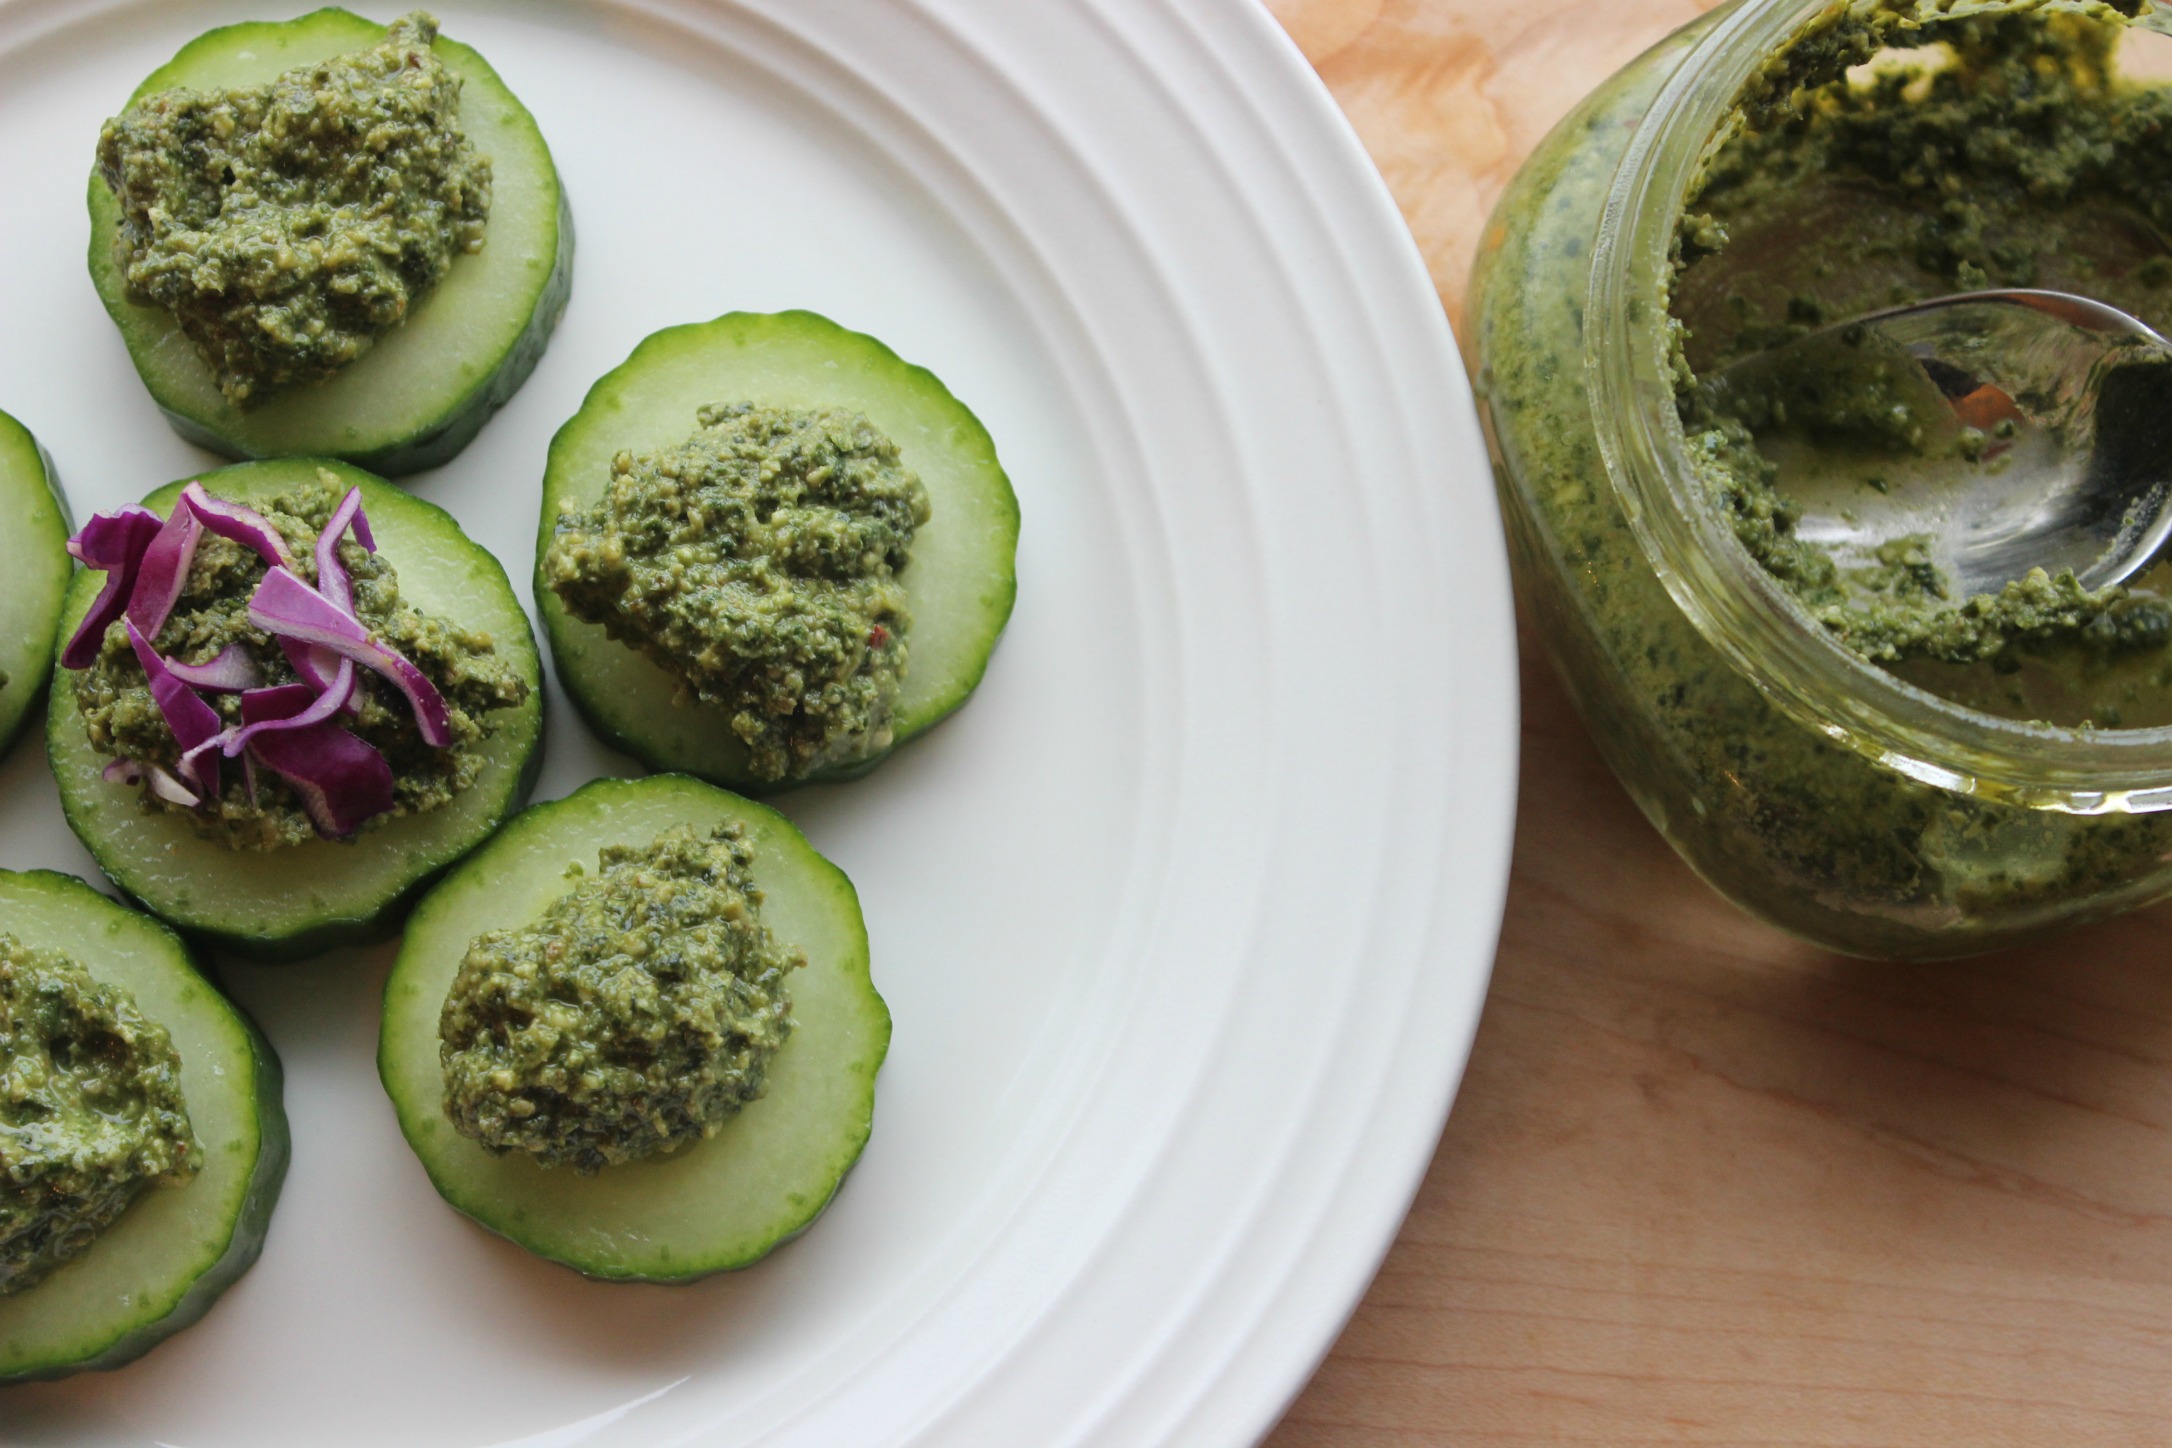
plate of pesto

This recipe is from my wonderful teacher, Meghan Telpner, whose culinary nutrition program I just finished this winter. She comes up with some amaaazing recipes (all of which are also dairy-free and gluten-free), and this pesto is no exception.

I was a little thrown off at first glance because she calls it Coriander Pesto. Cilantro is the Spanish word for coriander leaves, so when a pesto recipe calls for coriander, grab a bunch of cilantro (kinda confusing, right?).

I wasn’t sure what to expect before making this recipe because I’m not a HUGE fan of cilantro – I do like it, but a little goes a long way.

I became a believer very quickly once I dipped my finger in to the bowl to taste test the pesto after blending.

From the “bite” of the fresh ginger to the rich taste of the toasted sesame oil (one of my fave flavorings!) to the saltiness of the tamari and sweetness of the honey, this pesto is a flavor-packed, anti-inflammatory powerhouse!

cilantro pesto

Ingredients (try to use organic ingredients as much as possible)

  • 1 bunch cilantro, leaves and stems washed and spun dry
  • 1 inch fresh ginger root, peeled and chopped coarse
  • 2 cloves garlic, peeled and chopped coarse
  • 1 tablespoon toasted sesame oil
  • 1 tablespoon extra virgin olive oil
  • 1/3 cup almond butter
  • 2 tablespoons low sodium tamari (use coconut aminos if paleo)
  • 2 teaspoons raw honey* (the original recipe calls for agave, but I used raw honey)
  • 1/2 lemon, juiced
  • 1/8 teaspoon cayenne pepper, or to taste (the original recipe called for 1-1 1/2 teaspoons which is WAAAY to spicy for me, but do what makes your taste buds happy!)

*Notice I used raw honey instead of agave and WAY less cayenne than the original recipe called for.*

Directions

Click here for the full recipe!

Sweet & Salty Super Food Chocolate Bark {Dairy-Free, Paleo}

Chocolate.

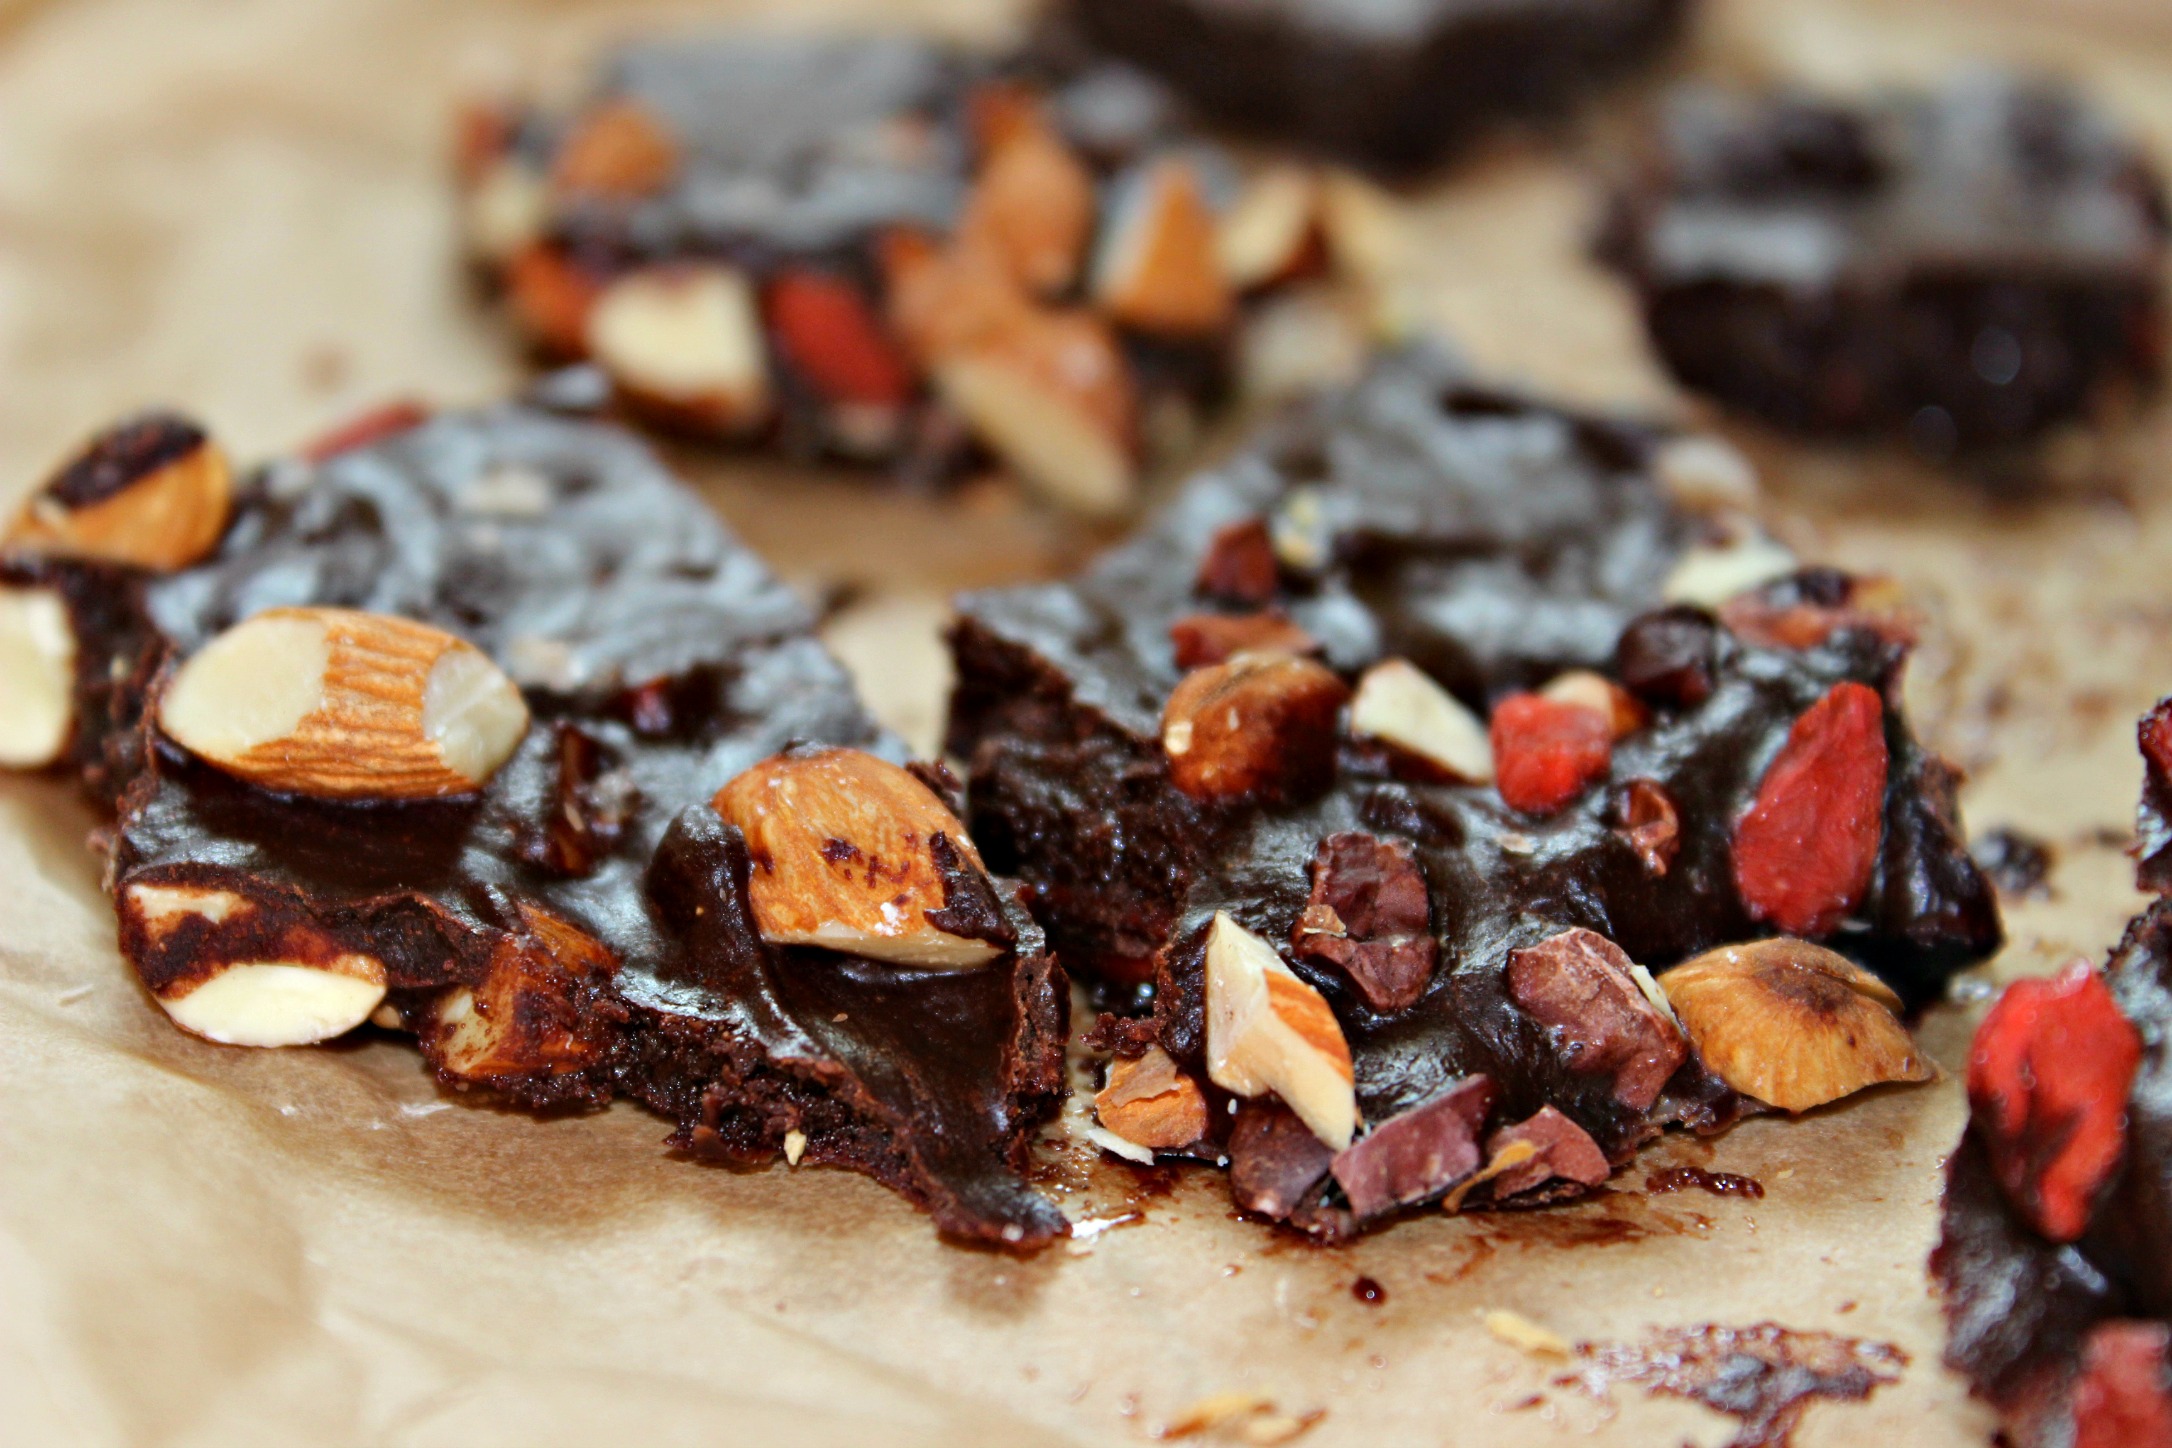
bark2

It’s one of the foods we think we “can’t have” when we eat in a way most people would consider healthy.

Fortunately, chocolate is one of the foods that absolutely can (and should!) be part of a nourishing, satisfying way of eating.

When it comes to chocolate, quality matters.

Raw cacao beans and powder (pronounced ka-KOW) have more antioxidants than any other food. Raw cacao isn’t treated by heat (and therefore damaged) like the more familiar cocoa powder, so its supercharged, health-boosting, disease-fighting antioxidant properties remain intact.

When we hear about the health benefits of chocolate, this is the kind we’re talking about.

bark3

Here are just a few more of the health benefits of raw cacao:

This bark recipe is truly a super food recipe because it contains TWO types of chocolate – cacao powder and cacao nibs.

Raw cacao nibs come from the whole cacao beans, so they are a bit bitter but have a nice crunch to them. They work well in this recipe because the sweetness of the bark offsets the bitterness.

I served it last week at a luncheon at work and this past weekend at a women’s retreat where I did a presentation about taking a “Real Food Reset.” It was so much fun!

gfc

I also used almonds, which are rich in heart healthy monounsaturated fats, and provide an additional crunch factor.

In another variation of the recipe, I used pumpkin seeds instead of almonds. Both were delicious!

bark aerial

There’s one more ingredient in this bark that might not be so familiar – goji berries – but don’t let that deter you!

Goji berries, also known as wolfberries, are considered a superfood because of their high antioxidant concentration (when you hear “antioxidant,” think anti-aging, protective and pro-health!). Some of their antioxidant compounds can help protect our vision, too.

They tend to be a bit pricy, but a bag lasts me for several months, so I find that it’s worth it. I buy them on Amazon or at our local Asian grocery store (cheapest place to buy!), Vitacost.com, Wegmans, Whole Foods, Home Goods and most natural food stores.

barkmain

pumpkinseedbark1

Ingredients

  • 1/2 cup coconut oil
  • 1/4 cup coconut nectar, raw honey or 100% pure maple syrup
  • 1 1/2 teaspoons vanilla extract
  • 1/3 cup raw cacao powder
  • 2 teaspoons maca powder (optional but recommended)
  • 2 tablespoons almonds or pumpkin seeds, lightly toasted and roughly chopped
  • 2 tablespoons goji berries
  • 2 tablespoons raw cacao nibs
  • 1/4 cup dried cherries or cranberries, roughly chopped
  • coarse sea salt, to taste

bark2

Directions

  1. Line a 9 x 13 baking dish with parchment paper. Spread nuts/seeds, goji berries, and cacao nibs evenly on the sheet.
  2. Fill a small saucepan with 1-2 inches of water and place it on the stove top. Rest a small glass bowl on top and turn the heat to medium low. Put the oil and sweetener in the glass bowl and whisk together until the oil melts.
  3. Once oil and sweetener are combined, gently whisk in the vanilla extract, raw cacao powder, and maca powder until silky smooth. **Be careful not to overmix or the chocolate will get clumpy.** That’s what happened to us the first time we made this!chocolate melting
  4. As soon as chocolate is smooth and shiny, pour it on top of the nuts/seeds, berries/fruit and nibs to cover them. Shake the sides of the parchment paper, so all of the nuts/berries/nibs collect in the middle and are covered with chocolate then use a spatula to spread it out in an even layer.
  5. Sprinkle a couple pinches of sea salt on top of the chocolate.
  6. Set in the freezer to harden for about 30 minutes.
  7. Remove bark from parchment paper, break into pieces and enjoy! Store in the freezer or refrigerator, as coconut oil begins to melt as it warms up to room temperature.

Energy-Boosting Super Food Trail Mix

I made an announcement a week ago that I had been selected as one of the Top 10 Health Promotion Professionals in the country, and I was SO excited about it!

Well, I found out even more amazing news this week!! I WON the whole thing and was selected as the #1 Health Promotion Professional in the COUNTRY! Ahhhh! I seriously couldn’t believe it when I found out on Tuesday afternoon.

welcoa

The prize is an all expenses paid trip to San Diego for the WELCOA conference in late March AND I will have the honor of being called up on stage to be recognized and be given a few minutes to speak. I was so excited about it that I woke up yesterday morning and wrote what I want to say! I can’t wait.

Here’s the write-up that WELCOA put together about the award. I’m immensely grateful to have this recognition and the opportunity to share my passion and vision with more and more people.

All of my friends, family, coworkers, classmates, and mentors have been so gracious with their kind words this week. Thank you to everyone who has believed in and supported me. I couldn’t be happier!

I’ve definitely been feeling the love as we make our way into Valentine’s Day this weekend 🙂

What better way to celebrate than to share an energizing, beautifying, heart healthy trail mix recipe with you!

As I’ve shared in the past, one of the keys to eating for all-day energy is to make sure we are including a combination of protein + healthy fats + fiber into our meals and snacks.

It’s also important to include lots of nutrient-rich foods (foods loaded with vitamins, minerals, antioxidants, phytochemicals, and other health and beauty-boosting ingredients).

When our body has the nutrients it needs, we’re less likely to have cravings and more likely to maintain our health and weight.

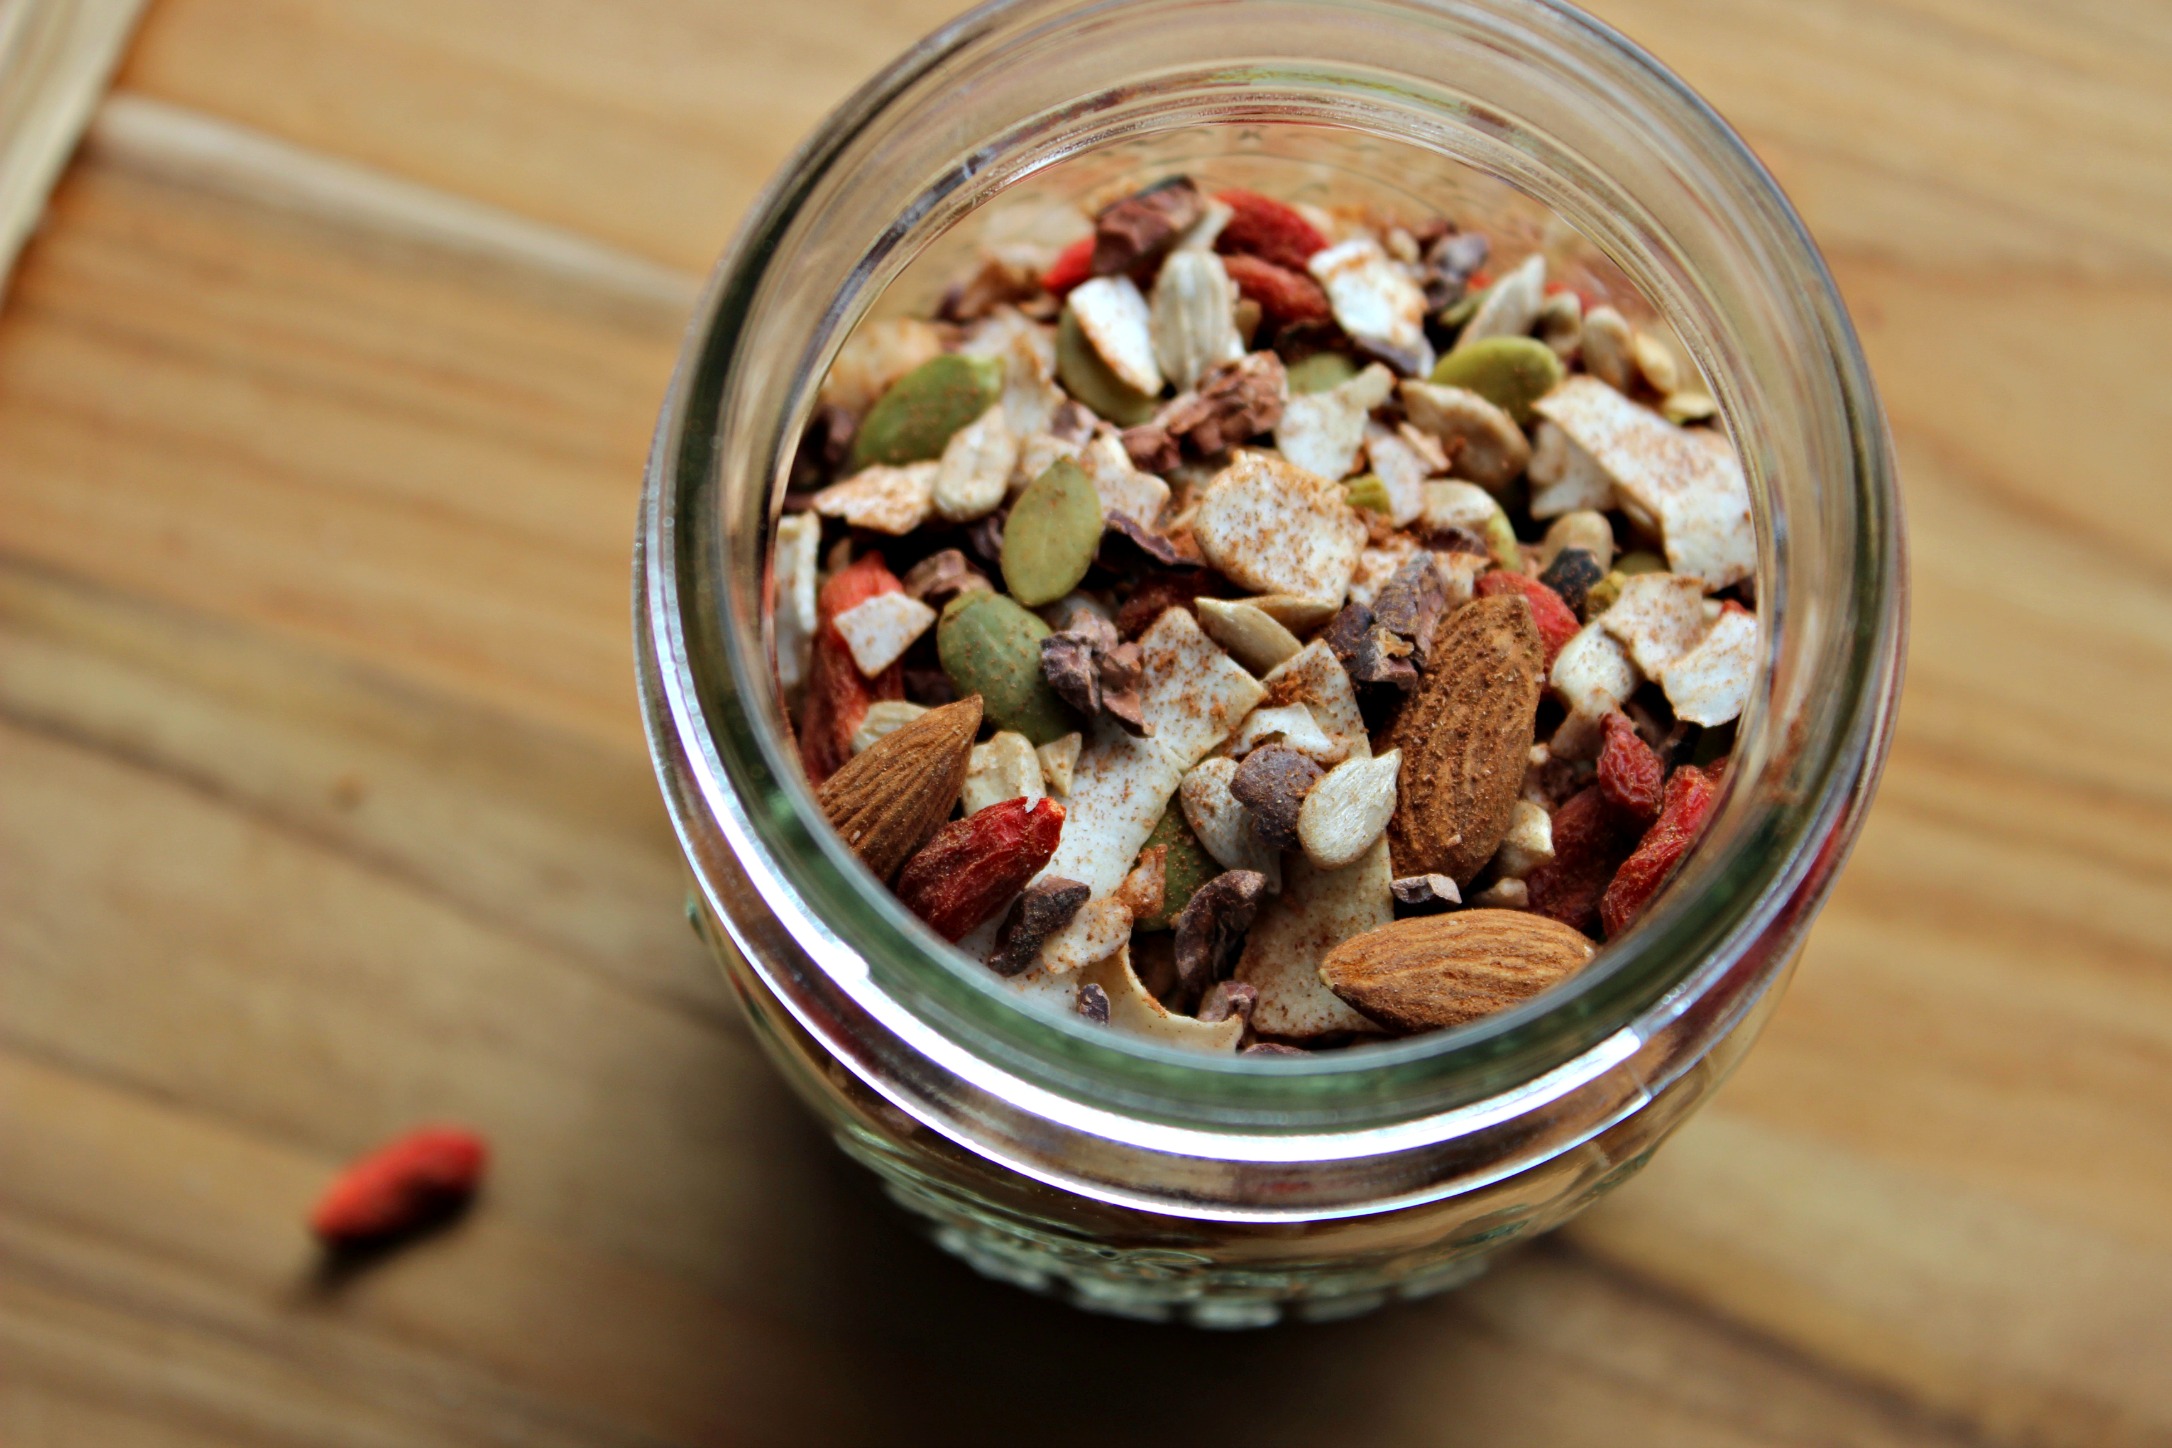
trail mix

Today’s trail mix fits the bill. We make a batch at the beginning of the week, and it lasts us for about 2 weeks.

Most of the ingredients in this recipe (nuts, seeds, berries) are GBOMBS, an acronym for some of the healthiest foods we can eat – foods that fight inflammation, damage to our cells and fat storage. It also contains blood-sugar balancing cinnamon as a natural sweetener.

Check out some of the super awesome health benefits of this super food trail mix. Click the hyperlink for each ingredient to learn more specifics about why it’s such a super-powered food!

Pumpkin Seeds: Loaded with vitamins, minerals, fats, and protein that may promote heart health, immune health, help fight diabetes, and offer unique benefits for men’s prostate health and women’s relief of menopause symptoms

Sunflower Seeds: Good source of magnesium to calm your nerves, muscles and blood vessels; anti-inflammatory, heart healthy fats and vitamins; the detoxifying and cancer preventive mineral selenium; rich in compounds called phytosterols that promote healthy cholesterol levels.

IMG_6173

Almonds: Rich in the skin-beautifying, anti-aging antioxidant vitamin E and full of anti-inflammatory fats and phytochemicals (think, fight-o-chemicals!) that help protect our skin and our heart.

Walnuts: Cancer-fighting properties, promote heart health, contain powerful and protective antioxidants, aid in weight control, boost brain health, and help with blood sugar control in diabetics. Our heart health is something we should all take very seriously. Many people’s diets are poisoned with fast food and sugary snacks. Now more than ever, it is of paramount importance that people learn CPR. In fact, CPR training in Ottawa might help you master the skill.

Goji Berries: Known as the “longevity” fruit in China after being used in Chinese medicine for thousands of years, goji berries are truly a super food. They have been associated with vision and immune health, improved memory, and cancer protection. Find them cheapest at an Asian market or Home Goods. You can also find them in health food stores and on Amazon and Vitacost, but they are a bit pricy.

Cacao Nibs: Raw cacao contains more than 300 phytochemicals and more antioxidants than any other plant food. It’s loaded with compounds that are known to improve heart health, cholesterol, stress levels, and inflammation and naturally boost our mood and feelings of “bliss.” Raw cacao nibs are basically pieces of the raw cacao bean (where chocolate comes from). They are a bit bitter but have a nice crunch, so I usually eat them in a trail mix or sprinkle them on a smoothie.

Coconut: Check out this post about the health benefits of coconut. I wrote about it in my 11 Sweet Treat Pantry Essentials Post.

You can find all of these ingredients at Nuts.com!
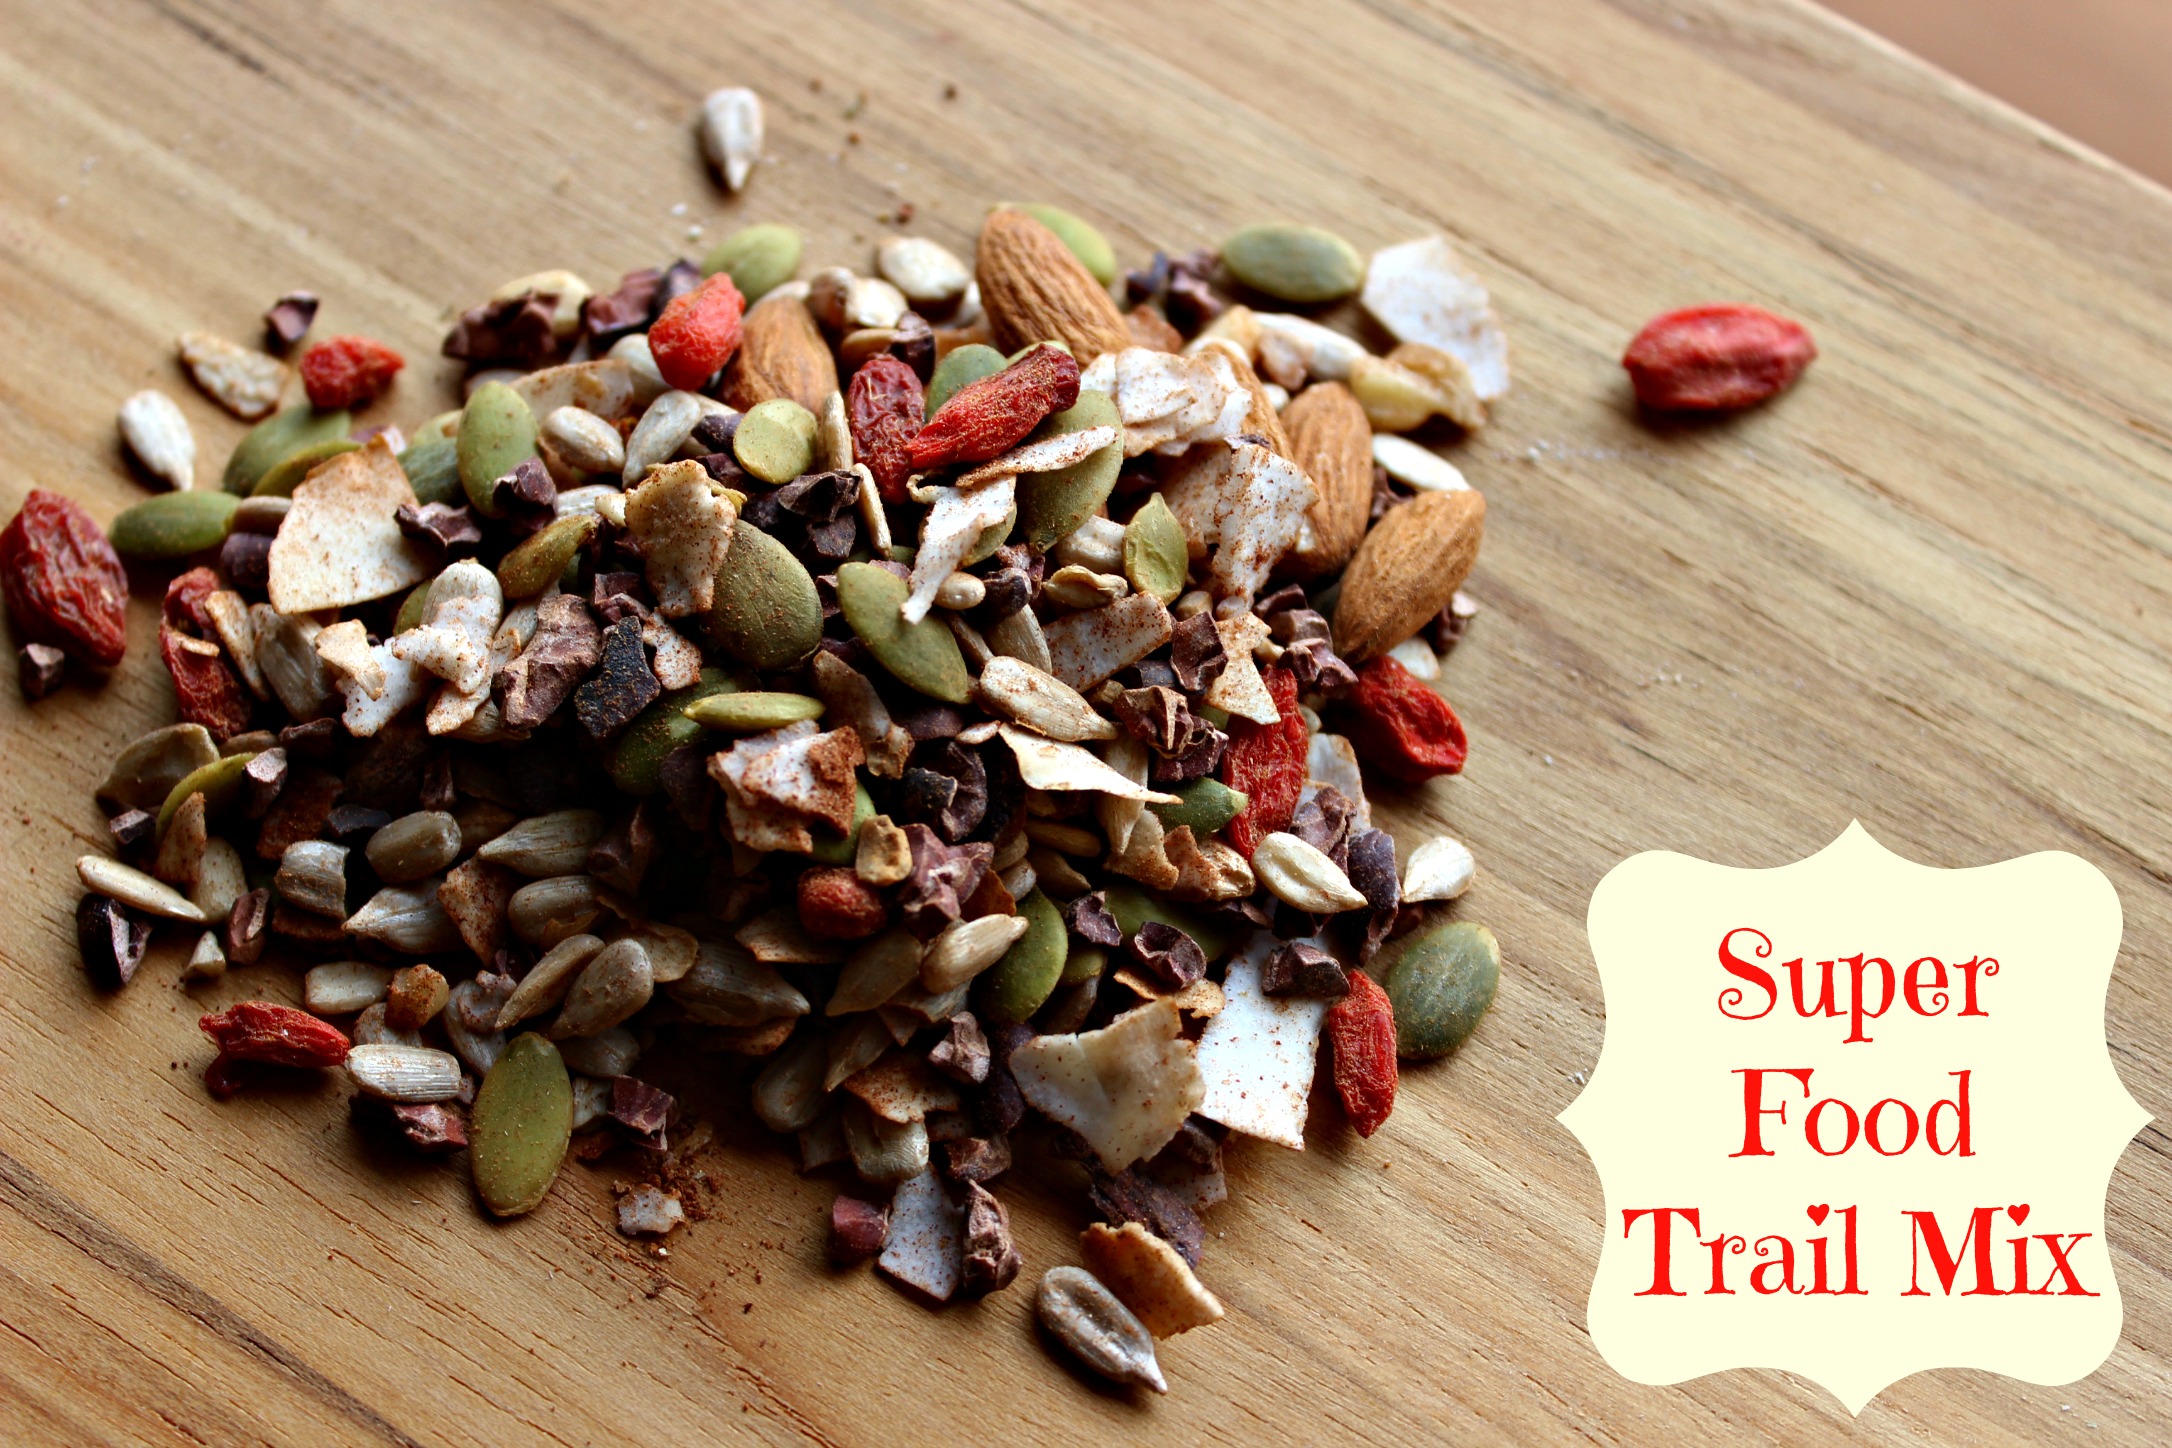
super food trail mix jar aerial

Ingredients

1 cup raw sunflower seeds
1 cup raw pumpkin seeds
1 cup raw almonds
1 cup raw walnuts, chopped
1/2 cup goji berries or raisins
1/2 cup raw cacao nibs
1 cup coconut flakes, lightly toasted
1 cup roasted chickpeas (Nuts.com, The Good Bean, Biena and Chickpeatos are great brands!)
1 1/2 teaspoons ground cinnamon
1/8 teaspoon sea salt

Directions

Mix all ingredients in a bowl until evenly coated and store in a glass container in the fridge.

Coconut Chai Almond Butter Bites {Paleo, Vegan, Gluten-Free}

When I lived in Granada, Spain during my semester abroad in college, I spent a lot of time at places called teterias or “tea houses” as they’re known in English.

We sat on ornate cushions at low tables as we sipped aromatic herbal teas and took in the bold scents and colors as well as the relaxed vibe of the room.

teteria

Visits to teterias introduced me to the vibrant and complex flavors of masala chai tea, which is what inspired today’s recipe.

The word chai actually means tea, so whenever you hear someone refer to “chai tea,” they are likely talking about the mix of spices in it known as masala chai.

Depending on who you ask, masala recipes vary, but they almost always include cinnamon, cardamom, ginger, cloves, and black pepper. Some blends also use nutmeg and/or star anise, which has a licorice-like taste.

Not only does this spice blend make for a rich and flavorful tea, but it also works well in dessert recipes like this one.

bite2 coco bites

Almonds and almond butter serve as the base of this recipe.

I love using almonds in any form because they are loaded with some serious health benefits:

coconut chai bites

Yield: ~18 bites

Ingredients

  • 1/2 cup raw almonds
  • 1/2 cup + 2 tablespoons shredded coconut, unsweetened
  • Medjool dates, pits removed
  • 1 tablespoon coconut oil
  • 2 tablespoons hemp seeds
  • 1/4 cup almond butter
  • 1/2 teaspoon ground cinnamon
  • 1/2 teaspoon ground ginger
  • 1/4 teaspoon ground cardamom
  • 1/8 teaspoon ground cloves
  • 1/8 teaspoon black pepper (yes, you read that right!)
  • 1/4 teaspoon fine grain sea salt
  • 1/2 teaspoon vanilla extract

Directions

  1. Pulse almonds and 1/2 cup shredded coconut in a food processor until completely ground (no chunks of almonds!).
  2. Add the remaining ingredients, except for the 2 tablespoons of shredded coconut, and blend in the food processor until all ingredients are combined into a dough-like consistency.
  3. Lightly toast the remaining 2 tablespoons of shredded coconut until lightly browned.
  4. Roll dough into balls with the palms of your hands, and then roll them in the toasted shredded coconut.
  5. Store in the refrigerator in a glass container. They will firm up in the fridge because the coconut oil will cause them to “set” at that cooler temperature. If you want them to be a little softer, feel free to set them out on the counter for 10-15 minutes before eating. As you chew them slowly, they will feel like they are melting in your mouth because of the coconut oil melting 🙂

Enjoy for breakfast, a snack or dessert!

What are some of your favorite flavor combinations? Let me know and I’ll try to incorporate them into a future recipe!

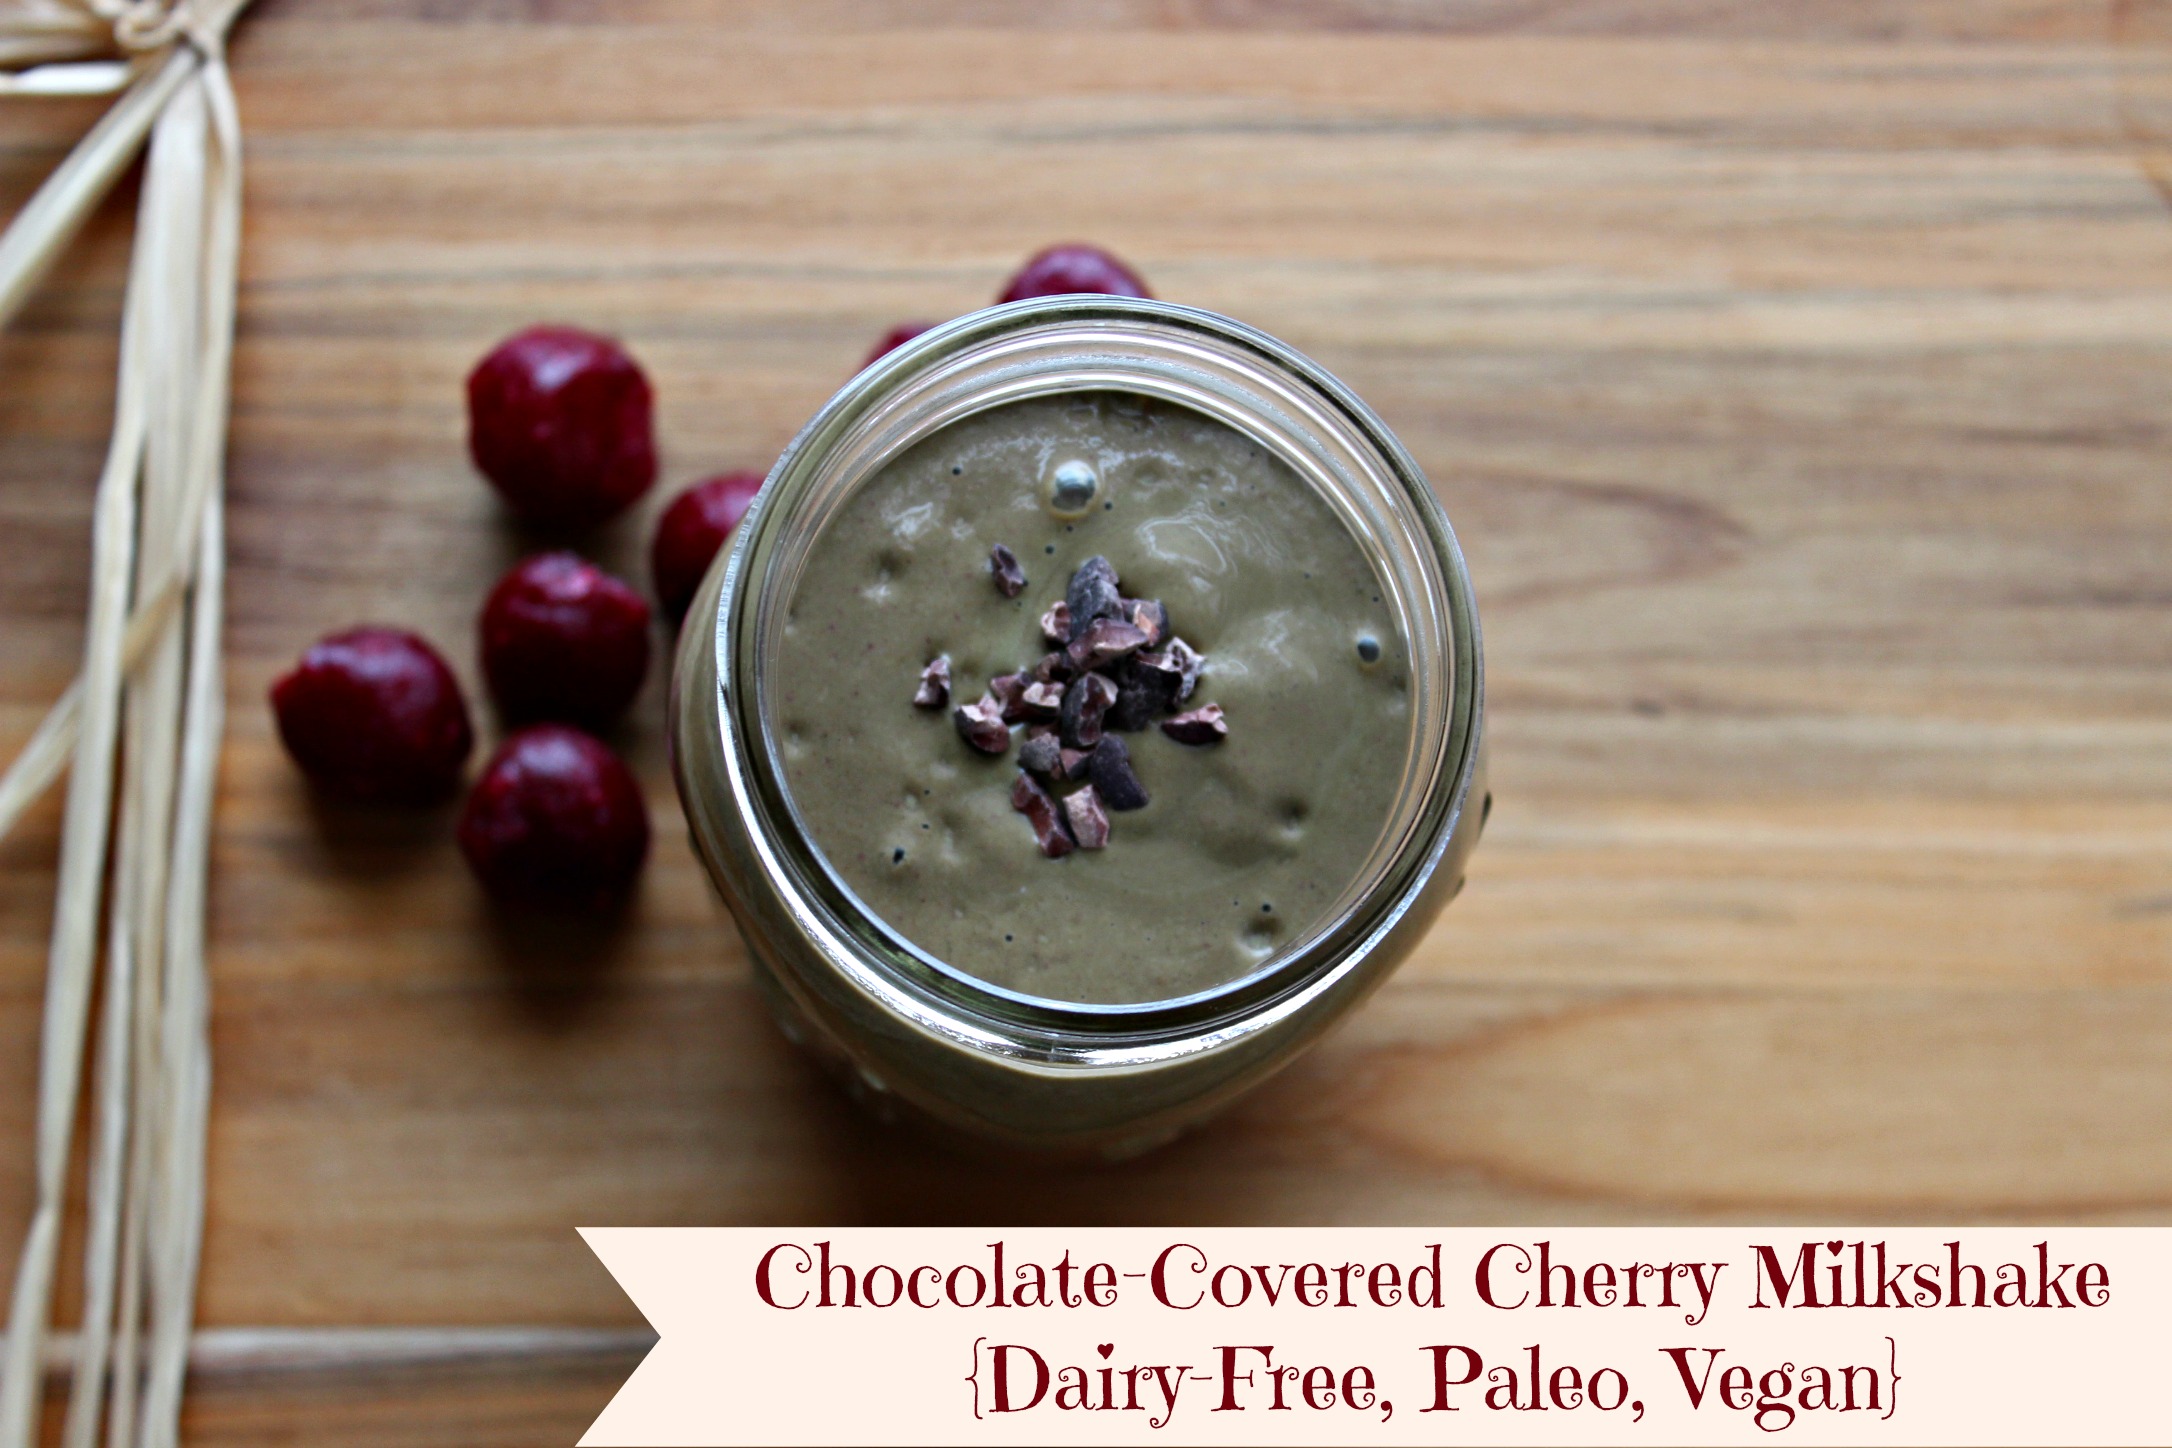
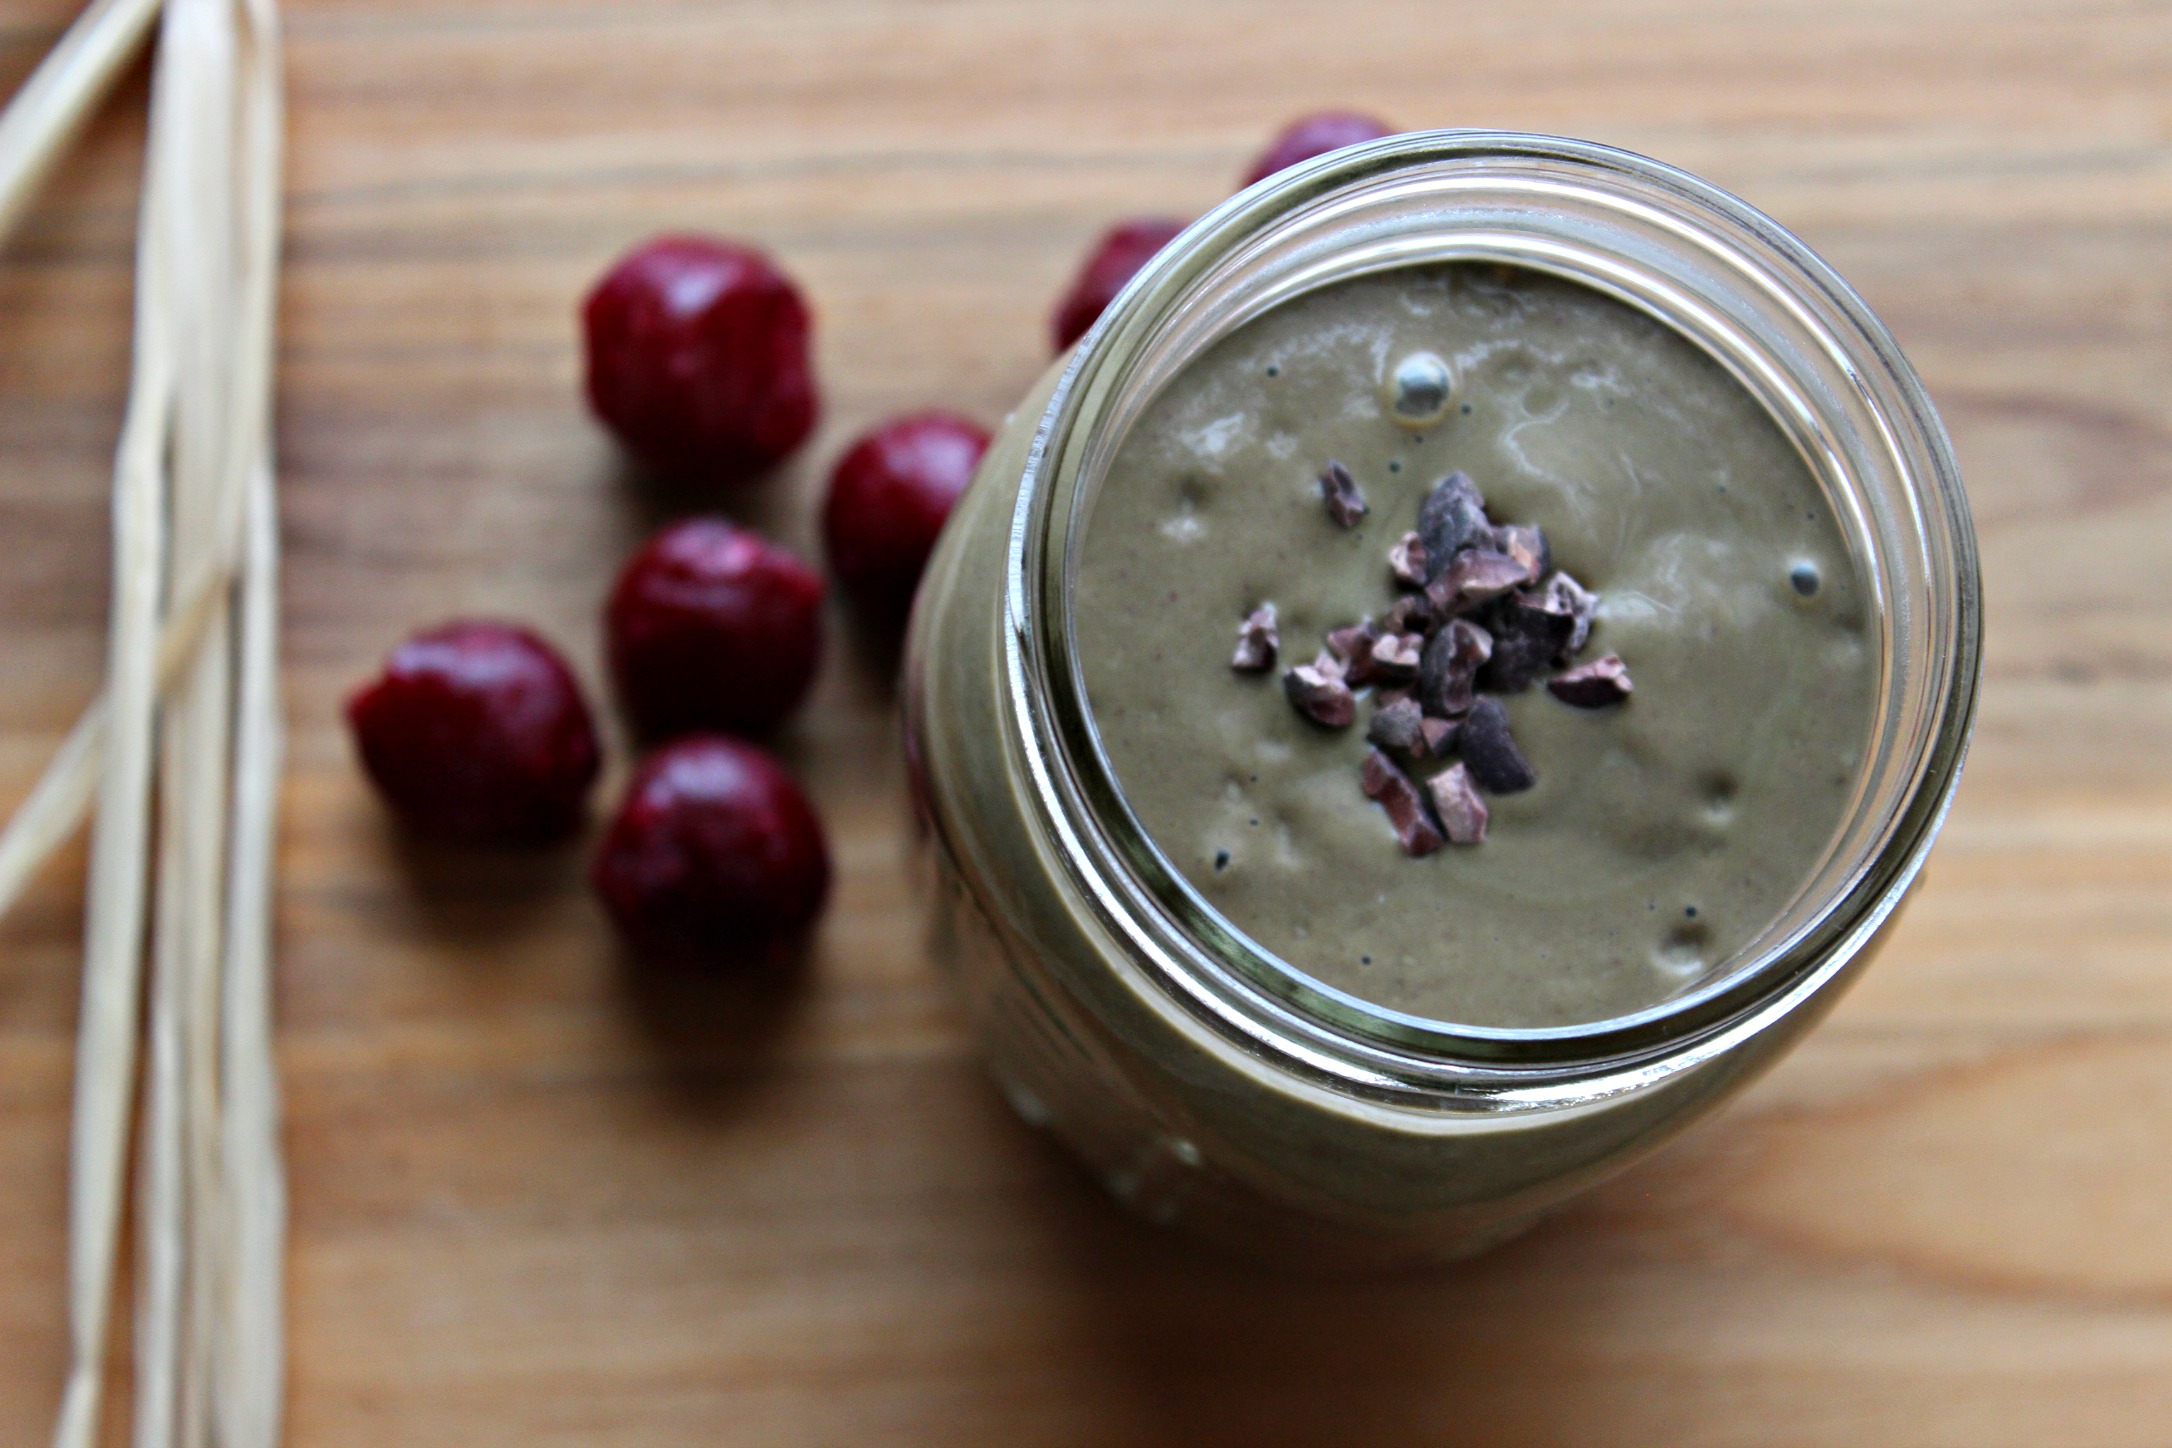
Chocolate-Covered Cherry Smoothie {Dairy-Free, Paleo, Vegan}

You guys…THIS IS AMAZING!

Seriously, it’s so good! It tastes like a decadent dessert, but you can have it for breakfast.

I couldn’t decide whether to call it a smoothie or a milkshake, so I opted for “smoothie shake.” 🙂

I was inspired to make this recipe after making a cherry chocolate pudding and thought I would try to make a drinkable version. It’s one of the tastiest things I’ve made and is now Bill’s “go to” smoothie in the morning.

What I like the most about smoothies (or, in this case, milkshakes!) is how easily you can pack lots of energy, immune and beauty-boosting nutrients into ONE glass.

This one is loaded with anti-inflammatory and beautifying foods like hemp seeds, cacao powder, avocado and spinach.

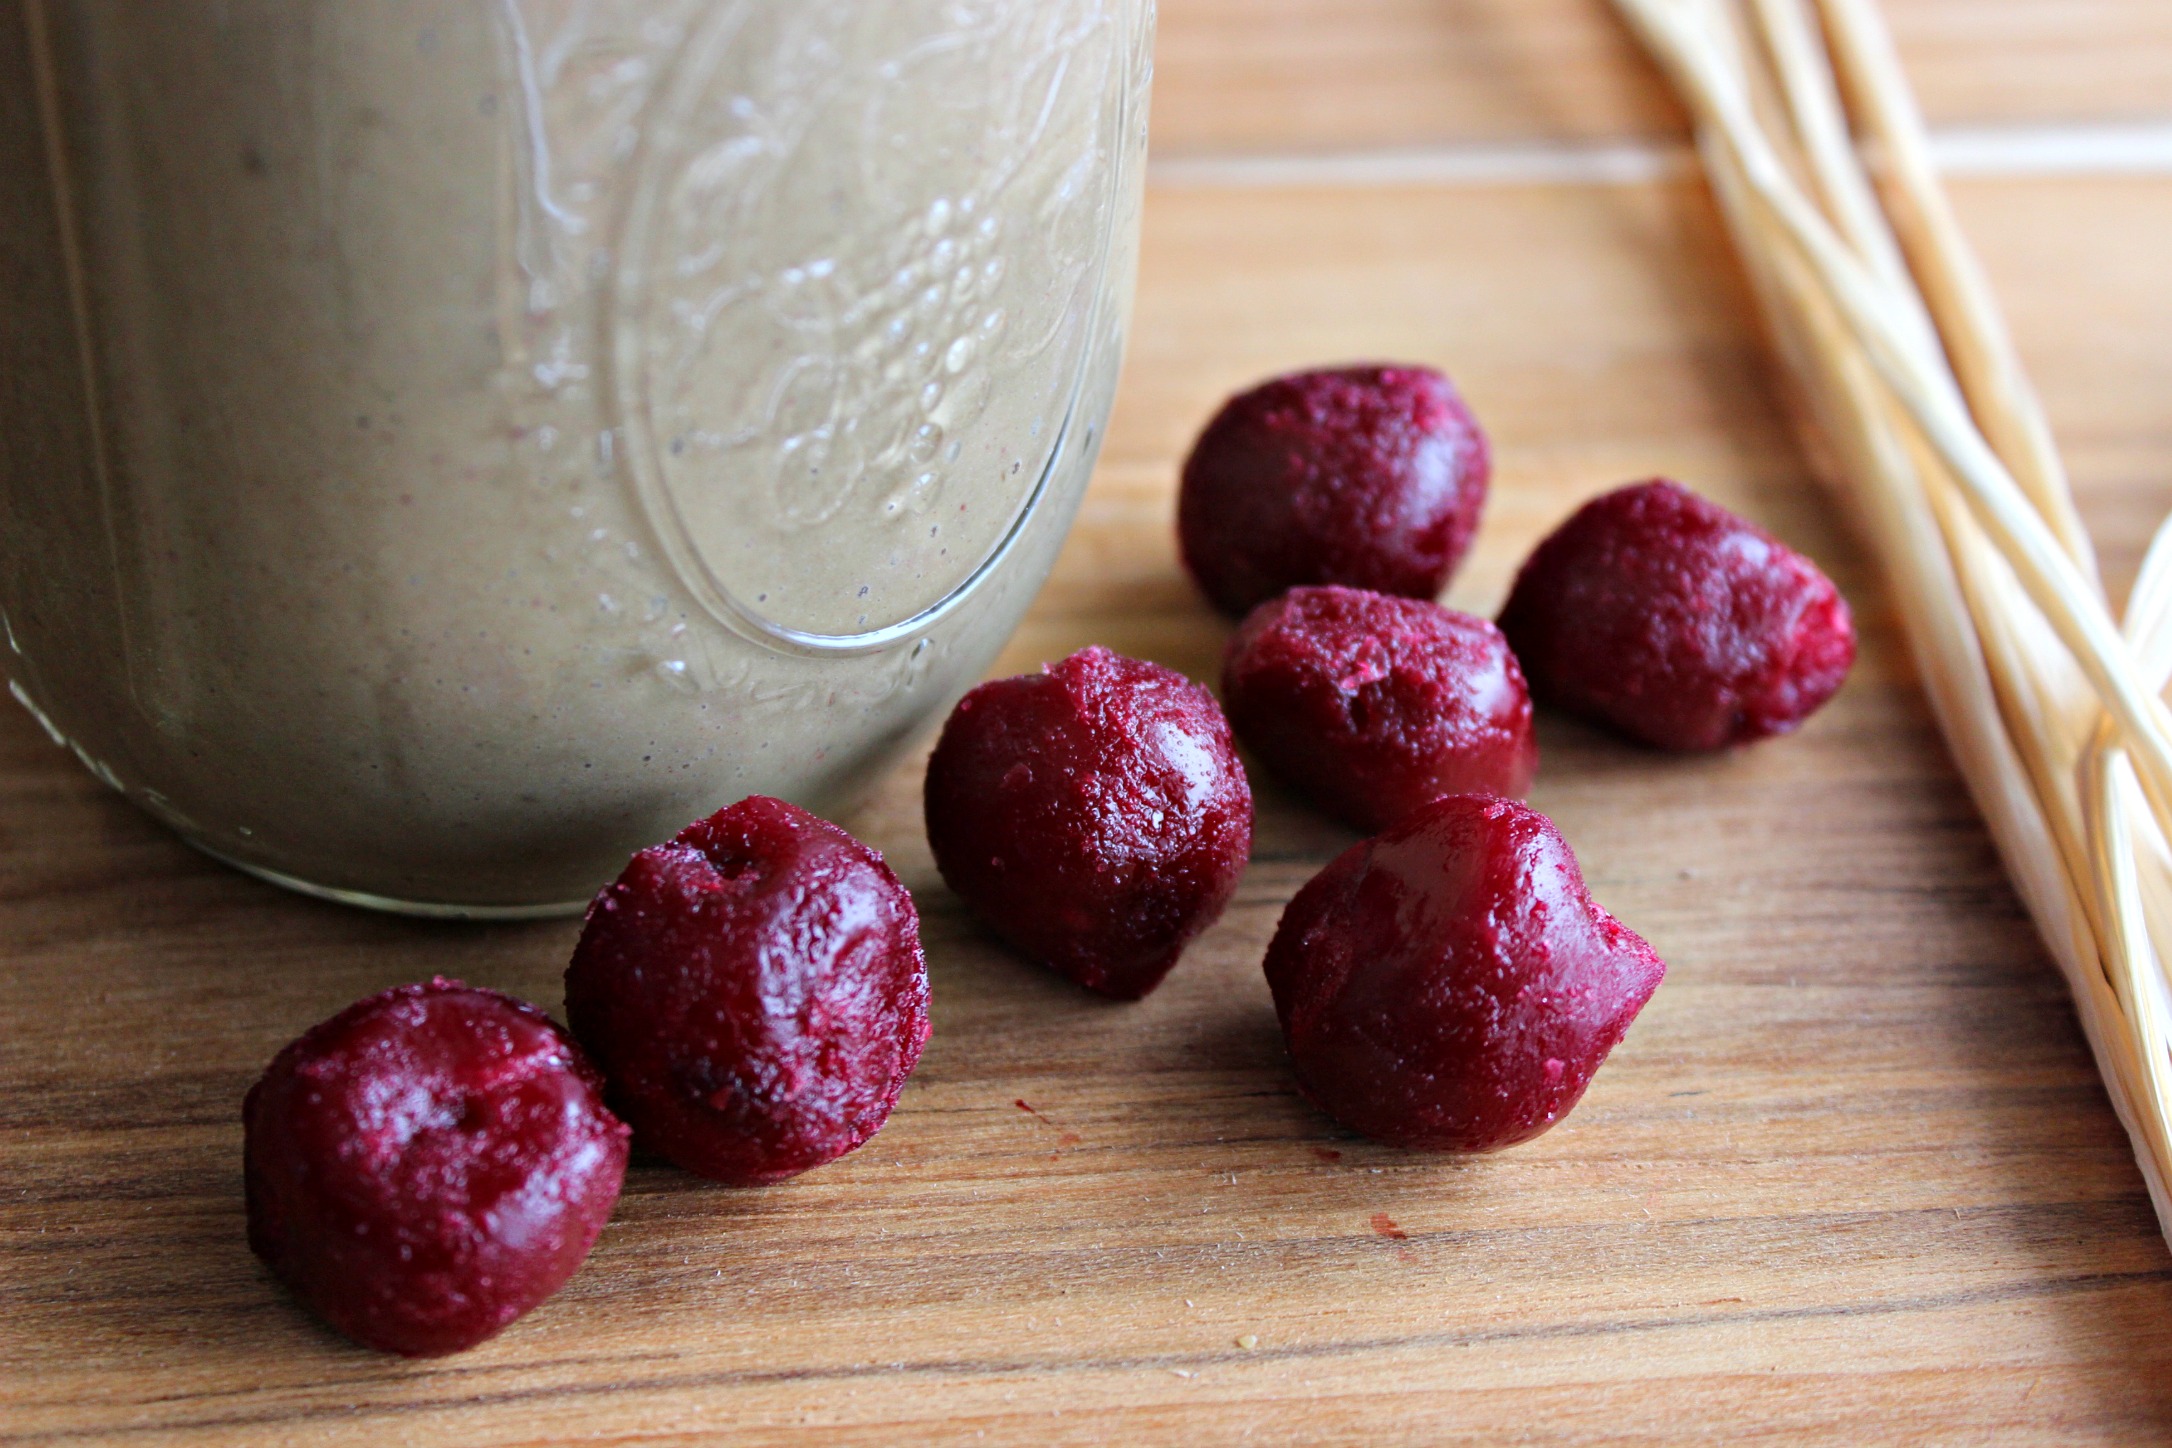
But cherries are the star. They’re a fruit that we’re all familiar with but don’t hear too much about healthwise. Check out all of the health-boosting benefits of cherries below.

cherries

Why I love cherries:

Check out this link from Dr. Mercola or this one from Dr. Joel Fuhrman to learn about even more of the health benefits of these power-packed fruits 🙂

Not only is this smoothie shake fueling and nourishing, it’s also rich, creamy, chocolatey and silky smooth. You have to try it!

choco cherry 1Cherrychocshake1

Ingredients

  • 2 cups baby spinach, loosely packed (this has the LEAST flavor of any greens)
  • 1 Medjool date, pit removed
  • 1/4 avocado
  • 2 tablespoons hemp seeds (my go to protein source for smoothies!)
  • 1 tablespoon raw cacao powder
  • 1/4 teaspoon almond extract (optional but amazing)
  • 3/4 cup frozen cherries (BJs Wholesale club now sells bags of organic frozen cherries)
  • 1 – 1 1/2 cups unsweetened almond milk (check out my video for how to make your own)
  • Pinch fine grain sea salt
  • Optional: sprinkle some cacao nibs on top for a chocolatey crunch!

Directions

Put all ingredients in a blender in the order listed above and blend for about a minute or until smooth and creamy.

**If you don’t have a high-speed blender like a Vitamix, Blendtec or Ninja, blend the liquid and spinach FIRST and then add the other ingredients 🙂

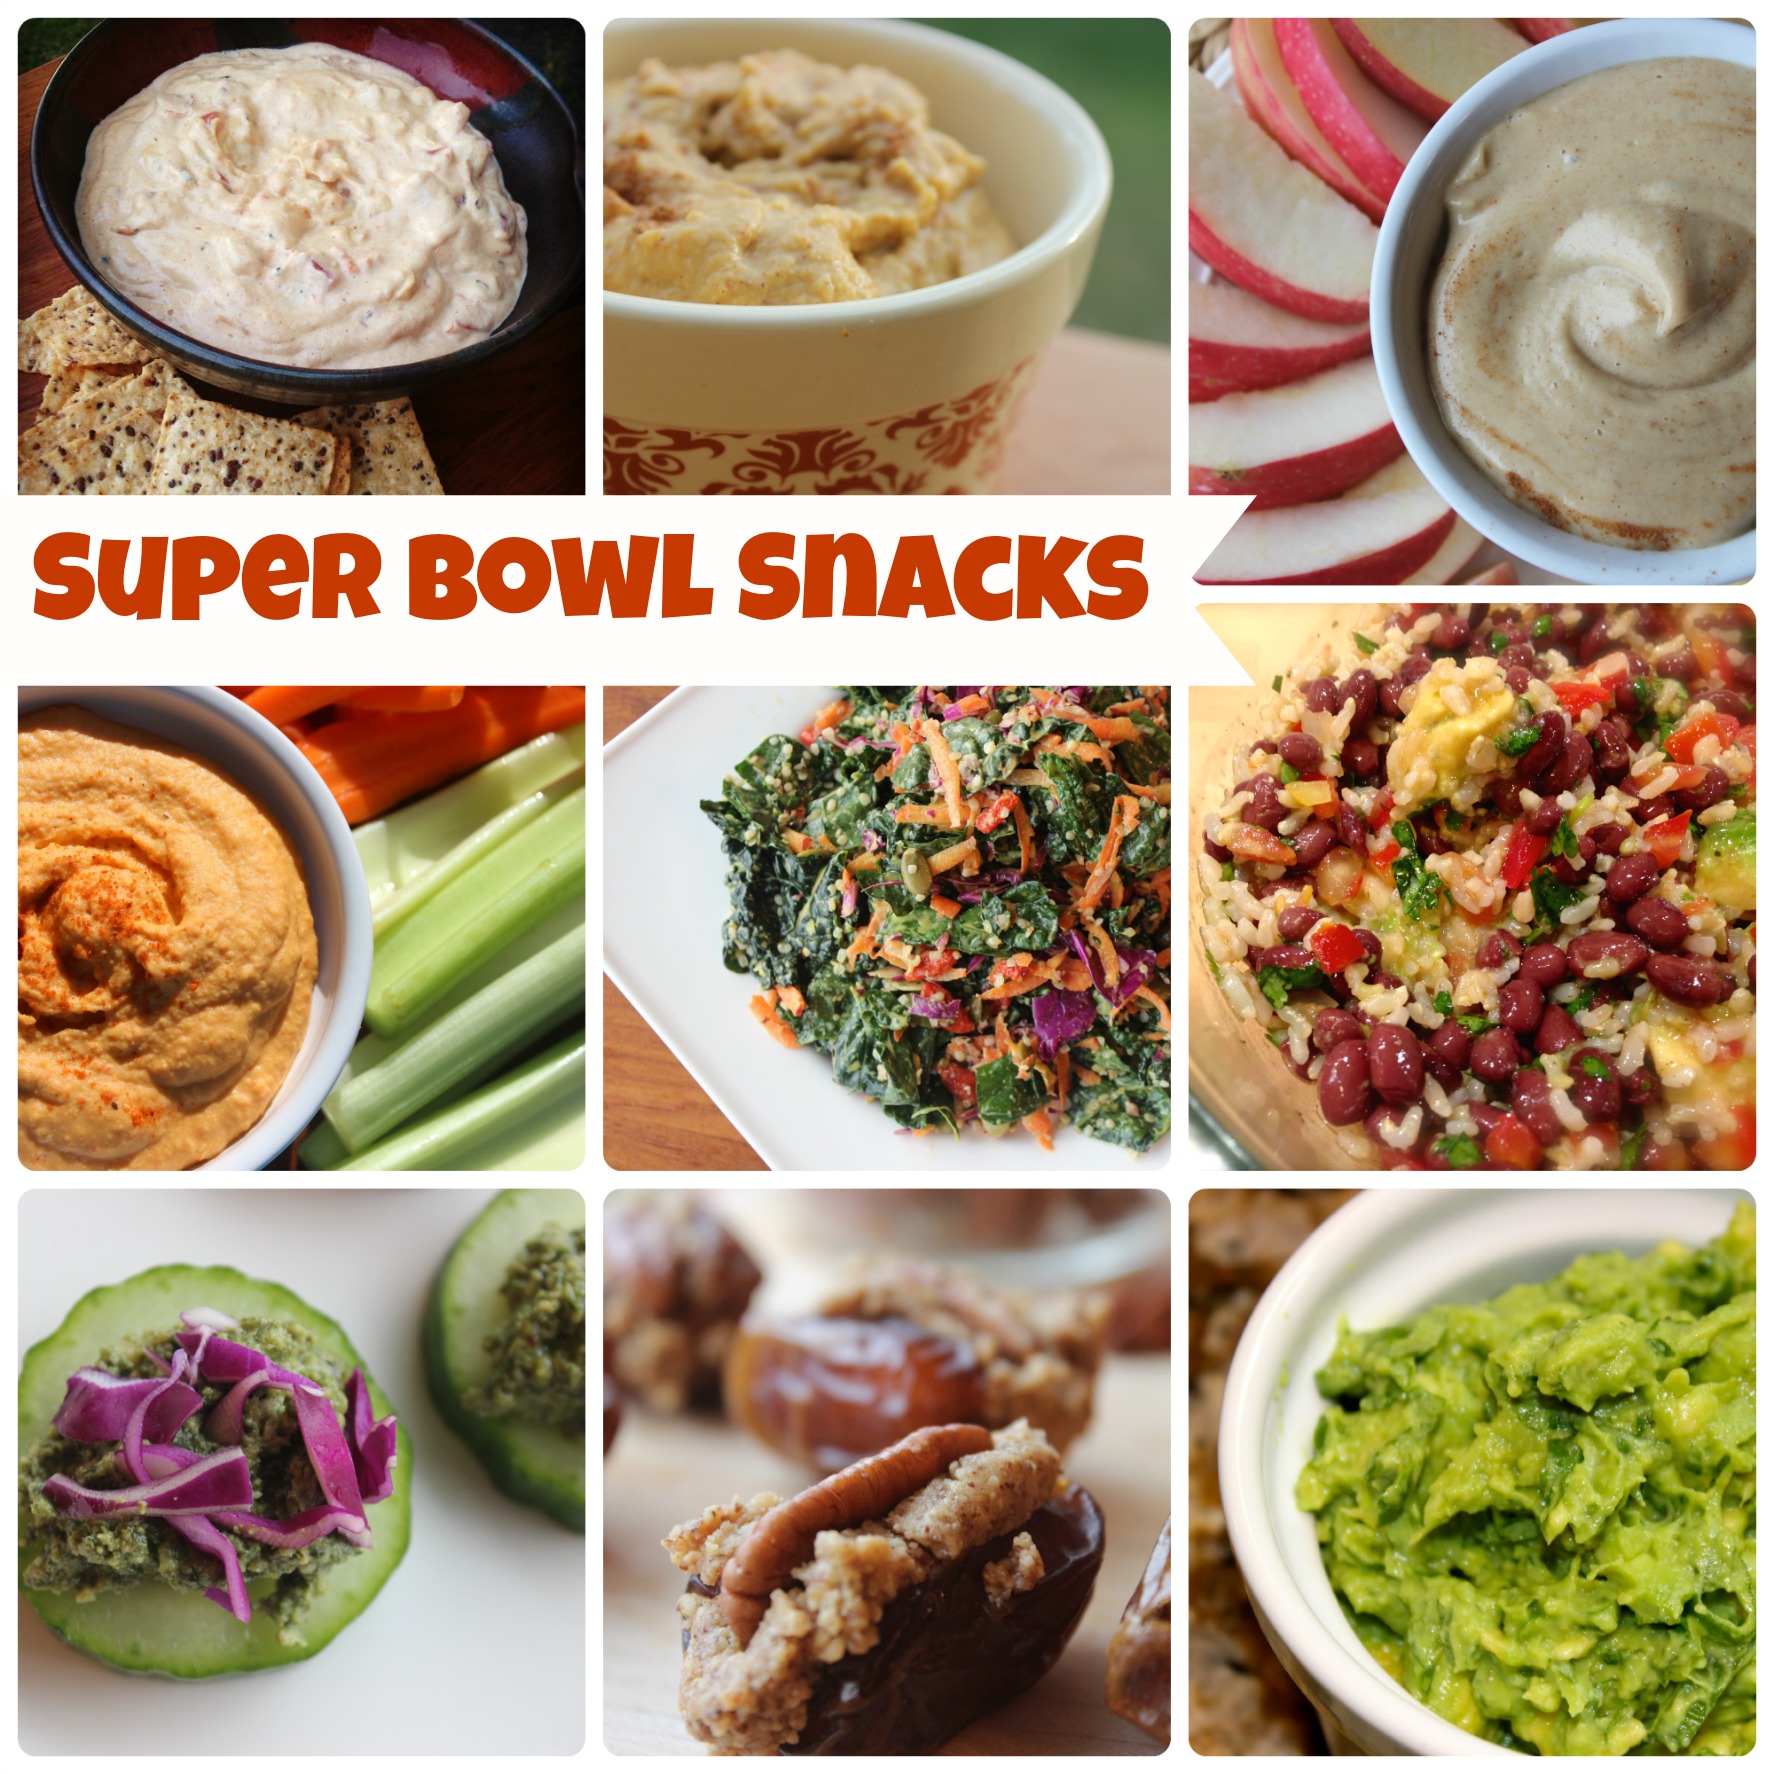
My Top 10 Healthy Snack Upgrades for Super Bowl {Dairy-Free, Gluten-Free}

My husband, Bill, is a die-hard Packers fan and, being from Baltimore, I’m a Ravens fan.

My hubby and his friend Josh after the Packers won the 2010 Super Bowl. My sister, Jane, and I celebrating after the Ravens won in 2012.

My hubby and his friend Josh after the Packers won the 2010 Super Bowl. My sister, Jane, and I celebrating after the Ravens won in 2012.

As you might imagine, given the outcomes of the recent playoff games, neither of us is all that excited for this year’s Super Bowl matchup.

Sure, we’ll watch it with friends and hope for a good game and some funny commercials, but it won’t be the same as if one of our teams had made it to the big game.

Even though the excitement for the game isn’t there, Super Bowl parties always mean FOOD, so here I am with some recipes for you!

I pulled together my favorite dips, snacks and potluck-style dishes that are great upgrades to typical Super Bowl party food. They’re crowd-pleasing AND nourishing 🙂

super bowl snacks

Like everything on this blog, all of these recipes are dairy-free and gluten-free AND get a big thumbs up from Bill, family and friends!

Creamy Queso Dip – A friend of ours FROM WISCONSIN liked this “cheeze” dip…even though it doesn’t contain any dairy! If someone from Wisconsin likes a non-cheese cheeze dip, then I think it’s safe to say anyone will.

Protein-Packed Pumpkin Spice Dip – This recipe is so good it was selected to be in an ebook this winter! I love the taste of pumpkin, and even though it’s winter and not fall, I’m still a big fan of this dip and think your friends will be, too. Serve it with sliced apples or pears and you’re good to go.

Raw Caramel Apple Dip – This is my go-to dip to bring to most parties. People love it and are always surprised to find out the ingredients. It’s silky, sweet and slightly salty…and is made from only 5 ingredients!

Elevate Your Tailgate Buffalo Hummus – I showed my coworkers how to make this at a cooking class this fall, and they loved it! If you’re looking to upgrade your buffalo chicken dip, try this healthier version instead 🙂

Taste the Rainbow Super Food Salad – You can keep this one simple and just use the basic ingredients (dressing + kale + shredded carrots + pumpkin seeds), or you can add all the other stuff. When I bring this salad to a party, I always get requests for the recipe afterwards.

MYO Chipotle-Style Bean Burrito Bowl – When I teach my How to Eat Healthy Without Going Broke workshop, I always serve this dish, and people rave about it. In one class, someone even said, “I don’t like black beans or avocado…but I loved this.” It’s a great potluck-style option to bring – double the recipe for a crowd!

Basil-Walnut Pesto Sauce with Cucumber Slices – People DEVOUR these. I first made them for my anti-inflammatory cooking class in the fall and then brought them to a Christmas party. They were gone within an hour. Trust me on this one – these will be a hit.

Paleo Pecan Pie Poppers – I whip these up as a convenient “on the go” snack and love the combo of crunchy, chewy, sweet and salty. These may not be the most conventional appetizer choice, but think of them as a healthier and sweeter version of a “popper.”

Green Goddess Guacamole – Guacamole is pretty much one of the best things ever, isn’t it? I didn’t even try it until I was in my mid-20s because I thought it was made with mayonnaise, which I’ve never liked. Turns out, it’s amazingly delicious 🙂 Whether you make this recipe or one of your own, guacamole is a great healthy dip that’s full of healthy, beauty-boosting and energizing fats.

And last but not least, there’s always crock pot chili – a great option to bring to any party or potluck. Serve with a dollop of guacamole or some diced avocado 🙂

chili 2

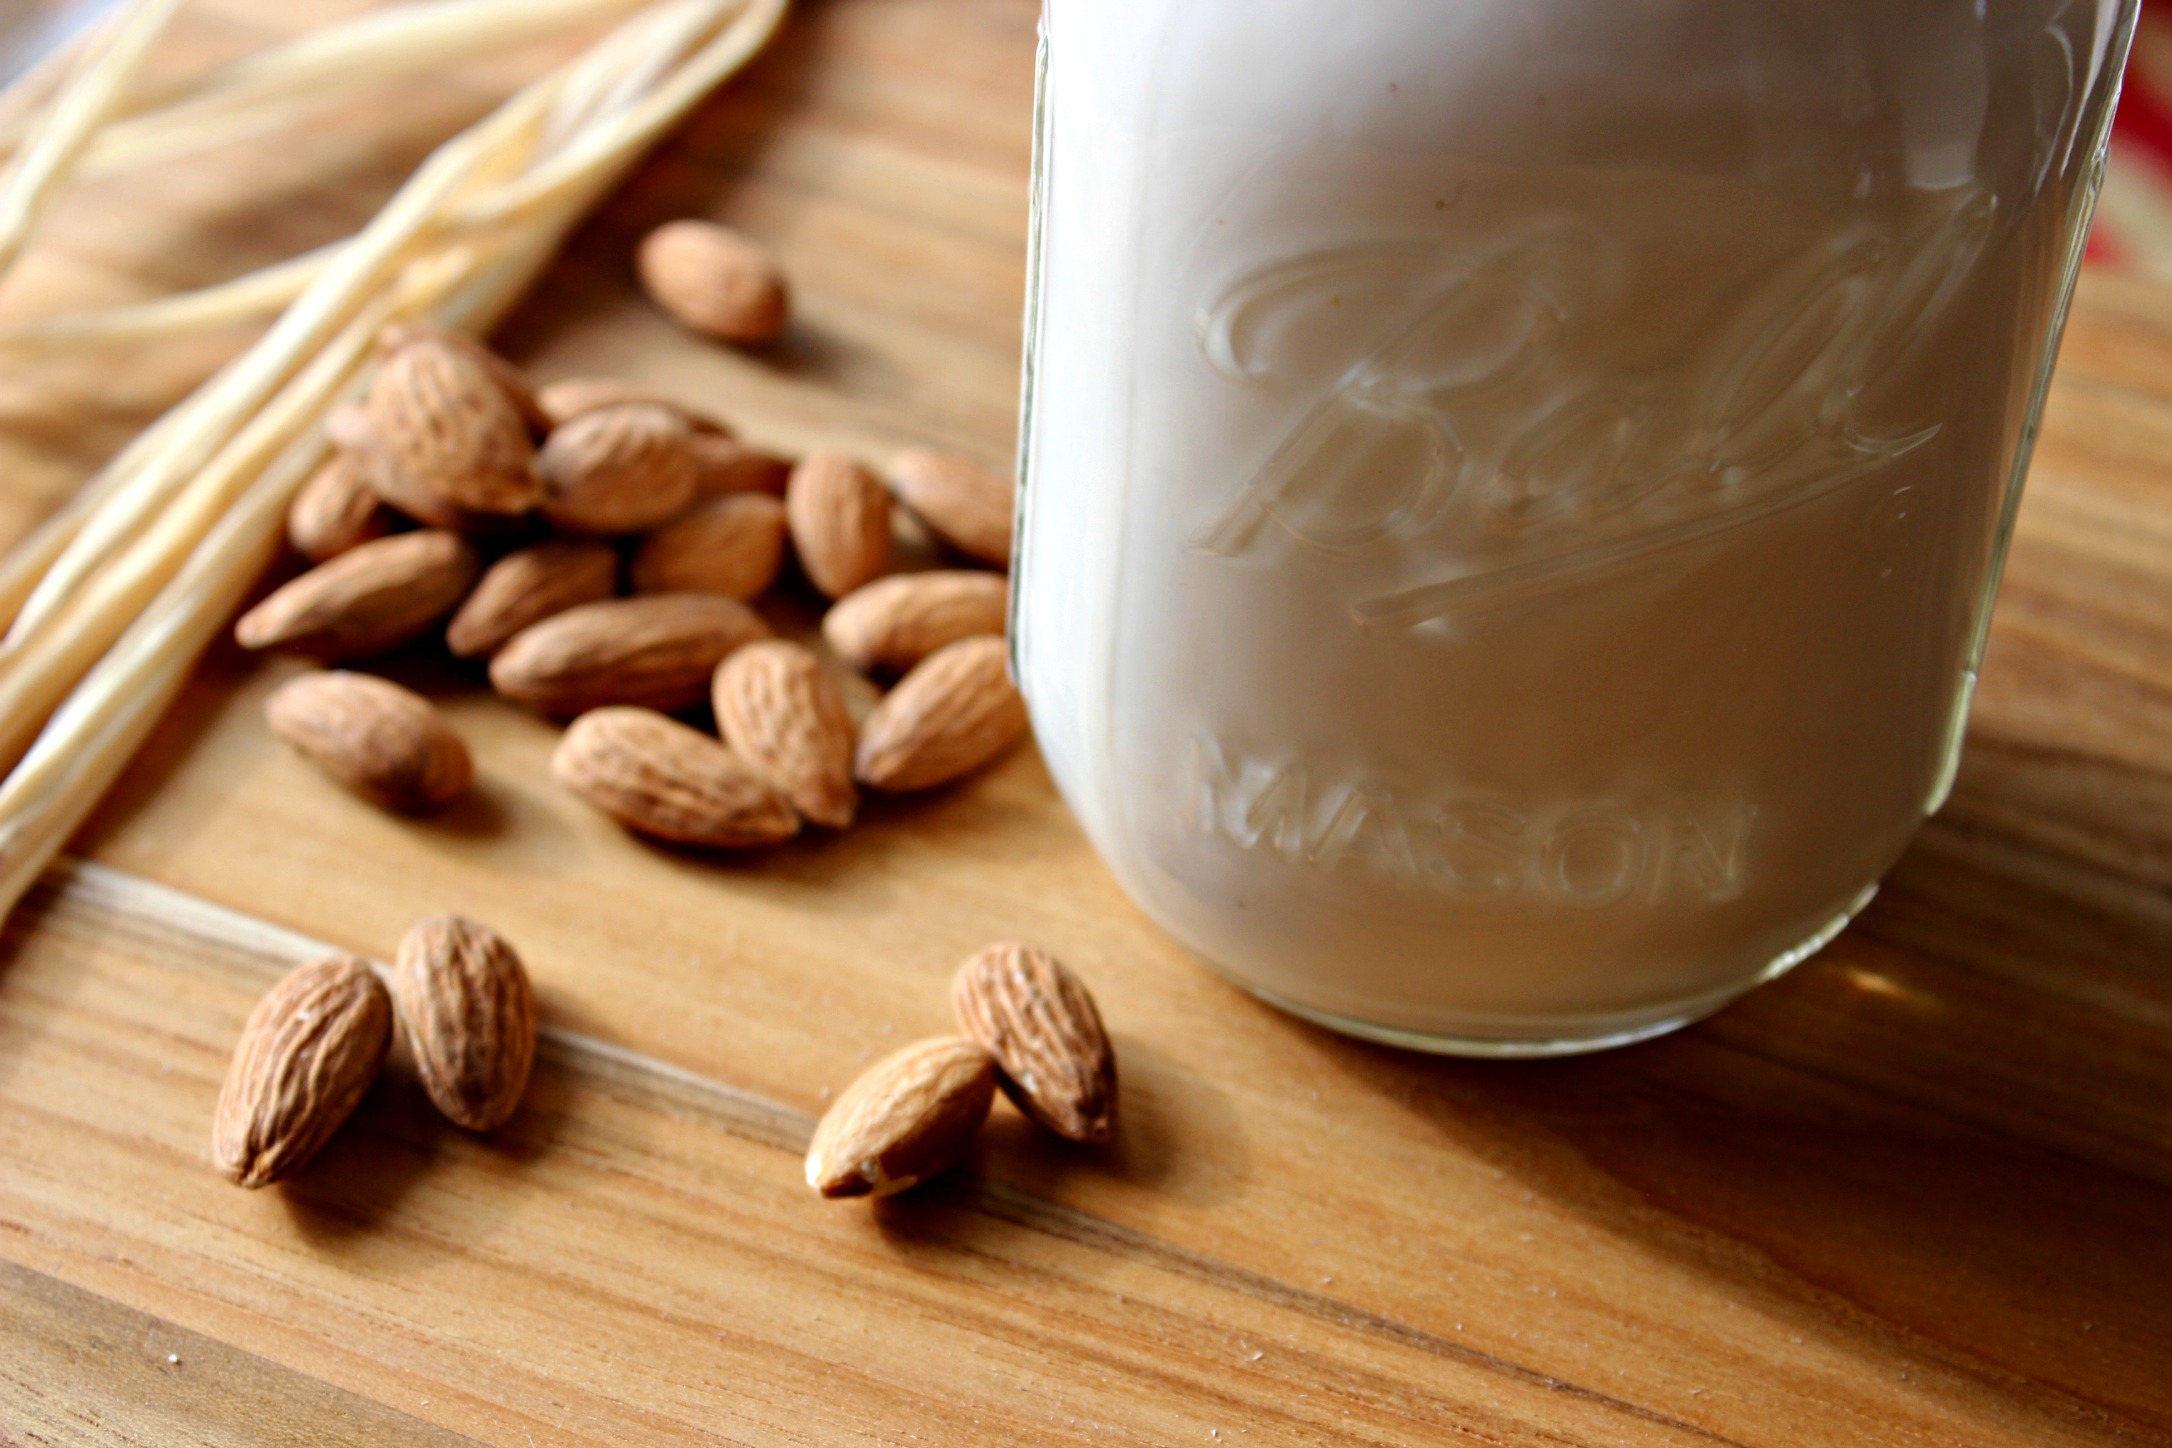
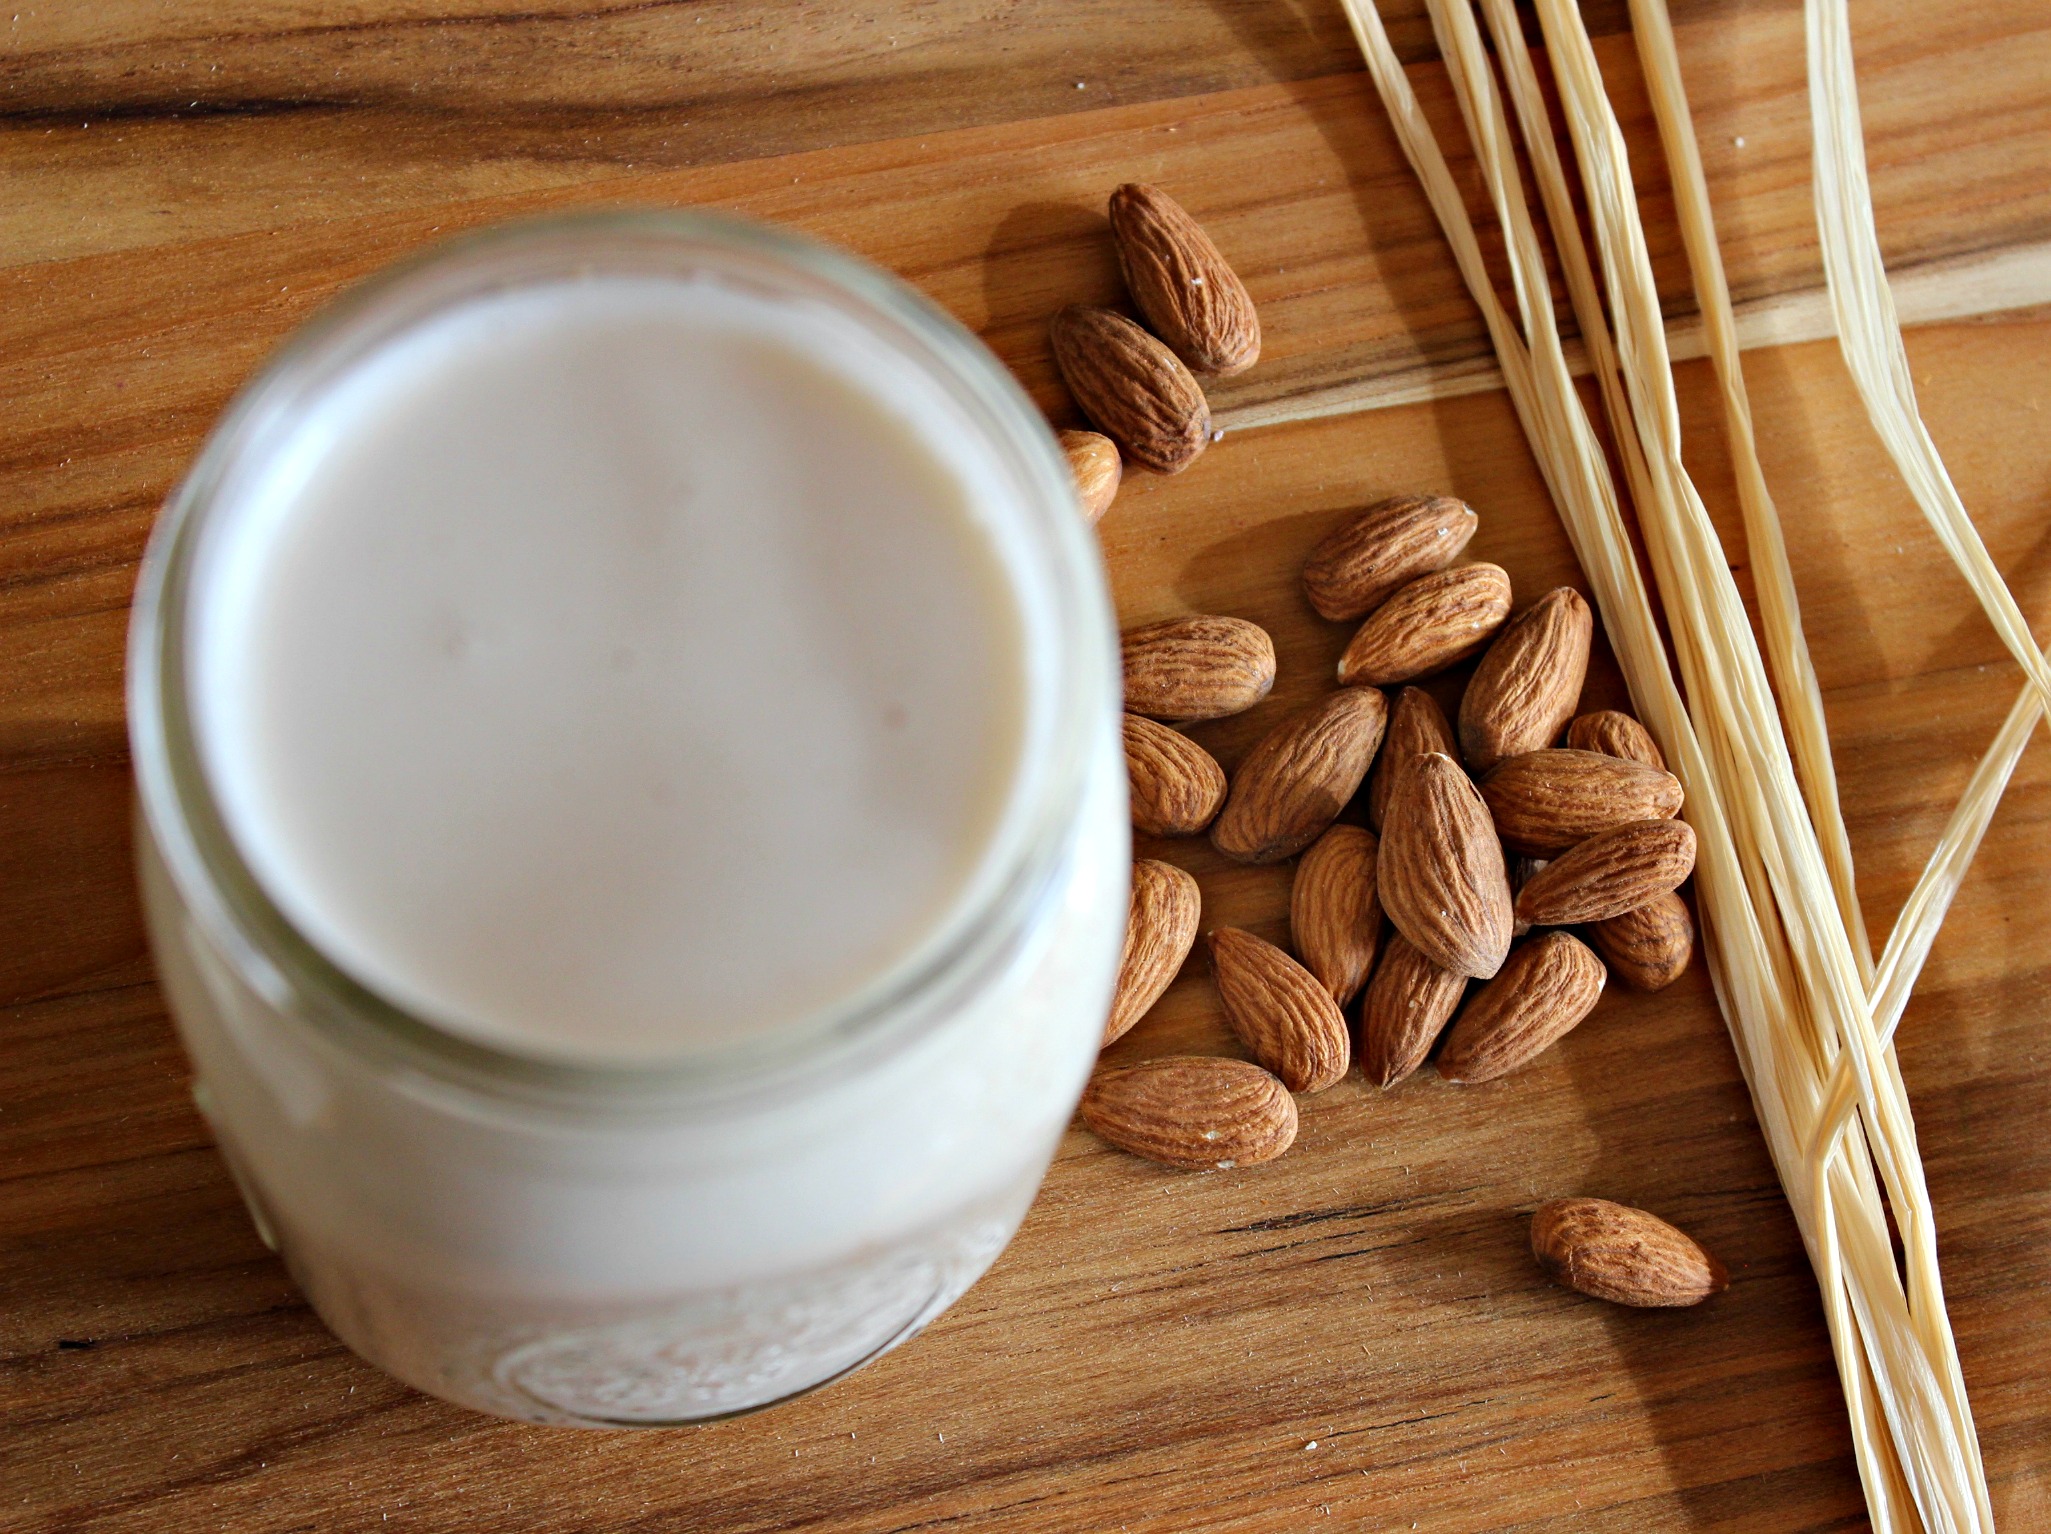
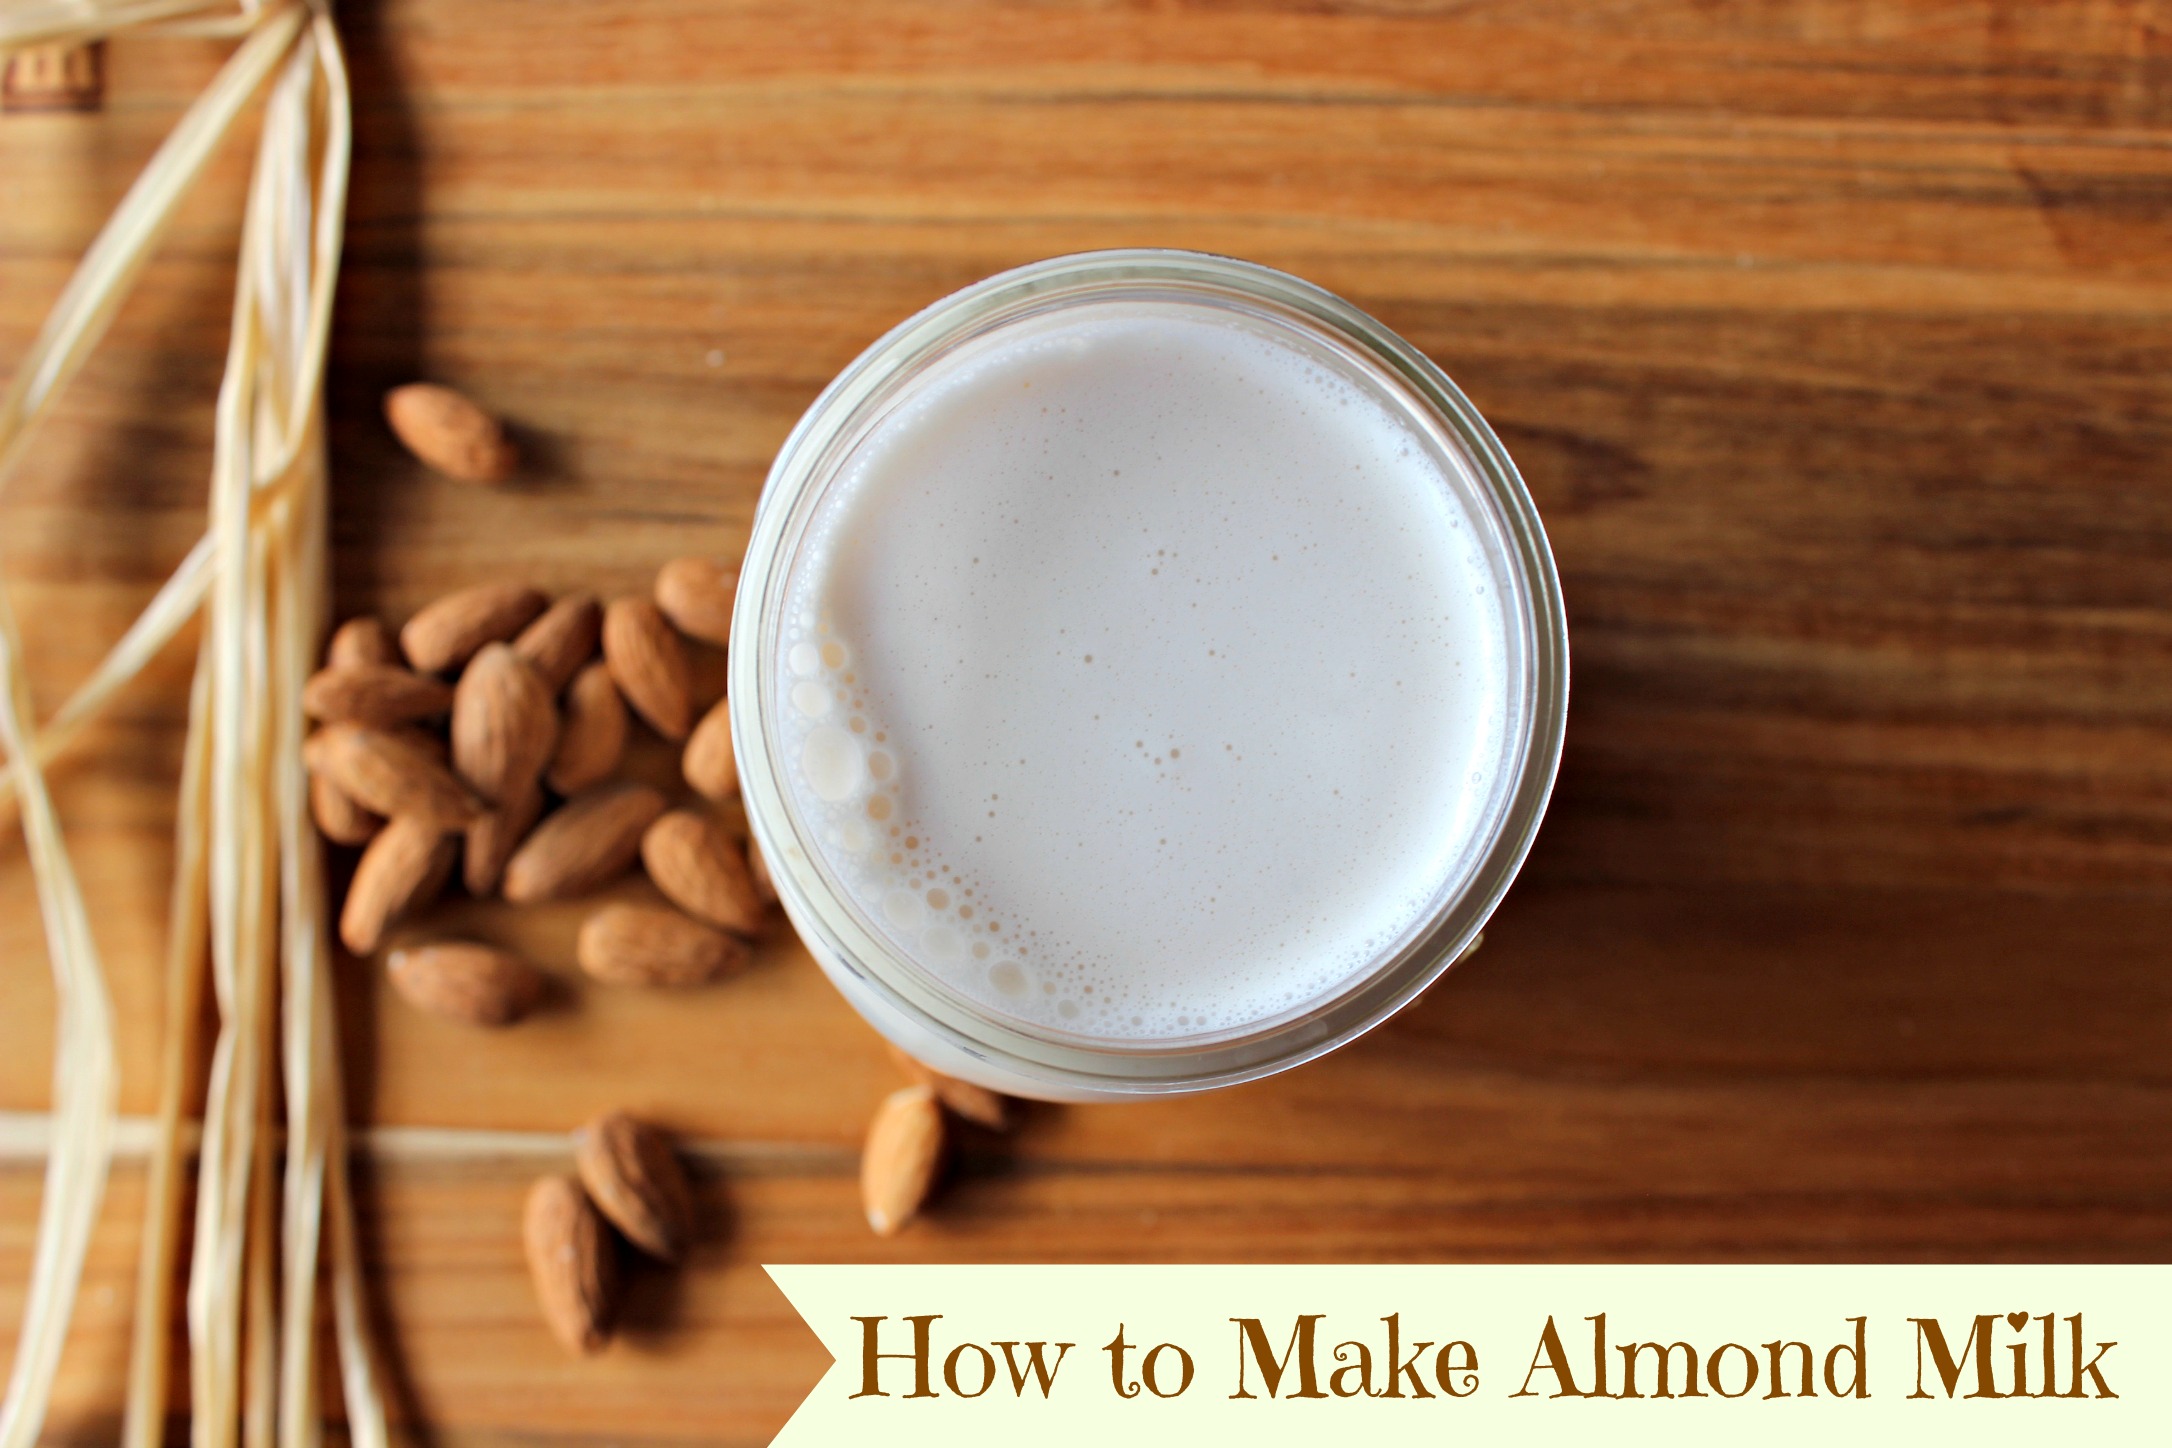
How to Make Your Own Almond Milk & Why I Ditched Dairy {Step-by-Step Video!}

Mother’s milk is an integral part of our first food memory. It single-handedly sustained and nourished us through our initial months and years of life.

It’s no wonder we have such an emotional tie to milk and the products made from it. 

From Polly-o string cheese and Parmesan cheese to yogurt, ice cream, and frozen yogurt, I loved dairy products for most of my life. If you had told me there would be a time when I wouldn’t eat them, I would have told you that you were nuts 🙂

almond milk 2

But ever since I cut out milk products three years ago, I’ve felt better than ever.

For years, my body was sending me signals that I basically ignored and never knew were connected to my body’s intolerance to dairy. When I cut it out, my sinus congestion disappeared, I stopped getting bronchitis twice a year, and my post-nasal drip went away. That meant no more Sudafed, Advair, Mucinex or Tylenol Cold & Sinus – all medications I used to take multiple times throughout the year.

My skin and digestion also improved significantly – less dryness and zits and less bloating and gas (just being honest!). Giving up dairy is also one of the reasons I was finally able to get off of medicine I used to take daily to control acid reflux.

Since cutting out dairy, I’ve had to find tasty alternatives to something most of us drink or use in things like smoothies every day – milk. I’ve been drinking almond milk for years but always bought the boxed versions from the grocery store.

almond milk1

During my culinary nutrition program this fall I was finally inspired to make my own almond milk. It was easier than I thought. I just had to do it.

In the video below, I show you exactly how to make almond milk in a step-by-step, foolproof way. I also share my favorite natural sweeteners and flavor enhancers to add to almond milk to make it taste delicious.

http://youtu.be/rNtP354yApU

Resources From the Video

almond milk banner

Ingredients

1 cup raw almonds
6 cups filtered water (2 cups for soaking, 4 cups for blending)
1 teaspoon vanilla extract
Sweetener of choice: 1-2 tablespoons 100% pure maple syrup, raw honey or coconut nectar OR 2 pitted Medjool dates

Directions

  1. Soak almonds in 2 cups of water at least 3 hours or overnight.
  2. Rinse almonds in colander and then pour nuts into blender. You don’t NEED a high-speed blender like a Vitamix or Blendtec to make this, but it helps.
  3. Add 4 cups of water to blender and blend on high for about 1 minute.
  4. Position nut milk sack over a large bowl or 8 cup measuring cup and pour liquid from blender into nut milk sack. Pull drawstring at top and GENTLY squeeze milk out of sack, leaving the pulp in the sack.
  5. Rinse blender and then pour strained milk back into blender. Add sweetener of choice and vanilla extract and blend for 10-15 seconds.
  6. Drink immediately or store in a glass jar in the fridge for 3-5 days. You can also pour the milk into ice cube trays and freeze it so it lasts longer and then add it to smoothies without worrying about it going bad 🙂

The Easiest and Cheapest Way to Make Your Own Vegetable Broth

Until about a month ago, I had never made my own vegetable broth.

I always bought boxes of broth at the grocery store for about $3 a pop because I assumed it was too much work and way too difficult to make it myself.

Turns out I was wrong!

Not only is it easy, but it’s also CHEAP. The secret is using vegetable scraps you would have probably thrown away, so you don’t even have to spend extra money 🙂

I learned about this technique when I attended a soups and stocks cooking class at Pure Sweets & Co. in Philadelphia earlier this month.

It’s just one of the ways they make using all organic vegetables more sustainable and affordable because they use the ENTIRE vegetable…no waste!

Once you see how EASY it is to make your own broth, I bet you will actually do it!

veggie broth banner

Ingredients

  • Scraps, peels, stems, skins, ends, nubs from a variety of vegetables (garlic, onions, mushrooms, potatoes, carrots, celery, herbs, squash, turnips, broccoli) – use a variety or you will have a one-note broth 🙂
  • Water

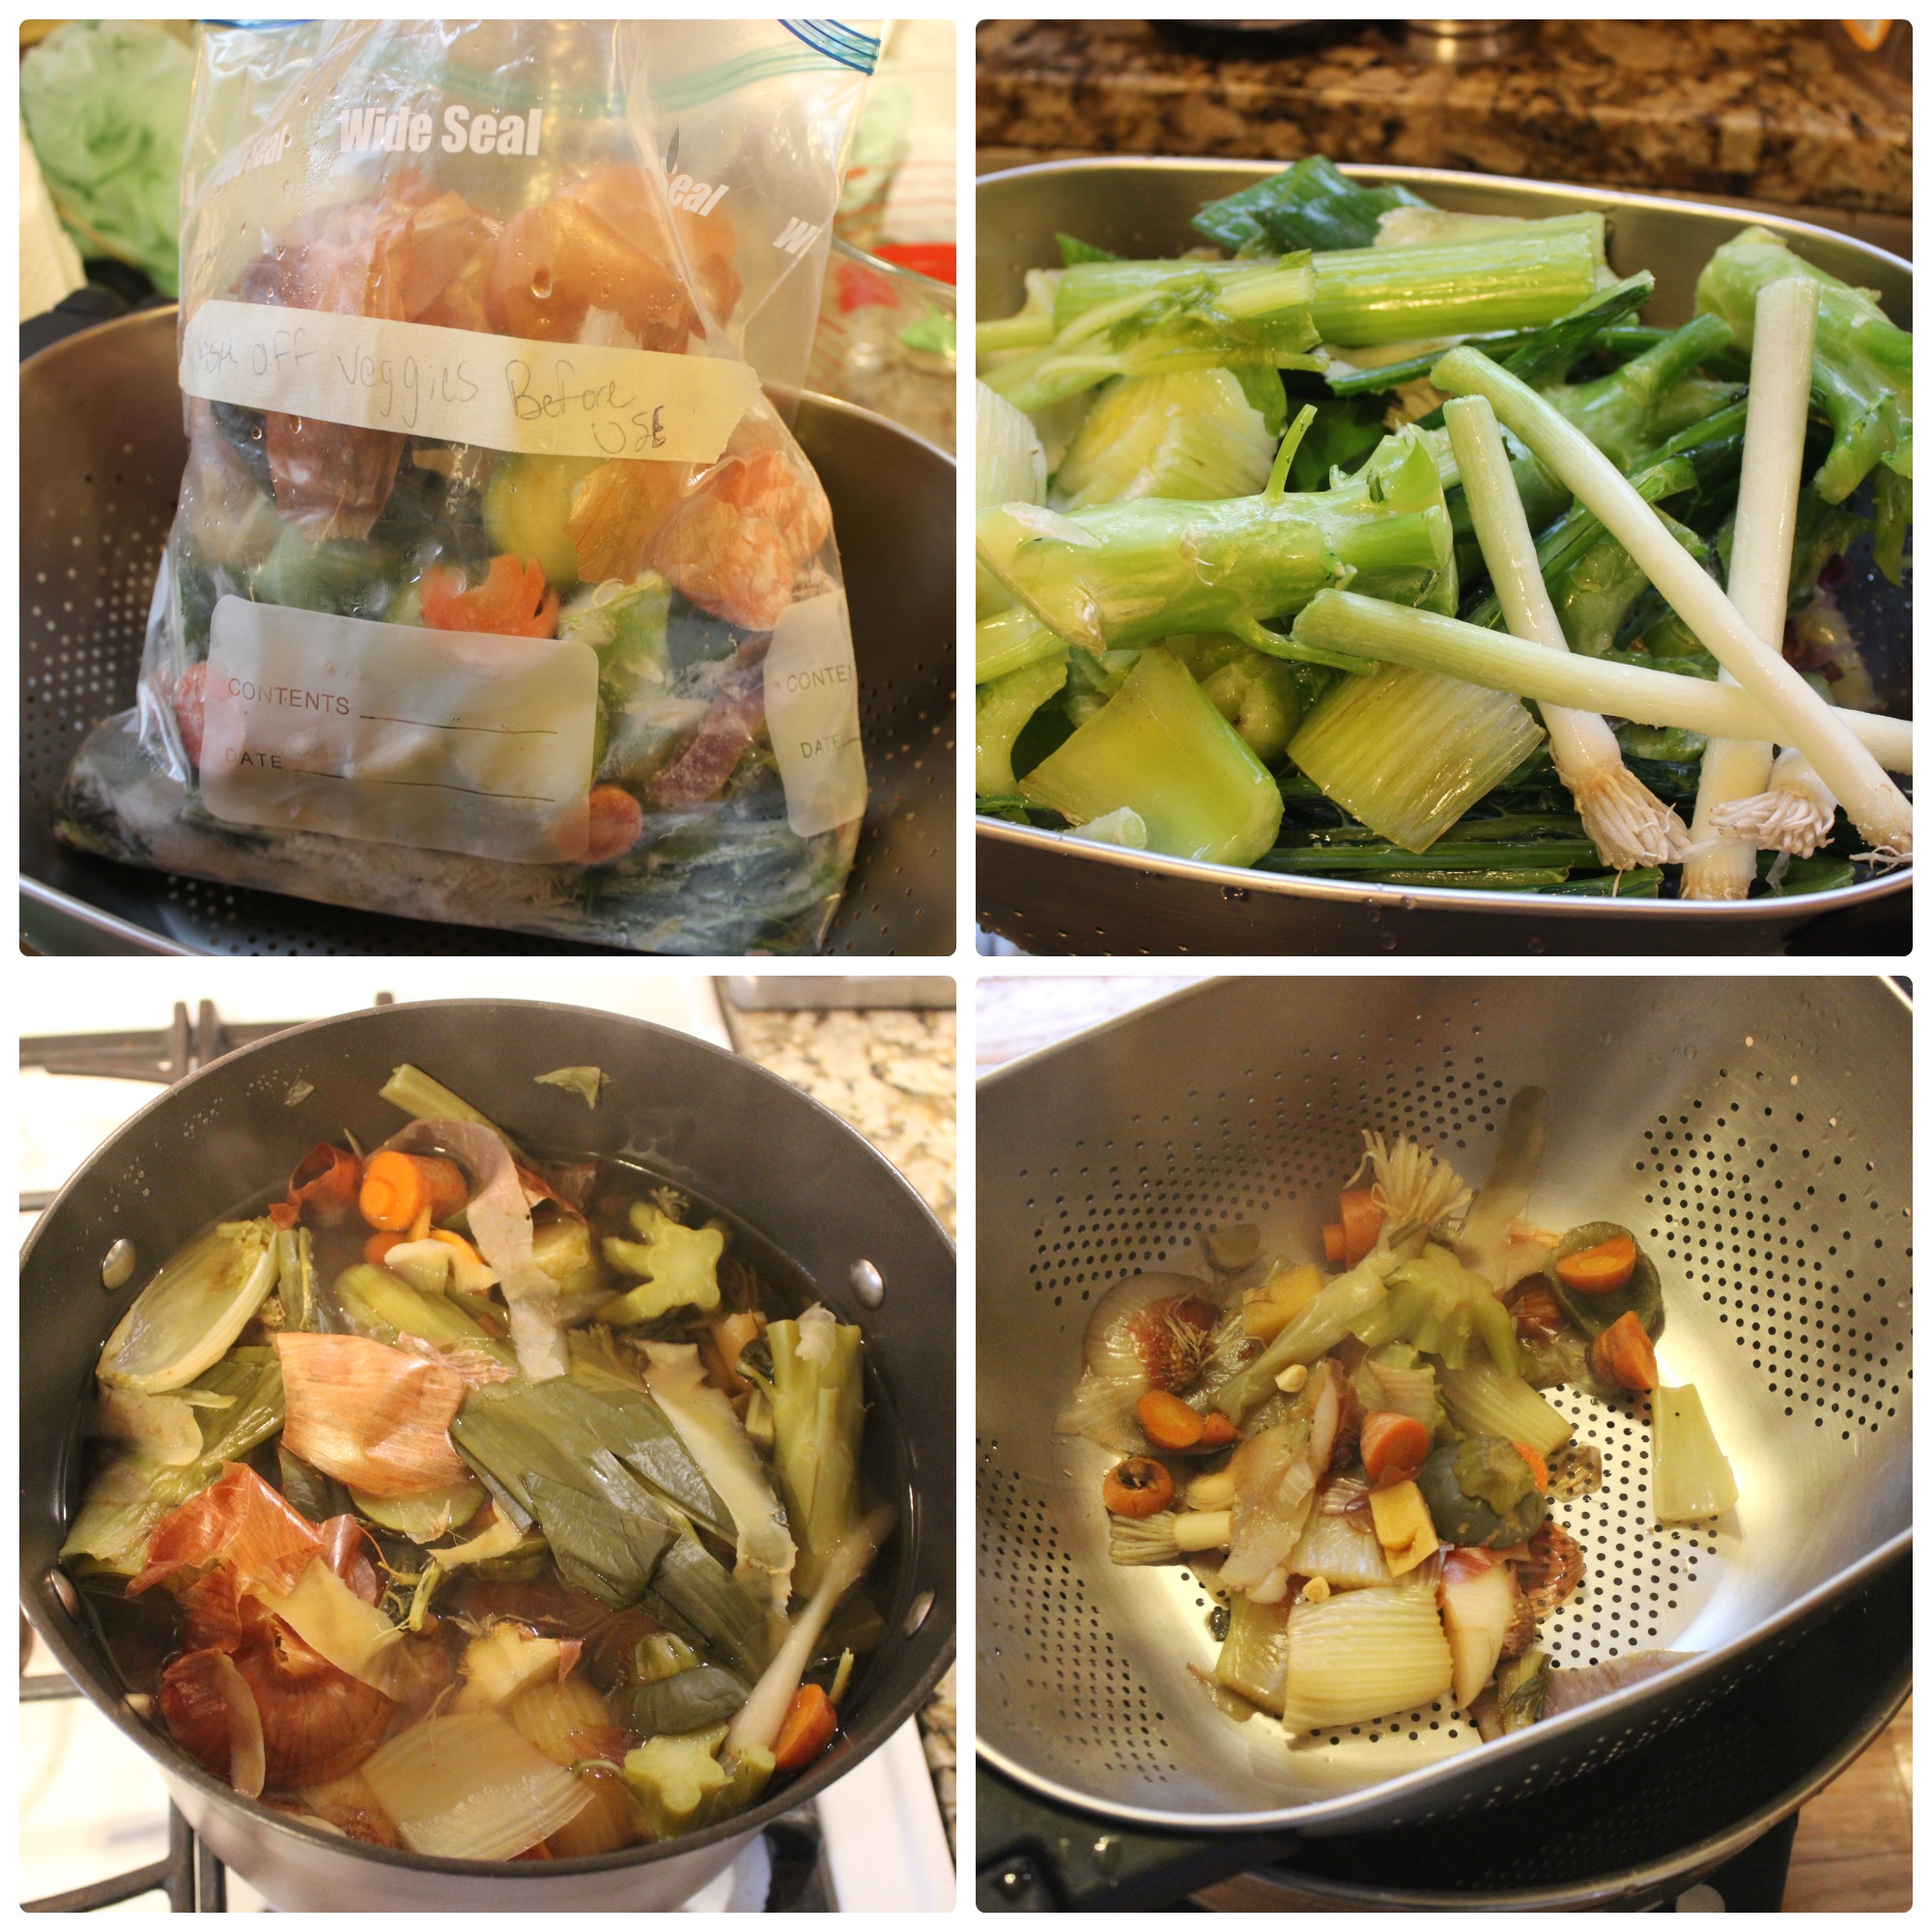
scrap soup how to pics

Directions

  1. Save your scraps. Whenever you are prepping vegetables or herbs, put all of the stuff you would normally throw away (butts/ends, stems, skins, tops, leaves, peels) into a bag and store the bag in your freezer.
  2. When you’re ready to make your broth, simply fill about 1/3 of an 8-quart pot with the vegetable scraps and the rest with water. If you have extra fresh veggies like carrots, onions, or parsley, you can chop them up and throw them in, too.
  3. Bring pot to a boil then lower heat to a simmer and cover. Let simmer for 1-2 hours. The longer it simmers, the richer the flavor will be.
  4. Let broth cool to room temperature, then strain off the vegetables so you’re left with just broth. Compost the scraps.
  5. Pour the broth into glass jars, leaving AT LEAST 2 inches of air above the broth before you seal it, so the broth has room to expand in the jar once you freeze it. If you don’t leave enough room, the jar could crack from the pressure…which may have happened to me once already…Oops! (By the way, we swear by this canning jar funnel to prevent spills. It’s totally worth it.)
  6. Store broth in the fridge for up to one week or in the freezer for up to six months.

We had lots of scraps…sooo now we have about 32 ounces of vegetable broth 🙂 Stock up on those mason jars for storage! You can find them at Home Goods, Michael’s, Target, Walmart, and online.

Do you have any favorite soup recipes or requests? I have white bean and fennel soup and creamy butternut squash recipes coming up soon. Let me know if you have any requests!

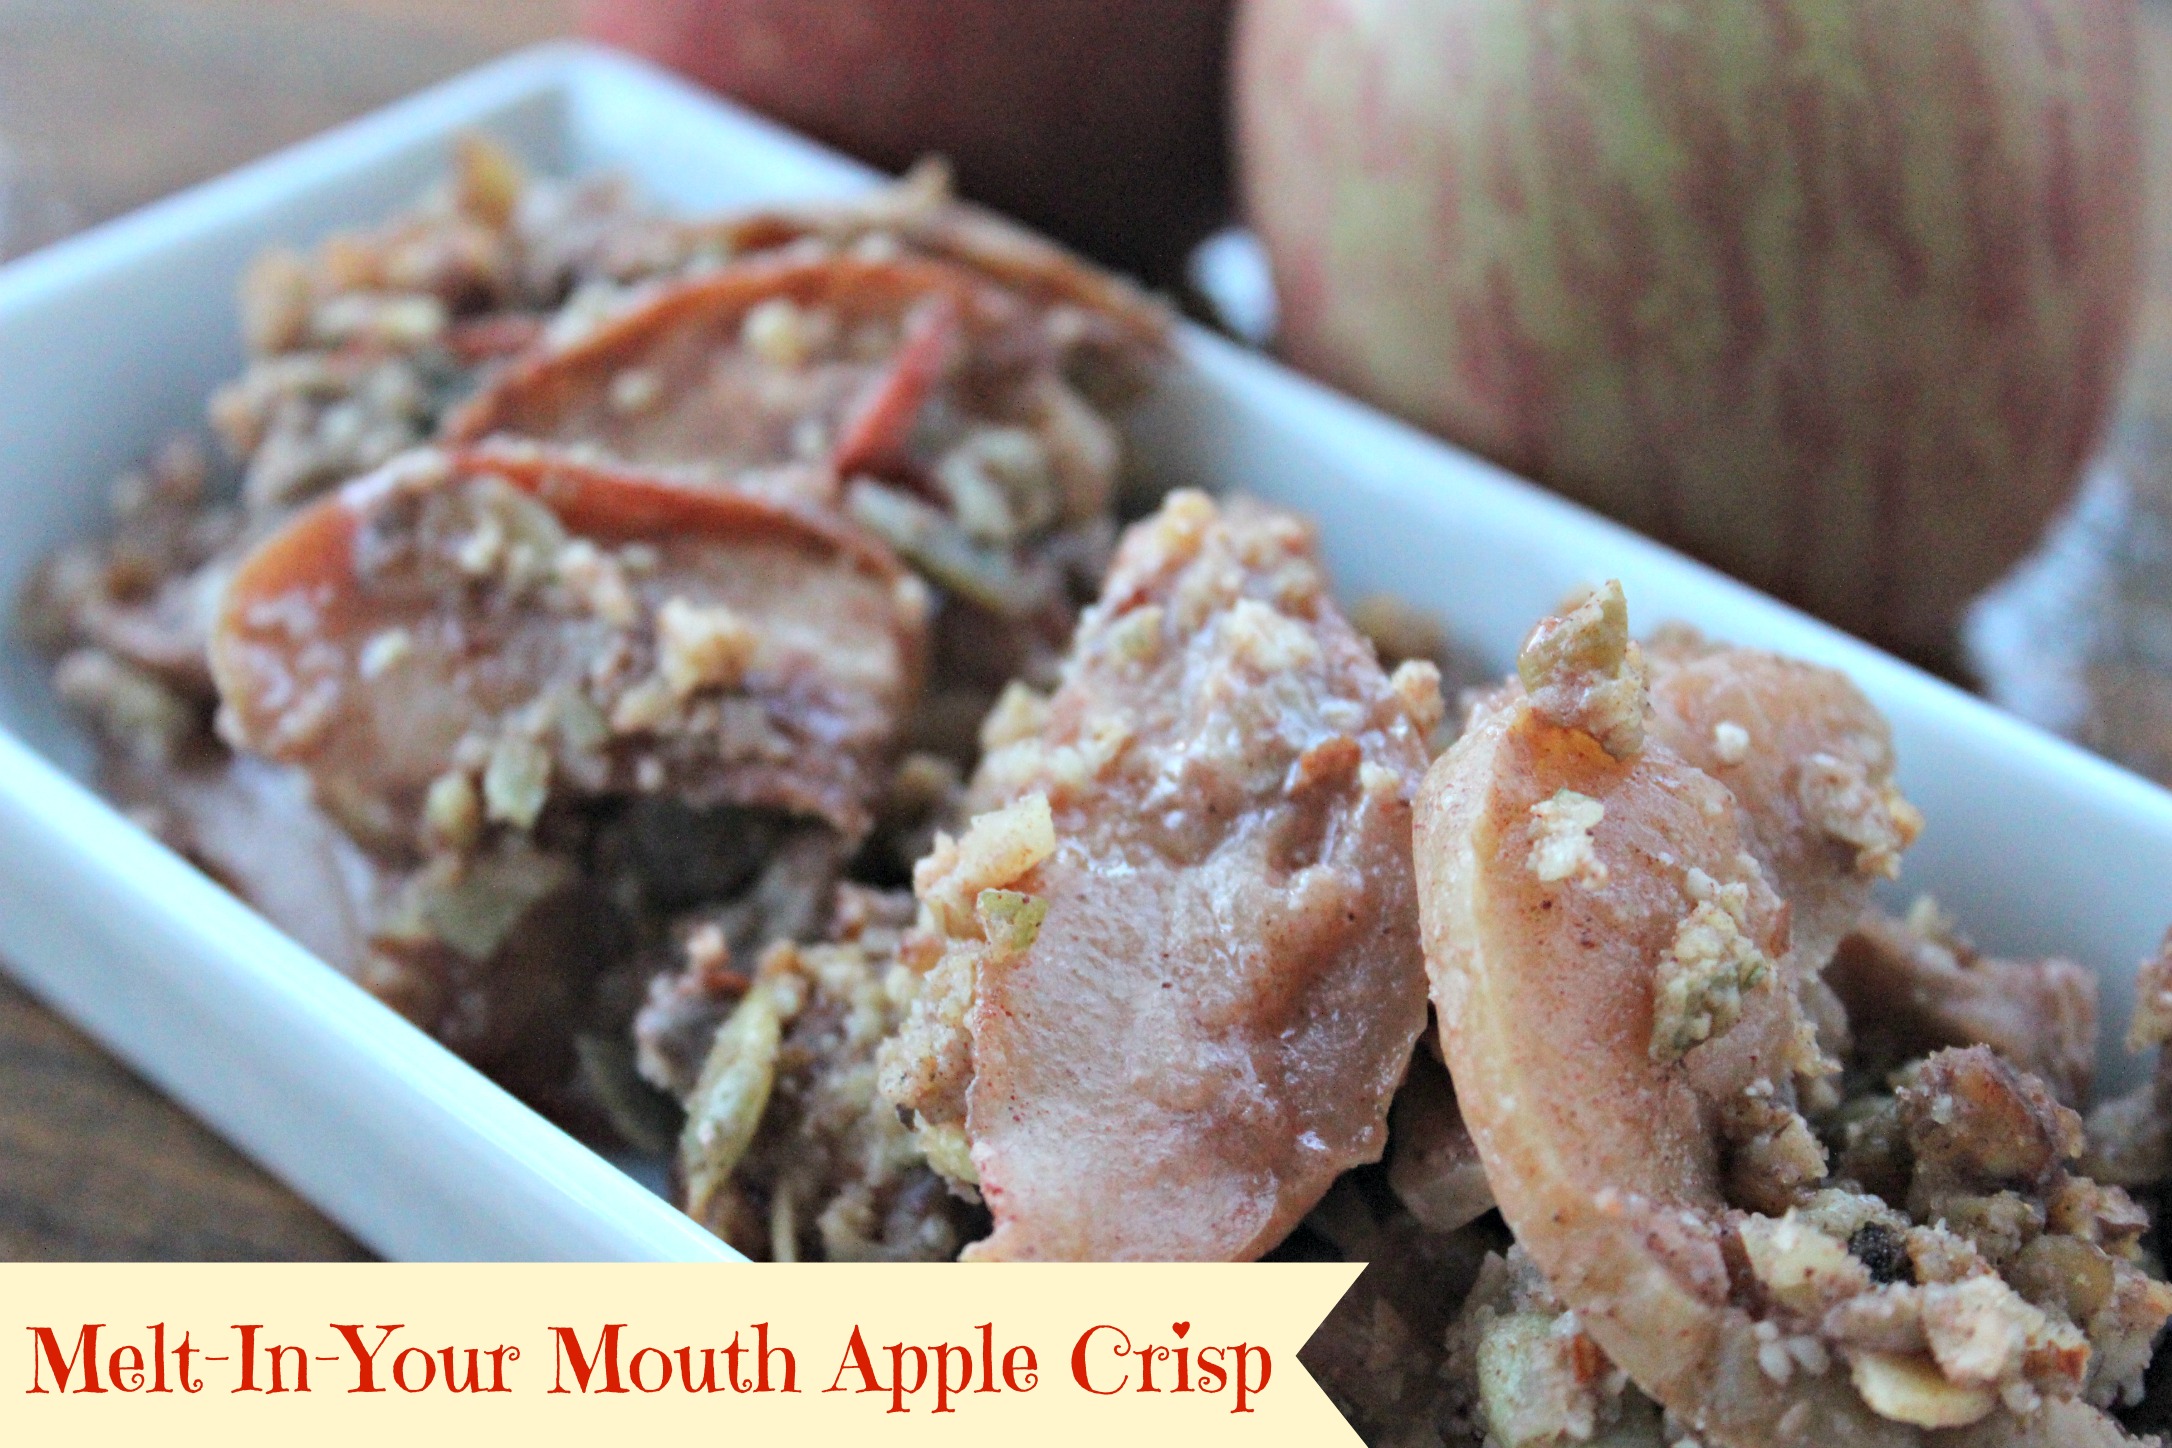
Melt-In-Your-Mouth Apple Crisp {Gluten-Free, Paleo, Vegan}

With all of the cold weather we’ve been having lately in Baltimore, I’ve been in the mood for warming, grounding comfort foods.

Apples are one of those foods that are perfect this time of year, and baking them brings out the fullness of their flavor, especially when paired with flavors like cinnamon and nutmeg.

Most fruit crisps are made with gluten-containing flour and refined sugar, so I wanted to upgrade them by sharing this recipe with you.

This apple crisp melts in your mouth, and it’s gluten-free, paleo, vegan and refined sugar-free.

Enjoy! 🙂

applecrisp apples

Ingredients

Filling

  • 8-10 apples, cored and cut into 1/2 inch-thick thick slices (a combo of Pink Lady and Granny Smith would be great!)
  • 1/4 cup arrowroot starch (can use corn starch if you don’t have arrowroot but I highly recommend arrowroot starch for thickening!)
  • 1 tablespoon cinnamon
  • ½ teaspoon nutmeg
  • ½ teaspoon allspice
  • 2 tablespoons 100% pure maple syrup
  • ¼ cup lemon juice (+ 1 tablespoon for lemon water to prevent apples from browning)
  • 2 tablespoons coconut oil (solid)

Topping

  • 2 cups almond meal (I ground up 1 cup of almonds in my food processor until they reached a fine texture)
  • 1 cup chopped nuts and seeds (any combo – I used a combo of walnuts, pecans and pumpkin seeds)
  • 1 teaspoon ground cinnamon
  • ½ teaspoon sea salt
  • 2 tablespoons 100% pure maple syrup
  • 1/3 cup coconut oil, solid

Directions

  1. Preheat oven to 375F.
  2. Set apples in a bowl of lemon water until ready to use, so the apples don’t brown. Once all apples are sliced, drain apples in a colander and put them in a large mixing bowl.
  3. Mix cinnamon, nutmeg, allspice and arrowroot starch in a small bowl. Sprinkle evenly on top of apples. Then pour maple syrup and 1/4 cup lemon juice on apples, tossing evenly to coat.
  4. Pour apples into an ovenproof 9 x 13 baking dish and sprinkle a few clumps of coconut oil on top. Cover with foil and bake for 45-60 minutes or until apples are fork tender.
  5. Meanwhile, place almond meal, nuts/seeds, cinnamon, and salt, in a food processor and process until combined.
  6. Place topping in a bowl and add the maple syrup and coconut oil. Massage everything with your fingers until it starts to form a crumble.
  7. Remove baked apples from oven and remove foil. Sprinkle crumble evenly across the top, covering the apples.
  8. Return dish to oven and bake uncovered for another 30-35 minutes or until the top is golden brown and the apples are soft when pierced with a fork.

Page 7 of 13

Powered by WordPress & Theme by Anders Norén