I had never heard of tempeh until about two years ago when I was about to enroll in a Culinary Nutrition program.
One of the recipes my instructor, Meghan Telpner, had on her blog that I was curious to try was for Orange Maple Tempeh.

I had never heard of tempeh (say TEM-pay).
I had no idea what it was.
And I wasn’t exactly jumping to try it because it sounded and looked, well…weird. I haven’t always been one to try “weird” foods, but I had gotten to a point in my food journey that I was more open than ever before.
What’s the worst that could happen? I wouldn’t like it? I was okay with that.
The rest of the ingredients in the recipe sounded so good that we decided to gave it a shot.
I’m so glad we did! It’s now one of our FAVORITE dishes…including my meat-eater husband, Bill. This is one of his go-to meals. If we had only five meals in our rotation for the rest of our lives, this would be one both of us would pick.
So, what exactly IS tempeh?
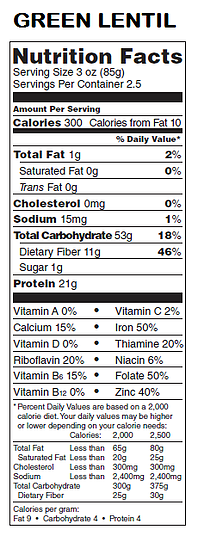
Tempeh is made from fermented soybeans (keep reading!) and is an excellent source of easily digestible, plant-based protein (15 grams per 3 ounce serving!) and fill-you-up fiber. Tempeh is a probiotic food, so it helps our digestive system (AKA our “gut”) produce healthy bacteria.
Having a healthy, well-fed gut is important for a strong immune system, so we want to make sure we’re including probiotic-rich foods in our diet. As I’ve shared before, 70-80% of our IMMUNE SYSTEM sits in and around our digestive system, so what we eat is critically important to our overall health, well-being and feeling good.
Tempeh has a “meatier” and denser texture than tofu and a mild, nutty taste, so it feels more like meat in a recipe than tofu does. If you’re a tofu hater (I’m not a huge fan of it), then give tempeh a shot. Tempeh can be baked, sauteed, grilled, and chopped up to be added to things like chili, salads, and stews. It can be a little tricky to figure out how to work with it the first time, but this post from onegreenplanet breaks it down into 5 easy tips:
5 Tips for Making Amazing Tempeh Dishes
Another perk is that tempeh is also a LOT cheaper than meat. One block of tempeh at my local market (MOMs) is $3.00. Not a bad deal for something that can serve as the main dish of a meal. We always make sure to buy organic tempeh, since the majority of soy crops these days are genetically modified. You’ll find tempeh in the refrigerated section of your grocery store next to the tofu.
Ready to give this lesser known protein a try? Here are our top two most favorite tempeh recipes (and great places to start for first-timers!). Click the picture to get the recipe.


And here are a few more tempeh recipes that we want to try.
- 25 Super-Rad Recipes Made with Tempeh
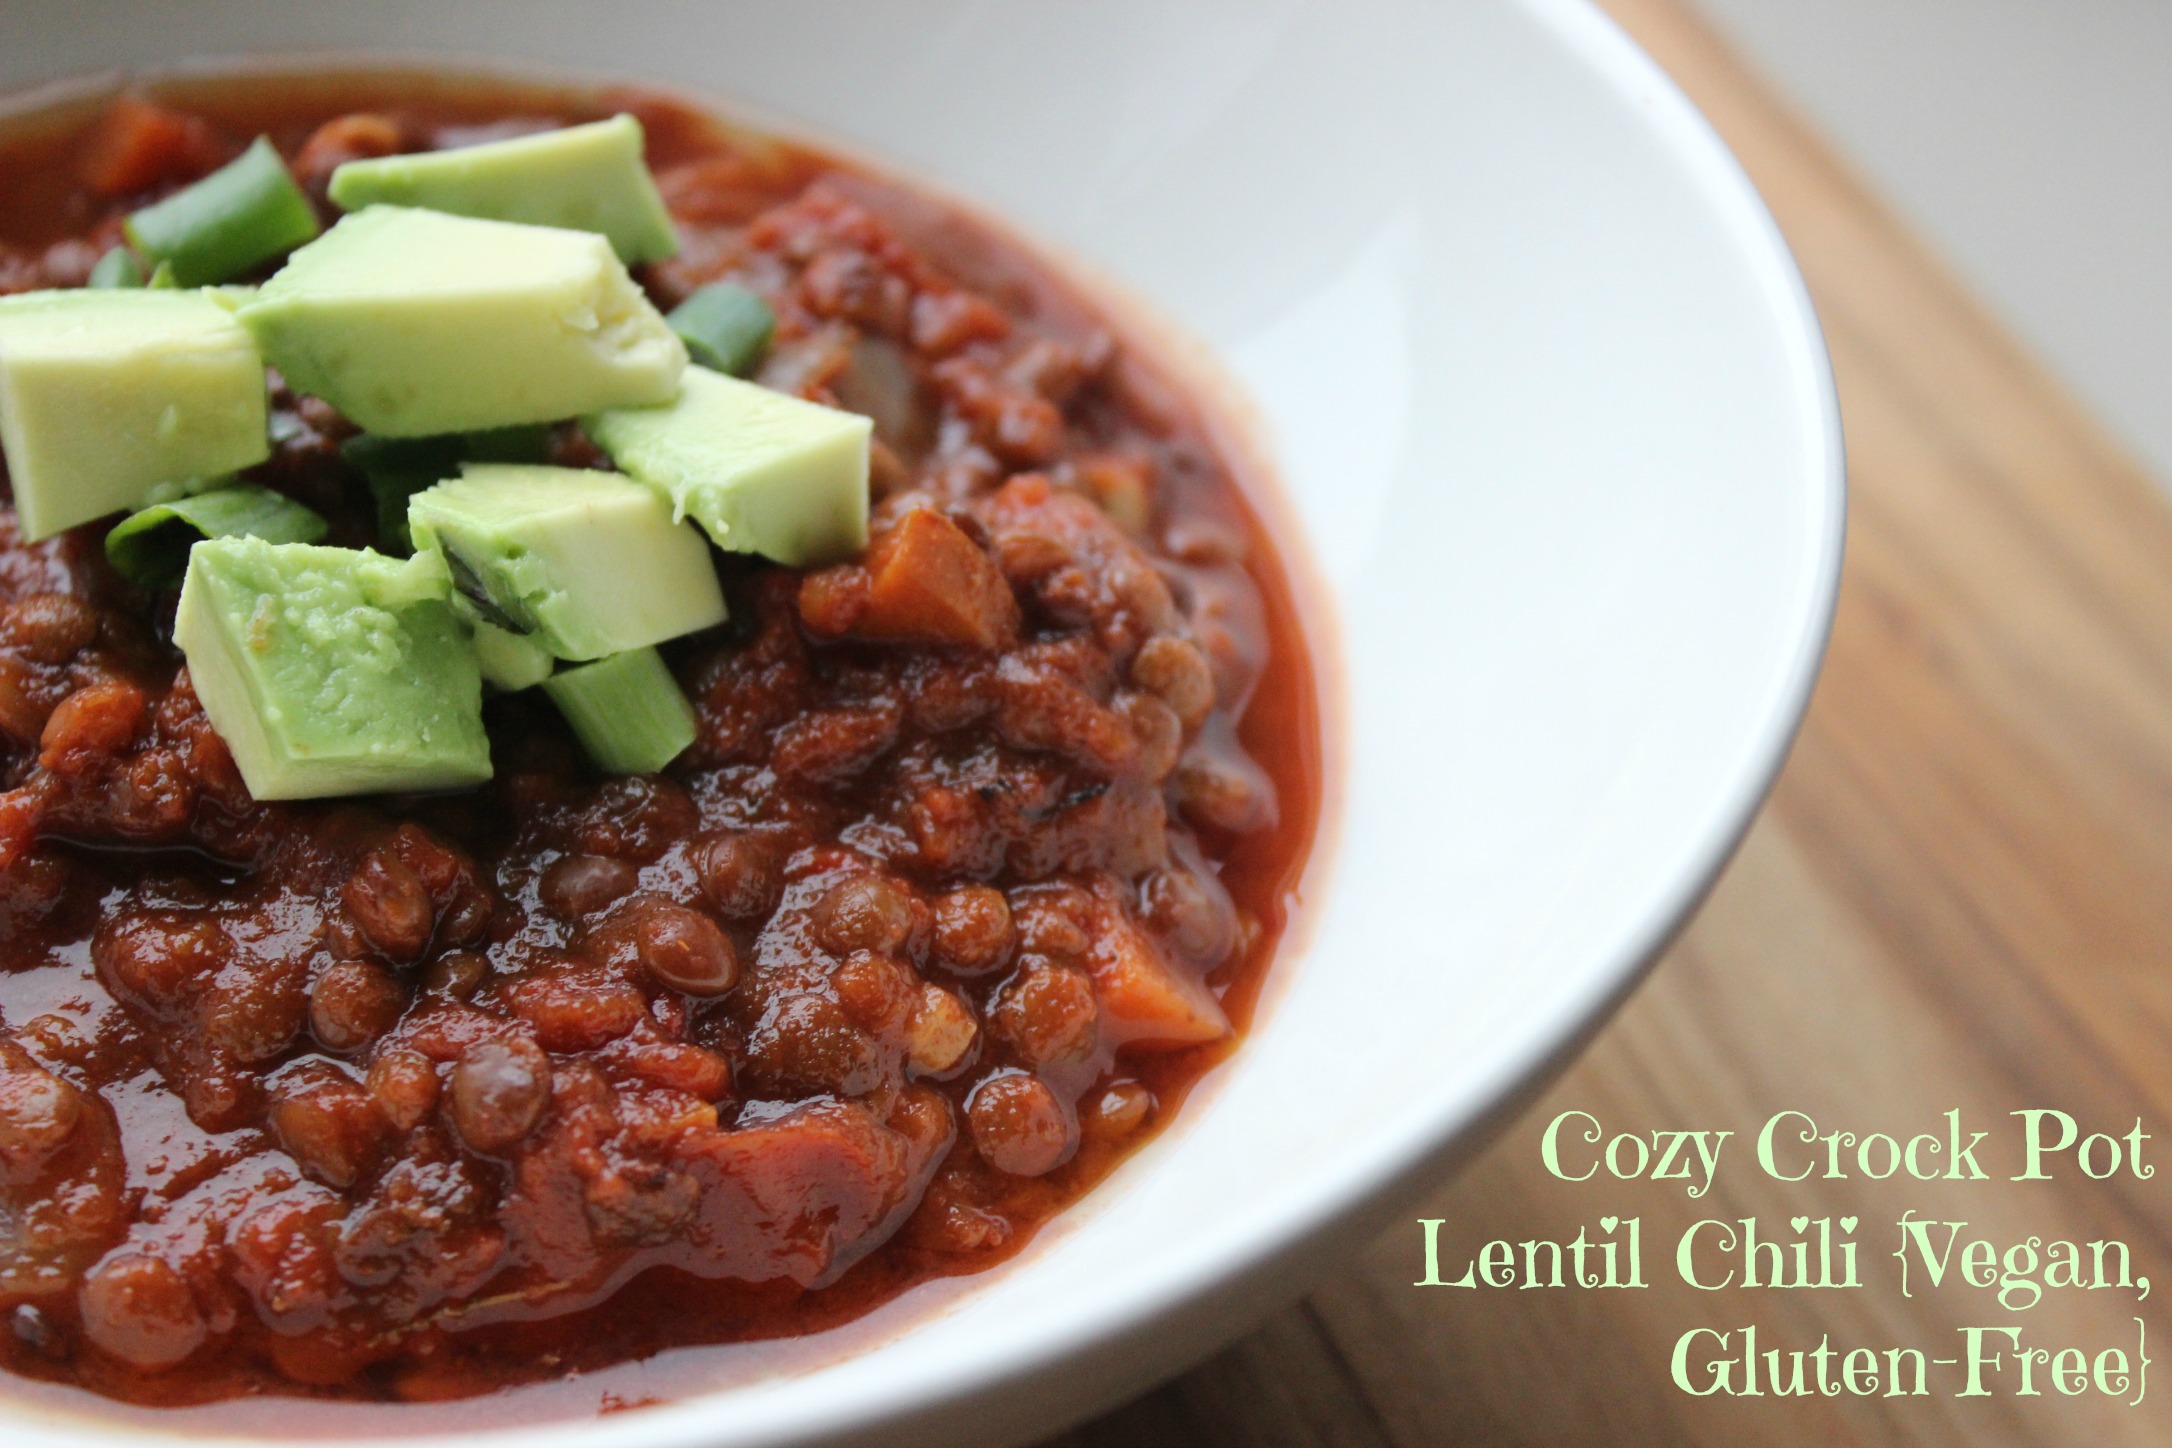
- Tempeh Chili
- Tempeh Kebabs with Homemade Barbeque Sauce
- 10-Minute Tempeh Taco Salad
Have you ever tried tempeh? Have you found any recipes you like that you want to share? Feel free to leave a comment or question below!
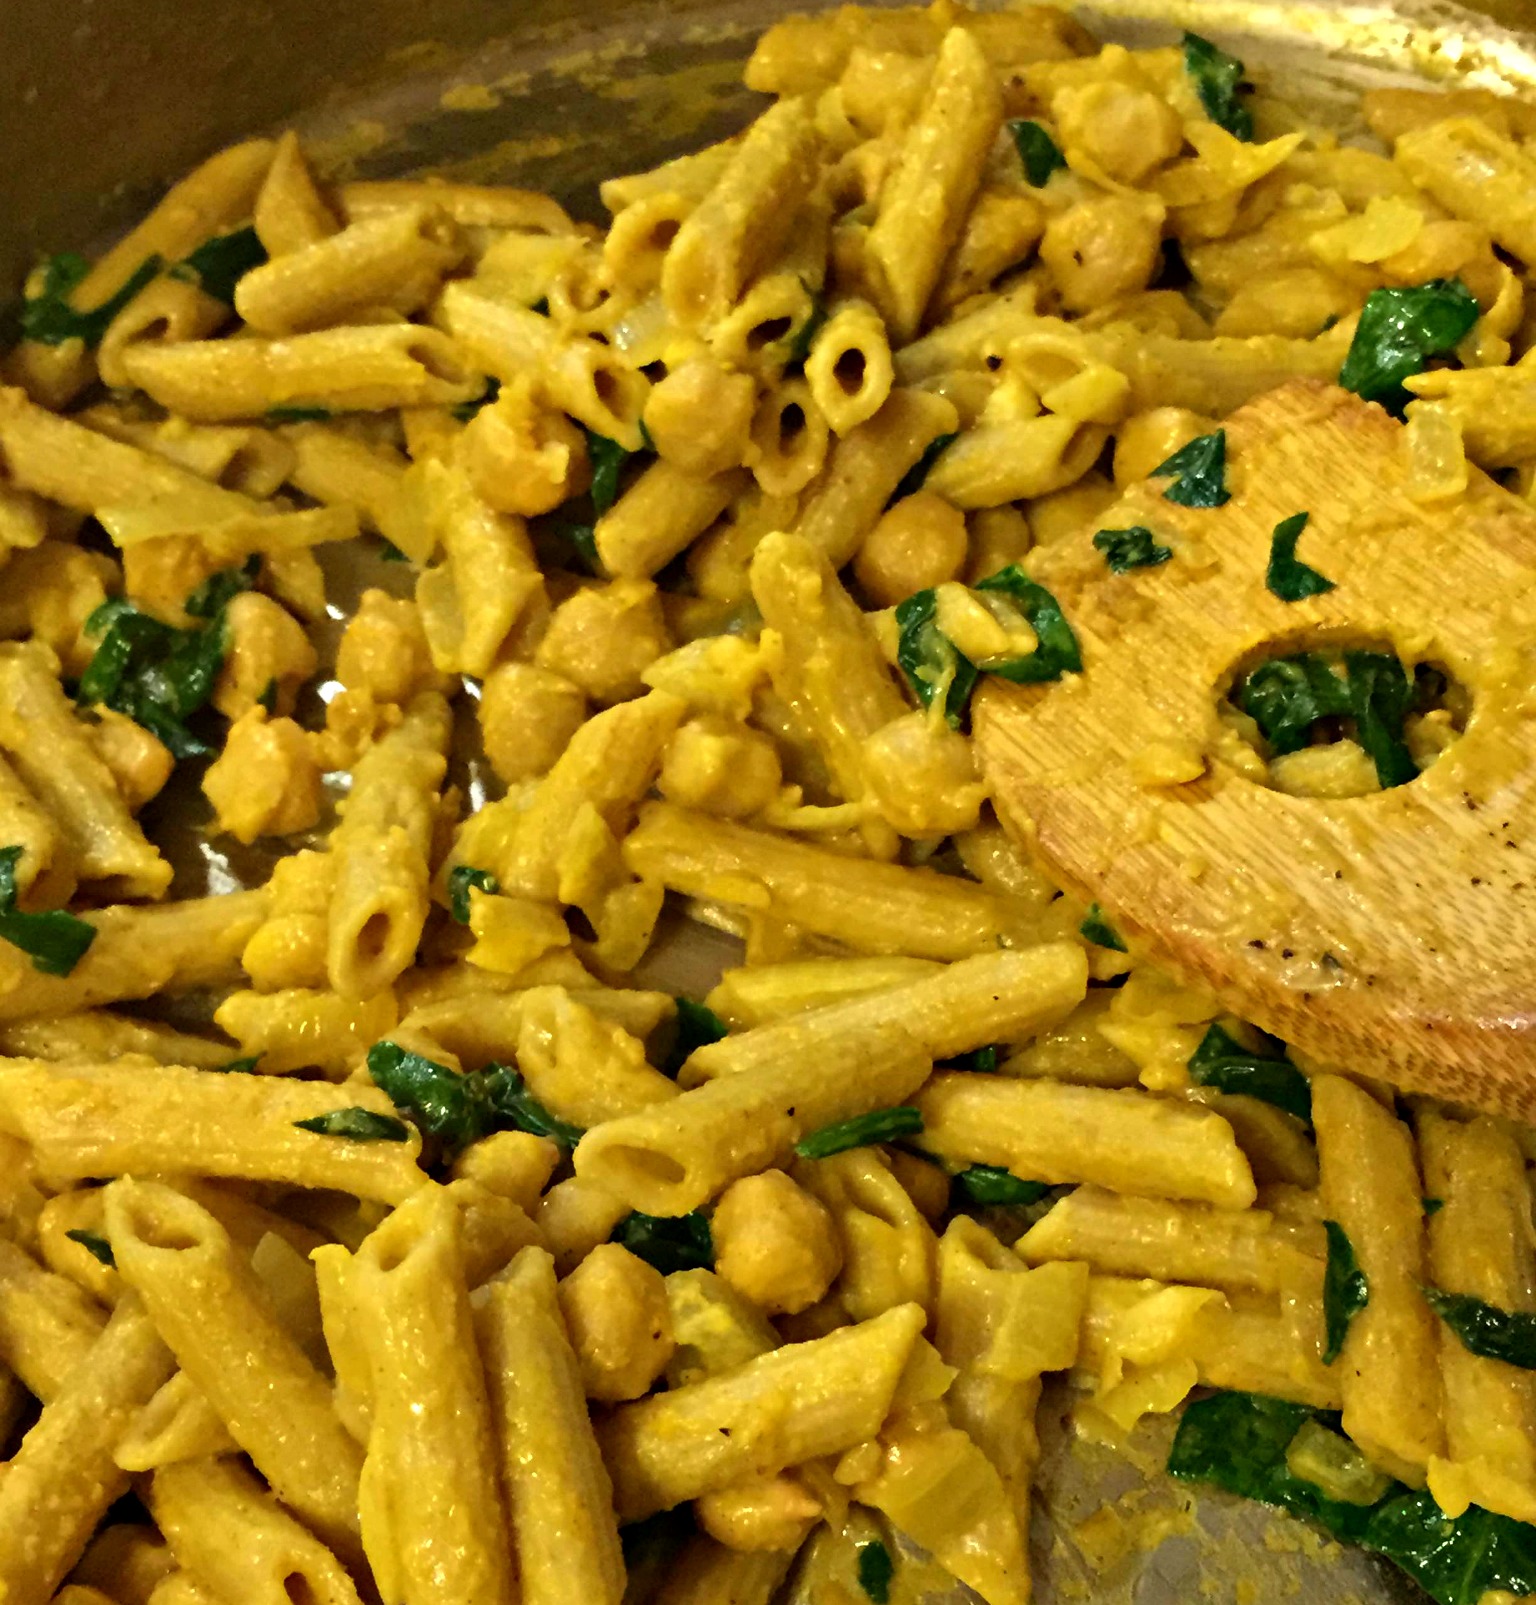
 Ta da! Dinner is served 🙂