
As we’ve been gearing up for Thanksgiving and experimenting with different dishes, I’ve been trying some new desserts.
Inspired by the textures of Meghan Telpner’s Rawmazing Key Lime Pie, I thought I’d infuse the flavors of fall into a melt-in-your-mouth, coat-your-tongue, creamy, no-bake cheesecake.
And I wanted an excuse to use pumpkin.

Because I love pumpkin.
All things pumpkin.
Especially when it’s mixed with sweet maple syrup, creamy cashews, and warming cinnamon and ginger.
It’s my new go-to for a Thanksgiving dessert.
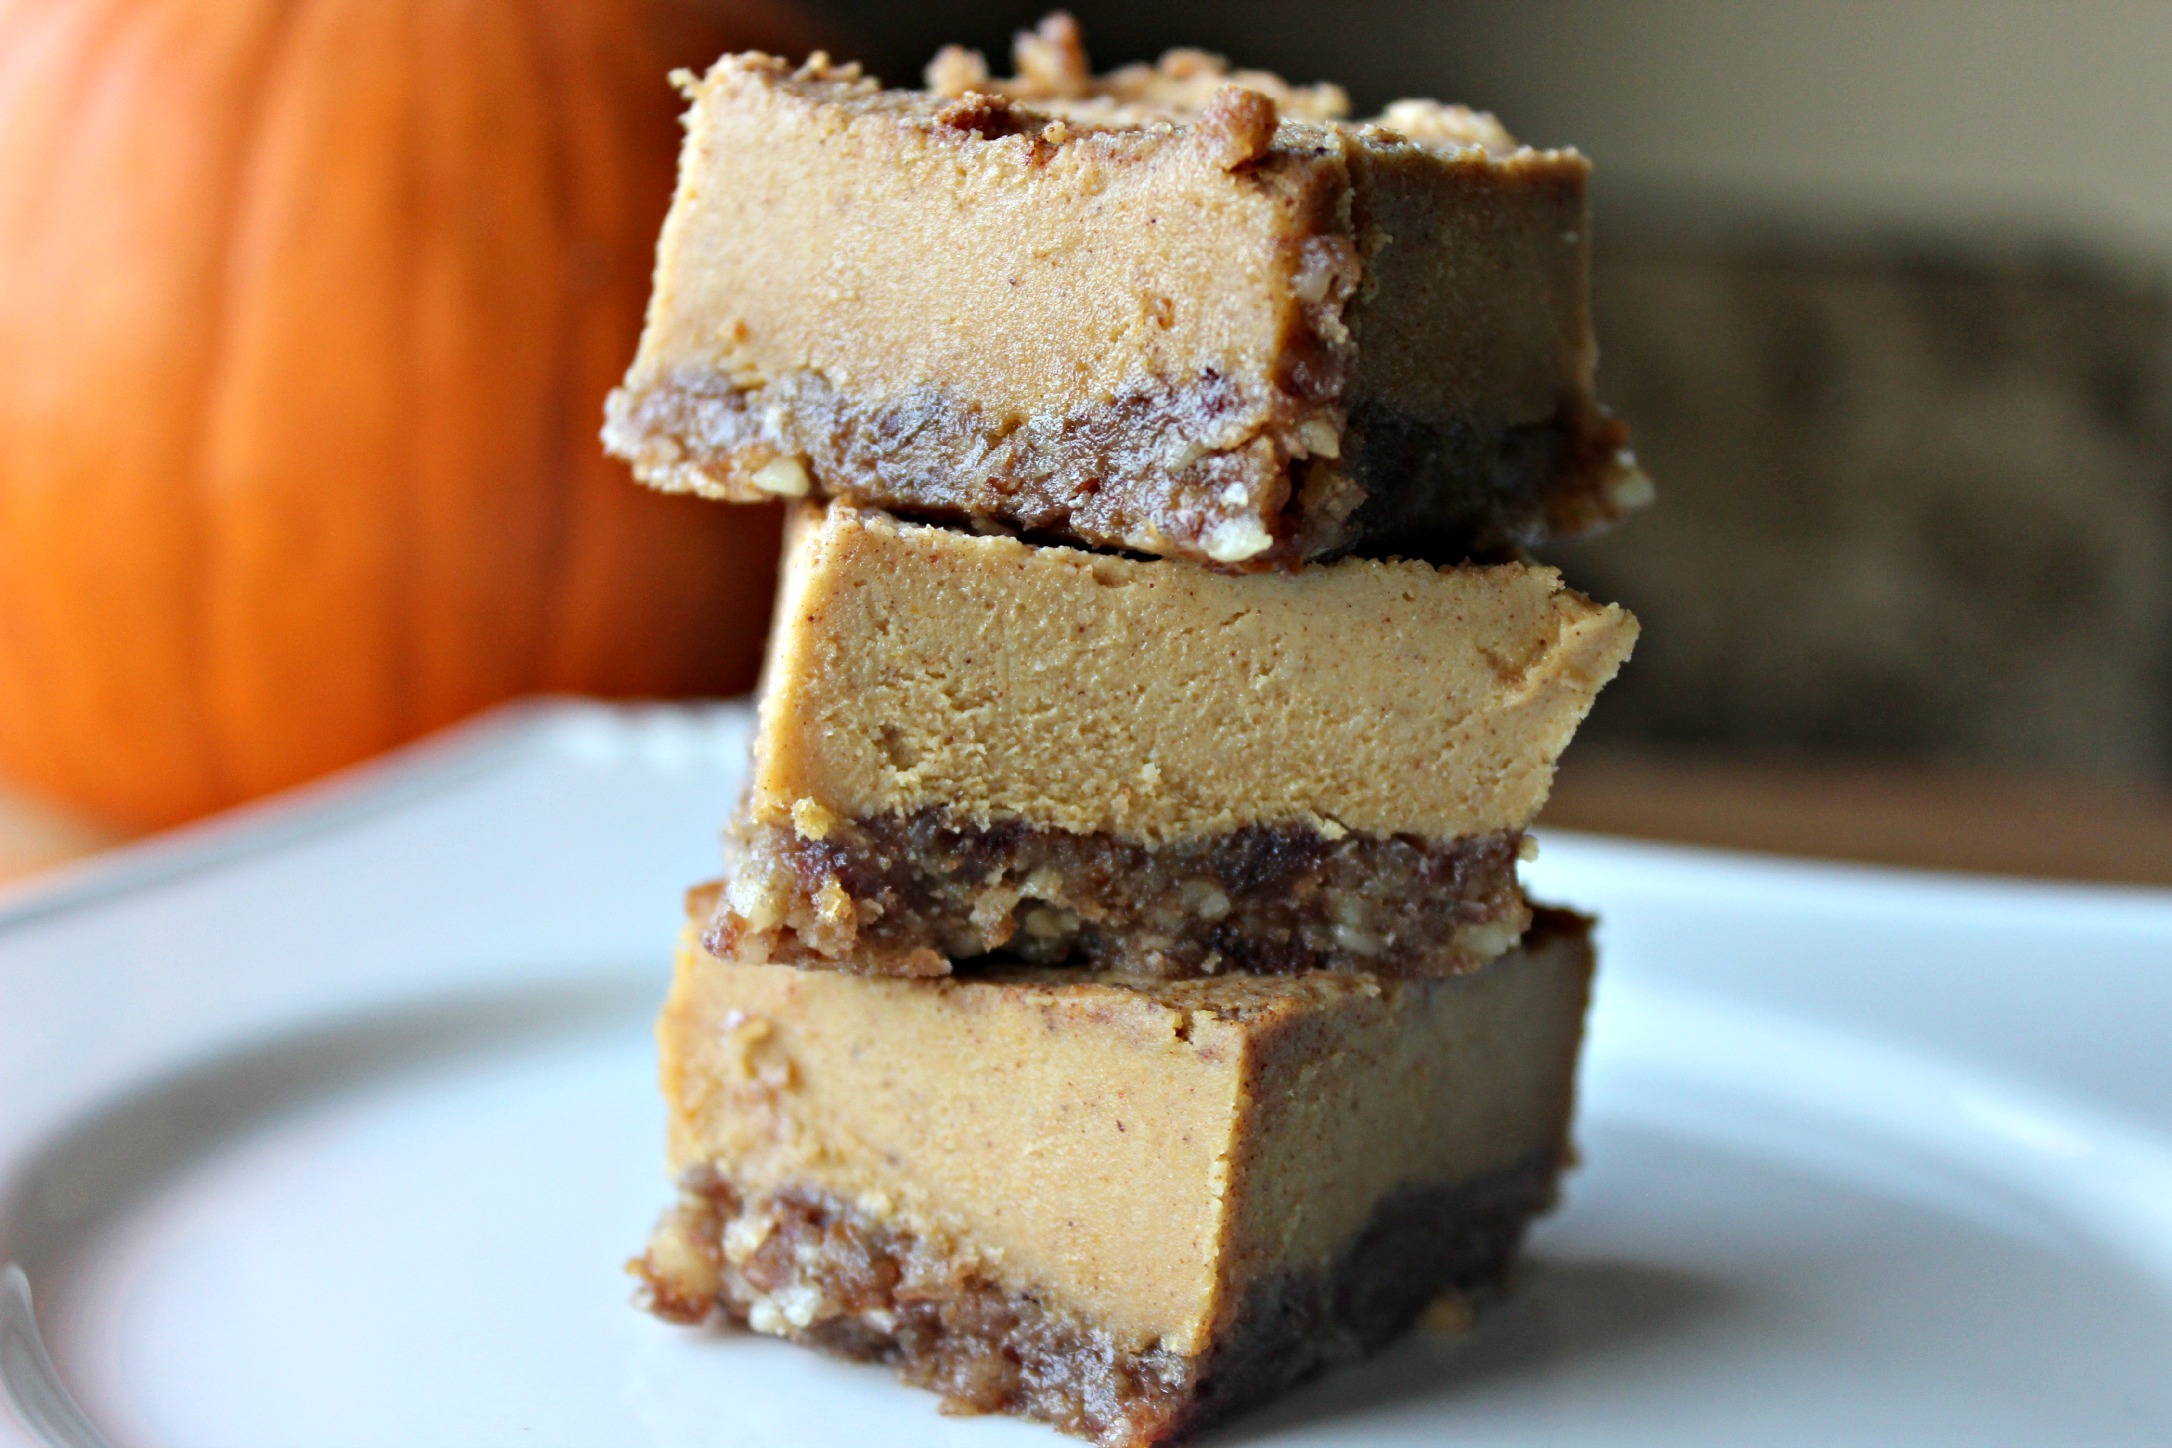

Pumpkin Cheesecake Squares.
I’m going to keep it short and sweet here today because this recipe is that good, but all you need to know is it’s easy to make, doesn’t require baking, and is so addictive you’ll want to eat multiple squares at a time.
The creaminess comes from the raw cashews (don’t knock it ’til you’ve tried it), and the slight hint of tartness we’d usually get from cheese comes from a spoonful of lemon juice.
Happy Thanksgiving!

Ingredients
Base
- 1 cup raw pecans
- 1/2 cup raw walnuts
- 1 cup Medjool dates, pitted (make sure they’re soft)
- 1 tablespoon coconut oil, melted
- 1/4 teaspoon cinnamon
- Pinch fine grain sea salt
Filling
- 2 cups raw cashews, soaked in water 2-4 hours then drained and rinsed
- 3/4 cup pumpkin puree
- 1/2 cup pure maple syrup
- 1/3 cup coconut oil, melted
- 1 tablespoon lemon juice
- 2 teaspoons ground cinnamon
- 1 teaspoon ground ginger
- 1/4 teaspoon ground nutmeg
- 1/8 teaspoon ground clove
- 1 1/2 teaspoons vanilla extract
Directions
- Put all the crust ingredients into a food processor, and process until the ingredients stick together. Stop and scrape down the sides as needed. Press the crust mixture into the bottom of a square baking dish.
- Put all filling ingredients in your blender or food processor (high-speed blenders like a Vitamix or Blendtec work best) and blend until smooth and creamy. You may have to stop to scrape down the sides. I had to use the tamper for my Vitamix to get it to be smooth and creamy.
- Pour the filling evenly over the base and smooth with a spatula. Cover the dish and place it in the freezer to set for 4-6 hours.
- Let the dish sit at room temperature for 10-15 minutes and then cut into squares. I sprinkled a thin layer of cinnamon on top before serving.
Paul @ Eco Stores Direct
Looks like I’m going to have to hit the shops! This looks too tasty
racheldruck
Hope you like them! 🙂
Barb Burke
Rachel, these were delightful:-)
Barb
racheldruck
Oh, I’m so glad you liked them! My friend, Corinne, said they are the best thing I’ve ever made! 🙂
Ann
Going to try these…..do they keep for long in the freezer if I cover them?
Rachel Druckenmiller
That’s great! I haven’t kept them in the freezer for a long time but as long as they’re covered and wrapped they should last quite a while.
mariella
Even here in the Netherlands and Belgium looks like we would be able to come across all these fine ingredients for this healthy rich and tasty treat!
I’ll let you know how it worked out by the time its the 31 st. of this month 😉
Working as a PT in the WAD/PCS program te Schiedam / Vlietlandplein location, I do need all this energy and inspiration to keep on top of graded activity training leadership. I do individual training and sensory integration exposure as well as stimuli-graded condition training. Working towards resume work, hobbies and more fun things in life too! My participant patients will love this!