Category: How To Page 2 of 3

How to Make Your Own Granola {Video}

Let’s get back to basics.

With all of the talk and media buzz about the latest and greatest superfoods, sometimes we lose sight of how amazing some of the most basic and familiar foods are.

That’s why today is all about OATS!

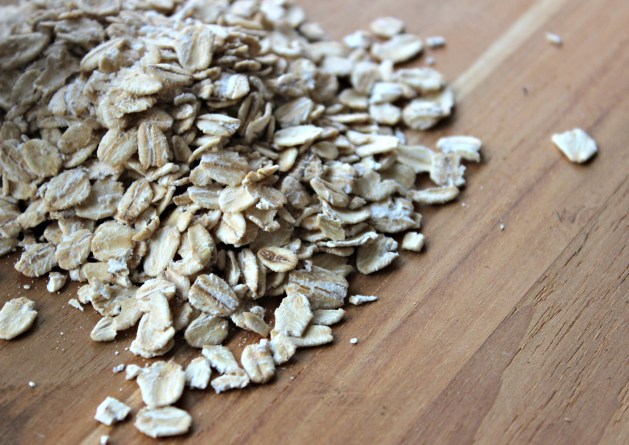
oats

Whether you know them by oatmeal raisin cookies, a bowl of oatmeal for breakfast or as a common ingredient in granola, there’s a pretty good chance that you’ve eaten oats before. The oats I recommend buying are whole rolled oats (rather than the packets or “quick oats.”). If I want a chewier texture, I’ll change it up and use steel cut oats.

Oats are PACKED with some pretty awesome body and brain-boosting benefits:

  • With more soluble fiber than any other grain, oats help us stabilize our blood sugar, energy and mood AND help slow digestion and increase feelings of fullness
  • The contain compounds that help lower our cholesterol, which is why they are commonly recommended as a heart healthy food.
  • Second only to quinoa in protein content, oats contain a variety of amino acids, which serve as the building blocks to everything from our skin, hair and nails to our enzymes, hormones and neurotransmitters
  • Oats are rich in antiinflammatory and antioxidantrich compounds that protect our body and our brain

Oats are the star of today’s video that shows you how easy it is to make your own granola using everyday ingredients. It takes less than 5 minutes to assemble and only about 30 minutes to cook. Once you see how simple it is to do yourself, you won’t want the store-bought stuff!

Check out these other posts about two more granola recipes I’ve shared before:

granola closeup

Easy Trail Mix Granola

Ingredients

  • 4 cups rolled oats
  • 1 cup raw walnuts, chopped
  • 1 cup raw sunflower seeds
  • 1 cup shaved coconut
  • 2 teaspoons ground cinnamon
  • 3/4 teaspoon fine grain sea salt
  • 1 teaspoon vanilla extract
  • 1/2 cup honey or 100% pure maple syrup (or a combo of both!)
  • 1/2 cup coconut oil, melted
  • 1 cup dried cranberries, raisins or goji berries

Directions

  1. Preheat oven to 300F.
  2. Combine dry ingredients in a large mixing bowl. Add cinnamon and sea salt and stir to combine. Add honey, coconut oil and vanilla and combine with a large spoon or your hands until all of the pieces are coated and begin to stick together.
  3. Press granola onto a lined baking sheet and cook in the oven for 30-35 minutes, removing the pan to turn the granola with a spatula every 10-12 minutes. For more clumps, firmly press granola onto sheet with the back of your spatula or spoon after you toss it for the first time and don’t toss it again.
  4. When granola begins to smell fragrant and is starting to turn golden, remove it from the oven to cool. Once cool, add dried fruit and toss to combine. Store in a glass jar in the fridge.

If you want granola that clumps together more, substitute 2-4 tablespoons of whisked egg whites in place of some of the oil. 

Easy Peanut Butter Oat Energy Bites {Video}

My coworkers are the best taste testers. When I’m experimenting with new recipes, they are the brave ones who often try them out and give me feedback before I post them on here.

So far, this is the feedback I’ve gotten about these tasty bites:

YUMMMMMM

Delicious

Such a good treat 🙂

Sooooooo good!

PB Bite

Making these Peanut Butter Oat Energy Bites is super simple, fun (and messy!), and they are easy to take and eat on the go. You can enjoy these as part of breakfast, a snack or even dessert!

Most oat energy bites have coconut in them, and I know a lot of people aren’t the biggest fans of coconut, so I thought I would do some tinkering to make this recipe coconut-free.

The subtle saltiness from the peanut butter, sweetness from the maple syrup, nuttiness from the flax seed and crunch from the cacao nibs make these treats fun to eat.

I made this video to show you exactly how to make them!

Because you really need to get in there and get your hands sticky and messy, if you have kids (or just want to feel like one!), this is a recipe you’ll want to try.

For the full list of ingredients (and more mouthwatering pics), see below.

PB Oat Bites CoverPB Oat Bite

No-Bake Peanut Butter Oat Balls

These delicious peanut butter oat balls make a great snack or part of your breakfast! I use cacao nibs instead of chocolate chips to keep the sugar content down, but you could also use mini chocolate chips if you’d like!

  • 2 cups rolled oats (gluten-free)
  • 1/2 cup hemp seeds
  • 1/2 cup ground flax seed
  • 1 cup natural peanut butter
  • 2/3 cup honey (You can use 1/2 cup for a lower sugar count!)
  • 2 teaspoons vanilla extract
  • 1/2 cup raw cacao nibs (or mini dark chocolate chips)
  • Pinch fine grain sea salt
  1. Set the peanut butter and honey at room temperature for about 15 minutes to warm up and for the PB to soften. If the peanut butter is too hard, you can also soften it by gently heating it in a small pot on the stove top with the honey.

  2. Mix all ingredients in a bowl and stir with your hands to combine. It will be messy (but fun!).

  3. To help the mixture “set,” put the dough in the fridge about an hour, so it is easier to work with. It’ll seem too wet, but don’t worry, that will make it easier to work with once it’s had time to come together. It’s easiest to start making the bites using a cookie scooper, but you can also shape them into balls using your hands and then gently roll them. Store them in a glass container in your fridge or freezer.

I use raw cacao nibs instead of chocolate chips because they add a nice crunch and don’t have all the sugar from chocolate chips.

Celeriac: Give This Ugly Vegetable a Chance

Avocado. Eggplant. Sauerkraut.

Most of us can think of certain foods that we don’t like or refused to try at one point. As a recovering picky eater, I was often afraid to try new foods, especially foods that looked or sounded “weird” to me.

Sauerkraut, eggplant and avocado were all foods that I wouldn’t even try at one point in my life but have learned to like, and, in the case of avocados, LOVE.

We’re told not to judge something without getting to know it, but, let’s be honest, most of us do. One vegetable that I had seen multiple times and was curious but afraid to try because of how strange it looked was this…

celeriac

Celeriac (say, sa-LAIR-ee-ac) also known as celery root.

It’s a relative of parsnips, carrots and parsley, and its taste resembles celery but is slightly sweeter, nuttier and milder. It’s a great source of filling fiber and also contains quite a bit of vitamin K, which supports heart and bone health.

This root vegetable isn’t always easy to find here in the U.S. (I get mine at MOMs Organic Market or Whole Foods), but if you can find it, it’s worth trying! It can be served the same way as a potato (mashed, roasted, sliced into fries, steamed, and as a component in soups and stews), so it’s really versatile.

Check out the video below to learn how easy it is to get the skin off of this less than beautiful root veggie and for a few more tips about how to prepare it!

Then, try one of the celeriac-centered recipes below:

Smashed Celeriac by Jamie Oliver

Celeriac Mash by Paleo Leap. This is the recipe I made, but I added about 1 tablespoon of fresh thyme, used 4 cloves of garlic, and used veggie broth instead of chicken stock.

celeriac puree.jpg

Autumn Celeriac Puree by food52

Cauliflower Celeriac Soup by Cook Eat Paleo

Easy Celery Root Fries by The Spunky Coconut

Rosemary Roasted Celery Root & Carrots by Everyday Health

Roasted Root Vegetables with Tomatoes and Kale by Simply Recipes

roasted-root-vegetables-tomatoes-kale-vertical-a2-1200

Photo used with permission from SimplyRecipes


Which recipe do you want to try? Do you have another you’d like to share? Feel free to leave a comment below!


GBOMBS Spaghetti Squash Saute + How-To Video {Gluten-Free, Paleo}

I’ve been on a squash kick lately! From roasted butternut squash to creamy kabocha squash soup and even squash “pasta,” winter squash is one of my favorite foods because it’s versatile, delicious and nourishing.

Today we’re going to take a look at a squash that many of us have heard of before but might have been too intimidated to try making ourselves – spaghetti squash!

As someone who loved twirling pasta on my fork as a kid, this is a food that is fun to eat and play with…and it has lots of body-boosting benefits, too!

IMG_7154

Winter squash is packed with antioxidants that support our body from the inside out – vitamin A for our skin and eyes, vitamin C for antioxidant protection, fiber for fullness, and folate, a B vitamin that supports our body’s production of mood-boosting neurotransmitters.

For more info about the awesomeness of spaghetti squash, click here.

Now, I’m not going to lie to you and say that it tastes just like spaghetti (because it doesn’t…it’s a bit crunchier and a tad sweeter), BUT it does give you a similar experience and is basic enough to be paired with a variety of sauces – from pesto and marinara to pad Thai.

Check out my video below for the step-by-step instructions for how to prepare spaghetti squash and then buy some for yourself, so you can make one of the recipes below! It’s easier than you think 🙂 If you’re more of a picture person, check out this post I wrote for step-by-step pictures and directions.

I’ve included a recipe below for a winter veggie saute full of GBOMBS like shallots, garlic, dino kale, beans, berries and pumpkin seeds. Here are a few additional spaghetti squash recipes for you to try:

Spaghetti Squash Saute.jpg

Ingredients

1 large spaghetti squash
1/2 cup water
1 tablespoon ghee (clarified butter) or coconut oil
3 cloves garlic, minced
3 shallots, sliced
1 bunch dino kale (AKA lacinato or Tuscan kale), destemmed and chopped
1/4 cups water
1 15-oz can no-salt added cannellini beans, drained and rinsed
1/3 cup dried cranberries
1/3 cup pumpkin seeds, lightly toasted
1 tablespoon raw apple cider vinegar
Freshly cracked black pepper and sea salt to taste

Directions

1. Preheat oven to 400F.
2. Slice a line down the length of the spaghetti squash, about a half-inch deep or make several slits round the squash to allow steam to release. It’s usually too hard to cut in half at this point unless you have a really good knife.
3. Put the squash in a 9 x 13 baking dish in the oven for 25 minutes, so it can soften enough to easily cut it in half. Remove squash from the oven and let it cool enough to handle it. Cut it in half lengthwise. Scoop out the seeds with a spoon.
5. Put the squash cut-side down in the baking dish and fill the bottom of the dish with 1/2 cup water. Return squash to oven for about 30 minutes or until the squash easily pulls away from the shell. Let the squash cool and then scrape out the inside into strands with a fork.
6. In a large sauté pan over medium heat, sauté shallots in ghee (or oil) until fragrant, about 4-6 minutes. Add garlic and sauté 30-60 seconds. Add spaghetti squash, dino kale and 1/4 cup water and toss until the kale is wilted but bright green. Add beans and toss until heated through then add cranberries and pumpkin seeds. Remove from heat and sprinkle with 1 1⁄2 tablespoons apple cider vinegar.

Yay for Tempeh! Why We Love This Plant-Based Protein

I had never heard of tempeh until about two years ago when I was about to enroll in a Culinary Nutrition program.

One of the recipes my instructor, Meghan Telpner, had on her blog that I was curious to try was for Orange Maple Tempeh.

orange maple

I had never heard of tempeh (say TEM-pay).

I had no idea what it was.

And I wasn’t exactly jumping to try it because it sounded and looked, well…weird. I haven’t always been one to try “weird” foods, but I had gotten to a point in my food journey that I was more open than ever before.

What’s the worst that could happen? I wouldn’t like it? I was okay with that.

The rest of the ingredients in the recipe sounded so good that we decided to gave it a shot.

I’m so glad we did! It’s now one of our FAVORITE dishes…including my meat-eater husband, Bill. This is one of his go-to meals. If we had only five meals in our rotation for the rest of our lives, this would be one both of us would pick.

So, what exactly IS tempeh?

Tempeh is made from fermented soybeans (keep reading!) and is an excellent source of easily digestible, plant-based protein (15 grams per 3 ounce serving!) and fill-you-up fiber. Tempeh is a probiotic food, so it helps our digestive system (AKA our “gut”) produce healthy bacteria.

Having a healthy, well-fed gut is important for a strong immune system, so we want to make sure we’re including probiotic-rich foods in our diet. As I’ve shared before, 70-80% of our IMMUNE SYSTEM sits in and around our digestive system, so what we eat is critically important to our overall health, well-being and feeling good.

Tempeh has a “meatier” and denser texture than tofu and a mild, nutty taste, so it feels more like meat in a recipe than tofu does. If you’re a tofu hater (I’m not a huge fan of it), then give tempeh a shot. Tempeh can be baked, sauteed, grilled, and chopped up to be added to things like chili, salads, and stews. It can be a little tricky to figure out how to work with it the first time, but this post from onegreenplanet breaks it down into 5 easy tips:

5 Tips for Making Amazing Tempeh Dishes

Another perk is that tempeh is also a LOT cheaper than meat. One block of tempeh at my local market (MOMs) is $3.00. Not a bad deal for something that can serve as the main dish of a meal. We always make sure to buy organic tempeh, since the majority of soy crops these days are genetically modified. You’ll find tempeh in the refrigerated section of your grocery store next to the tofu.

Ready to give this lesser known protein a try? Here are our top two most favorite tempeh recipes (and great places to start for first-timers!). Click the picture to get the recipe.

orange maple.jpg

BalsMapleTempeh

And here are a few more tempeh recipes that we want to try.

Have you ever tried tempeh? Have you found any recipes you like that you want to share? Feel free to leave a comment or question below!

Apple Cinnamon Overnight Oats

When it comes to convenience, versatility and eating for energy, it doesn’t get much easier than overnight oats in a jar!

This is one of my go-to breakfast options and is perfect for busy mornings. Here are just a few more reasons I’m such a fan of overnight oats:

  • Change it up based on what you have on hand and what’s in season
  • Inexpensive ingredients that are pantry staples in our house
  • Eat them right out of the jar or heat them up on the stovetop, if you’d prefer something a little warmer
  • Make them a few days ahead of time for a ready-to-go breakfast
  • Involve your kids and let them get creative with toppings!

I’ve shared recipes for overnight oats before, including these Pumpkin Spice Overnight Oats and these “Berry” Quick Overnight Oats, but today’s recipe is for Apple Cinnamon Overnight Oats!

Oats aerial

I used some of my favorite seasonal ingredients, including crisp apples, warming cinnamon and crunchy walnuts. I used apples two ways – applesauce as the base and chopped apples as the topping. The chia seeds are filling and soak up some of the almond milk, helping everything come together…without cooking it!

I love the combination of apples and cinnamon, especially during the colder months, so that’s what inspired this particular combination.

Apple OatsOats aerialI had some fun making a video “how-to” in case you’re a more visual person and want to hear more about the benefits of each ingredient.

The full recipe is listed below, so check it out and give it a try!

Apple Cinnamon Overnight Oats

This is a quick and easy breakfast option for the busy person on the go! Make 2-3 ahead of time so you can prep once and eat multiple meals. It’s a time saver!

  • 1/4 cup unsweetened applesauce
  • 2 teaspoons chia seeds
  • 1/2-1 teaspoon cinnamon
  • 1/2 teaspoon vanilla extract
  • Pinch ginger
  • Pinch nutmeg
  • Pinch fine grain sea salt
  • 1/3 cup whole rolled oats (I use gluten-free)
  • 1/2 cup almond milk
  • 1/4 apple (chopped)
  • 4 walnuts (chopped)
  1. Stir applesauce, chia seeds, cinnamon, ginger, nutmeg, vanilla, and sea salt in the bottom of a mason jar.

  2. Add the oats and almond milk and stir everything together to combine. Cover with a lid and store in your fridge for at least 30 minutes, ideally overnight.

  3. Remove from fridge and stir in toppings. Eat directly from the jar or warm on the stove. Enjoy!

Optional toppings: 1 tablespoon nut butter, toasted coconut, hemp seeds, pumpkin seeds, 100% pure maple syrup, to taste

Like this:

Rachel D’s 30-Minute Meals: Veggie Pasta UNrecipe!

I’m usually a bit more on top of the whole Christmas shopping thing, but with all that has been on my plate this year, I really fell behind and started doing the bulk of my shopping on Friday.

Some people love the adrenaline rush of waiting until the last minute…I’m definitely not one of them!

After spending a few hours shopping on Friday with all the crazies, Bill and I were hungry and ready for dinner. Since we’d just spent money on gifts, I didn’t want to spend more money on food, so I was determined to make something using what was already in our fridge and pantry.

That’s how this (under) 30-minute meal came to be!

We had a box of Tolerant Foods’ red lentil rotini pasta, so I threw together a bunch of veggies from our fridge and a few simple add-ons like lemon juice, sea salt, and olive oil to give the dish some flavor.

tolerant rotiniTa da! Dinner is served 🙂

When I posted the picture on instagram and Facebook, a friend of mine asked the question, “Where’s the recipe??”

Short answer?

There isn’t one!

IMG_3337

Consider this an “un”recipe (you know, just like those “un”birthdays in Alice in Wonderland?!).

This is one of those dishes that I literally pieced together based on a template that works no matter what you have on hand. Check out the basic process below.

<30-Minute Meal Basic Ingredient List

  • Base: Quality, gluten-free pasta of choice (We use Tolerant Foods pasta because it’s packed with fiber and protein or brown rice pasta. Both are gluten-free and contain only ONE ingredient, which is ideal!)
  • Cooking Broth or Fat: Veggie broth, ghee, olive oil, coconut oil, or grass-fed butter
  • Aromatic Veggies: Onion (red, yellow or shallots), Garlic (2-4 cloves)
  • Simple Seasonings: Sea salt (coarse grain), Black pepper
  • Flavor Burst: Lemon
  • Finishing Fat: Extra virgin olive oil
  • LOTS OF VEGGIES! (cherry tomatoes, broccoli, bell peppers, squash, kale, spinach – add leafy greens at the very end)
  • Any add-ons like chickpeas, cannellini beans, chicken, fish, etc.
  • Top with fresh herbs like basil, parsley, rosemary, thyme, etc. And if you like other herbs and spices, add them in along the way!

Here’s the foolproof process to follow:

Cook the pasta – saute the veggies – blanch the broccoli – toss everything together – top with lemon juice and zest, olive oil, sea salt and pepper.

And for those of you who like more detail…here you go!

  1. Bring water to a boil in a medium pot. Add the pasta and cook according to package directions. During the last 90 seconds of cooking, add the broccoli florets to blanch them (quickly cook!).
  2. While you’re waiting for the pasta water to boil, heat a large skillet to medium-high heat. Cut onions into thin half-moon slices. Add a few tablespoons of veggie broth or cooking fat of choice to the skillet. Add onions and saute 5-7 minutes until they soften. Add more veggie broth as needed to prevent sticking. Add tomatoes and garlic and saute until you can smell the garlic.
  3. Once pasta is cooked and broccoli is still bright green, drain the water in a strainer and add the broccoli and pasta to the veggie skillet.
  4. Add sea salt and black pepper to taste and finish with the zest of one lemon and the juice of one lemon. I used half a lemon to start and added more as I tasted. Finish it off with a few drizzles of olive oil.

We topped ours with some paleo parmesan cheese 🙂 The combination possibilities are endless, so HAVE FUN with it…and get cookin’!

Join Me for Yummy Snacks for Healthy, Happy Kids on September 16th!

As a kid, I wasn’t the most adventurous eater.

I stuck to what was familiar and didn’t venture much beyond that.

I’ve always liked fruit and even liked quite a few less than popular veggies (including broccoli and Brussels sprouts…only if they were doused in Kraft parmesan cheese!).

But I also loved unhealthy snacks just as much as the next kid!

From Doritos and Cheetos to Dunkaroos, Gushers, Swiss Rolls, and Swedish Fish, I was in the same boat as just about any other kid my age growing up.

That’s why I’m SUPER excited to teach a workshop next Wednesday, September 16th at the Institute for Integrative Health about Yummy Snacks for Healthy, Happy Kids.

Kids Pics

If you join us for this workshop, you’ll get all of the following benefits:

  • Learn the secrets to inspiring healthy eating in kids and the whole family including some ideas for snacks for toddlers
  • Discover sweet and savory recipes, including dairy-free, gluten-free, and nut-free options
  • View recipe demonstrations, and sample the delicious results
  • Explore strategies to get your children involved in a healthy eating lifestyle
  • Learn the tips and tricks I live by, discovered by a couple who raised five kids on nourishing, whole foods
  • Receive a guide with easy recipes and top resources for feeding healthy kids

You’ll come away feeling energized and excited about trying new recipes with your whole family. Plus, you’ll connect with a new community of health-conscious parents, teachers, and other people who take care of children.

The workshop runs from 6:00-8:00pm and is $30 to attend, which includes everything outlined above. Click here to learn more and register.

Please forward this post to anyone you think would be interested in attending this workshop, especially anyone whose kids are dairy-free or gluten-free!

I look forward to seeing you next week! 🙂

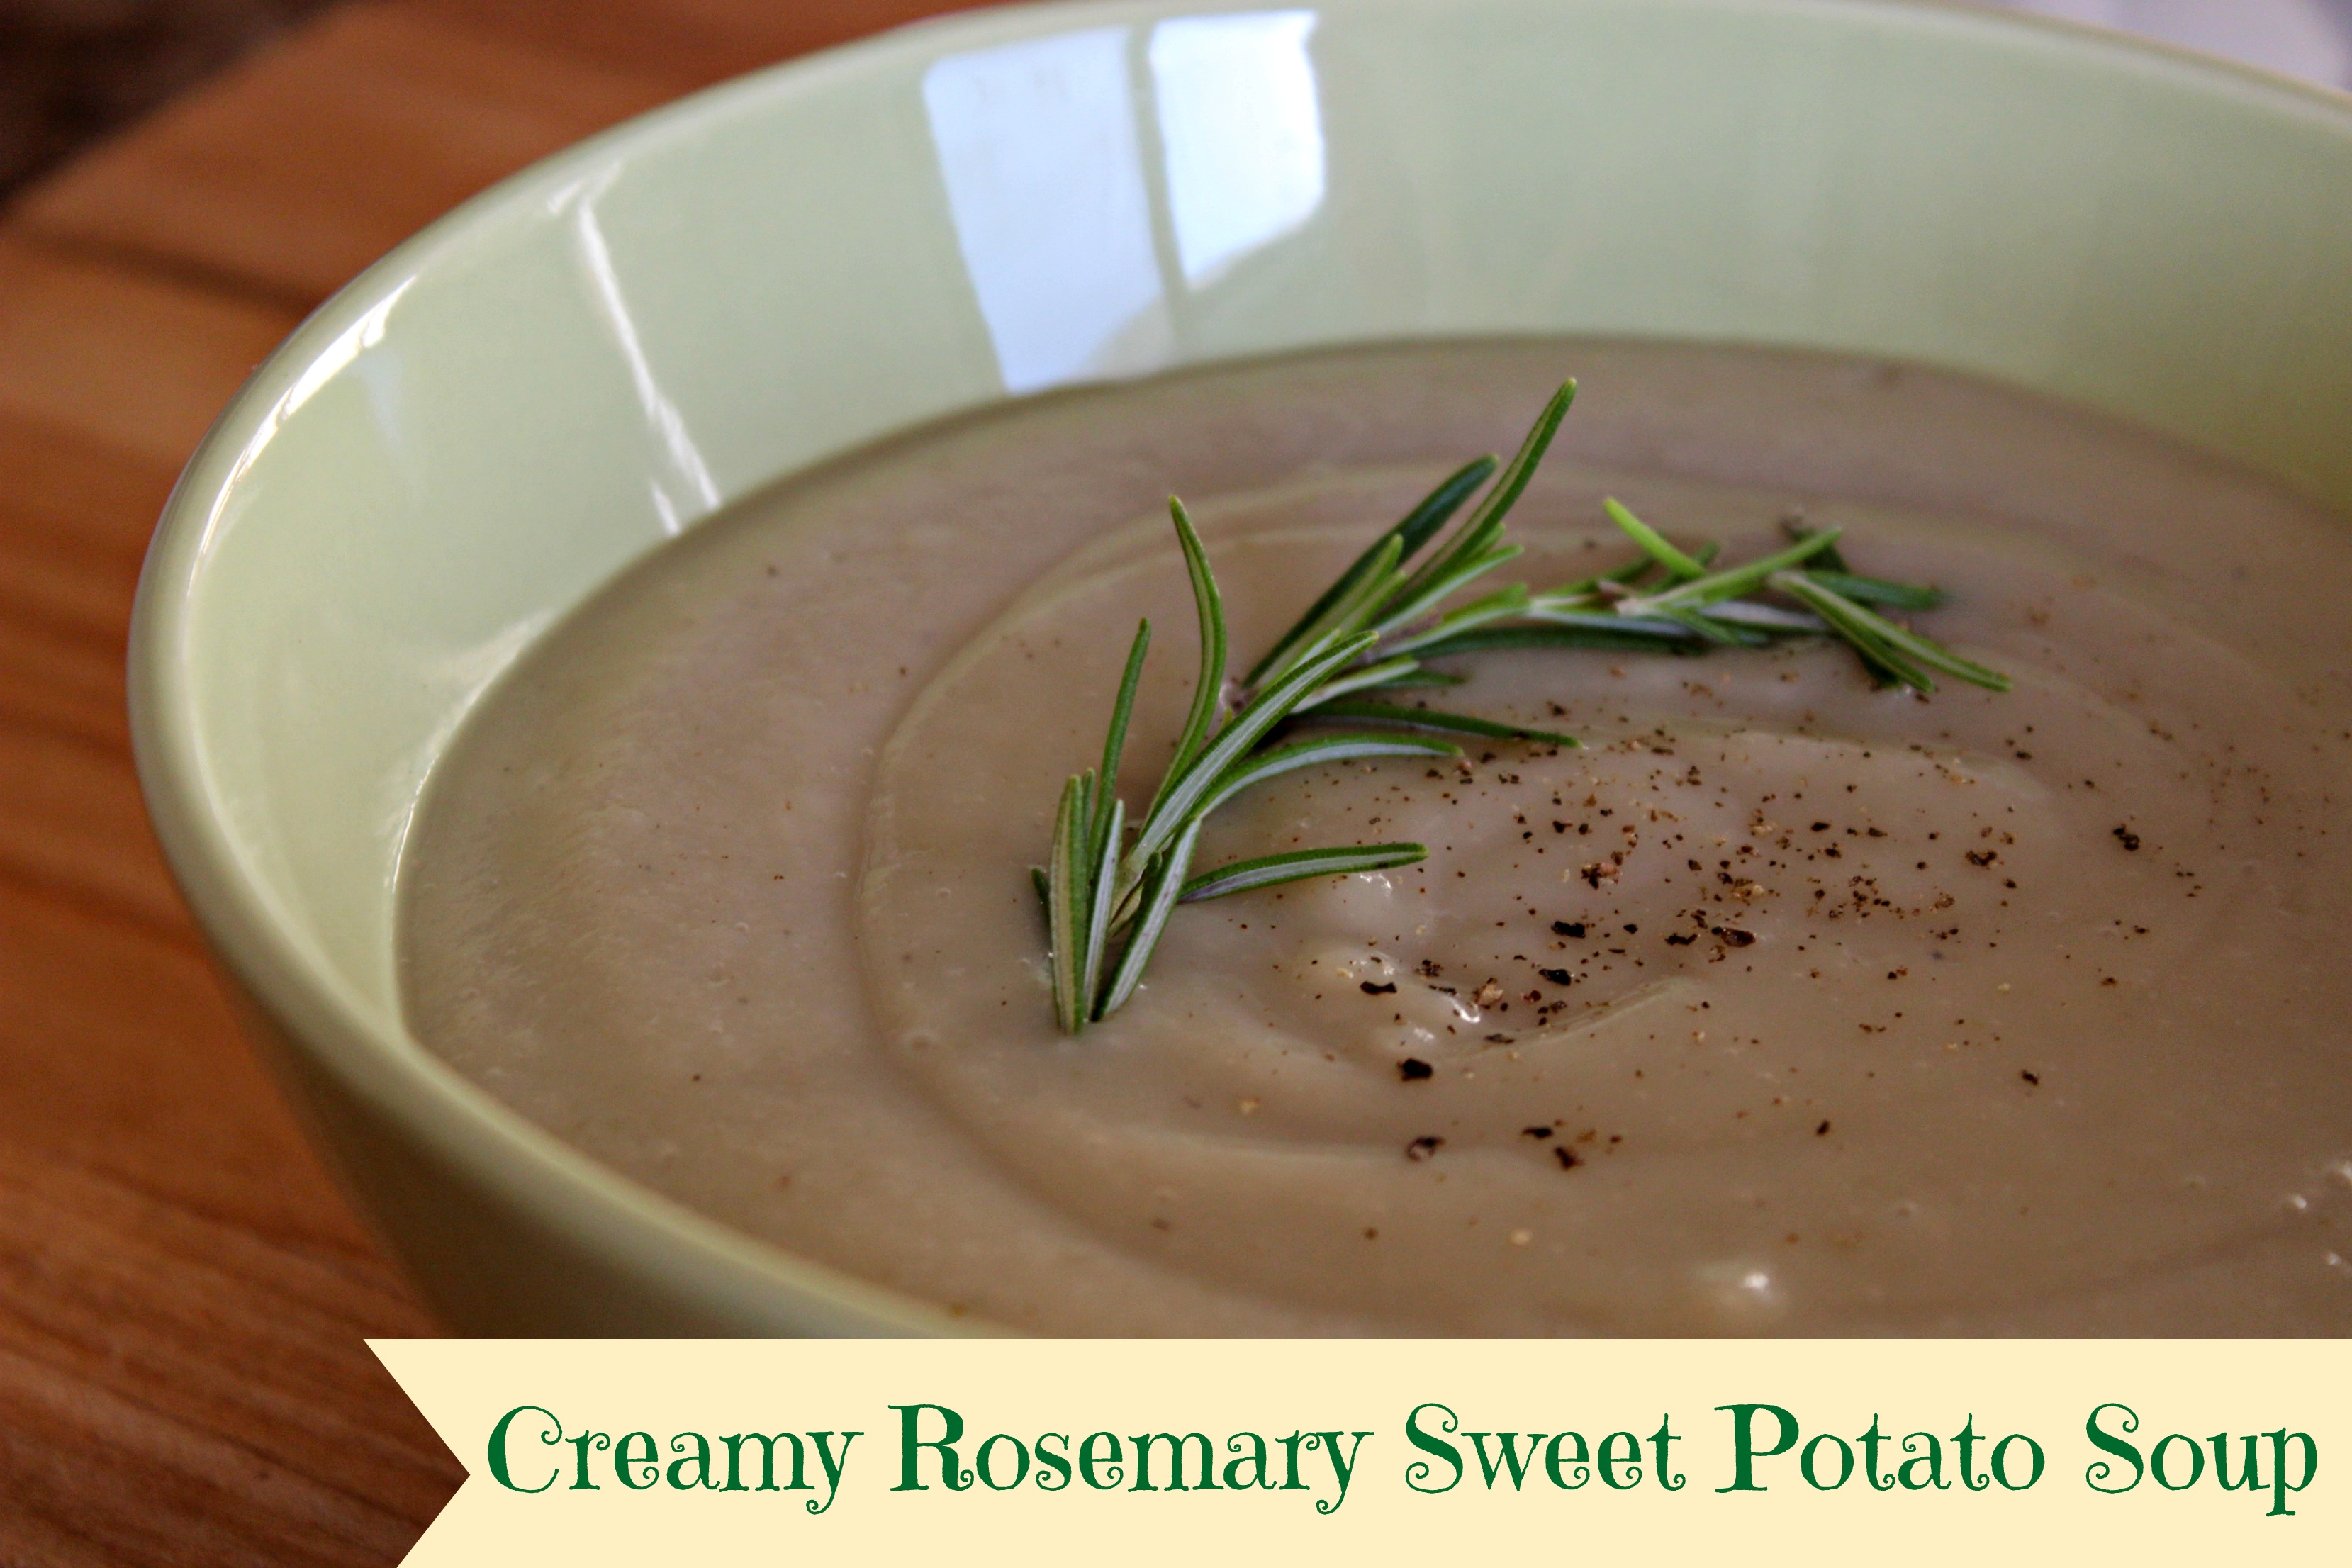
Creamy Rosemary Sweet Potato Soup {Dairy-Free, Paleo, Vegan}

Creamy foods are comforting and satisfying.

Since removing dairy products from my diet, I’ve had to get more creative about ways to recreate the silky texture that dairy provides.

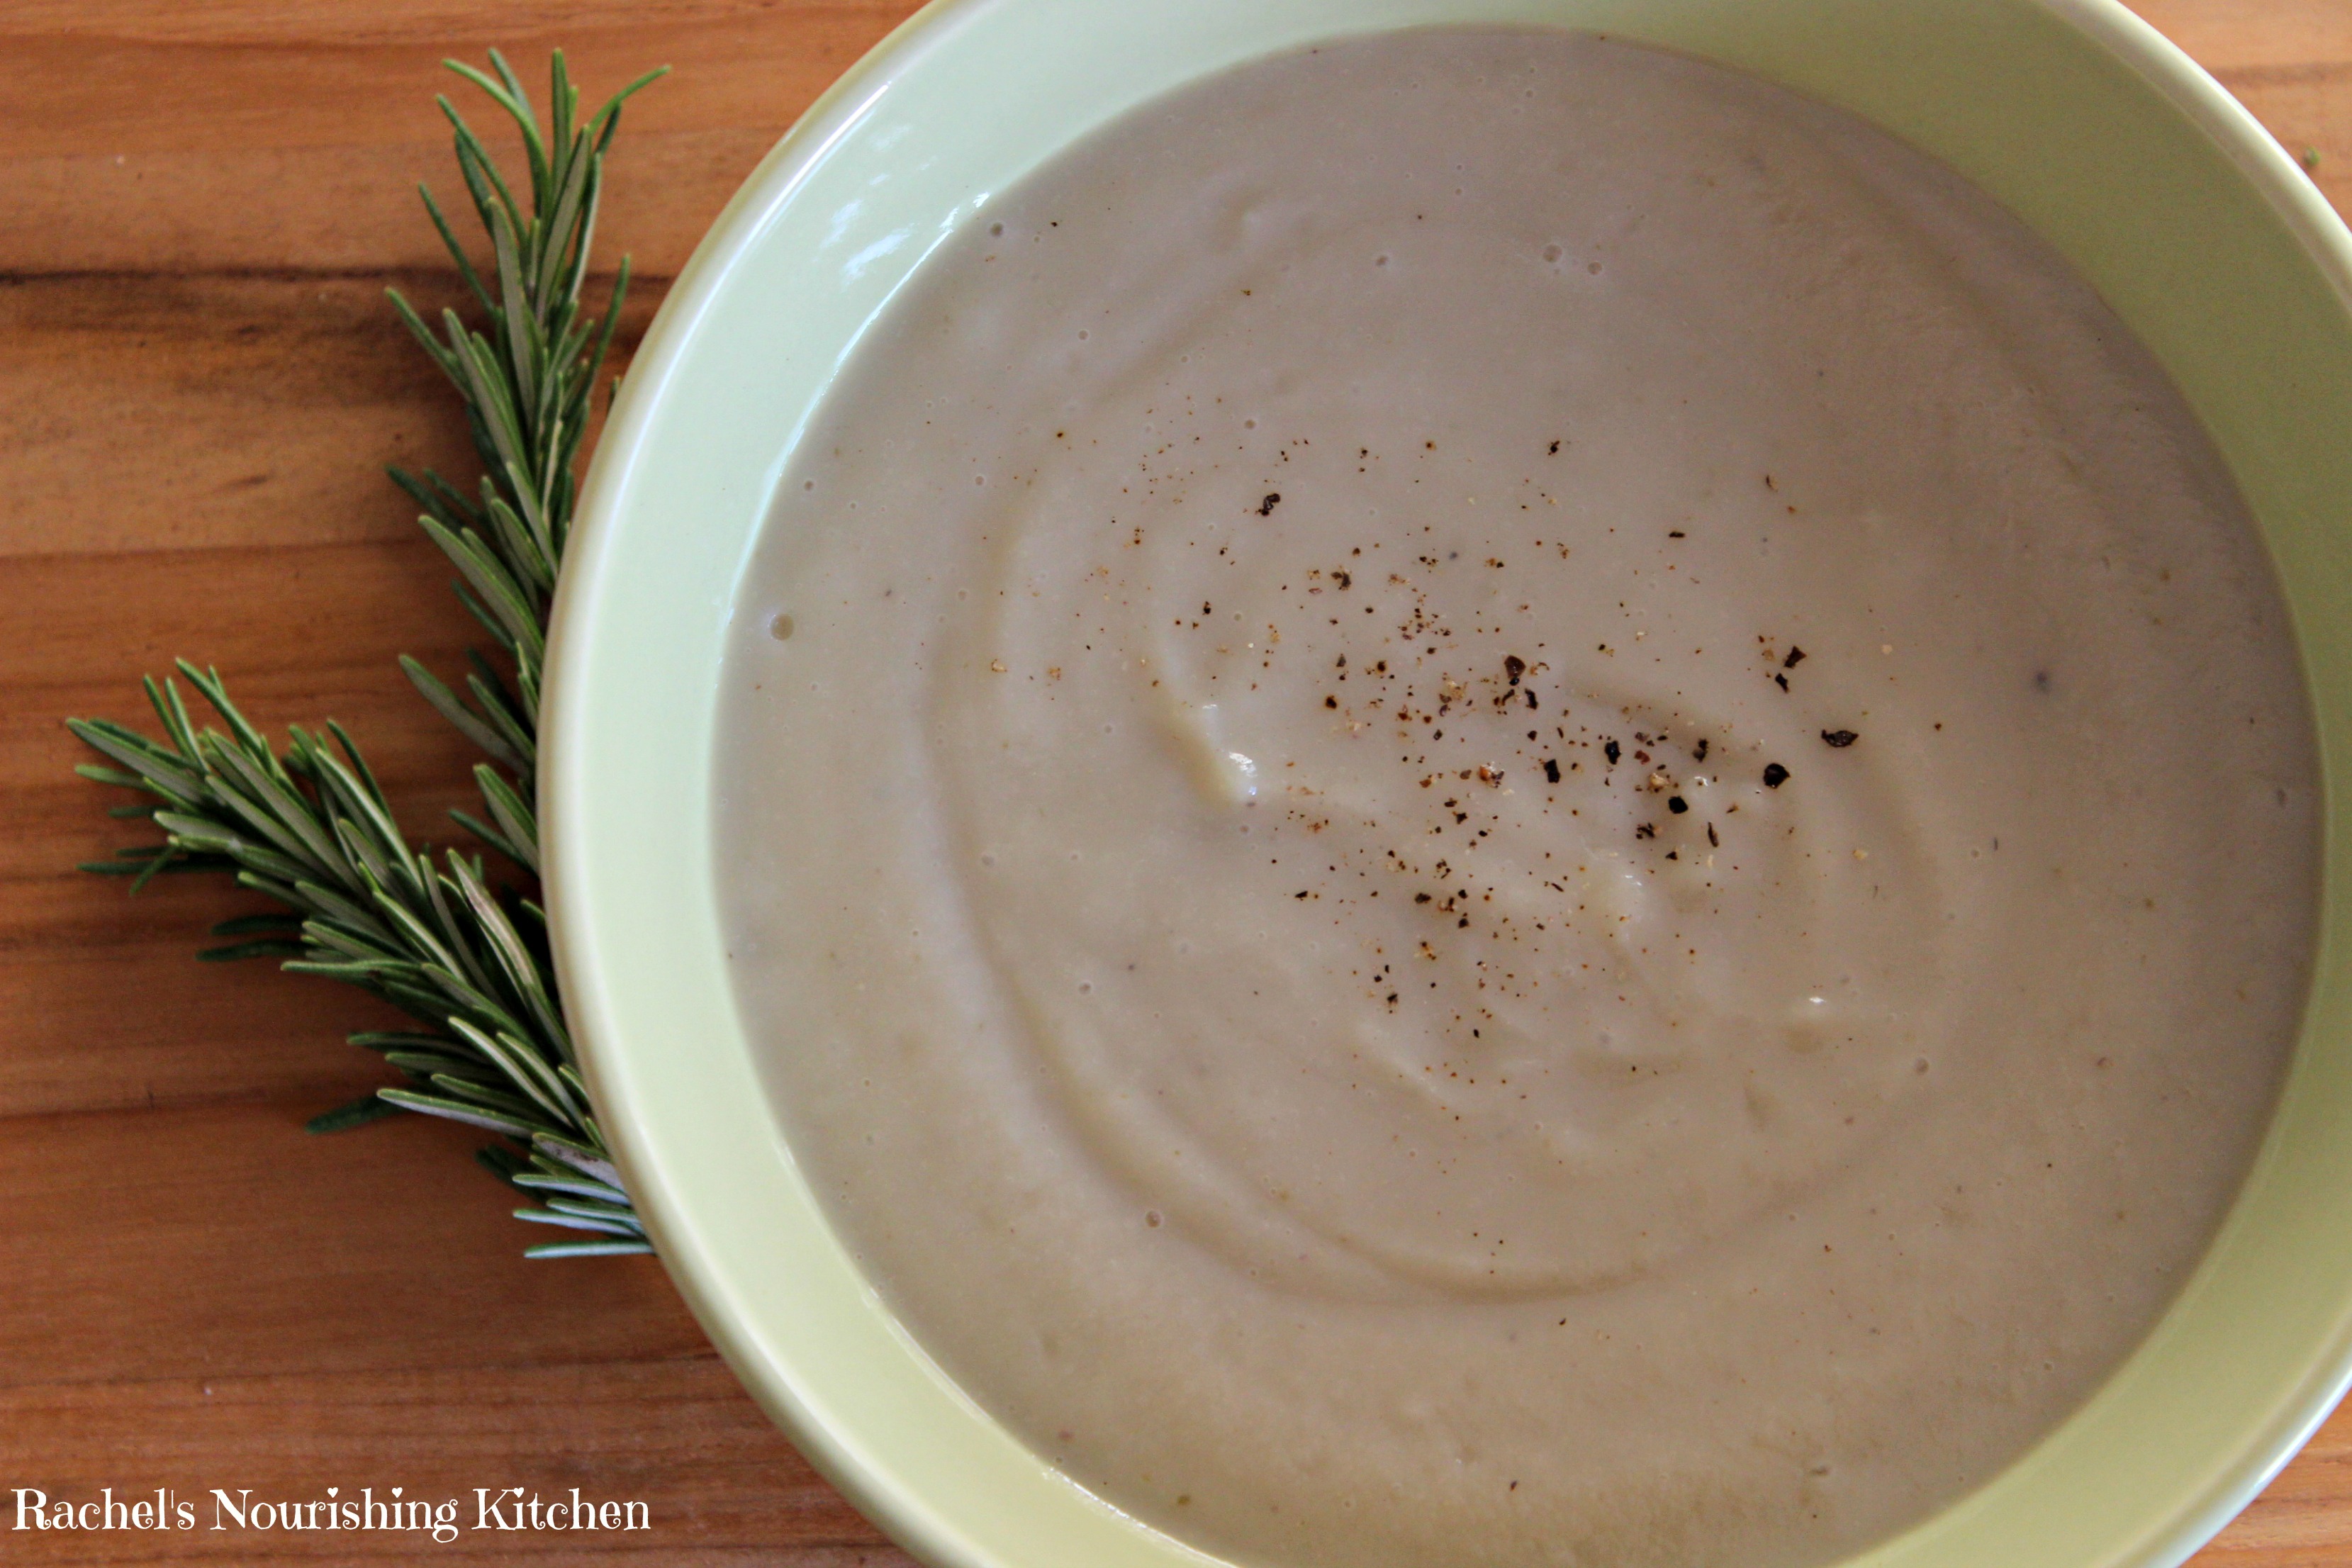
soup

One of the best ways to do that is using cauliflower, one of the GBOMBS vegetables (AKA some of the best foods we can eat!).

These roasted garlic cauliflower mashed “potatoes” and this creamy caulifredo sauce are some of my favorite ways to use cauliflower to create creaminess!

IMG_6721

Because winter feels like it is never going to end here on the East Coast, I’ve been in hibernation mode and have been really into soups lately. I thought I would try blending cauliflower in with a soup to make it creamy and delicious without the downsides of dairy, so that’s what brings us to this recipe!

This soup is simple to make and uses basic ingredients that are easy to find at any grocery store or farmer’s market.

We used Japanese sweet potatoes, which is why the soup is white instead of orange, but any sweet potato will work.

Give it a try, and let me know what you think! 🙂

IMG_8875Soupbanner soupIMG_8876soup2

Ingredients

Directions

  1. In an 8-quart stockpot, melt the coconut oil over medium-high heat.
  2. Saute onion, garlic and a 1/2 teaspoon sea salt and cook until soft, about 4 to 5 minutes.
  3. Add the sweet potatoes, rosemary, and vegetable stock and bring to a boil.
  4. Once boiling, add the cauliflower and cover the pot with a lid. Reduce the heat to a simmer until the vegetables are very tender, about 20 to 25 minutes.
  5. Turn off the heat and stir in the remaining 1/2 teaspoon sea salt and black pepper. Using an immersion blender or regular blender*, blend until very smooth.
  6. Return soup to pot and whisk in the maple syrup. Add more sea salt and pepper, to taste.
  7. Keep the soup warm over low heat until ready to serve. Top with fresh cracked black pepper and a few lightly toasted pumpkin seeds, if you’d like!

*NoteIf using a blender, vent it either by removing the lid’s pop-out center or by lifting one edge of the lid as you blend. Drape the blender jar with a kitchen towel. Blend the soup in batches, filling the jar about 1/3-1/2 for each batch.

Meal Planning Made Easy: Step 3…Get To It!

This is the third and final post in a series of three posts about how to make meal planning easy and doable. In case you missed the previous posts, here they are!

Step 1…Get Inspired

Step 2…Get Organized {Plus My #1 Meal Planning Tool!}

—————————————————————————————————————————————————

pinteresBy this point, we’re inspired and organized, so all that’s left for us to do is to “get to it” and get it done! 🙂

Check out my top tips below for how to make meal planning a reality!

1) Prep!

For starters, you can chop your fruits and vegetables when you get home BEFORE you put them away. Just think of it as an extension of your shopping trip. Since you already have your meal plan prepped, you know exactly what you need to do to each ingredient throughout the week. However, I realize chopping can be tedious and boring, especially if there’s a lot of fruit and veg to get through. Why not enlist the help of a vegetable chopper? It’ll save you plenty of prep time and saves you from boredom. If you’re unsure of what you’re looking for, check out what people are saying online about individual choppers, like this chopper review!

Making soup? Chop onions, celery and carrots.

Serving up a stir fry? Cook a pot of brown rice (set it and forget it!).

Having tacos on Tuesday? Brown your meat or cook your lentils if you’re going meatless.

Do you like smoothies? Measure out your dry ingredients (seeds, nuts, powders, dried fruit) at the beginning of the week, so you just have to dump them in the blender when you’re ready to whip up a nutrient-packed breakfast. Store them in the fridge.

Ingredients for everything from smoothies to snacks  prepped and ready for the week!

Ingredients for everything from smoothies to snacks prepped and ready for the week!

2) Pack & Store

This is where your mason jars come in handy. Once you’ve prepped and chopped all of your ingredients, grab a roll of masking tape and write what recipe that ingredient is for and stick it on the mason jar. Then, when it’s time to cook, the chopping is already done and you just have to dump it in!

We’re also fans of Pyrex bowls with lids and glass baking dishes. One of the prep and stores steps we take at the beginning of the week is chopping up a head of celery into stalks and a few carrots into sticks. Then, we put them in a 9 x 13 glass baking dish and fill the dish with water until the veggies are just about covered. We store it in the fridge for a week, so we have easy grab and go snacks.

Once the week wraps up, if we still have veggies left, we dump out the water, refill it and then enjoy the veggies for ANOTHER week. It’s a great way to extend the life of your produce 🙂

To pack and store food, we’re also fans of thermos’, since they can be used to keep food cold (like smoothies for breakfast) or hot (like soups for lunch). They’re not expensive.

If you don’t have one already, invest in an insulated lunch box to make it easier for you to transport healthy food with you no matter where you are.

3) Freeze It!

When it comes to meal planning and saving time and money, the freezer is your friend. Whether you’re prepping ingredients for crock pot meals ahead of time, storing leftover broth or soup, or using frozen fruit or vegetables, the freezer can come in handy. (BJs Wholesale Club has organic frozen fruits and veggies that we LOVE to use in our smoothies!)

If you’re storing liquids in the freezer in mason jars, just make sure you leave 2 inches of open space between the bottom of the lid and the top of your liquid, as the liquid will expand as it freezes. We don’t want broken glass jars or shards of glass in our freezer (although it has happened to me!).

Hearty Black Bean and Rice Stew that we froze and enjoyed over multiple weeks!

Hearty Black Bean and Rice Stew that we froze and enjoyed over multiple weeks!

Make a double batch of soup or stew or a casserole and throw it in the freezer. If you’re in a pinch one night or have a busy week it’s easy to just reheat it in the oven or on the stove.

4) Love Those Leftovers

This goes along with #3 above but uses up your fridge space, too! When you make a big batch of a casserole, soup, stew or other dish, store some in the fridge (what you know you’ll eat up in a few days) and freeze the rest.

Check out this page for a list of my soup and casserole recipes as well as a recipe for mini make-ahead frittatas – perfect for breakfast, lunch or dinner!

We love making batches of soup to have throughout the week, along with chopped veggies, energy bites, and paleo parmesan cheeze.

5) Make It Social

You can get really creative with this, but here are some ideas that have inspired me:

*Have a meal swap potluck party with neighbors or friends. Invite a small group of friends over (you could even do this with 1-2 other couples) and have each person prepare a dish or two. Then, bring your glass jars and containers, so you can take home a little bit of everything. It’s a great way to try new recipes and enjoy other people’s cooking.

*Use a meal planning tool like the one I shared in the second post in this series and plan meals together with coworkers, friends or family. I read on another blog that two moms did this while their daughters were at ballet lessons. They brought cookbooks and planned out the week’s meals together. It was a great way to bond and get stuff done!

My favorite meal planning tool!

My favorite meal planning tool!

*Have a crock pot party with a group of friends (everyone bring your crock pots together with the ingredients you need and then set it and forget it!). You could even make a day of it – prep in the morning, head out to do something fun and then come back to the mouthwatering smells emanating from your crock pots!

*Create a dinner party group and rotate who hosts the group. The host is responsible for the main dish and everyone else brings a simple side. Bring containers for leftovers!

6) Pump Up the Volume

I’ve always loved music, and rocking out in the kitchen to my favorite Pandora or other radio station is a great way to add some fun into a seemingly boring task…like chopping vegetables.

Working out is more fun with music (which is probably why I love Zumba so much), so why not apply the same way of thinking to cooking?! Time will fly, and you’ll have fun 🙂

7) Make Cooking Time Quality Time

Instead of cooking being something that “takes up time” or pulls you away from other ways you want to spend your time, make cooking time quality time – time to spend with your family and friends – with everyone having a task to do to help pull together a meal.

One of the easiest ways to make cooking time quality time is to pick a theme that makes it fun to be together. From Take Out Fake Out Thursday to Eat Like a Viking night, check out all of the ideas about how to “Get Inspired” from the first post of this series.

You can even host a cooking class at your house to bring friends and/or family together to learn new recipes and get inspired. Contact me here if you want to learn more about classes I can teach!
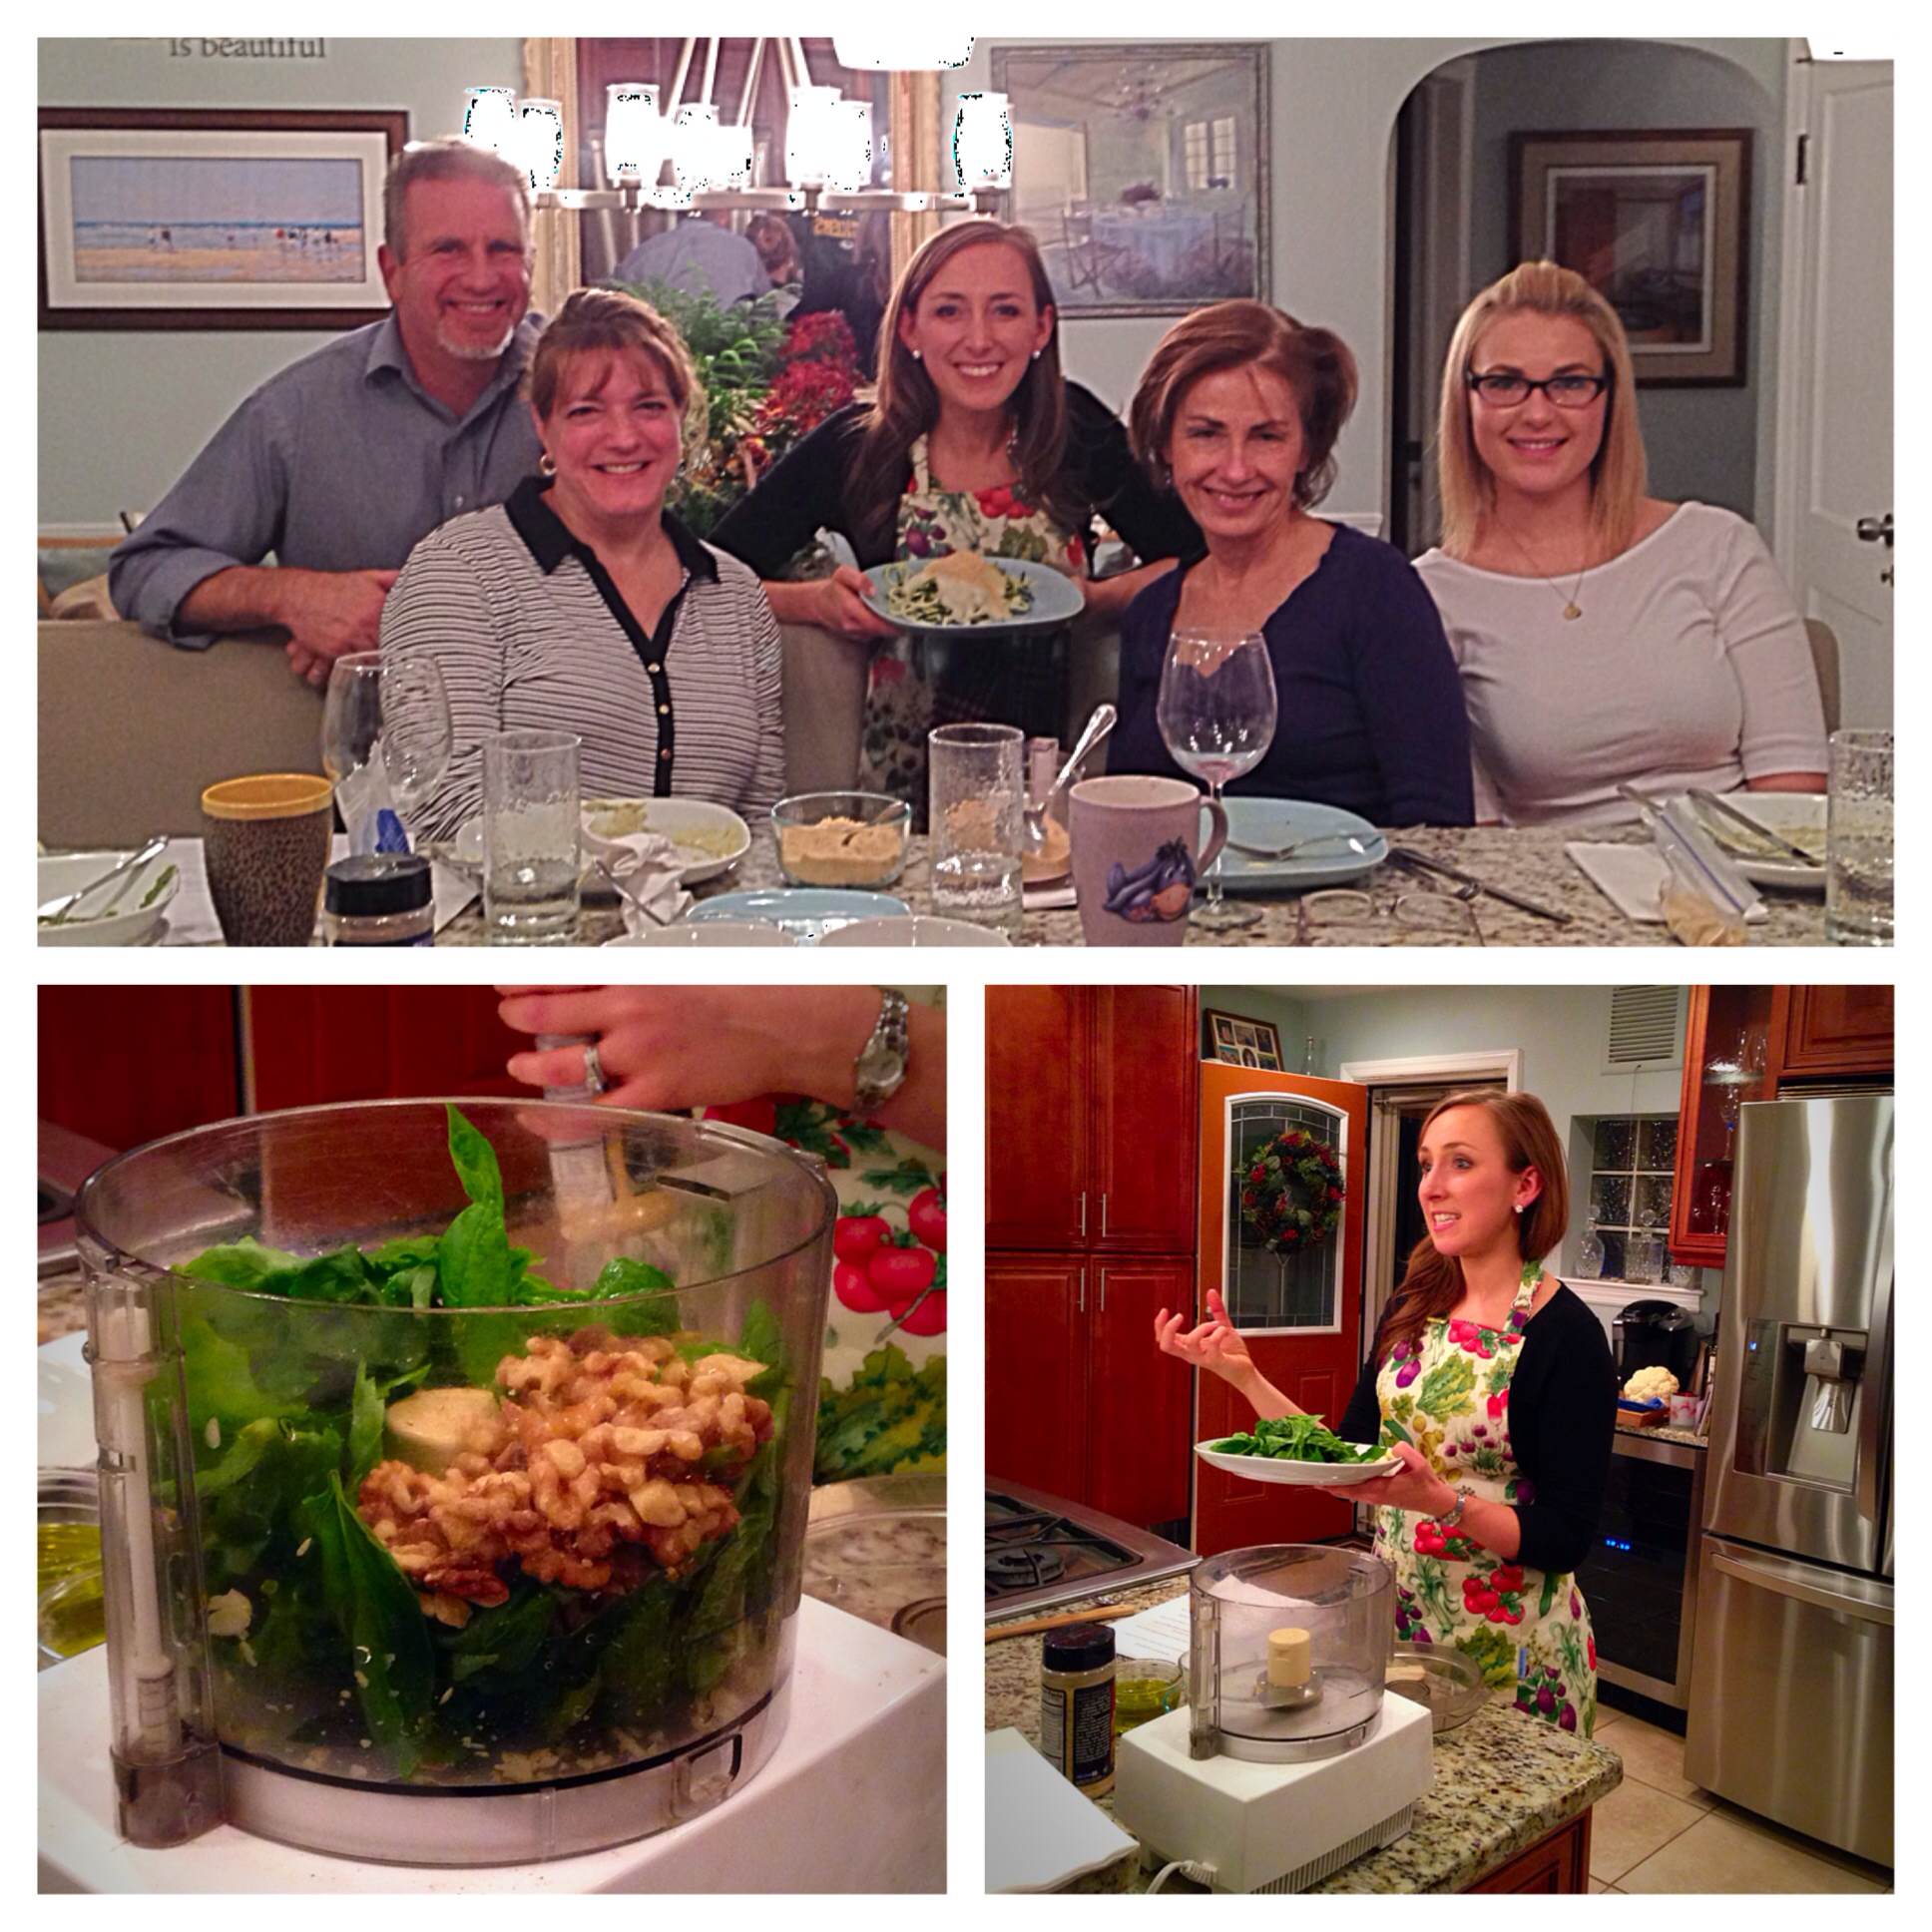
IMG_7040 (1)

8) Use a Meal Kit Service

If you like to cook but hate the idea of doing all of this prep, check out one of the meal planning kit services below! I also recommend taking a look at the benefits of home chef vs blue apron. You pay for the convenience of having everything done for you, but it may be worth it, even if just once a week. Meal prep and planning can be very tiring so a meal kit might be a great option for you if you have a busy lifestyle.

  1. BlueApron
  2. HelloFresh
  3. Plated

And, there you have it! Those are my 3 steps to make meal planning fun and time and money-saving. From getting inspired to getting organized and then finally “getting to it,” I hope you learned at least one new thing that will help you make meal planning easier!

Ok, now it’s your turn! Do you have any meal planning tips you’d like to share?What did you find MOST helpful from this series? Feel free to share below! I really do love hearing from you 🙂

Page 2 of 3

Powered by WordPress & Theme by Anders Norén