Category: Dairy-Free Page 4 of 5

Apple Cinnamon Overnight Oats

When it comes to convenience, versatility and eating for energy, it doesn’t get much easier than overnight oats in a jar!

This is one of my go-to breakfast options and is perfect for busy mornings. Here are just a few more reasons I’m such a fan of overnight oats:

  • Change it up based on what you have on hand and what’s in season
  • Inexpensive ingredients that are pantry staples in our house
  • Eat them right out of the jar or heat them up on the stovetop, if you’d prefer something a little warmer
  • Make them a few days ahead of time for a ready-to-go breakfast
  • Involve your kids and let them get creative with toppings!

I’ve shared recipes for overnight oats before, including theseĀ Pumpkin Spice Overnight Oats and theseĀ “Berry” Quick Overnight Oats, but today’s recipe is for Apple Cinnamon Overnight Oats!

Oats aerial

I used some of my favorite seasonal ingredients, including crisp apples, warming cinnamon and crunchy walnuts. I used apples two ways – applesauce as the base and chopped apples as the topping. The chia seeds are filling and soak up some of the almond milk, helping everything come together…without cooking it!

I love the combination of apples and cinnamon, especially duringĀ the colderĀ months, so that’s what inspired this particular combination.

Apple OatsOats aerialI had some fun making a video “how-to” in case you’re a more visual person and want to hear more about the benefits of each ingredient.

The full recipe is listed below, so check it out and give it a try!

https://www.youtube.com/watch?v=omtej70E2vs

Apple Cinnamon Overnight Oats

This is a quick and easy breakfast option for the busy person on the go! Make 2-3 ahead of time so you can prep once and eat multiple meals. It’s a time saver!

  • 1/4 cup unsweetened applesauce
  • 2 teaspoons chia seeds
  • 1/2-1 teaspoon cinnamon
  • 1/2 teaspoon vanilla extract
  • Pinch ginger
  • Pinch nutmeg
  • Pinch fine grain sea salt
  • 1/3 cup whole rolled oats (I use gluten-free)
  • 1/2 cup almond milk
  • 1/4 apple (chopped)
  • 4 walnuts (chopped)
  1. Stir applesauce, chia seeds, cinnamon, ginger, nutmeg, vanilla, and sea salt in the bottom of a mason jar.

  2. Add the oats and almond milk and stir everything together to combine. Cover with a lid and store in your fridge for at least 30 minutes, ideally overnight.

  3. Remove from fridge and stir in toppings. Eat directly from the jar or warm on the stove. Enjoy!

Optional toppings: 1 tablespoon nut butter, toasted coconut, hemp seeds, pumpkin seeds,Ā 100% pure maple syrup, to taste

Like this:

Rich & Creamy Brassica Tea Rice Pudding {Gluten-Free}

In my last post, I shared insights about detoxing from award-winning celebrity dietitian, Ashley Koff. It turns out that our body naturally detoxifies itself on a regular basis and that we can bring specific foods into our diet to support that process.

One of those foods is broccoli. Most of us have heard that broccoli is one of the best vegetables we can eat to support our health, but few of us know why.

Tom Malterre, a highly regarded functional medicine-trained nutritionist, gave a TEDTalk a few years ago about the incredible benefits of broccoli, calling it “the DNA whisperer” because of its powerful protective properties.

Glucoraphanin (say glu-co-RAPH-an-in) is one of the key nutrients in broccoli that makes it known as a “superfood”. Our body converts glucoraphanin into a potent antioxidant and cellular protector called sulforaphane.Ā 

According to Brassica.com, 40% ofĀ Americans wish they could get the benefits of broccoli without having to eat it.Ā That’s where something like truebrocā„¢ tea can help.

You can find truebrocā„¢ teaĀ locally at Whole Foods Harbor East, Baltimore Coffee & Tea, and at Wegmans, but you also order it online no matter where you live by clicking here.

brassica box

For more information about Brassica Tea and truebroc glucoraphanin, please visit truebroc.com or facebook.com/truebroc. Follow us on Twitter @truebroc.

I first mentioned truebrocā„¢ teaĀ in myĀ last post andĀ promised to share a recipe with you that incorporated it,Ā so today I’m going to let you know how to make your own rich and creamyĀ Brassica Tea Rice Pudding.

When I first saw the recipe, I realized I had all of the ingredients on hand except for the arborio rice, which is commonly used to make a creamy dish called risotto. I found it in the bulk section of MOMs Organic Market, a local natural food store, but you should be able to find it in the rice or gluten-free section of your grocery store.

Tea Rice Pudding - new 3

Recipe & photo credit: Amy Fischer, RD

I wasn’t sure how the dish would turn out as I was making it, but I ended up with a rich, creamy and almost caramel-ly (can we make that a word?)Ā bowl of deliciousness!Ā 

I have tried rice puddingĀ at a few restaurants as a dessert, but this was the first time I’d made it and was the best-tasting one yet. I’ve made it twice and have had it as part of my breakfast and as dessert.

I made a few modifications. I backed off slightly from the recommendedĀ amount of waterĀ in the beginning. I cut it back by 1/4 cup, which resulted in a creamier texture the second time around. Also, I didn’t have vanilla bean powder on hand, so I used vanillaĀ extract, and I used maple syrup instead of honey. I considered subbing in short grain brown rice, but, if you plan to do that,Ā just simmer it a bit longer, as it will take more time to cook. It probably won’t be as creamy and might be a bit chewier but it’s worth trying!

Tea Rice Pudding 5

Recipe and photo credit: Amy Fischer, RD

Servings: 4-6

Ingredients

1 cup brewed Brassica Tea with 30mg of truebrocā„¢ glucoraphanin from broccoli
1 cup filtered water (I used 3/4 cup)
1 (13.5 oz.) can coconut milk (I love the brand Native Forest)
Ā½ cup arborio rice
2 egg yolks
Ā¼ cup coconut sugar
2 Tbsp. raw honey (or maple syrup to make vegan)
1 tsp. vanilla bean powder
Ā¼ tsp. cinnamon
Pinch of sea salt
Optional toppings: ginger, raisins, greek or coconut yogurt

Directions

  1. Brew 1 cup of tea using 2 Brassica Tea bags.
  2. Combine 1 cup tea, 1 cup water, 1/2 cup Arborio rice & a pinch of salt in a medium saucepan. Bring to a boil then turn down to a simmer, stirring frequently, cover & cook for ~25 min.
  3. Uncover and continue simmering and stirring frequently. Stir in coconut milk & continue to simmer approximately 10 min or until the rice is tender.
  4. In separate bowl, beat egg yolks with honey, coconut sugar, cinnamon & vanilla. Slowly add some of the rice mixture to the egg yolks and with a whisk, combine.
  5. Add mixture back into the rice and stir until combined well and egg is mixed in. Remove from heat. The mixture will still be loose but will thicken as it stands or when chilled. Serve warm or chilled. Add toppings before serving. Enjoy!
Tea Rice Pudding 7

Recipe and photo credit: Amy Fischer, RD

For more information about Brassica Tea and truebroc glucoraphanin, please visit truebroc.com or facebook.com/truebroc. Follow us on Twitter @truebroc.

Disclosure: I received free teaĀ in exchange forĀ writing this review, but I had tried and likedĀ the product and what it stood for before this opportunity arose! All opinions are my own, and maintaining theĀ integrity of all content on this site is of utmost importance to me. I willĀ never promote products I donā€™t love and use myself! šŸ™‚

Melt-in-Your-Mouth, Pan-Seared Curried Scallops {Paleo}

My dad is allergic to seafood, so we never had it in the house or ate it much when I was growing up.

Since I wasĀ born and raised in Baltimore, a cityĀ known for its steamed crabs and crabcakes,Ā the fact that I didn’t like or eat seafood of any kind was a little strange.Ā 

It wasn’t until my freshman year of college that I tried fish for the first time.

Spending a semester abroad in Spain as a junior was what really opened me up to trying and (much to my surprise) LIKING so many different kinds of food, especially seafood. I’ve enjoyed it ever since!

IMG_0662

Enjoying one of many meals in Granada, Spain in 2004!

Wild caught salmon and sea scallops are my absolute favorites.

There’s something about a perfectly cooked, silky scallop melting in your mouth that is unlike any other food experience.

I’ve become a big fan ofĀ culinary translator and food-as-medicine guru, Rebecca Katz, lately and have been trying lots of her recipes. I admire and appreciate allĀ of the work she’s been doing to “spread the YUM” and bring excitement, flavor and nourishment to the plate.Ā 

When I saw that one of herĀ recipes included my #1Ā flavor blend (curry powder) andĀ my favorite seafood (scallops) andĀ I saw how simple the ingredient list was, I knew we had to try it!

We had it for dinner a few weeks ago and l-o-v-e-d it šŸ™‚

(Oh, and we enjoyed it SO much that I forgot to take a picture, so don’t mind the pic below of another sea scallop dish we’ve made! I’ll update the imageĀ the next time we make it.)

IMG_3305

Servings: 4

Ingredients
12 dry-packed sea scallops
Sea salt
1 teaspoon curry powder
2 tablespoons extra-virgin olive oil, ghee or coconut oil
2 teaspoons grated fresh ginger
1 cup coconut milk
1 tablespoon freshly squeezed lime juice
1 teaspoon snipped fresh chives, or 1 minced scallion, for garnish

*Click here for the full recipe and directions from the cancer-fighting kitchen expert, Rebecca Katz!*

25 Energizing Breakfast Recipes {Gluten-Free, Dairy-Free}

For most of my life, the back of the cereal box was the highlight of my first meal of the day.

As much as I enjoyed starting my day that way, I’ve learned that typical breakfast cereals and other breakfast foods like donuts, bagels and granola bars are not the most filling or nourishing choices.

We’ve heard that breakfast is an important meal, and it’s true.

Eating breakfast helps us stabilize our blood sugar levels throughout the day, which affects things like our energy, alertness, and mood.

Not hungry when you wake up? You might have eaten too late the night before and spent your night digesting instead of repairing and resting. Another possibility is that you might not have gotten enough quality sleep and could still have some stress hormones floating around that are dampening your appetite.

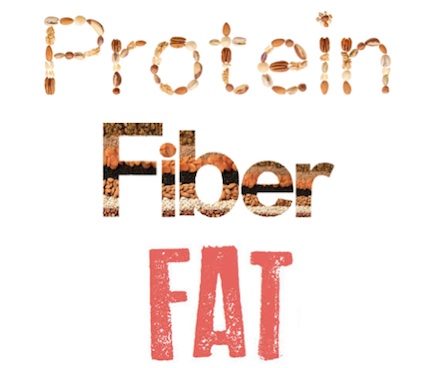
When we grab something to “break the fast,” the key is to make sure we’re eating the most filling and satisfying combination of food to keep us going throughout the day. The secret to lasting energy and feeling satisfied after a meal is eating a combination of…

PFF

Fiber only comes from plants, so that would mean we want to include something that was growing in nature at some point. Protein can be plant-based or animal-based. Examples of healthy fats include things like nuts, seeds, avocado, wild caught salmon, and coconut.

Remember, breakfast is a time of day, not a group of foods. Anything is fair game!

Check out this video I put together that walks through some of my favorite breakfast ideas. Then, take a look at the links below that direct you to a bunch of the recipes I mention in the video!

https://www.youtube.com/watch?v=EogpMpWFN3A

Smoothies

Smoothies are a great way to jam pack nutrition in a glass, but drink them slowwwwly instead of downing them in 90 seconds, as I have a tendency to do. Smoothies are so easy to make as well and can be done in minutes with the help of the Best Juicer! Getting nutrients from veg and fruit has never been so easy.

Make sure you follow the guidelines of the PFF combo – protein, fiber AND some healthy fat in each smoothie. Most of the time when we make smoothies, we put in lots of fruit and juice and very little protein or healthy fats, so we spike our blood sugar and end up feeling hungry a couple hours later.

My basic formula for making smoothies looks like this: ~2 cups veggies (spinach, baby kale, lettuce, cabbage), 1 cup fruit (berries are best!), 1 -1.5 cups liquid, 2 tablespoons protein (nut butter, hemp seeds, protein powder) and then some add-ins like coconut oil, flax seeds, chia seeds, dates, cinnamon, or cacao powder. My preferred protein in smoothies are hemp seeds, sprouted pea protein, or sprouted brown rice protein (you can get all of them on Amazon). Sun Warrior and Vega are two good brands.

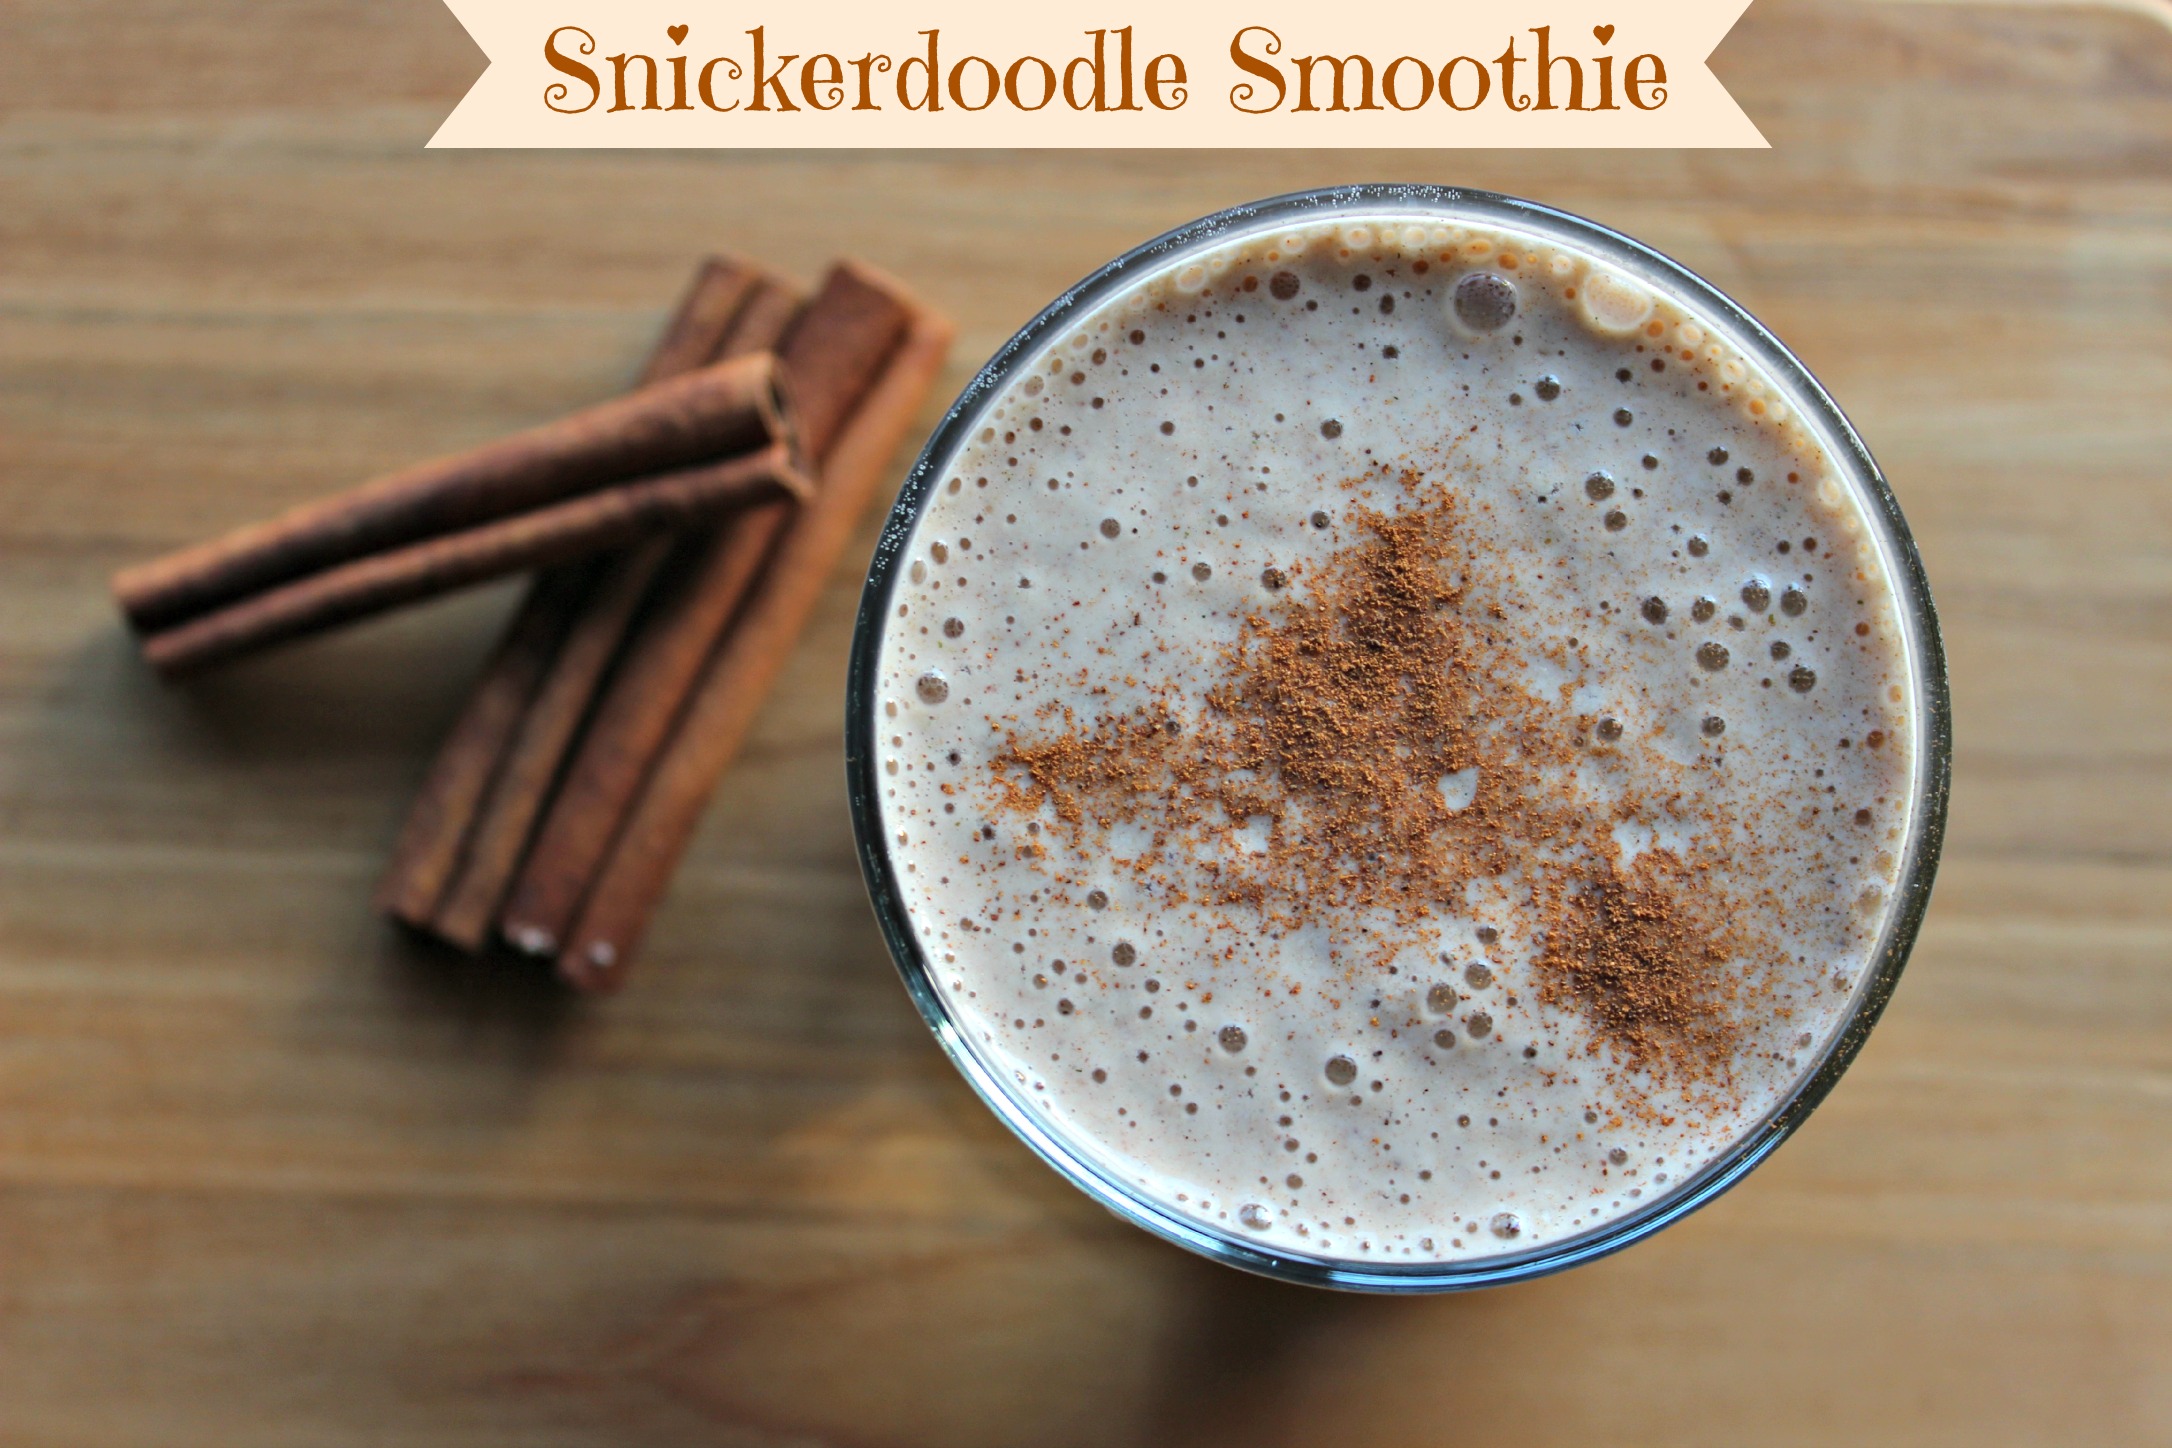
These are some of my favorite smoothie recipes, especially the Ultimate Pumpkin Pie Smoothie, Chocolate-Covered Cherry Smoothie, Caribbean Island Breeze, and this Snickerdoodle Smoothie.

Whip up a smoothie in the morning and put it in a thermos. It should stay cold for about four hours.

smoothie bannerIMG_6864

You can also find lots of free smoothie recipes here at Simple Green Smoothies.

Here’s a link to an awesome and FREE downloadable smoothie guide from the Academy for Culinary Nutrition that you can print out and put on your fridge.

I like smoothies, but I don’t drink them every day. Sometimes my body wants something warm or something a bit more savory like a frittata, so I pay attention to my cravings and eat accordingly!

Gluten-Free Grains

Sugary cereals aren’t the only bowl-based option for breakfast. Check out some of my favorite hot and cold cereal recipes below. I serve them with some almond milk or coconut milk. Yum!

PS Oatmeal Banner

Granola Aerial

No-Bake Bites

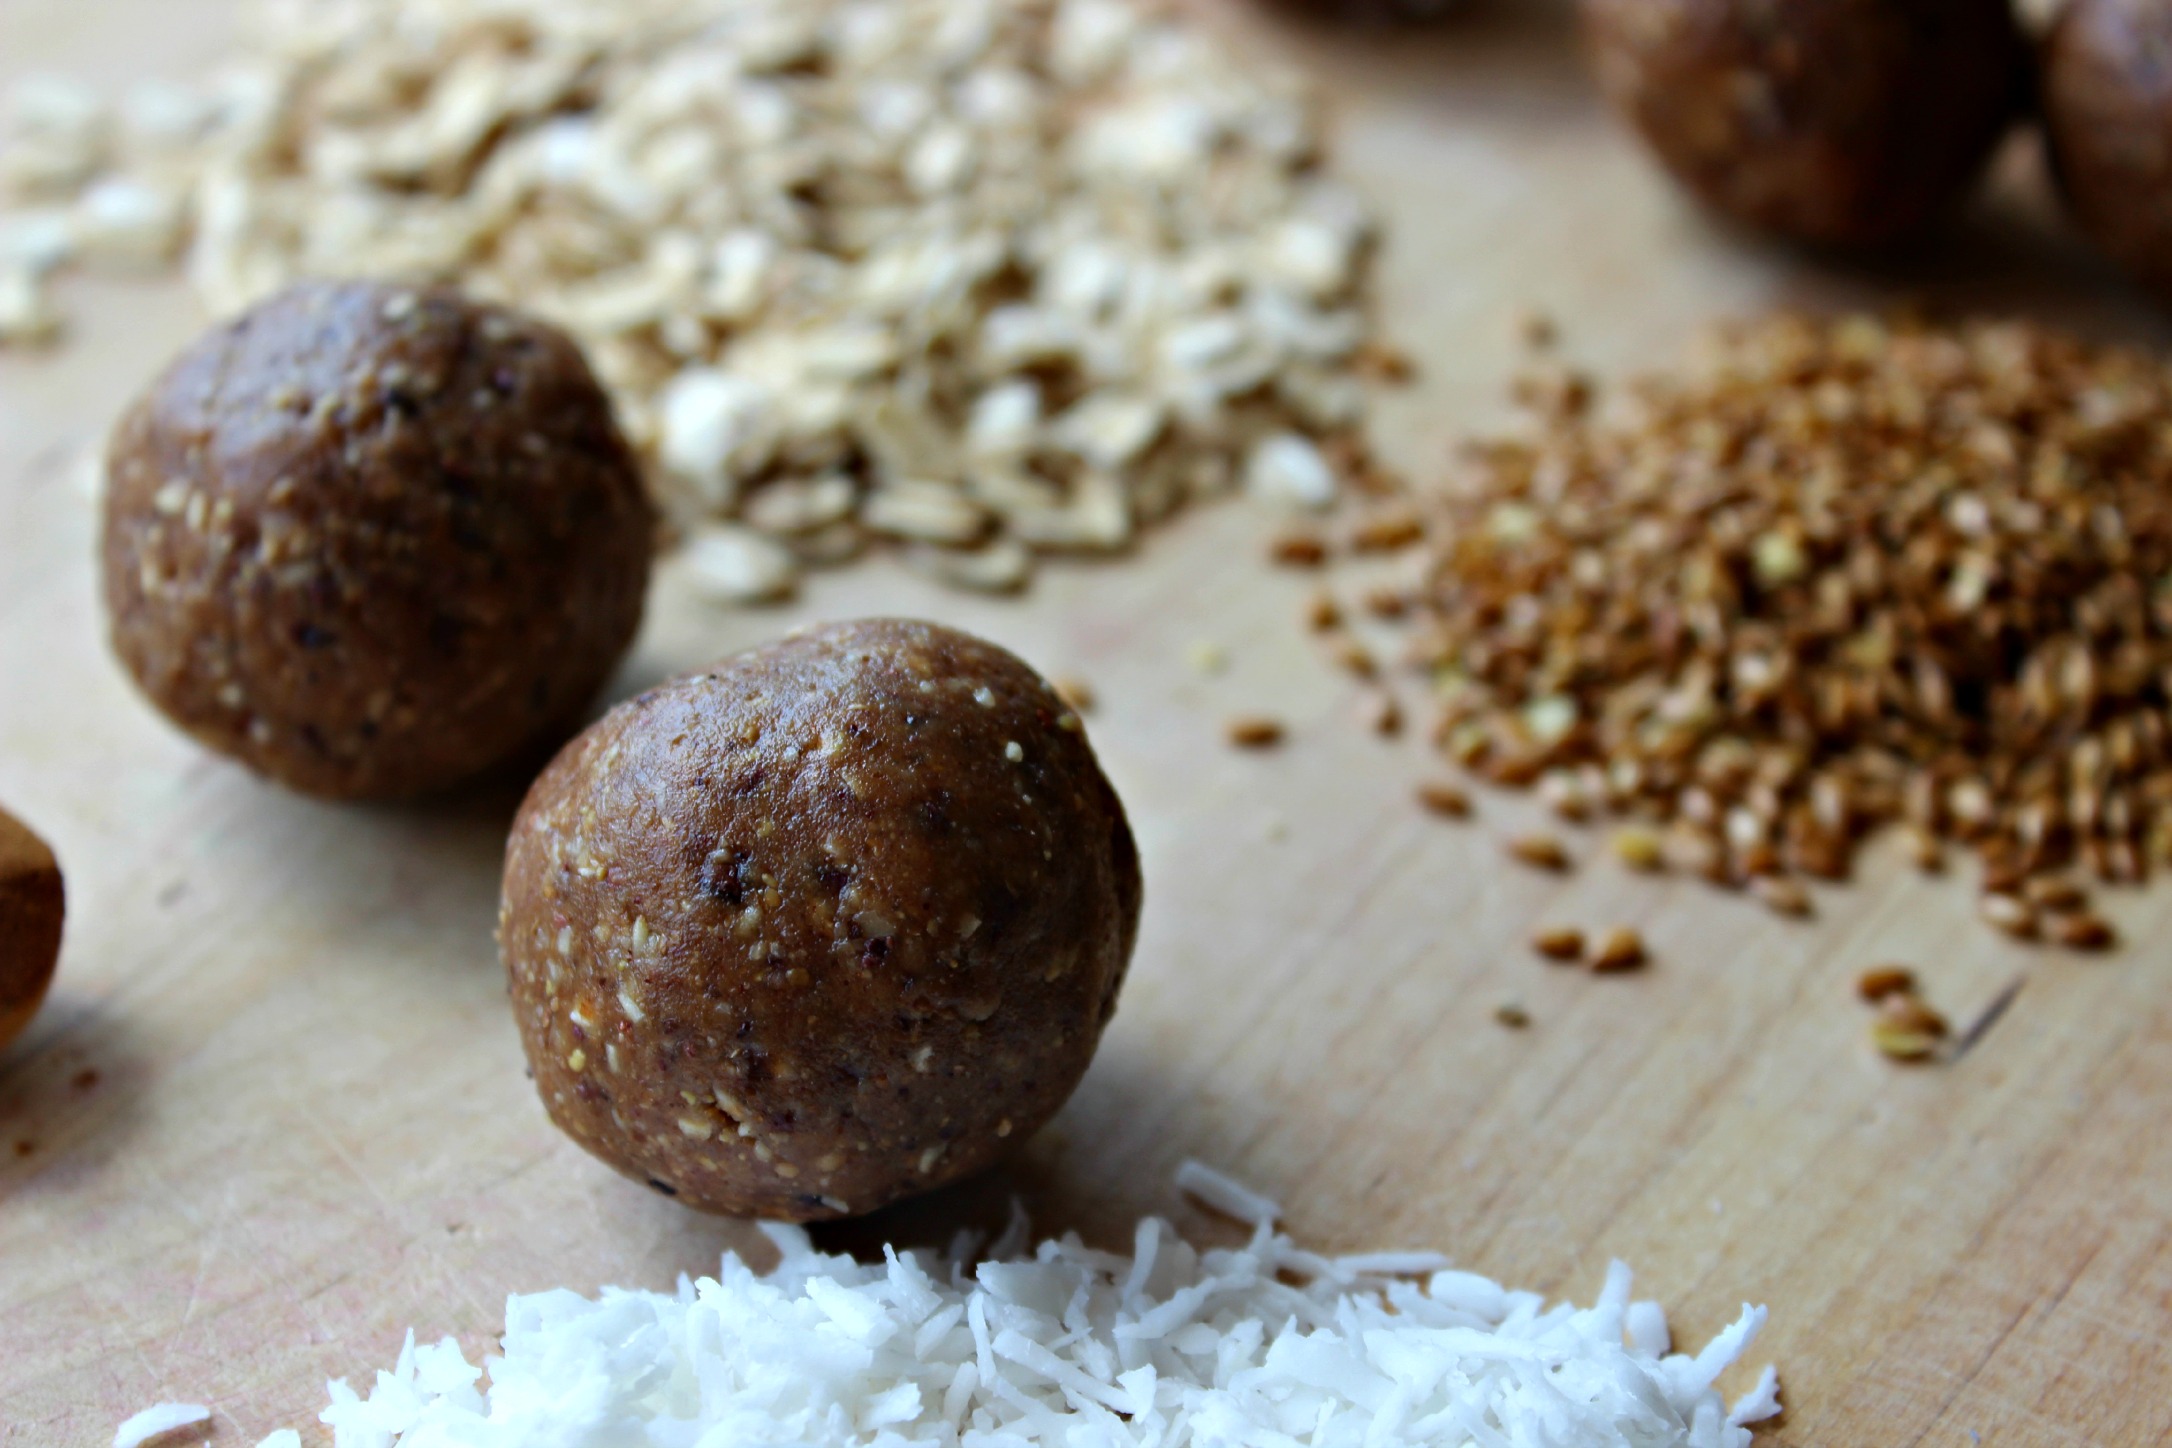
Enjoy these as a side to some fruit and/or veggies or oatmeal. If you make a lighter smoothie based mostly on veggies or fruit without fat, try these as a side to that, too. They also make a great snack!

coconut chai biteslacto cookies

Egg-Based Dishes

For more savory options, the dishes below are some of my absolute favorites. As the weather gets cooler, my body tends to crave these warmer, veggie-packed, nutrient-dense meals.

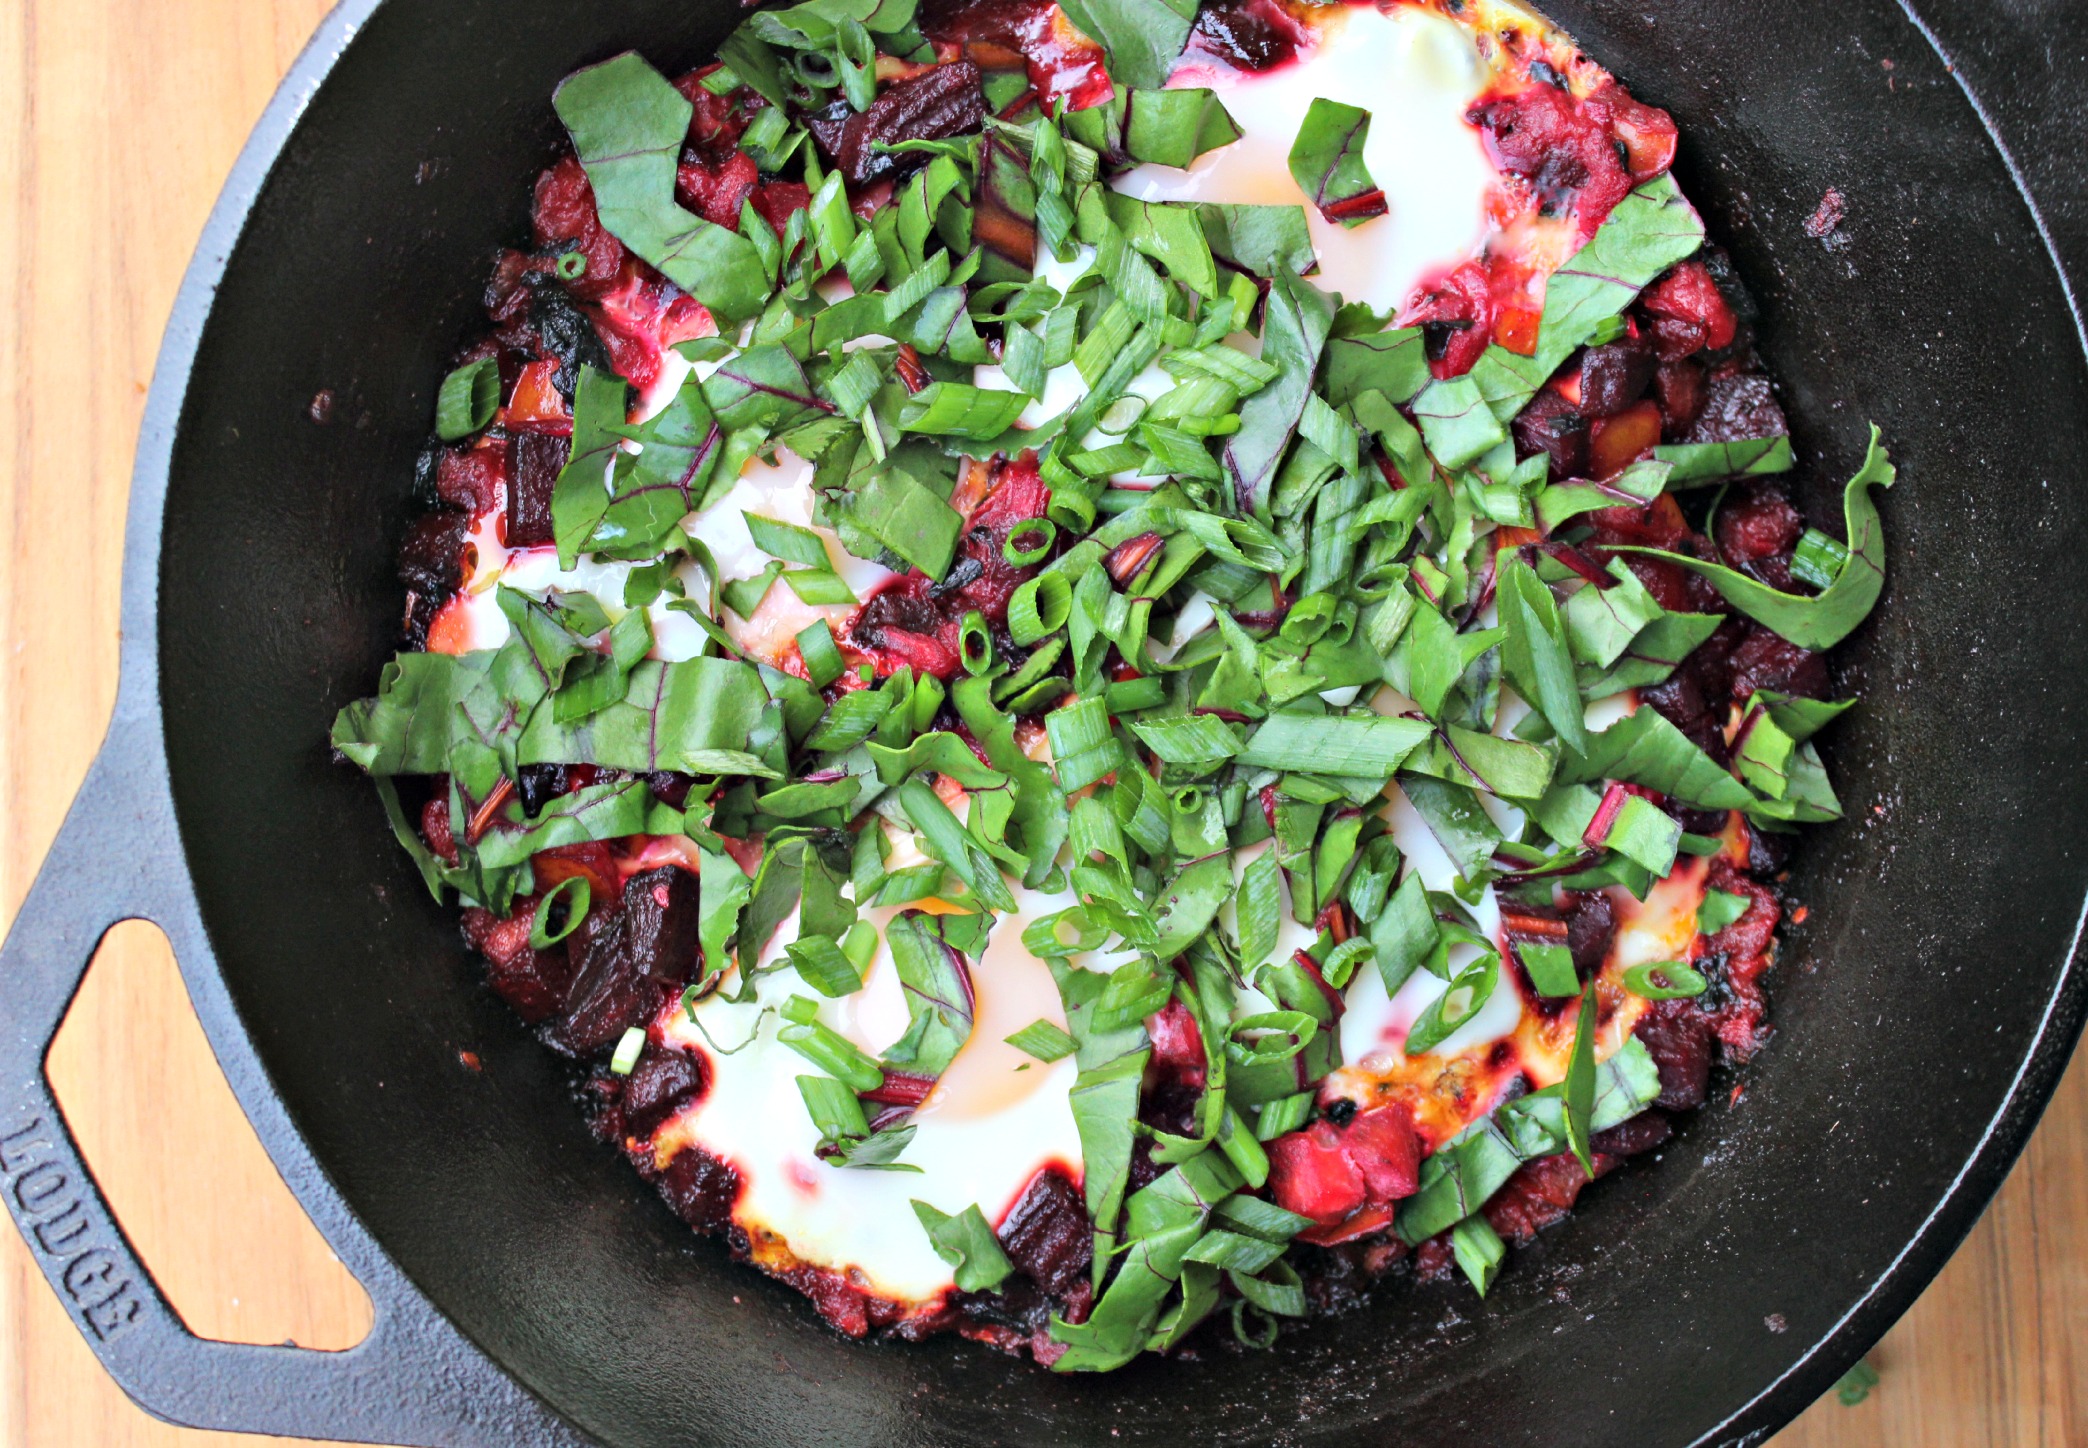
Beet Shakshuka Recipe from Two Moms in the Raw cookbookMexican Black Bean Scramble

Leftovers

Who says breakfast has to be a boring bowl of cereal? Have some leftovers from the night before? Heat them up for breakfast!

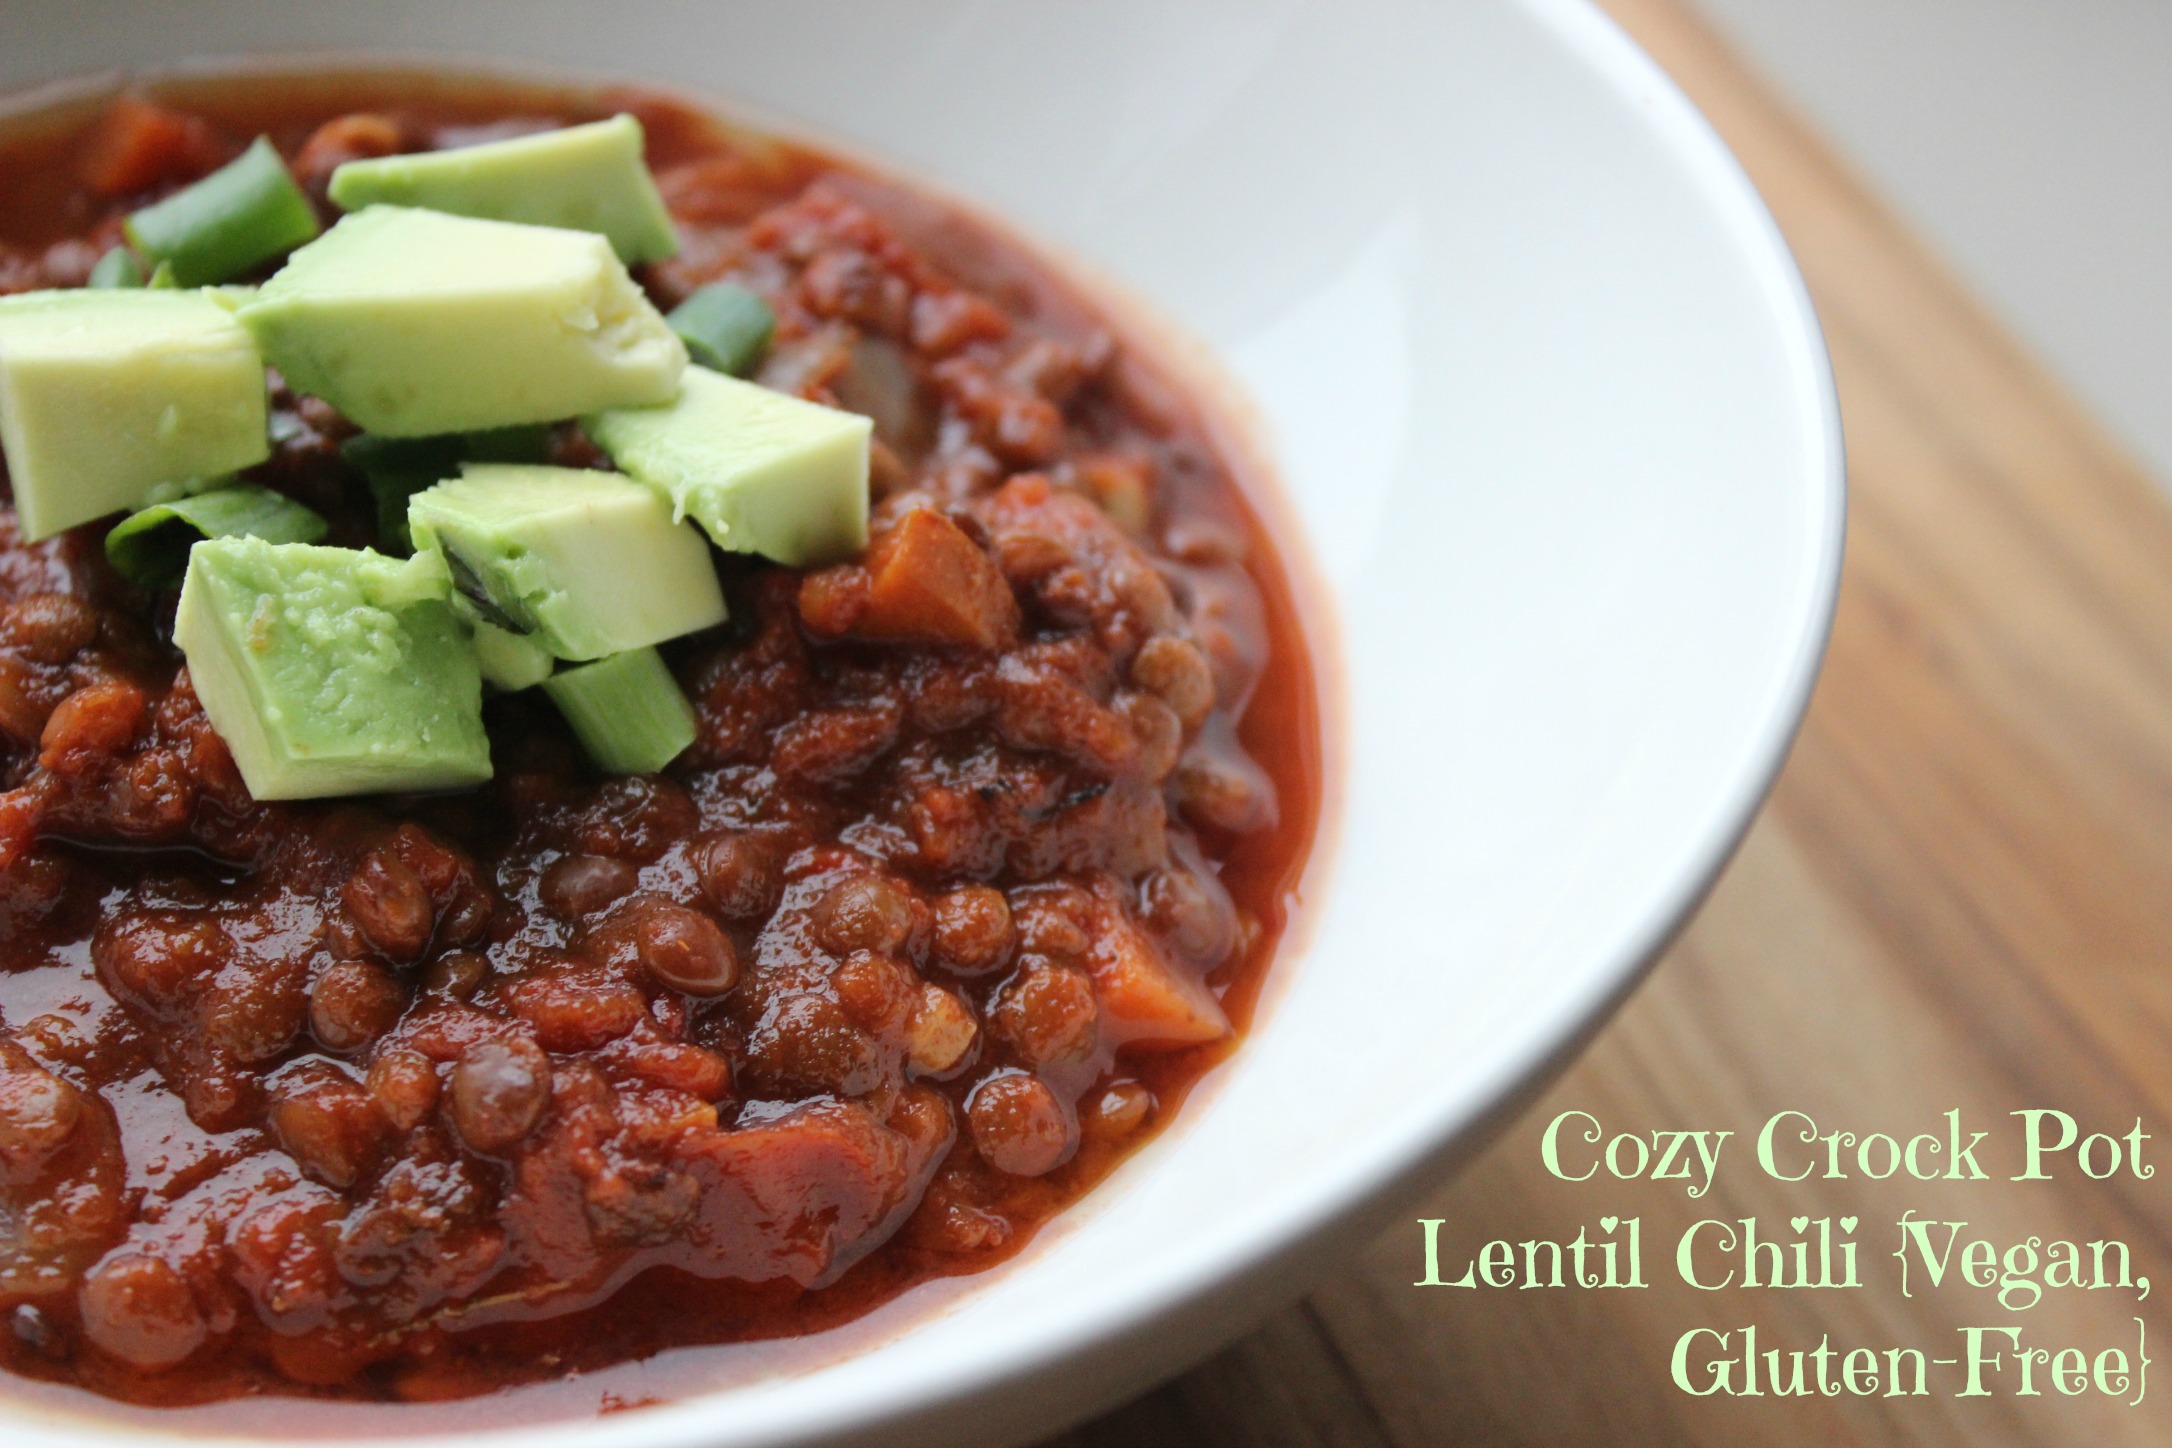
currycrock pot chili

Curry-Lime Chickpea & Protein-Packed Pasta {Gluten-Free}

After getting back from a long weekend away for Thanksgiving and my sister-in-law’s wedding (which was SO fun!), we hadn’t thought much about what we’d be eating for dinner this week.

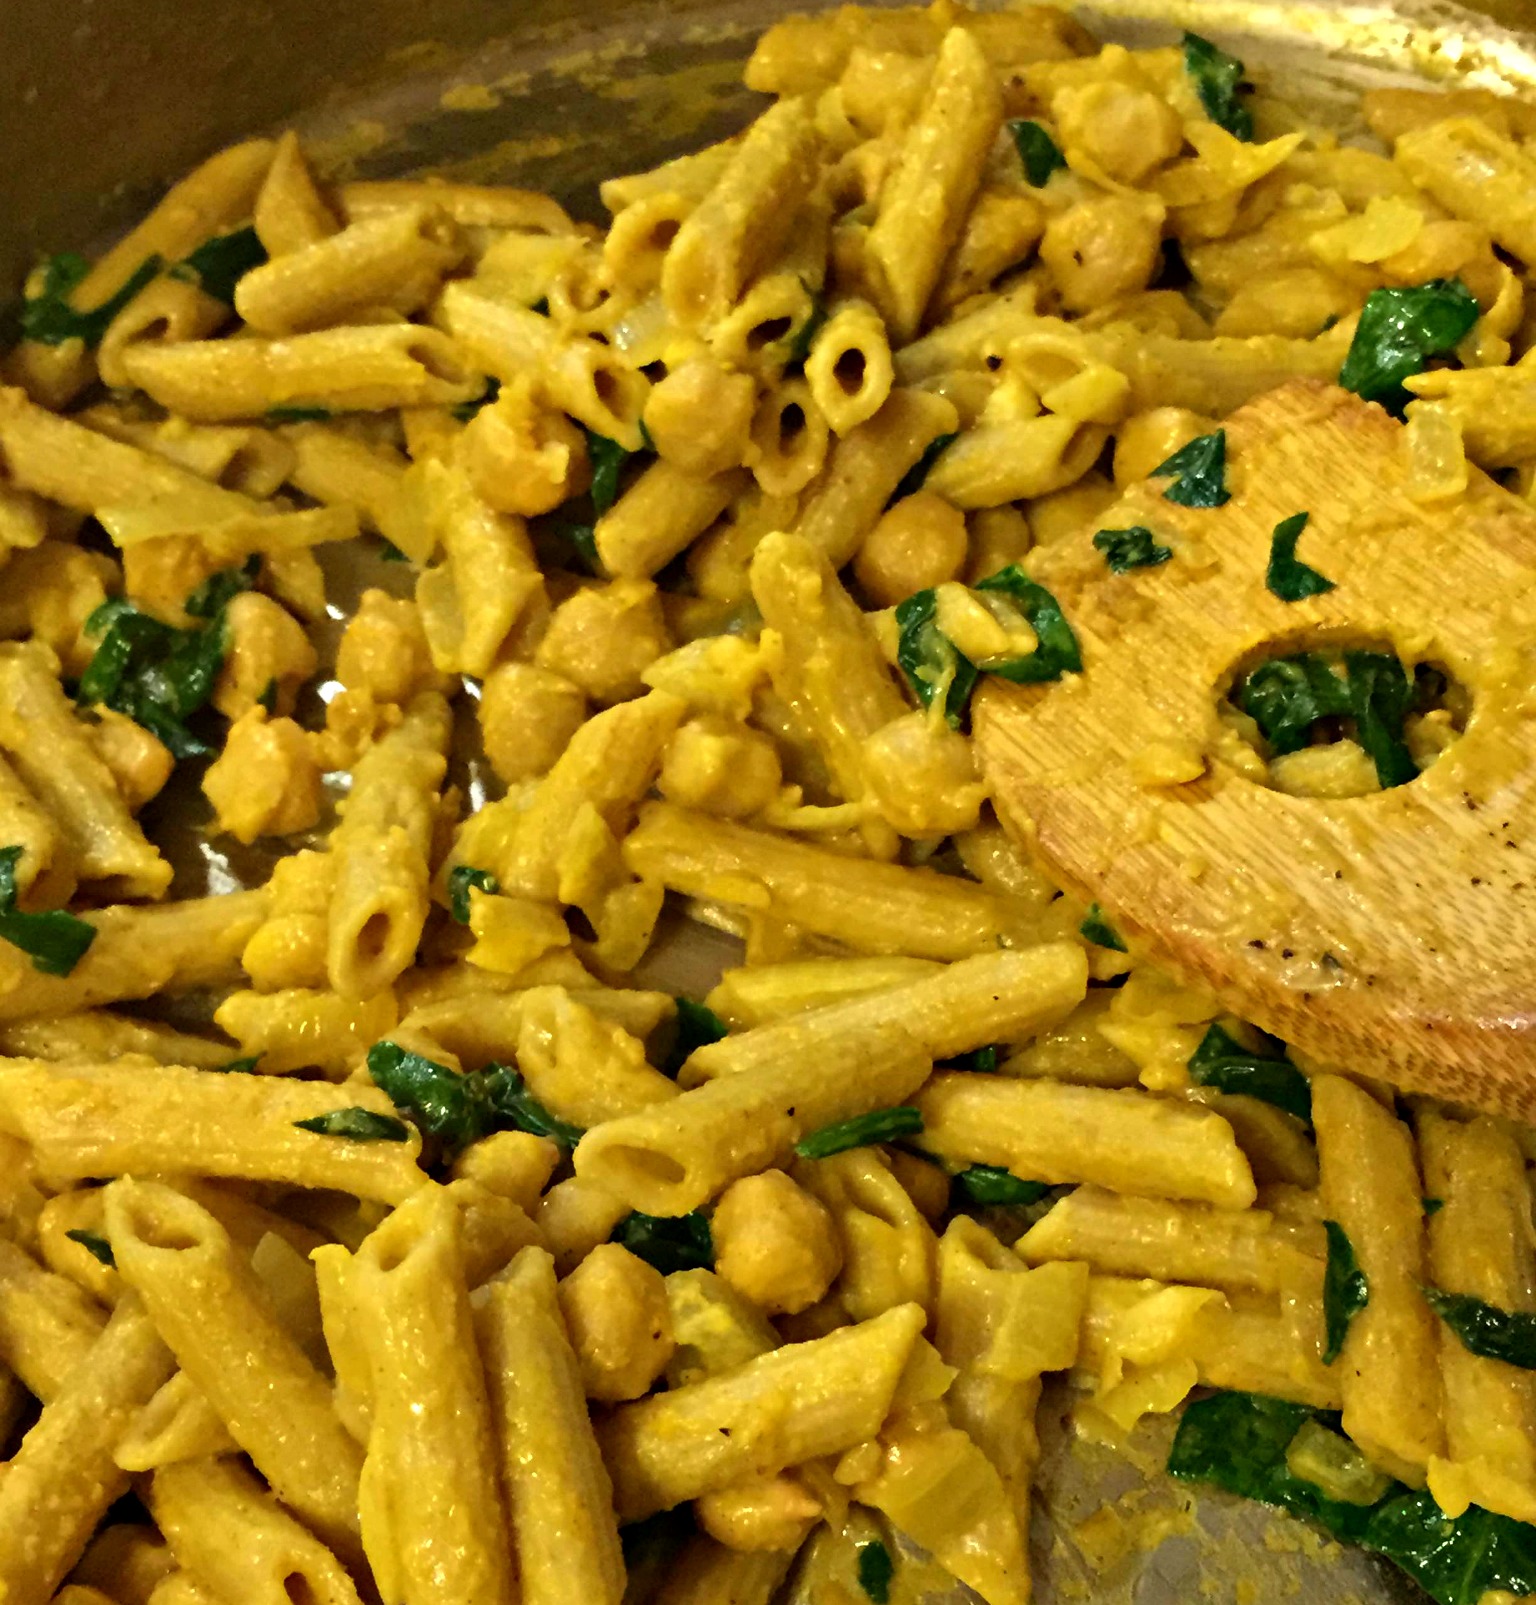
So, when I got home from work tonight, I checked the pantry and fridge and used a few thingsĀ we had on hand to whip up this recipe. That’s the value of having a well stocked pantry – even when you have no time and no plans, you can create a delicious dish pretty quickly without making aĀ trip to the store.

This mealĀ came together in about 20 minutes and was filling, delicious and nourishing (the trifecta of food awesomeness!). It showcases GBOMBS – some of theĀ most anti-inflammatory, disease-fighting, immune-boosting, health-promoting foods we can eat!

If you’re not eating pasta because of the gluten or refined flours, keep reading! I have a solution for you šŸ™‚

Meet, Tolerant Foods pasta.

Tolerant Green Pasta

I first tried their pasta last fall at the Natural Products Expo East in Baltimore. At the time, the only pasta I ate was brown rice pasta (ingredients = brown rice + water), but I was curious to try Tolerant’s pasta because it was made from one ingredient.

Beans.

Or, in this case, lentils.

We had tried the black bean variety and the red lentil version, but this year I was introduced to the latest and greatest addition – green lentil pasta.

Here’sĀ why this pasta is so awesome.

Unlike regular highly processed pasta that’s usually made from enriched flours that can send our blood sugar (and energy levels and weight) on a roller coaster, Tolerant’s pasta is PACKED with satiating protein and fill-you-up fiber.Ā 

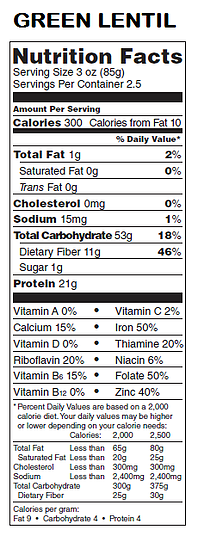
Just over 1/3 of a box of the green lentil pasta has a whopping 21 grams of protein and 11 grams of fiber. It’s also full of energizing B-vitamins, iron and zinc. It’s alsoĀ made with non-GMO, organic ingredients.

Green lentil label

What’s not to like??

The pastaĀ cooks up in 8 minutes, making it a great option for a quick dinner. And because of its pale green color, it looks more like pasta than the red lentil or black bean pasta, so it would be an easier sell with kiddos or bean-based pasta skeptics.

It’s sold at a higher price point than a box of Barilla, but I focus more on nutrients/dollar than calories/dollar, so it’s worth it to me.

MOMs and Whole FoodsĀ sell Tolerant pastaĀ (sometimes on sale!), but you can also buy their stuffĀ online at Vitacost orĀ Amazon. Check out this link to use the store locator to find where Tolerant sells their productsĀ near you.

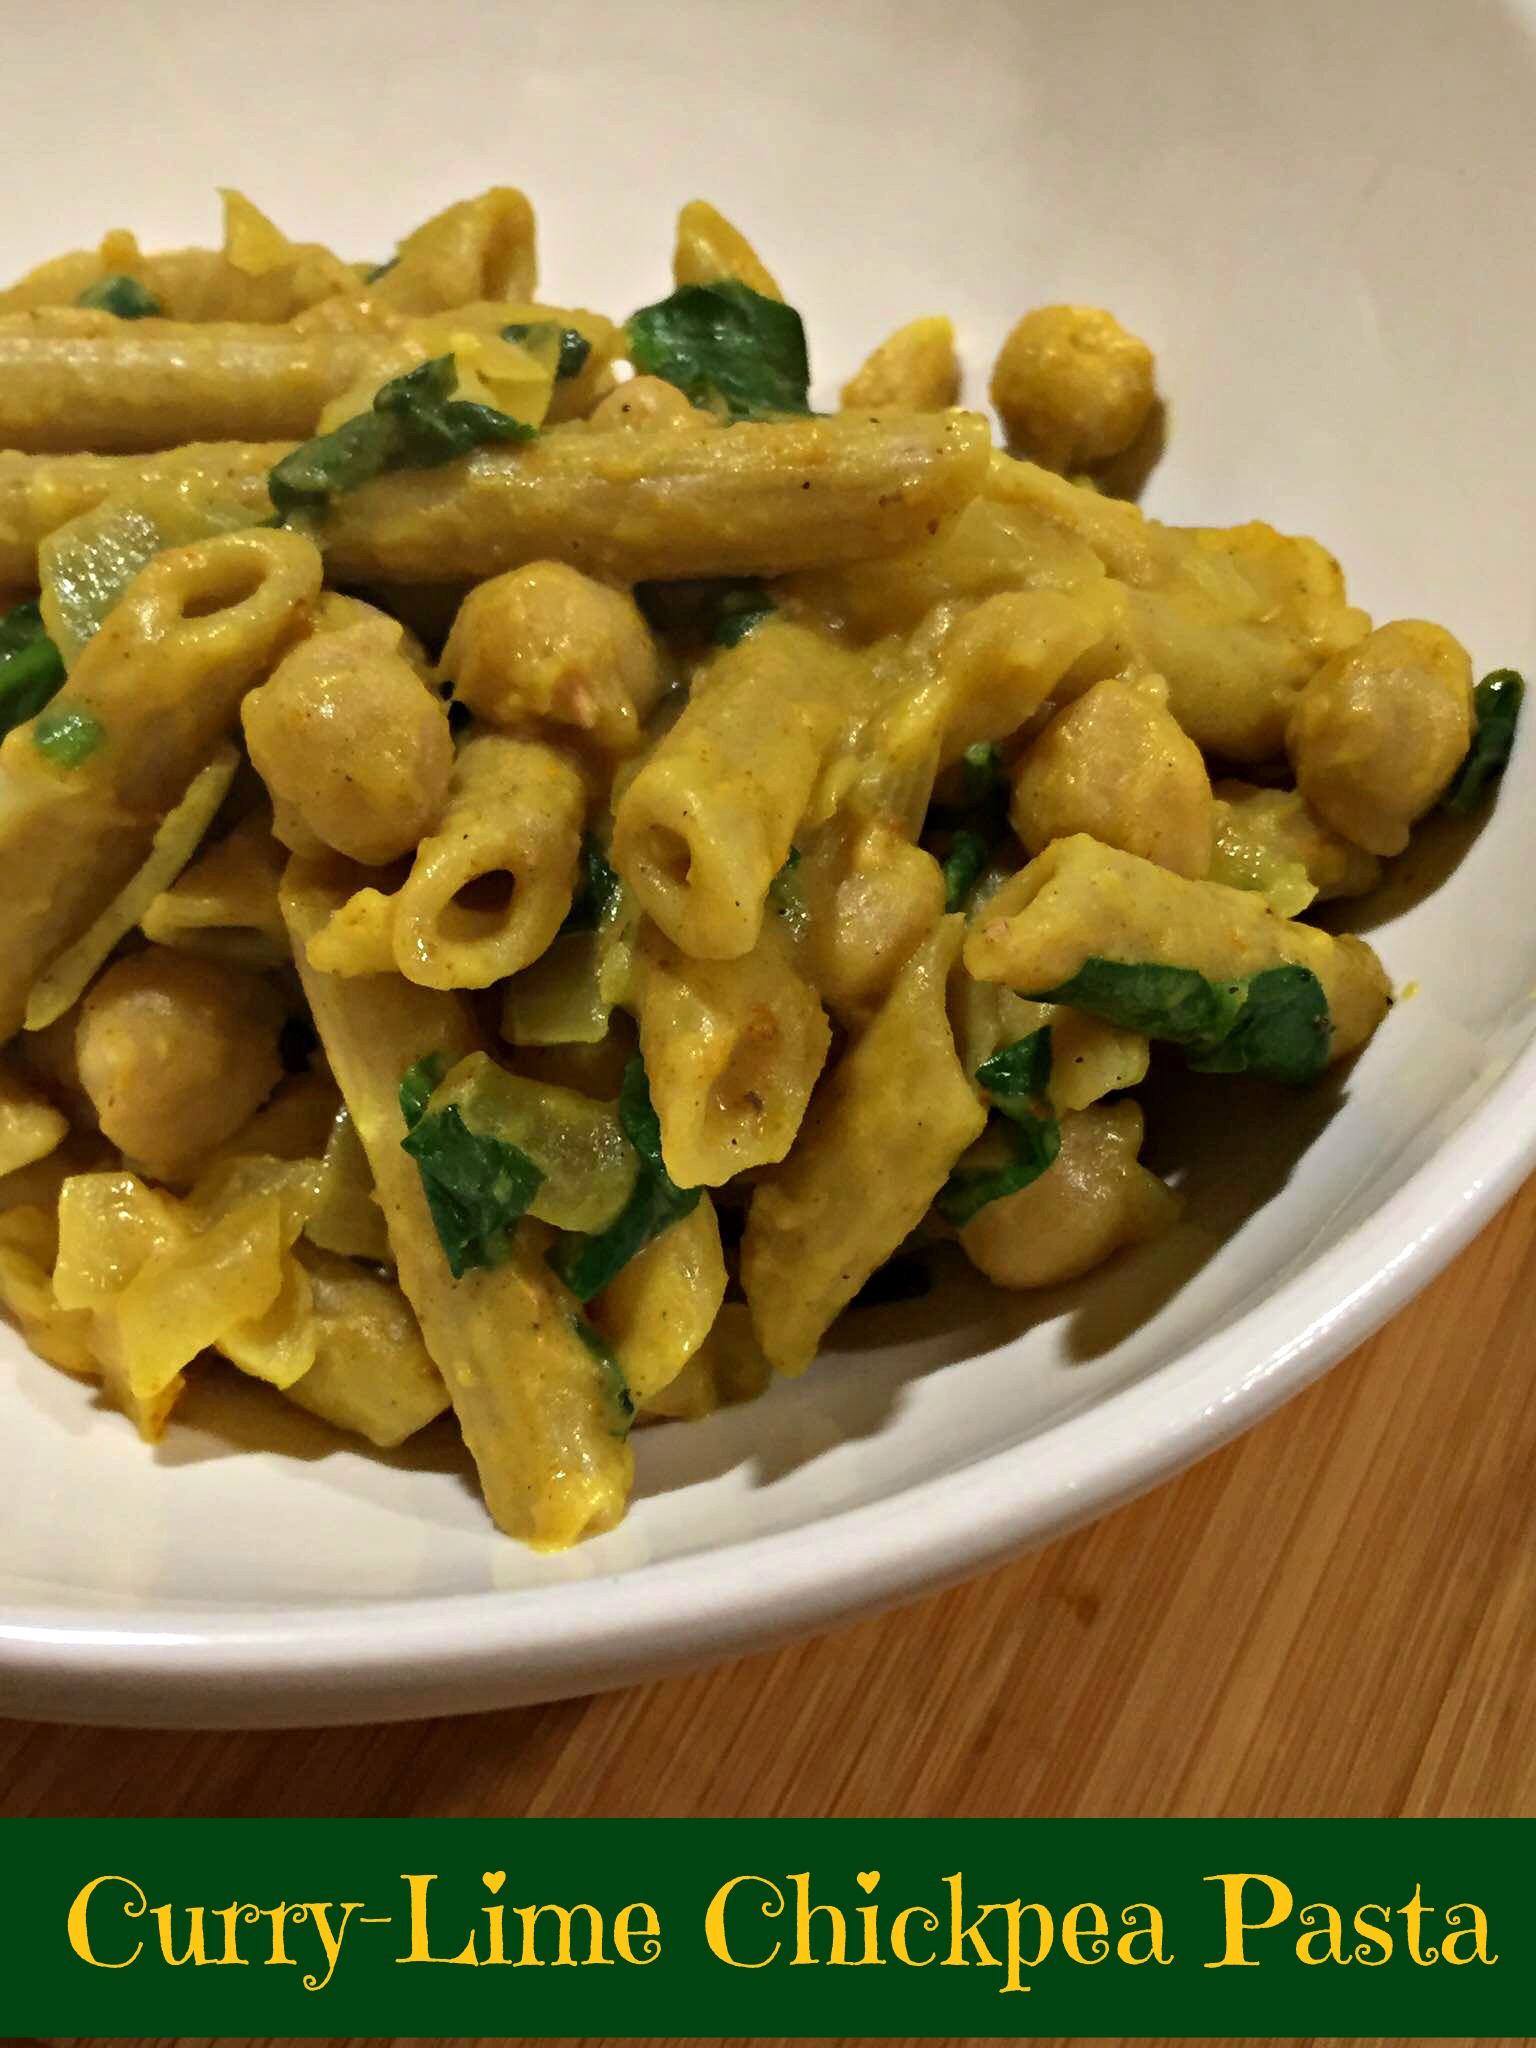
Then, make this recipe šŸ™‚ (And don’t mind the less than stellar pics taken from my iPhone without daylight!)

Curry Lime Chickpea PastaChickpea Pasta Pan

Ingredients

  • 1 tablespoon ghee (clarified butter) orĀ coconut oil
  • 1 8-ounce box Tolerant pasta (or other gluten-free or bean-based pasta)
  • 1 medium onion, diced
  • 3 cloves garlic, minced
  • 1 tablespoonĀ fresh ginger root, peeled and minced
  • 2 teaspoons curry powder
  • 1 15-ounce can chickpeas, no salt added, drained and rinsed
  • 1 cup full fat coconut milk
  • 4 cups fresh baby spinach, chopped
  • 1 1/2 tablespoons fresh lime juice
  • Coarse sea salt and pepper to taste

Directions

  1. Cook pasta according to package directions. Set aside 1/3 cup pasta water. Strain pasta and leave in strainer.
  2. Heat ghee or oil in large skillet over medium-high heat.
  3. Add onions and saute 5-7 minutes or until they start to soften. Add ginger, garlic, and curry powder and saute another minute or so. Add pasta water and stir to loosen up anything stuck to the pan.
  4. Add chickpeas, coconut milk and pasta and reduce heat to medium. Stir to combine. Add spinach and toss until coated and slightly wilted. Add lime juice and stir to combine.

I added some sea salt throughout, probably about 1/2 teaspoon total. How do you know when you have enough? If your foodĀ tastes flat or bland, add a little salt at a time to increase the flavor. The acidity from the lime juice, fat from the coconut milk, and spice in the curry powder give this dish a lot of flavor, so just add salt to your liking šŸ™‚

Pumpkin Cheesecake Squares {Paleo, Vegan}

As we’ve been gearing up for Thanksgiving and experimenting with different dishes, I’ve been trying some new desserts.

Inspired by the textures of Meghan Telpner’s Rawmazing Key Lime Pie, I thought I’d infuse the flavors of fall into a melt-in-your-mouth, coat-your-tongue, creamy, no-bake cheesecake.

And I wanted an excuse toĀ use pumpkin.

Pumpkin

Because I love pumpkin.

All things pumpkin.

Especially when it’s mixed with sweet maple syrup, creamy cashews, and warming cinnamon and ginger.

It’s my new go-to for a Thanksgiving dessert.

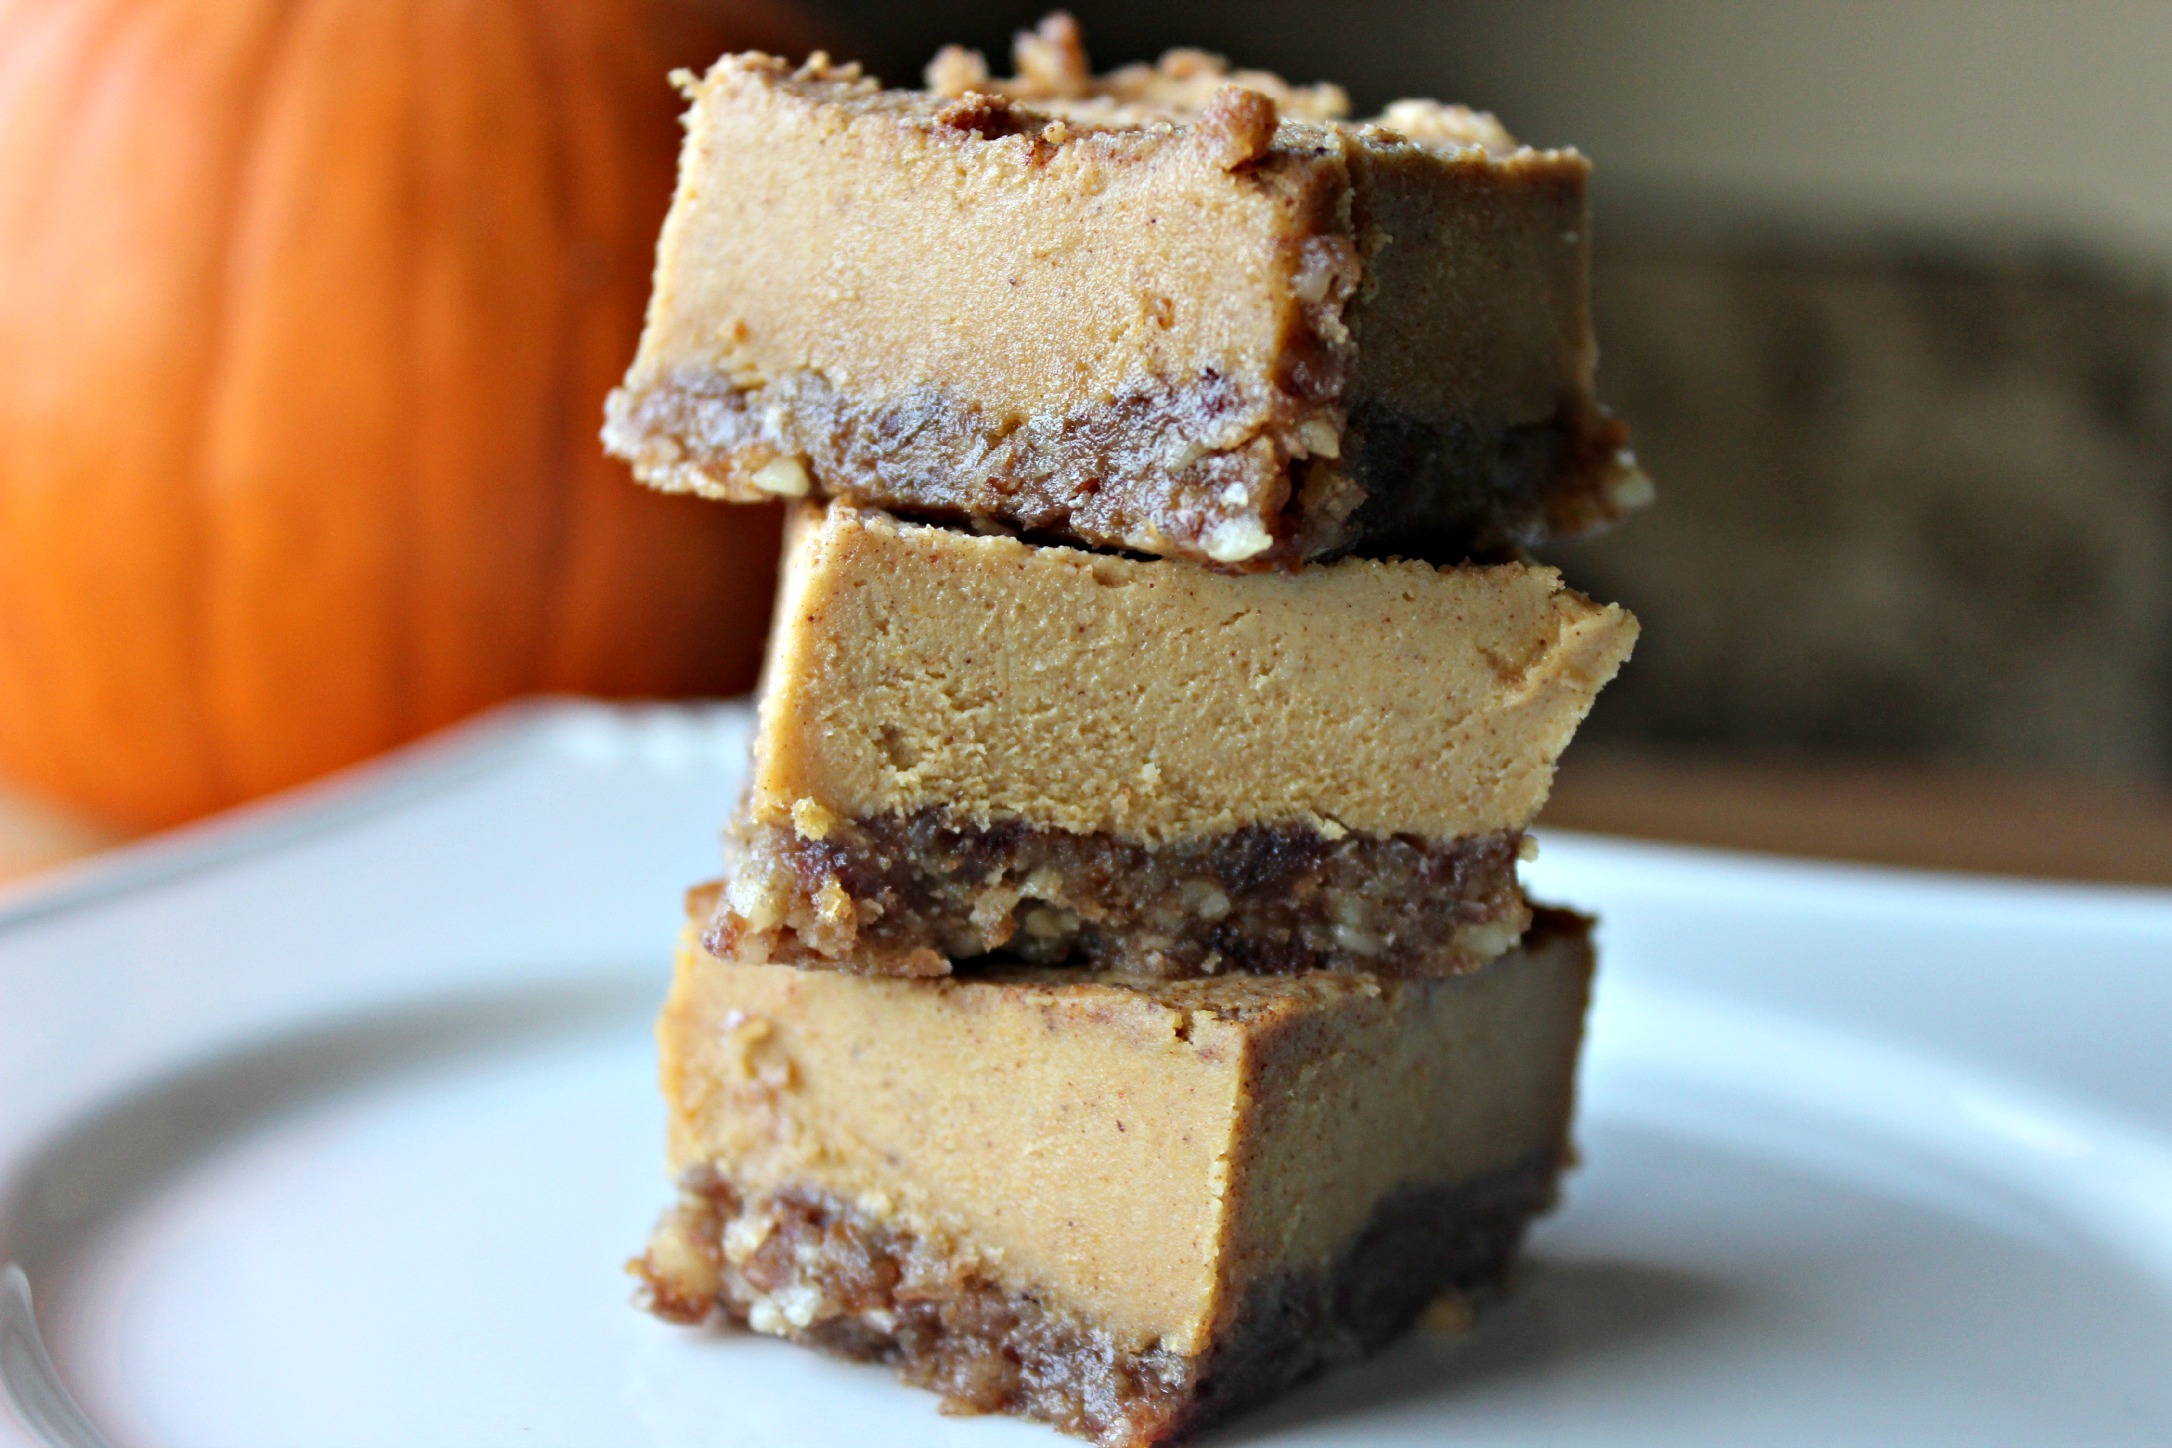
Cheesecake StackPSquare Closeup

Pumpkin Cheesecake Squares.

I’m going to keep it short and sweet here today because this recipe is that good, but all you need to know is it’s easy to make, doesn’t require baking, and is so addictive you’ll want to eat multiple squares at a time.

The creaminess comes from the raw cashews (don’t knock it ’til you’ve tried it), and the slight hint of tartness we’d usually get from cheese comes from a spoonful of lemon juice.

Happy Thanksgiving!

cheesecake banner

Ingredients

Base

  • 1 cup raw pecans
  • 1/2 cup raw walnuts
  • 1 cup Medjool dates, pitted (make sure they’re soft)
  • 1 tablespoon coconut oil, melted
  • 1/4 teaspoon cinnamon
  • Pinch fine grain sea salt

Filling

  • 2 cups raw cashews, soaked in water 2-4 hours then drained and rinsed
  • 3/4 cup pumpkin puree
  • 1/2 cup pure maple syrup
  • 1/3 cup coconut oil, melted
  • 1 tablespoon lemon juice
  • 2 teaspoons ground cinnamon
  • 1 teaspoon ground ginger
  • 1/4 teaspoon ground nutmeg
  • 1/8 teaspoon ground clove
  • 1 1/2 teaspoons vanilla extract

Directions

  1. Put all the crust ingredients into a food processor, and process until the ingredients stick together. Stop and scrape down the sides as needed. Press the crust mixture into the bottom of a square baking dish.
  2. PutĀ all filling ingredients inĀ your blender or food processor (high-speed blenders like a Vitamix or Blendtec work best) and blendĀ until smooth and creamy. You may have to stop to scrape down the sides. I had to use the tamper for my Vitamix to get it to be smooth and creamy.
  3. Pour the filling evenly over the base and smooth with a spatula. Cover the dish and place itĀ in the freezer to set forĀ 4-6 hours.
  4. Let the dishĀ sit at room temperature for 10-15 minutes and then cut into squares. I sprinkled a thin layer of cinnamon on top before serving.

Two Soups for You! {Moroccan Chickpea & Curried Butternut}

It’s the perfect time of year for a nice big bowl of soup. As the weather cools, my body starts to crave foods like that, so I give it what it wants!

Soup is the ultimate savory comfort food for fall. RememberĀ back to when you wereĀ aĀ kid and your parents gave youĀ a bowl of chicken noodle soup when we were sick? How about a dippable bowl of creamy tomato soup for your crunchy, buttery grilled cheese sandwich?

Foods like these are comfort foods because they giveĀ emotional comfort to us when we eat them.

Today I’m going to share recipes for two soups we recently tried from culinary translator and food as medicine guru, Rebecca Katz.

I recently wrote a post about her cancer-fighting, brain-boosting, longevity-promoting cookbooks and her famous Magic Mineral Broth. If you missed it, check out that post here. You’ll use the mineral broth in both of these soups, which is why we made it in the first place!

Broth

I love the rich flavors ofĀ today’sĀ soups, especially the Moroccan Chickpea and Vegetable Soup. When I lived in Spain in college, I was in the southern town of Granada, so I was just a couple hours north of Morocco.

It was at that time that I first started to get comfortable trying new foods and experimenting with what I put on myĀ plate. It also served as my introduction to Moroccan food.

I can’t say that I was always excited to be more adventurous with food, but the payoff has been incredible! I now enjoy so many different types of food and ethnic cuisines I would have not even thought to tryĀ before that experience.

The second soup uses my favorite fall squash – butternut – and incorporates healingĀ spices like turmeric, ginger, and cumin along withĀ a rich, creamy can of coconut milk.

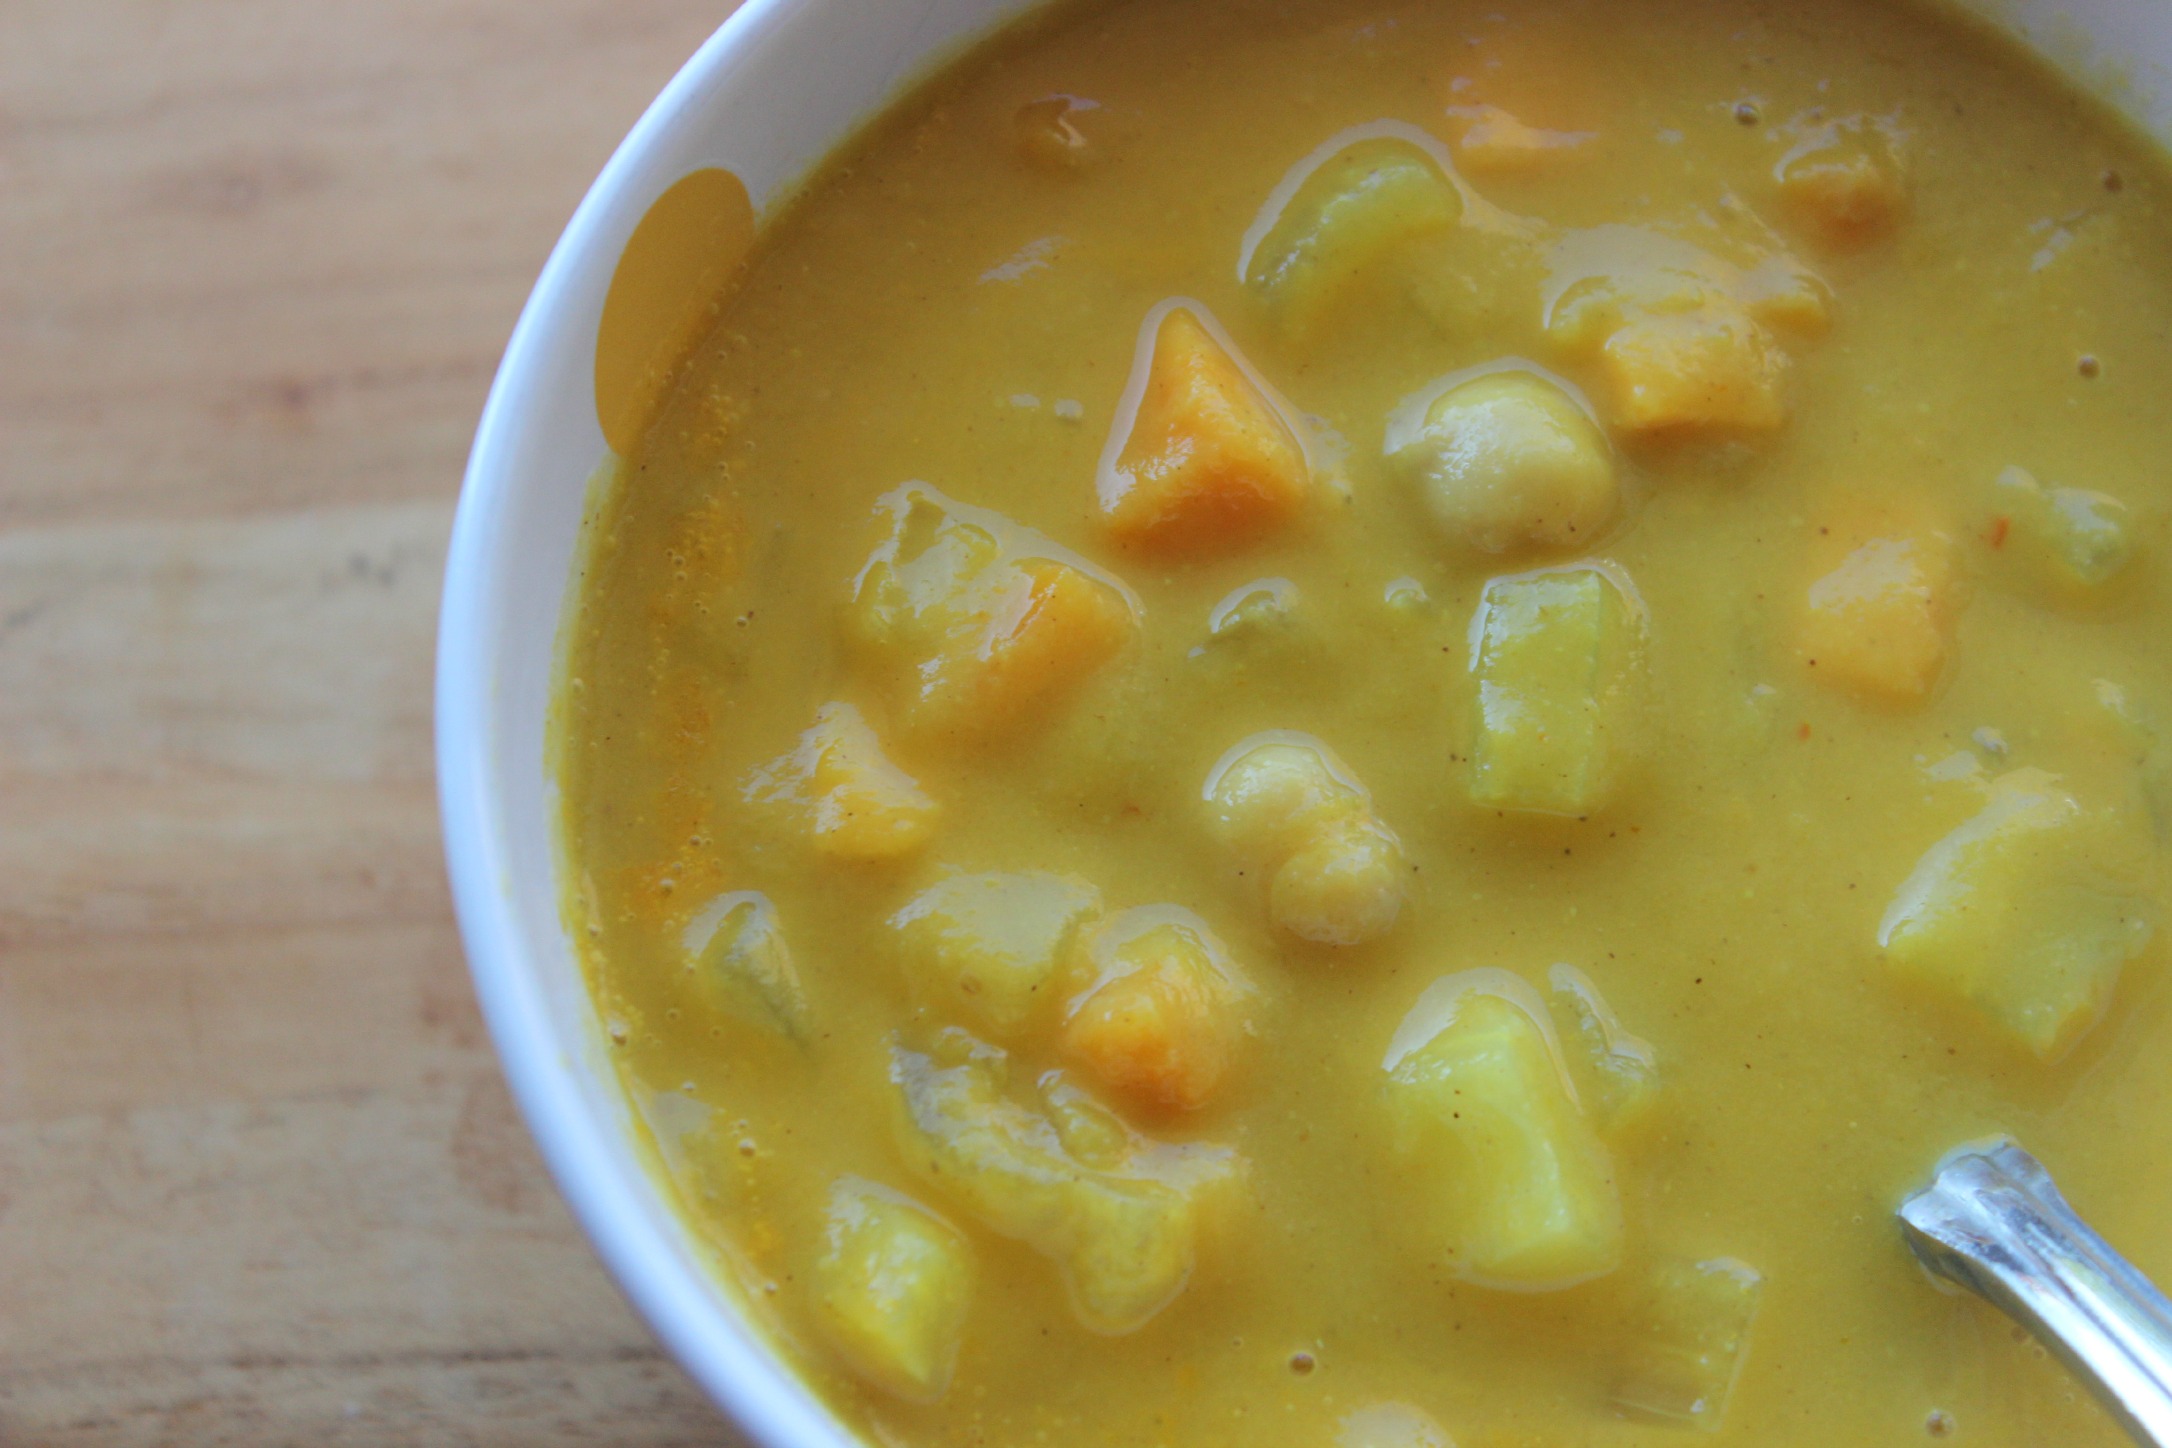
Butternut Squash Closeup

I found itĀ to be a littleĀ thinner than I prefer, butĀ you can always useĀ less broth to start and then add more to thin it out.

If you’re looking for some immune-boosting, heart-warming, soul food for this weekend or upcoming week, try one of these two soups! They are delicious and packed with flavor.

Get the recipeĀ forĀ theĀ Moroccan Chickpea and Vegetable Soup.

Moroccan Chickpea

And the recipe for theĀ Curried Butternut Squash Soup.

BSquash Soup

Warm & Cozy Pumpkin Spice Oatmeal {Gluten-Free}

Sometimes we read books that transform us and the way we think, and once we’ve read them, we’re never the same.

That’s how I feel about a book I recently finished reading, The Slow Down Diet by Marc David.

I’m putting together a separate post about the key takeaways from the book, but as a sneak peek, one of them is to SLOW DOWN and listen to your body.

Sure, it’s not a mind-blowing revelation, and it’s something most of us have been told before, but I’m finally at a point in my life where I’m open enough to hear it.

The other day, after I woke up, I drank a tall glass of water, sipped my cinnamon tea, set up my oil diffuser (like a candle but better!),Ā and didĀ a video session ofĀ Yoga with Adriene.

I’m going throughĀ her 30 Days of YogaĀ series and am LOVING it!

It helps me stay focused and grounded first thing in the morning and brings more oxygen into my mind and body for clearer thinking and a boost toĀ digestion.

After my yoga session, I was ready for breakfast andĀ headed into theĀ kitchen.

I’ve started being more intuitive aboutĀ what I eat. Instead of just gulping down a smoothie on my way out the door, rushing to get to whatever is waiting for me for that day,Ā I’ve been taking more time with eating. I’ve been pausing before making decisions about what to eat and payingĀ attention to what my “gut” isĀ telling me.

So, instead of robotically slamming a smoothie every day (typical time to belly = 60-90 seconds), I’ve gone back to basics and have been enjoying some of my favorite breakfast foods, foods I can chew.

Foods that are warm. Foods that are packed with flavor and texture.

PS Oatmeal

The first image that popped into my mind as I was standing at the door of the fridge that morning was a warm and cozy bowl of oatmeal, perfect for the cooler weatherĀ we’ve been having.

For me, oatmeal isĀ one of the best comfort foods for fall, especially when it’s full of flavors like cinnamon, ginger, clove, and maple.

My favorite oats to use are Bob’s Red Mill Gluten-free Oats.Ā Almost every grocery store sells them. I even got to meet Bob Moore himself at the Natural Products Expo last month.

_20150918_105415

It was super cool!

I’ll be sharing a recipe for Banana Nut Oatmeal in November, but in the meantime, give this pumpkin spice version a try and let me know what you think!

PS Oatmeal Banner PS Oatmeal Closeup

Servings:Ā 3-4

Ingredients

  • 2 1/4 cups water
  • Pinch sea salt
  • 1 cup gluten-free rolled oats (old-fashioned, not quick cooking)
  • 1 tablespoonĀ pumpkin pie spice
  • 3/4Ā cup pumpkin puree
  • 2 tablespoons almond butter
  • 1 teaspoon vanilla extract
  • 1 tablespoon ground flax seed (flax meal)
  • 2 tablespoons 100% pure maple syrup
  • 2 tablespoons chopped pecans, lightly toasted
  • Optional:Ā scoop of unflavored protein powder (I like Vital Proteins collagen peptides)

Directions

  1. Bring water, salt, and oats to a boil in a small saucepan. Reduce heat to a simmer and stir for 5 minutes.
  2. Stir inĀ pumpkin puree, almond butter, vanillaĀ and protein powder and stir. Remove from heat and cover for 5 more minutes.
  3. Stir in ground flax meal and maple syrup.
  4. Pour into serving bowl and top with chopped pecans.

Vegelicious Quiche: Perfect for Brunch (Or Any Meal!)

I’ve always been a fan of breakfast.

As a kid, breakfast was special because it gave me time to read the back and sides of cereal boxes. CerealĀ was my prefered breakfast of choice,Ā soĀ I’ve read hundreds of boxes at this point in my life.

Until my early 20s, I was a pretty picky eater, and I liked plain, simpleĀ foods.

I remember going to brunch every now and then (not something we did regularly!) and seeing that quiche was always one of the dishes served.

I wasn’t a fan. I didn’t like vegetables mixed into things…or touching each other. I liked them on their own, coated with spoonfuls of Kraft Parmesan cheese, thank you very much.

Now that I’m an adult, I’ve expanded my breakfast options beyond a bowl of Cheerios and am much more adventurous aboutĀ how I start my day.

I now LOVE quiches, frittatas, and omelets, and as recently as the past year have come to love both overeasy and sunny-side up eggs. Our friend, Joe, has been known to call the latter “dippy eggs.”

IMG_2528

My culinary nutrition instructor, Meghan Telpner, came out with her first cookbook (The Undiet Cookbook) earlier this month and in it is a recipe for a cool new spin on a breakfast quiche, one that uses a single, inexpensive, simple ingredient as the crust – millet.

If you’re scratching your head wondering what millet is, I’m here to help.

I’m going to bet that everyone reading this has seen it before, even if you’ve never eaten it.


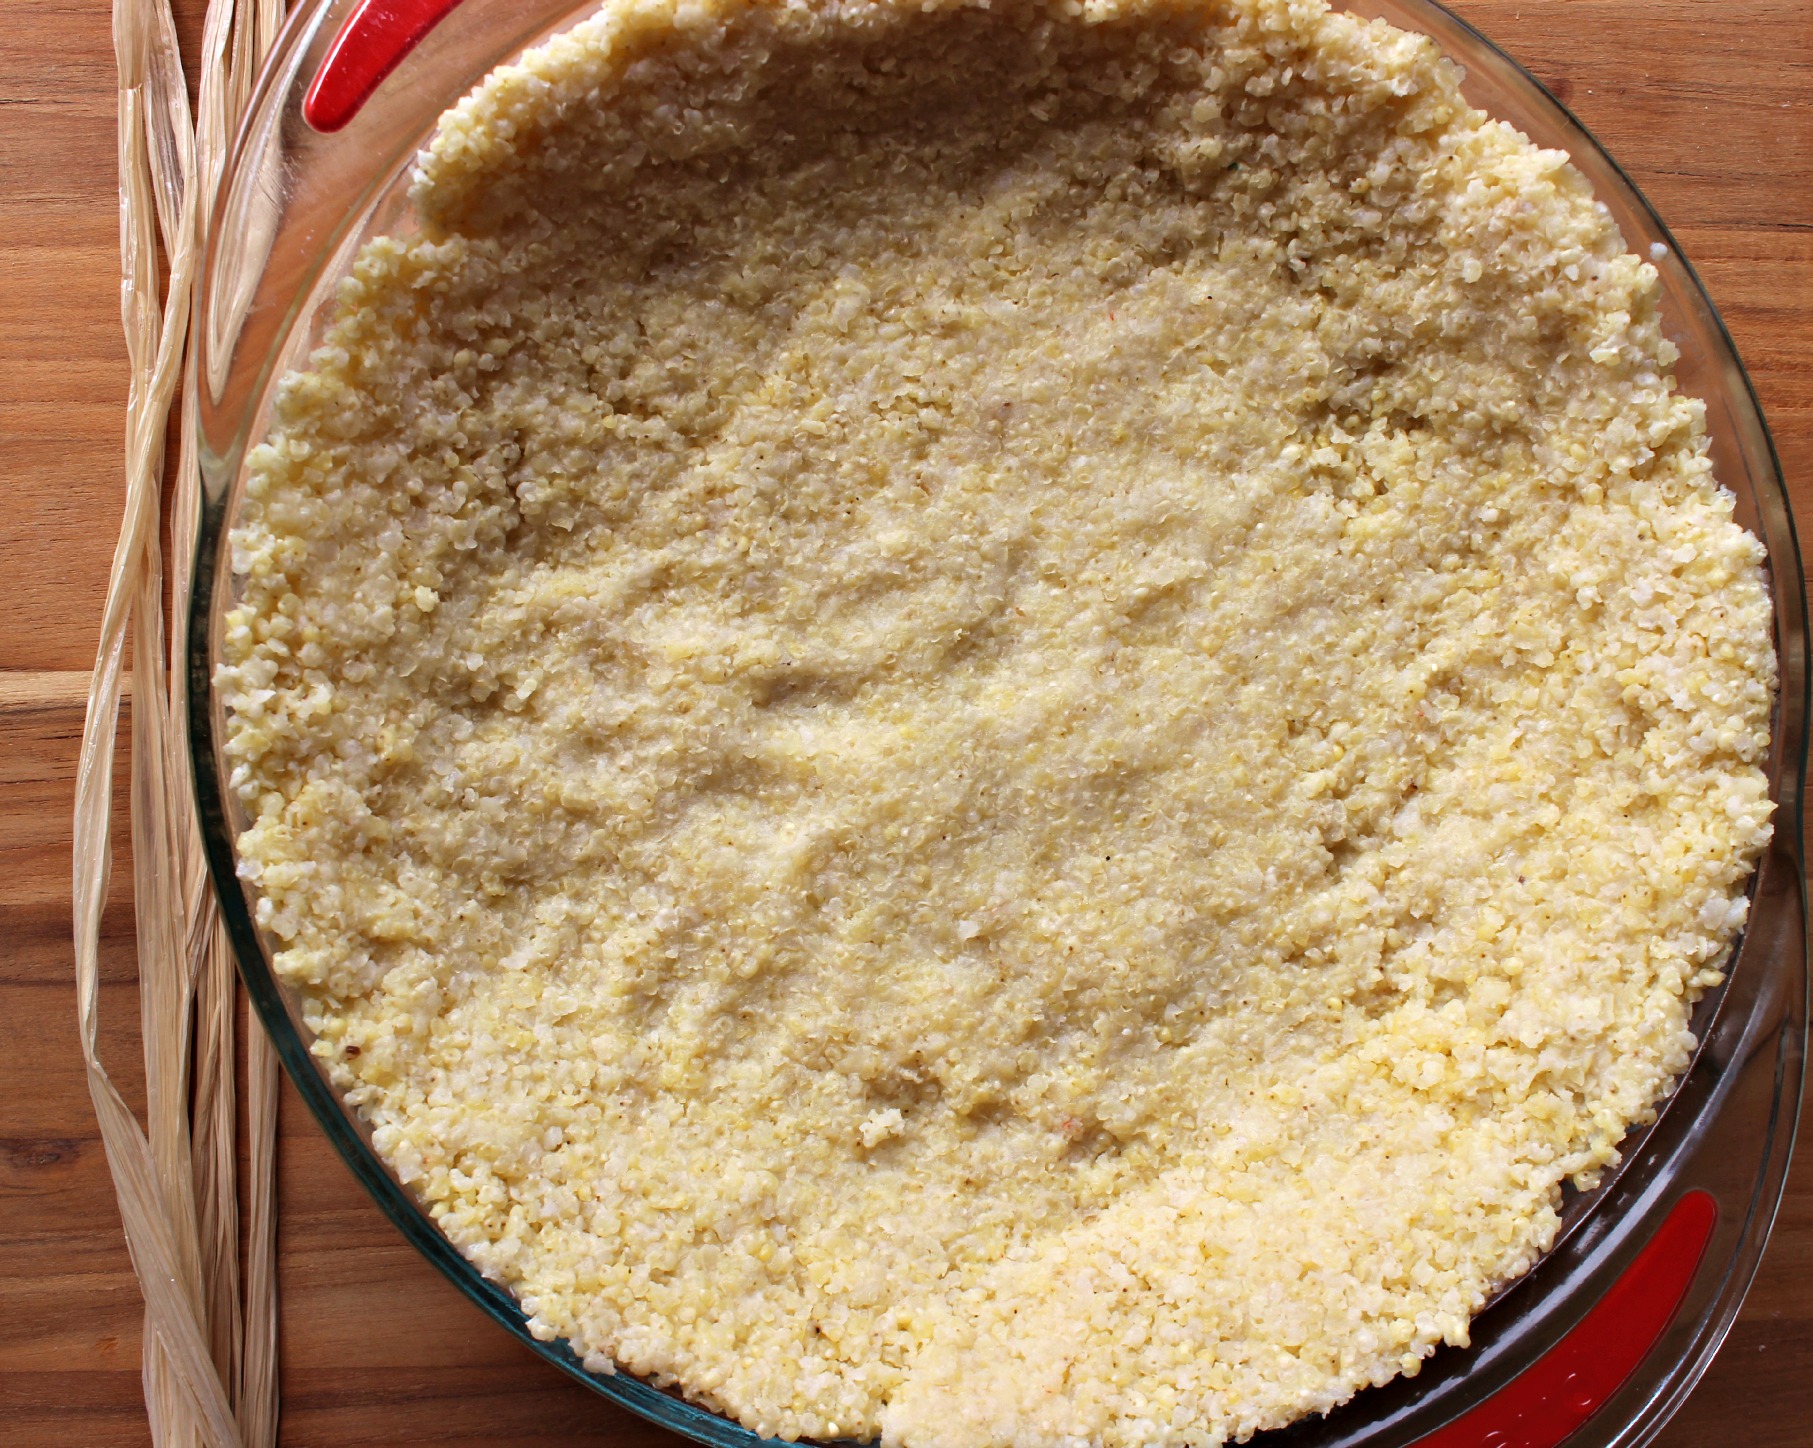
Quiche Millet Crust

It’s one of the main ingredients in…birdseed.

But, fortunately, this ancient gluten-free grainĀ is not just “for the birds” and was cultivated in East Asia as far back as 10,000 years ago!

You can use it in recipes just as you would use couscous, quinoa, or rice, but you can also turn it into a crust, which is what Meghan did for this recipe.

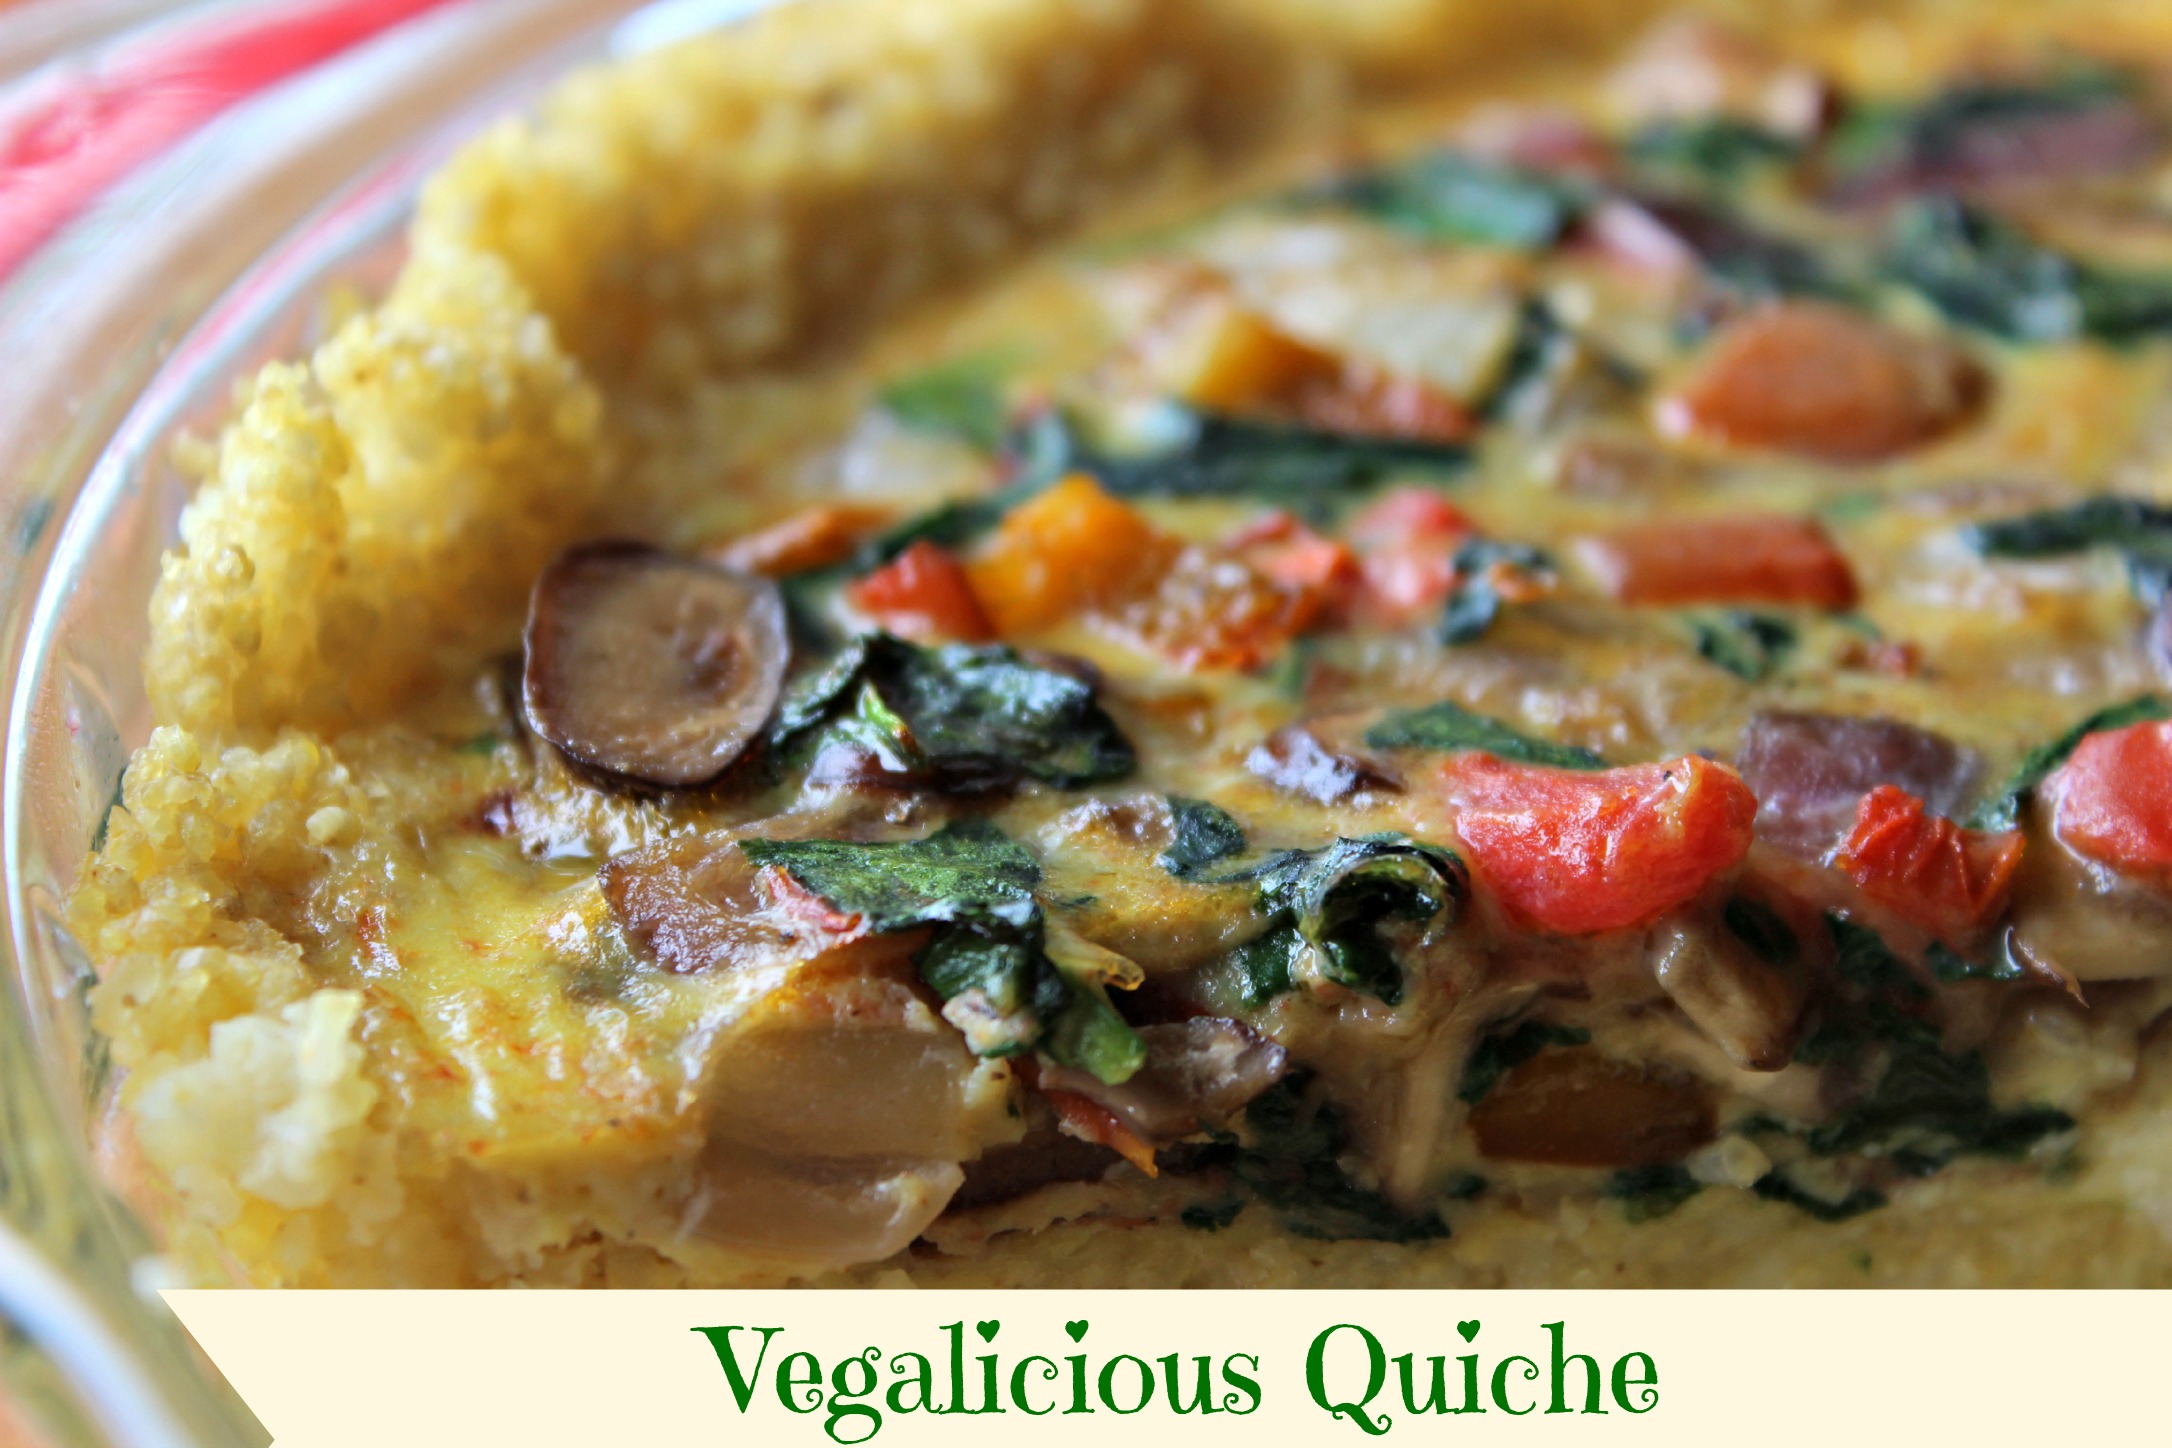
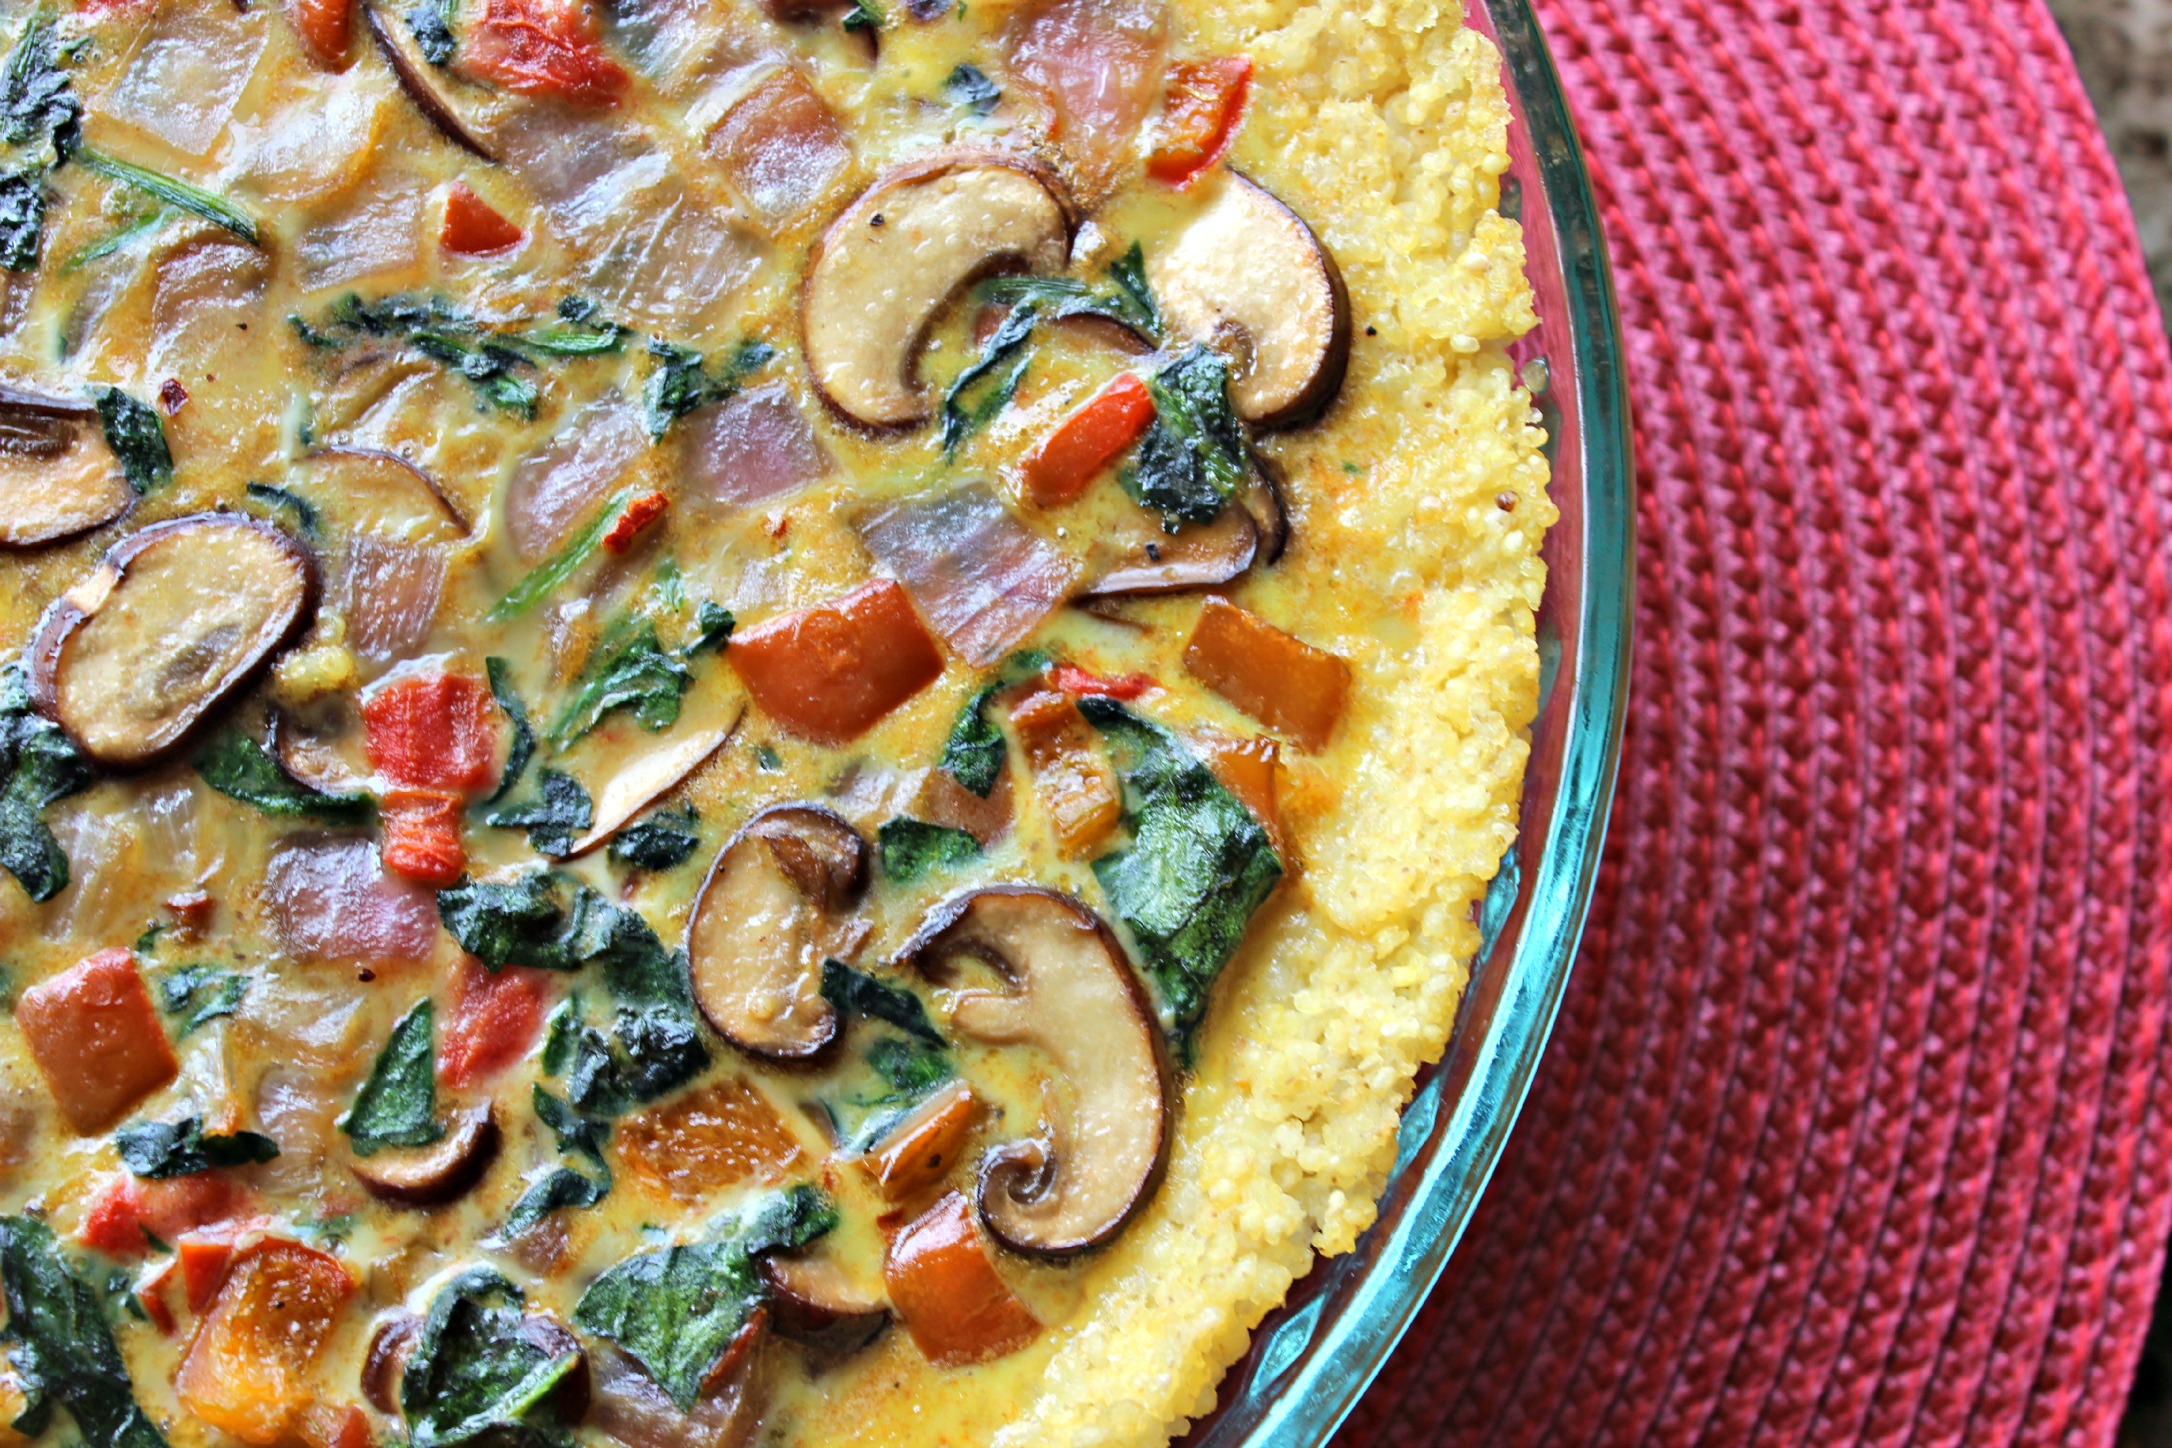
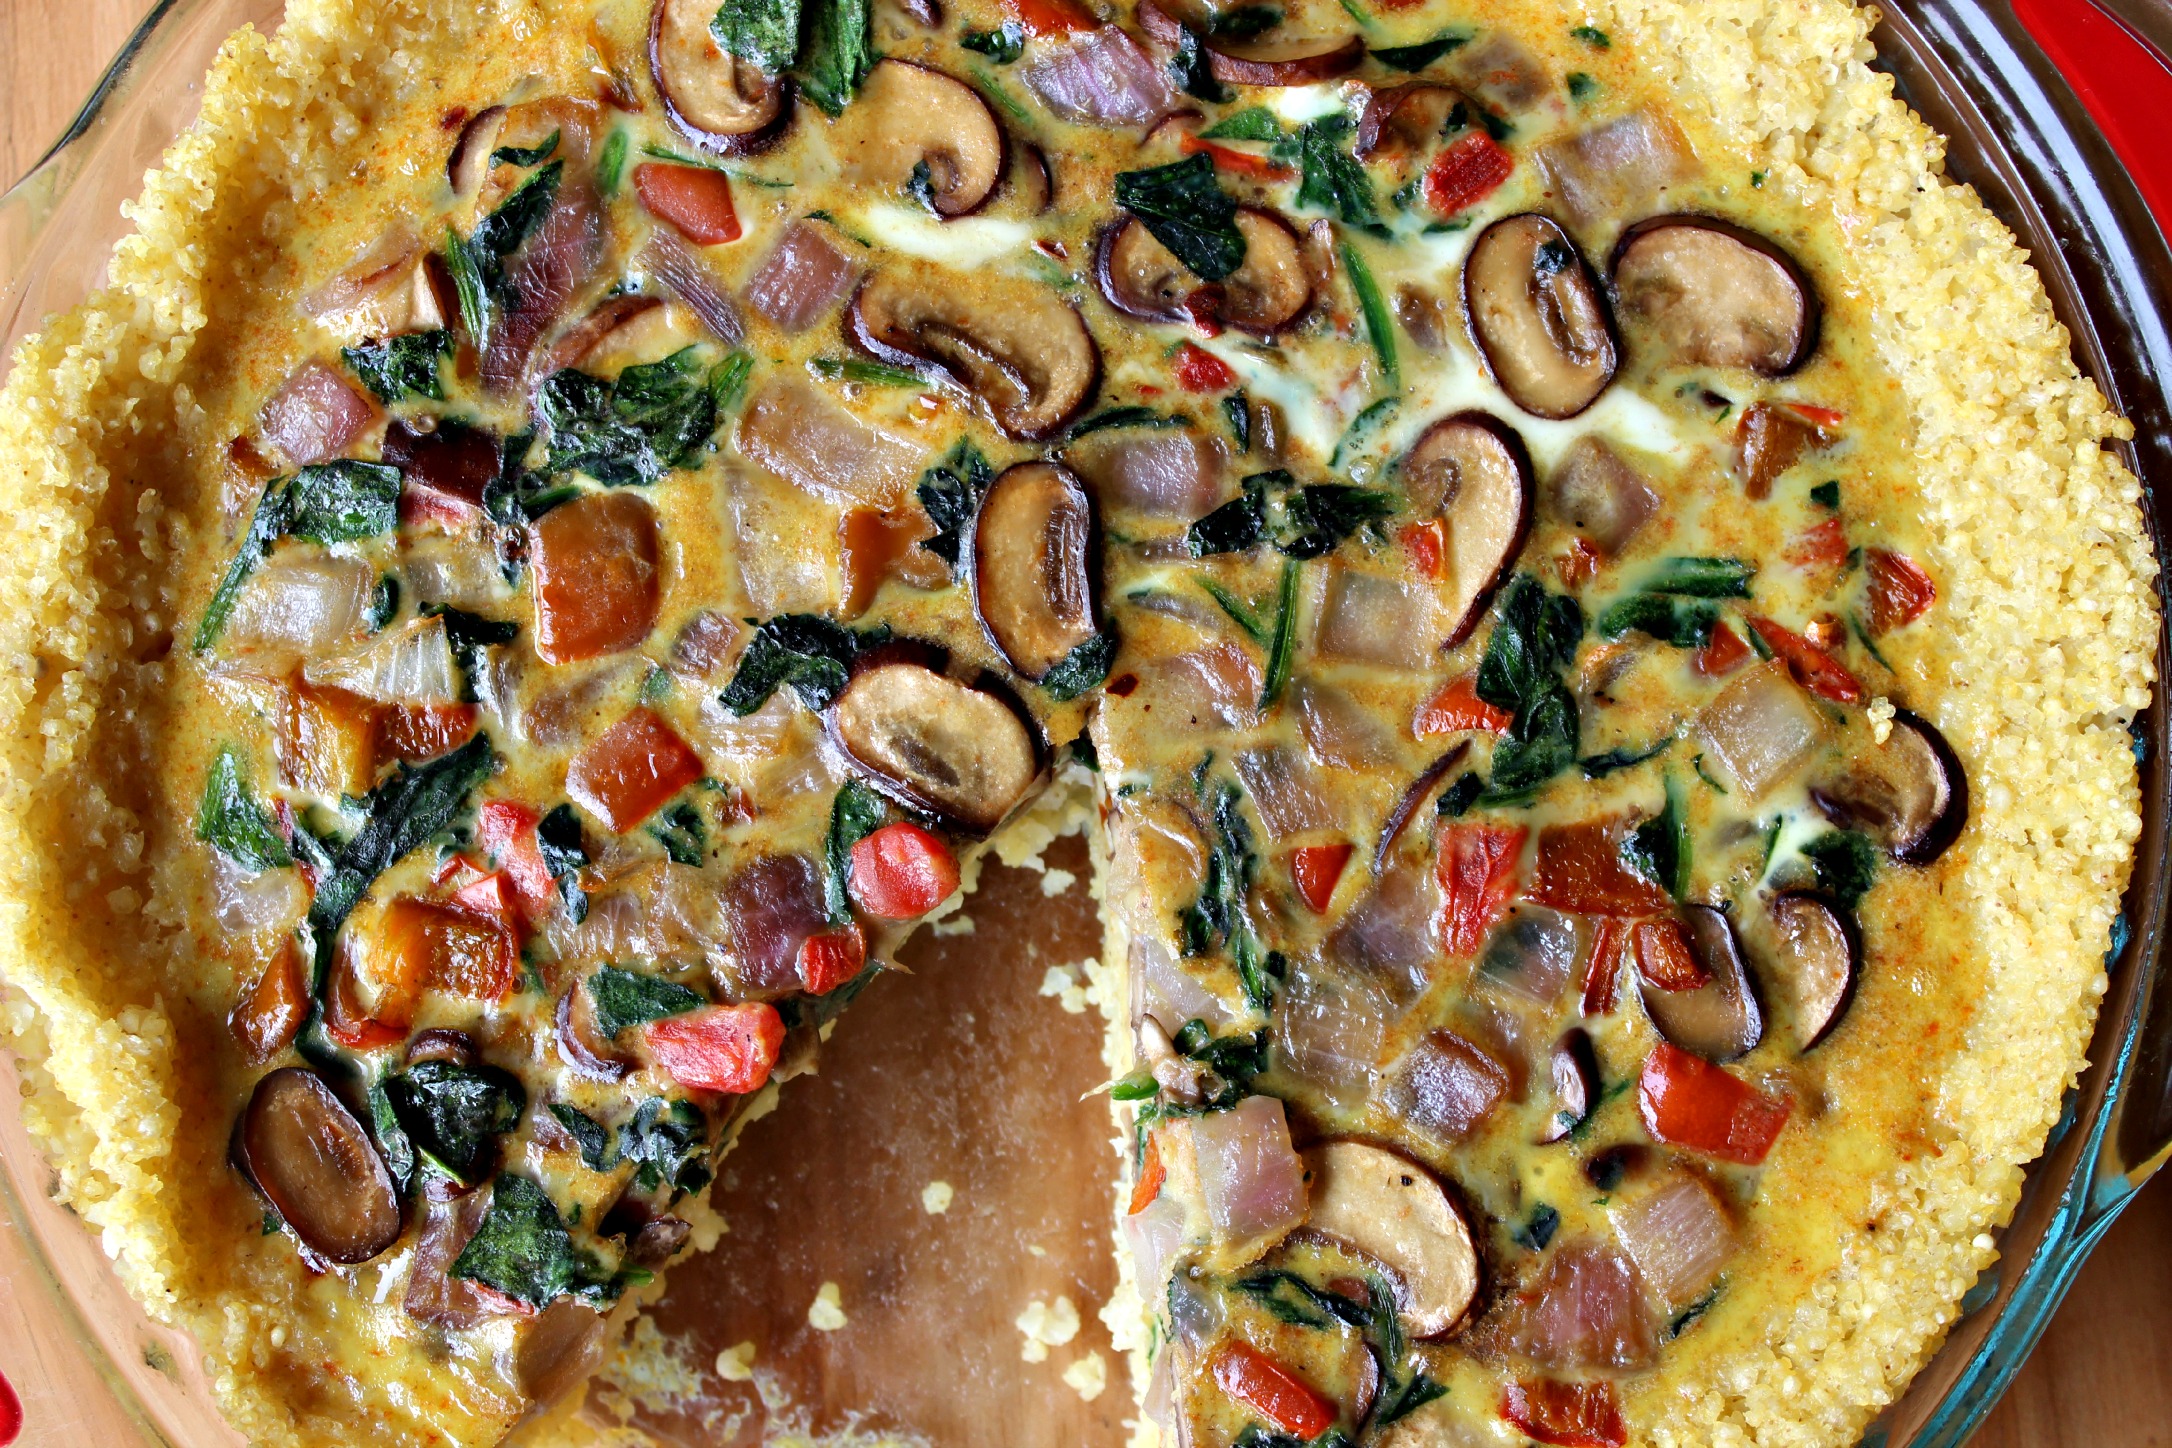
Quiche Banner Quiche Aerial Quiche Aerial Whole

If you don’t have one of the veggies called for in this quiche, swap them out for what you do have. Dishes like this are versatile and lend themselves to modification, so be creative!

If you’d like to up the flavor of the crust, I suggest adding maybe a half teaspoon of sea salt to the milletĀ while it cooks. You can also cook the crust itself for 10-12 minutes before adding the egg mixture to it.

The next time I make it, I think I will saute a couple cloves of garlic in the pot the millet cooks in, so that flavors gets infused into the crust. I might even press some fresh thyme leaves into the crust before adding the egg and veggie mixture on top šŸ™‚

*Want the recipe for this vegalicious quiche? Get itĀ here!*

The Ultimate Gluten-Free Bread Stuffing {Paleo}

Last weekend, my husband and I went out of town for a little fall getaway and spent a long weekend in the Adirondacks of Upstate New York.

With all of the (exciting!) things that haveĀ been going on in the way of travel, presentations, cooking demos, and workshops, I was in need of a break, and BillĀ and IĀ were overdue for some time to reconnect and relax.

It was SO beautiful, and fall was in full swing.Ā We captured this beautiful view of the town of Lake Placid, overlooking Mirror Lake.

ADK

This is my favorite time of the year for those reasons and because I absolutely love fall food.

Roasted root vegetables. Creamy squash soups. Savory stews. Hearty chilis. Heart and soul-warming cups of tea and bowls of oatmeal.

Hungry yet?

And with Thanksgiving coming up next month, things like turkey, stuffing, roasted Brussels sprouts and pumpkin everything will start to take center stage.

Earlier this month,Ā I had the opportunity to teach a workshop and cooking demo about Going Gluten-Free without Going Crazy. (I’m working on a few other posts all about gluten, so stay tuned for those.)

But, in the meantime,Ā we’re going to focus on one of the top-rated meals I served at the class that everyone loved…Paleo Bread Stuffing!

Stuffing Aerial

After the class,Ā one of the attendees said:

That stuffing recipe is officially my new go-to. I’m confident I’ll blow away my 3 sisters-in-law this Thanksgiving, which isn’t easy to do.

If you’re ready to wow some of your family members this year, look no further than this recipe.

Most gluten-free bread is full of LOTS of other ingredients (they have to put something in if they take out the key ingredient in bread…gluten) and tends to have less fiber than its gluten-containing counterparts. Because of that, I’m not a huge fan of eating bread just because it’s gluten-free.

A “gluten-free” label on a package doesn’t deserve the health halo so manyĀ of us have given it. It’s 100% necessary for those with Celiac disease and people avoiding gluten for medical reasons, but “gluten-free” does not automatically mean “good for you.”

But this bread is different.

SM Bread Box SM Bread Closeup

It’s naturally gluten-free andĀ only has 6 SIMPLE, REAL FOOD ingredients. The bread mix is from a company I met at the Natural Products Expo – Simple Mills – and all you need to make it is oil, apple cider vinegarĀ and eggs!

  1. Almond Flour
  2. Arrowroot Powder
  3. Flax Meal
  4. Baking Soda
  5. Sea Salt
  6. Organic Coconut Sugar

That’s how the label of a packaged food should look. Let’s not compromise quality of ingredients just because we’re not making it ourselves! šŸ™‚

Here’s the recipe! You are going to LOVE it.

Stuffing Banner Stuffing Closeup

The Ultimate Gluten-free Bread Stuffing (Paleo)

For a healthier spin on this year’s stuffing, try this recipe!

  • 1 box Simple Mills artisan bread mix (or 1 medium loaf gluten-free bread)
  • 1 tablespoon ghee (AKA clarified butter)
  • 1 cup celery (chopped)
  • 1 cup carrots (chopped)
  • 1 medium onion (chopped)
  • 1 tablespoon fresh rosemary (chopped)
  • 1 tablespoon fresh thyme (chopped)
  • 2 tablespoons fresh sage (chopped)
  • 1 teaspoon coarse sea salt
  • 1 cup walnuts (chopped)
  • 1/2 cup dried cranberries (chopped)
  • 3 large eggs (whisked)
  • 2 cups broth (chicken or bone both preferred)
  1. Bake the bread that morning or the day before according to the directions provided on the back of Simple Mills Artisan Bread mix bag.

  2. Preheat oven to 350Ā°F.

  3. Cut the loaf bread into cubes; toast the cubes in the preheated oven about 10 minutes to draw out the moisture. Add walnuts and toast another 8 minutes. Remove from oven and set aside.

  4. While the bread cubes are toasting in the oven, heat a large saucepan or Dutch oven over medium heat and sautƩ celery, carrots, and onion in ghee for 5-8 minutes or until the vegetables have developed some color and are tender.

  5. Raise oven temperature to 400F.

  6. Add toasted bread, herbs, walnuts and cranberries to pan and toss to combine. Remove pan from heat. Whisk eggs together and pour on top of bread mixture, tossing to coat evenly. Then, pour on the broth and toss to combine.

  7. Pour veggie/bread mix into a baking dish and bake for 30 minutes, covered. Remove lid/cover and bake uncovered for 10 more minutes to crisp up the top. Sometimes we give it a stir and then put it back in the oven for another 15 minutes or so, depending on how crunchy you like it!

  8. If you save it for a day or two, I find that adding 1/2 cup-1 cup of broth to the mix to remoisten it before heating it up in the oven helps and prevents it from drying out. Enjoy! šŸ™‚

You can find Simple Mills products on Amazon, at Target, MOMs Organic Market, Wegmans, and Whole Foods.

Page 4 of 5

Powered by WordPress & Theme by Anders Norén