Category: Vegan Page 5 of 15

Easy Peanut Butter Oat Energy Bites {Video}

My coworkers are the best taste testers. When I’m experimenting with new recipes, they are the brave ones who often try them out and give me feedback before I post them on here.

So far, this is the feedback I’ve gotten about these tasty bites:

YUMMMMMM

Delicious

Such a good treat 🙂

Sooooooo good!

PB Bite

Making these Peanut Butter Oat Energy Bites is super simple, fun (and messy!), and they are easy to take and eat on the go. You can enjoy these as part of breakfast, a snack or even dessert!

Most oat energy bites have coconut in them, and I know a lot of people aren’t the biggest fans of coconut, so I thought I would do some tinkering to make this recipe coconut-free.

The subtle saltiness from the peanut butter, sweetness from the maple syrup, nuttiness from the flax seed and crunch from the cacao nibs make these treats fun to eat.

I made this video to show you exactly how to make them!

Because you really need to get in there and get your hands sticky and messy, if you have kids (or just want to feel like one!), this is a recipe you’ll want to try.

For the full list of ingredients (and more mouthwatering pics), see below.

PB Oat Bites CoverPB Oat Bite

No-Bake Peanut Butter Oat Balls

These delicious peanut butter oat balls make a great snack or part of your breakfast! I use cacao nibs instead of chocolate chips to keep the sugar content down, but you could also use mini chocolate chips if you’d like!

  • 2 cups rolled oats (gluten-free)
  • 1/2 cup hemp seeds
  • 1/2 cup ground flax seed
  • 1 cup natural peanut butter
  • 2/3 cup honey (You can use 1/2 cup for a lower sugar count!)
  • 2 teaspoons vanilla extract
  • 1/2 cup raw cacao nibs (or mini dark chocolate chips)
  • Pinch fine grain sea salt
  1. Set the peanut butter and honey at room temperature for about 15 minutes to warm up and for the PB to soften. If the peanut butter is too hard, you can also soften it by gently heating it in a small pot on the stove top with the honey.

  2. Mix all ingredients in a bowl and stir with your hands to combine. It will be messy (but fun!).

  3. To help the mixture “set,” put the dough in the fridge about an hour, so it is easier to work with. It’ll seem too wet, but don’t worry, that will make it easier to work with once it’s had time to come together. It’s easiest to start making the bites using a cookie scooper, but you can also shape them into balls using your hands and then gently roll them. Store them in a glass container in your fridge or freezer.

I use raw cacao nibs instead of chocolate chips because they add a nice crunch and don’t have all the sugar from chocolate chips.

GBOMBS Spaghetti Squash Saute + How-To Video {Gluten-Free, Paleo}

I’ve been on a squash kick lately! From roasted butternut squash to creamy kabocha squash soup and even squash “pasta,” winter squash is one of my favorite foods because it’s versatile, delicious and nourishing.

Today we’re going to take a look at a squash that many of us have heard of before but might have been too intimidated to try making ourselves – spaghetti squash!

As someone who loved twirling pasta on my fork as a kid, this is a food that is fun to eat and play with…and it has lots of body-boosting benefits, too!

IMG_7154

Winter squash is packed with antioxidants that support our body from the inside out – vitamin A for our skin and eyes, vitamin C for antioxidant protection, fiber for fullness, and folate, a B vitamin that supports our body’s production of mood-boosting neurotransmitters.

For more info about the awesomeness of spaghetti squash, click here.

Now, I’m not going to lie to you and say that it tastes just like spaghetti (because it doesn’t…it’s a bit crunchier and a tad sweeter), BUT it does give you a similar experience and is basic enough to be paired with a variety of sauces – from pesto and marinara to pad Thai.

Check out my video below for the step-by-step instructions for how to prepare spaghetti squash and then buy some for yourself, so you can make one of the recipes below! It’s easier than you think 🙂 If you’re more of a picture person, check out this post I wrote for step-by-step pictures and directions.

I’ve included a recipe below for a winter veggie saute full of GBOMBS like shallots, garlic, dino kale, beans, berries and pumpkin seeds. Here are a few additional spaghetti squash recipes for you to try:

Spaghetti Squash Saute.jpg

Ingredients

1 large spaghetti squash
1/2 cup water
1 tablespoon ghee (clarified butter) or coconut oil
3 cloves garlic, minced
3 shallots, sliced
1 bunch dino kale (AKA lacinato or Tuscan kale), destemmed and chopped
1/4 cups water
1 15-oz can no-salt added cannellini beans, drained and rinsed
1/3 cup dried cranberries
1/3 cup pumpkin seeds, lightly toasted
1 tablespoon raw apple cider vinegar
Freshly cracked black pepper and sea salt to taste

Directions

1. Preheat oven to 400F.
2. Slice a line down the length of the spaghetti squash, about a half-inch deep or make several slits round the squash to allow steam to release. It’s usually too hard to cut in half at this point unless you have a really good knife.
3. Put the squash in a 9 x 13 baking dish in the oven for 25 minutes, so it can soften enough to easily cut it in half. Remove squash from the oven and let it cool enough to handle it. Cut it in half lengthwise. Scoop out the seeds with a spoon.
5. Put the squash cut-side down in the baking dish and fill the bottom of the dish with 1/2 cup water. Return squash to oven for about 30 minutes or until the squash easily pulls away from the shell. Let the squash cool and then scrape out the inside into strands with a fork.
6. In a large sauté pan over medium heat, sauté shallots in ghee (or oil) until fragrant, about 4-6 minutes. Add garlic and sauté 30-60 seconds. Add spaghetti squash, dino kale and 1/4 cup water and toss until the kale is wilted but bright green. Add beans and toss until heated through then add cranberries and pumpkin seeds. Remove from heat and sprinkle with 1 1⁄2 tablespoons apple cider vinegar.

Yay for Tempeh! Why We Love This Plant-Based Protein

I had never heard of tempeh until about two years ago when I was about to enroll in a Culinary Nutrition program.

One of the recipes my instructor, Meghan Telpner, had on her blog that I was curious to try was for Orange Maple Tempeh.

orange maple

I had never heard of tempeh (say TEM-pay).

I had no idea what it was.

And I wasn’t exactly jumping to try it because it sounded and looked, well…weird. I haven’t always been one to try “weird” foods, but I had gotten to a point in my food journey that I was more open than ever before.

What’s the worst that could happen? I wouldn’t like it? I was okay with that.

The rest of the ingredients in the recipe sounded so good that we decided to gave it a shot.

I’m so glad we did! It’s now one of our FAVORITE dishes…including my meat-eater husband, Bill. This is one of his go-to meals. If we had only five meals in our rotation for the rest of our lives, this would be one both of us would pick.

So, what exactly IS tempeh?

Tempeh is made from fermented soybeans (keep reading!) and is an excellent source of easily digestible, plant-based protein (15 grams per 3 ounce serving!) and fill-you-up fiber. Tempeh is a probiotic food, so it helps our digestive system (AKA our “gut”) produce healthy bacteria.

Having a healthy, well-fed gut is important for a strong immune system, so we want to make sure we’re including probiotic-rich foods in our diet. As I’ve shared before, 70-80% of our IMMUNE SYSTEM sits in and around our digestive system, so what we eat is critically important to our overall health, well-being and feeling good.

Tempeh has a “meatier” and denser texture than tofu and a mild, nutty taste, so it feels more like meat in a recipe than tofu does. If you’re a tofu hater (I’m not a huge fan of it), then give tempeh a shot. Tempeh can be baked, sauteed, grilled, and chopped up to be added to things like chili, salads, and stews. It can be a little tricky to figure out how to work with it the first time, but this post from onegreenplanet breaks it down into 5 easy tips:

5 Tips for Making Amazing Tempeh Dishes

Another perk is that tempeh is also a LOT cheaper than meat. One block of tempeh at my local market (MOMs) is $3.00. Not a bad deal for something that can serve as the main dish of a meal. We always make sure to buy organic tempeh, since the majority of soy crops these days are genetically modified. You’ll find tempeh in the refrigerated section of your grocery store next to the tofu.

Ready to give this lesser known protein a try? Here are our top two most favorite tempeh recipes (and great places to start for first-timers!). Click the picture to get the recipe.

orange maple.jpg

BalsMapleTempeh

And here are a few more tempeh recipes that we want to try.

Have you ever tried tempeh? Have you found any recipes you like that you want to share? Feel free to leave a comment or question below!

Apple Cinnamon Overnight Oats

When it comes to convenience, versatility and eating for energy, it doesn’t get much easier than overnight oats in a jar!

This is one of my go-to breakfast options and is perfect for busy mornings. Here are just a few more reasons I’m such a fan of overnight oats:

  • Change it up based on what you have on hand and what’s in season
  • Inexpensive ingredients that are pantry staples in our house
  • Eat them right out of the jar or heat them up on the stovetop, if you’d prefer something a little warmer
  • Make them a few days ahead of time for a ready-to-go breakfast
  • Involve your kids and let them get creative with toppings!

I’ve shared recipes for overnight oats before, including these Pumpkin Spice Overnight Oats and these “Berry” Quick Overnight Oats, but today’s recipe is for Apple Cinnamon Overnight Oats!

Oats aerial

I used some of my favorite seasonal ingredients, including crisp apples, warming cinnamon and crunchy walnuts. I used apples two ways – applesauce as the base and chopped apples as the topping. The chia seeds are filling and soak up some of the almond milk, helping everything come together…without cooking it!

I love the combination of apples and cinnamon, especially during the colder months, so that’s what inspired this particular combination.

Apple OatsOats aerialI had some fun making a video “how-to” in case you’re a more visual person and want to hear more about the benefits of each ingredient.

The full recipe is listed below, so check it out and give it a try!

Apple Cinnamon Overnight Oats

This is a quick and easy breakfast option for the busy person on the go! Make 2-3 ahead of time so you can prep once and eat multiple meals. It’s a time saver!

  • 1/4 cup unsweetened applesauce
  • 2 teaspoons chia seeds
  • 1/2-1 teaspoon cinnamon
  • 1/2 teaspoon vanilla extract
  • Pinch ginger
  • Pinch nutmeg
  • Pinch fine grain sea salt
  • 1/3 cup whole rolled oats (I use gluten-free)
  • 1/2 cup almond milk
  • 1/4 apple (chopped)
  • 4 walnuts (chopped)
  1. Stir applesauce, chia seeds, cinnamon, ginger, nutmeg, vanilla, and sea salt in the bottom of a mason jar.

  2. Add the oats and almond milk and stir everything together to combine. Cover with a lid and store in your fridge for at least 30 minutes, ideally overnight.

  3. Remove from fridge and stir in toppings. Eat directly from the jar or warm on the stove. Enjoy!

Optional toppings: 1 tablespoon nut butter, toasted coconut, hemp seeds, pumpkin seeds, 100% pure maple syrup, to taste

Like this:

Rich & Creamy Brassica Tea Rice Pudding {Gluten-Free}

In my last post, I shared insights about detoxing from award-winning celebrity dietitian, Ashley Koff. It turns out that our body naturally detoxifies itself on a regular basis and that we can bring specific foods into our diet to support that process.

One of those foods is broccoli. Most of us have heard that broccoli is one of the best vegetables we can eat to support our health, but few of us know why.

Tom Malterre, a highly regarded functional medicine-trained nutritionist, gave a TEDTalk a few years ago about the incredible benefits of broccoli, calling it “the DNA whisperer” because of its powerful protective properties.

Glucoraphanin (say glu-co-RAPH-an-in) is one of the key nutrients in broccoli that makes it known as a “superfood”. Our body converts glucoraphanin into a potent antioxidant and cellular protector called sulforaphane

According to Brassica.com, 40% of Americans wish they could get the benefits of broccoli without having to eat it. That’s where something like truebroc™ tea can help.

You can find truebroc™ tea locally at Whole Foods Harbor East, Baltimore Coffee & Tea, and at Wegmans, but you also order it online no matter where you live by clicking here.

brassica box

For more information about Brassica Tea and truebroc glucoraphanin, please visit truebroc.com or facebook.com/truebroc. Follow us on Twitter @truebroc.

I first mentioned truebroc™ tea in my last post and promised to share a recipe with you that incorporated it, so today I’m going to let you know how to make your own rich and creamy Brassica Tea Rice Pudding.

When I first saw the recipe, I realized I had all of the ingredients on hand except for the arborio rice, which is commonly used to make a creamy dish called risotto. I found it in the bulk section of MOMs Organic Market, a local natural food store, but you should be able to find it in the rice or gluten-free section of your grocery store.

Tea Rice Pudding - new 3

Recipe & photo credit: Amy Fischer, RD

I wasn’t sure how the dish would turn out as I was making it, but I ended up with a rich, creamy and almost caramel-ly (can we make that a word?) bowl of deliciousness! 

I have tried rice pudding at a few restaurants as a dessert, but this was the first time I’d made it and was the best-tasting one yet. I’ve made it twice and have had it as part of my breakfast and as dessert.

I made a few modifications. I backed off slightly from the recommended amount of water in the beginning. I cut it back by 1/4 cup, which resulted in a creamier texture the second time around. Also, I didn’t have vanilla bean powder on hand, so I used vanilla extract, and I used maple syrup instead of honey. I considered subbing in short grain brown rice, but, if you plan to do that, just simmer it a bit longer, as it will take more time to cook. It probably won’t be as creamy and might be a bit chewier but it’s worth trying!

Tea Rice Pudding 5

Recipe and photo credit: Amy Fischer, RD

Servings: 4-6

Ingredients

1 cup brewed Brassica Tea with 30mg of truebroc™ glucoraphanin from broccoli
1 cup filtered water (I used 3/4 cup)
1 (13.5 oz.) can coconut milk (I love the brand Native Forest)
½ cup arborio rice
2 egg yolks
¼ cup coconut sugar
2 Tbsp. raw honey (or maple syrup to make vegan)
1 tsp. vanilla bean powder
¼ tsp. cinnamon
Pinch of sea salt
Optional toppings: ginger, raisins, greek or coconut yogurt

Directions

  1. Brew 1 cup of tea using 2 Brassica Tea bags.
  2. Combine 1 cup tea, 1 cup water, 1/2 cup Arborio rice & a pinch of salt in a medium saucepan. Bring to a boil then turn down to a simmer, stirring frequently, cover & cook for ~25 min.
  3. Uncover and continue simmering and stirring frequently. Stir in coconut milk & continue to simmer approximately 10 min or until the rice is tender.
  4. In separate bowl, beat egg yolks with honey, coconut sugar, cinnamon & vanilla. Slowly add some of the rice mixture to the egg yolks and with a whisk, combine.
  5. Add mixture back into the rice and stir until combined well and egg is mixed in. Remove from heat. The mixture will still be loose but will thicken as it stands or when chilled. Serve warm or chilled. Add toppings before serving. Enjoy!
Tea Rice Pudding 7

Recipe and photo credit: Amy Fischer, RD

For more information about Brassica Tea and truebroc glucoraphanin, please visit truebroc.com or facebook.com/truebroc. Follow us on Twitter @truebroc.

Disclosure: I received free tea in exchange for writing this review, but I had tried and liked the product and what it stood for before this opportunity arose! All opinions are my own, and maintaining the integrity of all content on this site is of utmost importance to me. I will never promote products I don’t love and use myself! 🙂

Curry-Lime Chickpea & Protein-Packed Pasta {Gluten-Free}

After getting back from a long weekend away for Thanksgiving and my sister-in-law’s wedding (which was SO fun!), we hadn’t thought much about what we’d be eating for dinner this week.

So, when I got home from work tonight, I checked the pantry and fridge and used a few things we had on hand to whip up this recipe. That’s the value of having a well stocked pantry – even when you have no time and no plans, you can create a delicious dish pretty quickly without making a trip to the store.

This meal came together in about 20 minutes and was filling, delicious and nourishing (the trifecta of food awesomeness!). It showcases GBOMBS – some of the most anti-inflammatory, disease-fighting, immune-boosting, health-promoting foods we can eat!

If you’re not eating pasta because of the gluten or refined flours, keep reading! I have a solution for you 🙂

Meet, Tolerant Foods pasta.

Tolerant Green Pasta

I first tried their pasta last fall at the Natural Products Expo East in Baltimore. At the time, the only pasta I ate was brown rice pasta (ingredients = brown rice + water), but I was curious to try Tolerant’s pasta because it was made from one ingredient.

Beans.

Or, in this case, lentils.

We had tried the black bean variety and the red lentil version, but this year I was introduced to the latest and greatest addition – green lentil pasta.

Here’s why this pasta is so awesome.

Unlike regular highly processed pasta that’s usually made from enriched flours that can send our blood sugar (and energy levels and weight) on a roller coaster, Tolerant’s pasta is PACKED with satiating protein and fill-you-up fiber. 

Just over 1/3 of a box of the green lentil pasta has a whopping 21 grams of protein and 11 grams of fiber. It’s also full of energizing B-vitamins, iron and zinc. It’s also made with non-GMO, organic ingredients.

Green lentil label

What’s not to like??

The pasta cooks up in 8 minutes, making it a great option for a quick dinner. And because of its pale green color, it looks more like pasta than the red lentil or black bean pasta, so it would be an easier sell with kiddos or bean-based pasta skeptics.

It’s sold at a higher price point than a box of Barilla, but I focus more on nutrients/dollar than calories/dollar, so it’s worth it to me.

MOMs and Whole Foods sell Tolerant pasta (sometimes on sale!), but you can also buy their stuff online at Vitacost or Amazon. Check out this link to use the store locator to find where Tolerant sells their products near you.

Then, make this recipe 🙂 (And don’t mind the less than stellar pics taken from my iPhone without daylight!)

Curry Lime Chickpea PastaChickpea Pasta Pan

Ingredients

  • 1 tablespoon ghee (clarified butter) or coconut oil
  • 1 8-ounce box Tolerant pasta (or other gluten-free or bean-based pasta)
  • 1 medium onion, diced
  • 3 cloves garlic, minced
  • 1 tablespoon fresh ginger root, peeled and minced
  • 2 teaspoons curry powder
  • 1 15-ounce can chickpeas, no salt added, drained and rinsed
  • 1 cup full fat coconut milk
  • 4 cups fresh baby spinach, chopped
  • 1 1/2 tablespoons fresh lime juice
  • Coarse sea salt and pepper to taste

Directions

  1. Cook pasta according to package directions. Set aside 1/3 cup pasta water. Strain pasta and leave in strainer.
  2. Heat ghee or oil in large skillet over medium-high heat.
  3. Add onions and saute 5-7 minutes or until they start to soften. Add ginger, garlic, and curry powder and saute another minute or so. Add pasta water and stir to loosen up anything stuck to the pan.
  4. Add chickpeas, coconut milk and pasta and reduce heat to medium. Stir to combine. Add spinach and toss until coated and slightly wilted. Add lime juice and stir to combine.

I added some sea salt throughout, probably about 1/2 teaspoon total. How do you know when you have enough? If your food tastes flat or bland, add a little salt at a time to increase the flavor. The acidity from the lime juice, fat from the coconut milk, and spice in the curry powder give this dish a lot of flavor, so just add salt to your liking 🙂

Pumpkin Cheesecake Squares {Paleo, Vegan}

As we’ve been gearing up for Thanksgiving and experimenting with different dishes, I’ve been trying some new desserts.

Inspired by the textures of Meghan Telpner’s Rawmazing Key Lime Pie, I thought I’d infuse the flavors of fall into a melt-in-your-mouth, coat-your-tongue, creamy, no-bake cheesecake.

And I wanted an excuse to use pumpkin.

Pumpkin

Because I love pumpkin.

All things pumpkin.

Especially when it’s mixed with sweet maple syrup, creamy cashews, and warming cinnamon and ginger.

It’s my new go-to for a Thanksgiving dessert.

Cheesecake StackPSquare Closeup

Pumpkin Cheesecake Squares.

I’m going to keep it short and sweet here today because this recipe is that good, but all you need to know is it’s easy to make, doesn’t require baking, and is so addictive you’ll want to eat multiple squares at a time.

The creaminess comes from the raw cashews (don’t knock it ’til you’ve tried it), and the slight hint of tartness we’d usually get from cheese comes from a spoonful of lemon juice.

Happy Thanksgiving!

cheesecake banner

Ingredients

Base

  • 1 cup raw pecans
  • 1/2 cup raw walnuts
  • 1 cup Medjool dates, pitted (make sure they’re soft)
  • 1 tablespoon coconut oil, melted
  • 1/4 teaspoon cinnamon
  • Pinch fine grain sea salt

Filling

  • 2 cups raw cashews, soaked in water 2-4 hours then drained and rinsed
  • 3/4 cup pumpkin puree
  • 1/2 cup pure maple syrup
  • 1/3 cup coconut oil, melted
  • 1 tablespoon lemon juice
  • 2 teaspoons ground cinnamon
  • 1 teaspoon ground ginger
  • 1/4 teaspoon ground nutmeg
  • 1/8 teaspoon ground clove
  • 1 1/2 teaspoons vanilla extract

Directions

  1. Put all the crust ingredients into a food processor, and process until the ingredients stick together. Stop and scrape down the sides as needed. Press the crust mixture into the bottom of a square baking dish.
  2. Put all filling ingredients in your blender or food processor (high-speed blenders like a Vitamix or Blendtec work best) and blend until smooth and creamy. You may have to stop to scrape down the sides. I had to use the tamper for my Vitamix to get it to be smooth and creamy.
  3. Pour the filling evenly over the base and smooth with a spatula. Cover the dish and place it in the freezer to set for 4-6 hours.
  4. Let the dish sit at room temperature for 10-15 minutes and then cut into squares. I sprinkled a thin layer of cinnamon on top before serving.

Our First Baltimore Cookbook Club: The Power of True Community

What does a life lived in radical community look like?

Is community really worth the effort?

I knew I was in for exactly what I needed to hear at the start of Sunday’s service as our friend and pastor, Ryan, asked us to reflect on the answers to those questions and a few other truths about what it means to be in community.

As a culture, we’re moving away from true community.

The internet has fundamentally changed the way we communicate and connect with each other and altered our expectations about what to expect from community. Long-term commitments of any kind (jobs, houses, relationships) are no longer the norm.

We avoid community for a number of reasons. People require energy and effort, which can make true community feel like a burden. Because we know things ABOUT each other but don’t really KNOW each other, we fill in the gaps with assumptions and are more easily offended than ever before.

The hard truth is that it’s exposing to have people REALLY know us.

IMG_2897

So, we’re left asking ourselves: Is community really worth the effort?

The short answer is,”YES“.

As I’ve shared when I first wrote about community almost two years ago, sacrificially giving my time to be with and invest in others is not something that comes naturally to me.

We are all wired to be communal and crave connection, but when you’ve been burned by community in the past, it can be intimidating to put yourself out there again. When we do, we risk being examined, judged, and rejected.

But the greater risk is that we deprive other people of our presence and the gifts and talents we have to offer. 

There’s power in investing deeply in people and in having people invest in us. Sometimes we can feel like we are burdening other people. But guess what?

IMG_2973
When I get stuck in my own thoughts (which happens a lot) and overwhelm myself thinking about all that I could or “should” be doing, I tend to retreat and “check out” socially. I find every reason possible to avoid things like social events that pull me away from a self-centered pursuit or an opportunity to do something I want to do.

That’s why last Sunday night was particularly special.

It marked the start of a community-building opportunity that combines a few of my favorite things: cooking and eating nourishing, delicious food with like-minded people who value living a healthy, purposeful, vibrant life in the context of a supportive community:

Our first cookbook club.

My friend and fellow foodie and health coach, Katie Hussong, and I came upon the idea after seeing a post that went viral on Facebook about Why Cookbook Clubs Should Be the New Way We Entertain.

Katie and Me

Both of us are Culinary Nutrition Experts through the Academy of Culinary Nutrition’s program, so we have a mutual love for creating and savoring nourishing, healing food.

After a series of text messages agreeing we should “do this thing,” we organized our first ever cookbook club, bringing together friends from DC to Philly for a Sunday evening in Baltimore to share dishes from our mentor and culinary nutrition coach, Meghan Telpner.

Meghan recently published her first full cookbook, The Undiet Cookbook, and we used that as the source for our recipes. Everything was nourishing, delicious, made with love and dairy-free and gluten-free.

IMG_2892CC Collage
We brought together fellow health coaches, culinary nutrition experts, and nurses, as well as friends from college, church and our neighborhoods.

Each of us prepared a delicious dish to share and gathered around the community table to savor the meal and get to know each other.

Green Mojito Smoothies and Jamu Juice Shots to kick off the night.

Zucchini Hummus, Balsamic Roasted Root Vegetables, Sweet Potato Grills with Cashew Ketchup, Wild Rice & Chickpea Salad, Thai Mango Salad, and Maple Balsamic Kale with Butternut Squash for dinner.

A decadent array of desserts, including Ginger Cookies, Wild Berry and Apple Crumble, Chocolate Raspberry Delights, and my contribution, the Rawmazing Key Lime Pie, to finish the evening.

key lime

Everything was DELICIOUS! (If you want the recipe for the pie, click here!)

We even had the opportunity to Skype with Meghan, the chef and cookbook author herself!

We had each person introduce themselves and the dish they had made, which was one of the coolest moments of the evening.

Hi Meghan

Me & Katie Skyping with Meghan!

Our bodies and souls were nourished by the food and our time together.

We could let down our guard and just be ourselves.

We ate. We talked. We laughed.

And through it all, we connected.

We were in true community.

This is how we were meant to live!

Community

So, what is holding you back from community?

Who misses out if you don’t show up, if you’re not present and willing to share your gifts and talents?

What makes you feel truly known?

If you’re interested in connecting with community like this, fill out your contact information here, and I’ll put you on our list 🙂

———————————————————————————————————————————-

If want to connect with others and serve Baltimore this upcoming weekend, join me at the Baltimore Crop Circle with Tessemae’s at 900 Druid Hill Avenue in Baltimore from 10:00 am – 3:00 pm on Saturday, November 21st. We will be giving away over 30,000 pounds of FREE fresh produce to the community!

The UnDiet Cookbook Review {Plus a Yummy Stuffed Sweet Potato Recipe!}

This is so much more than a cookbook.

It’s an inspiring, encouraging, confidence-boosting guide to life that happens to include over 130 awesomely delicious and nourishing recipes.

Whether you’re gluten-free, dairy-free, vegan, paleo, or just trying to live a fuller, more vibrant and balanced life, you need The UnDiet Cookbook in your life!

undiet cover

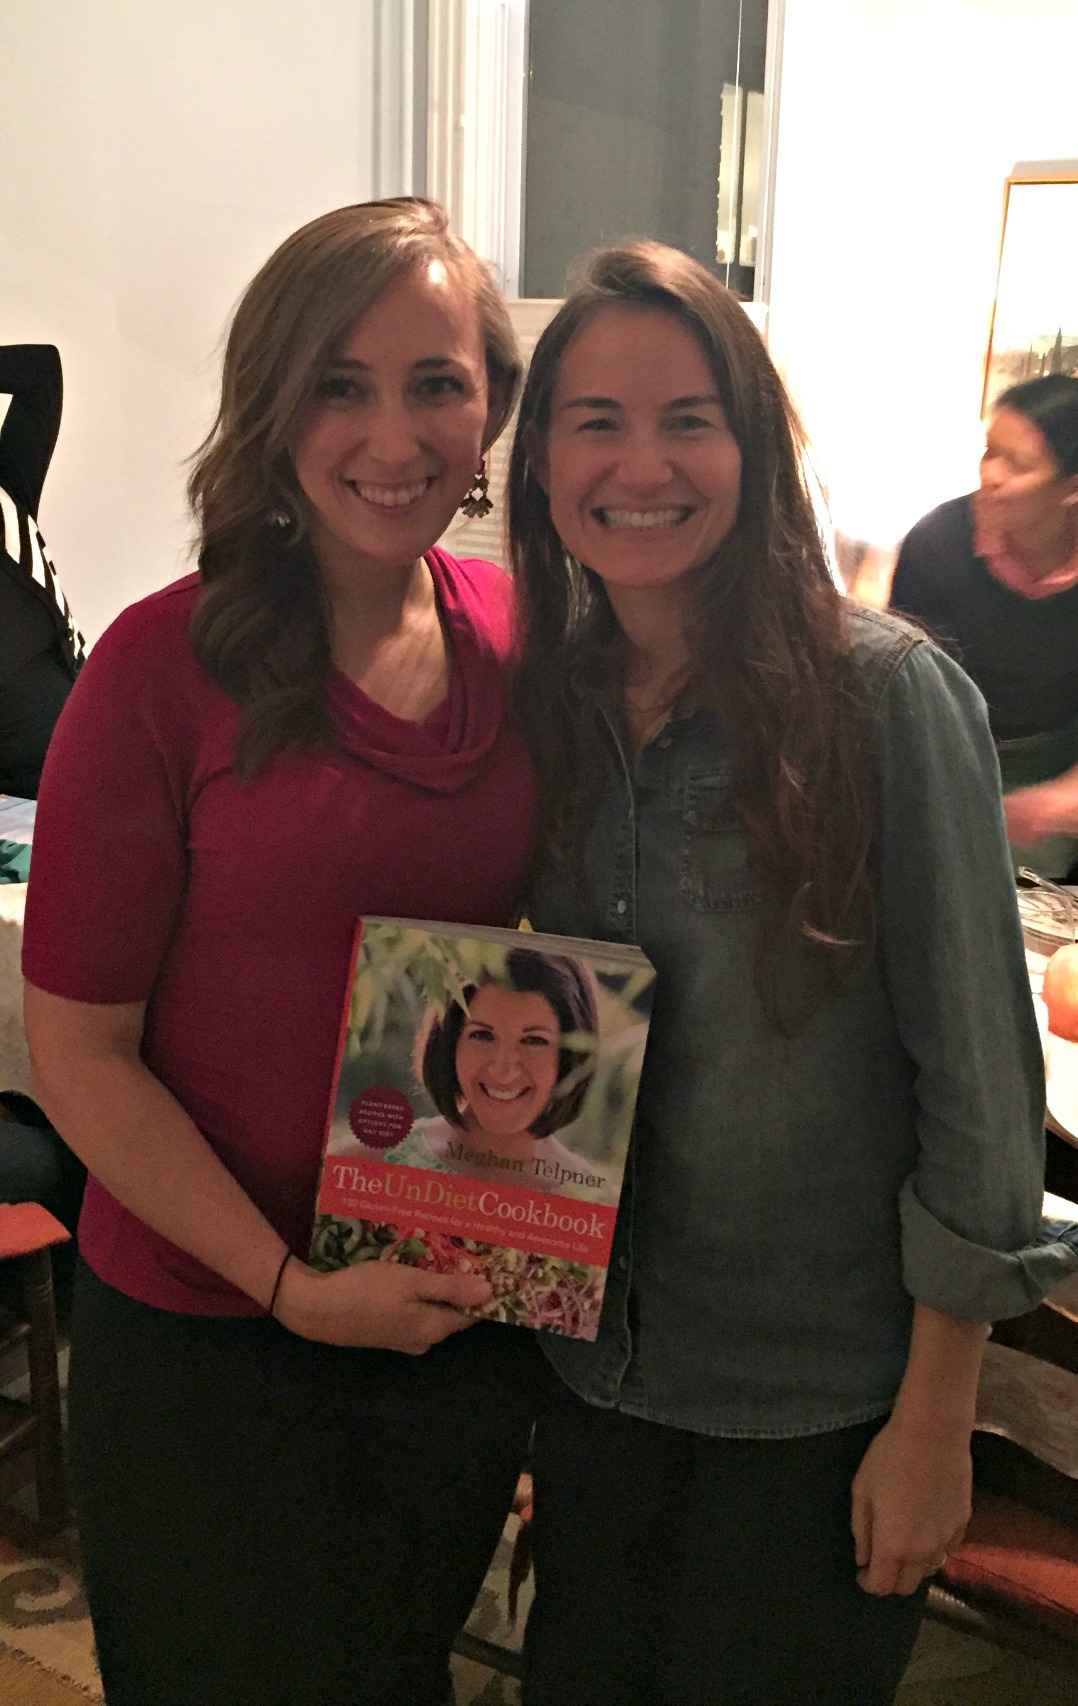
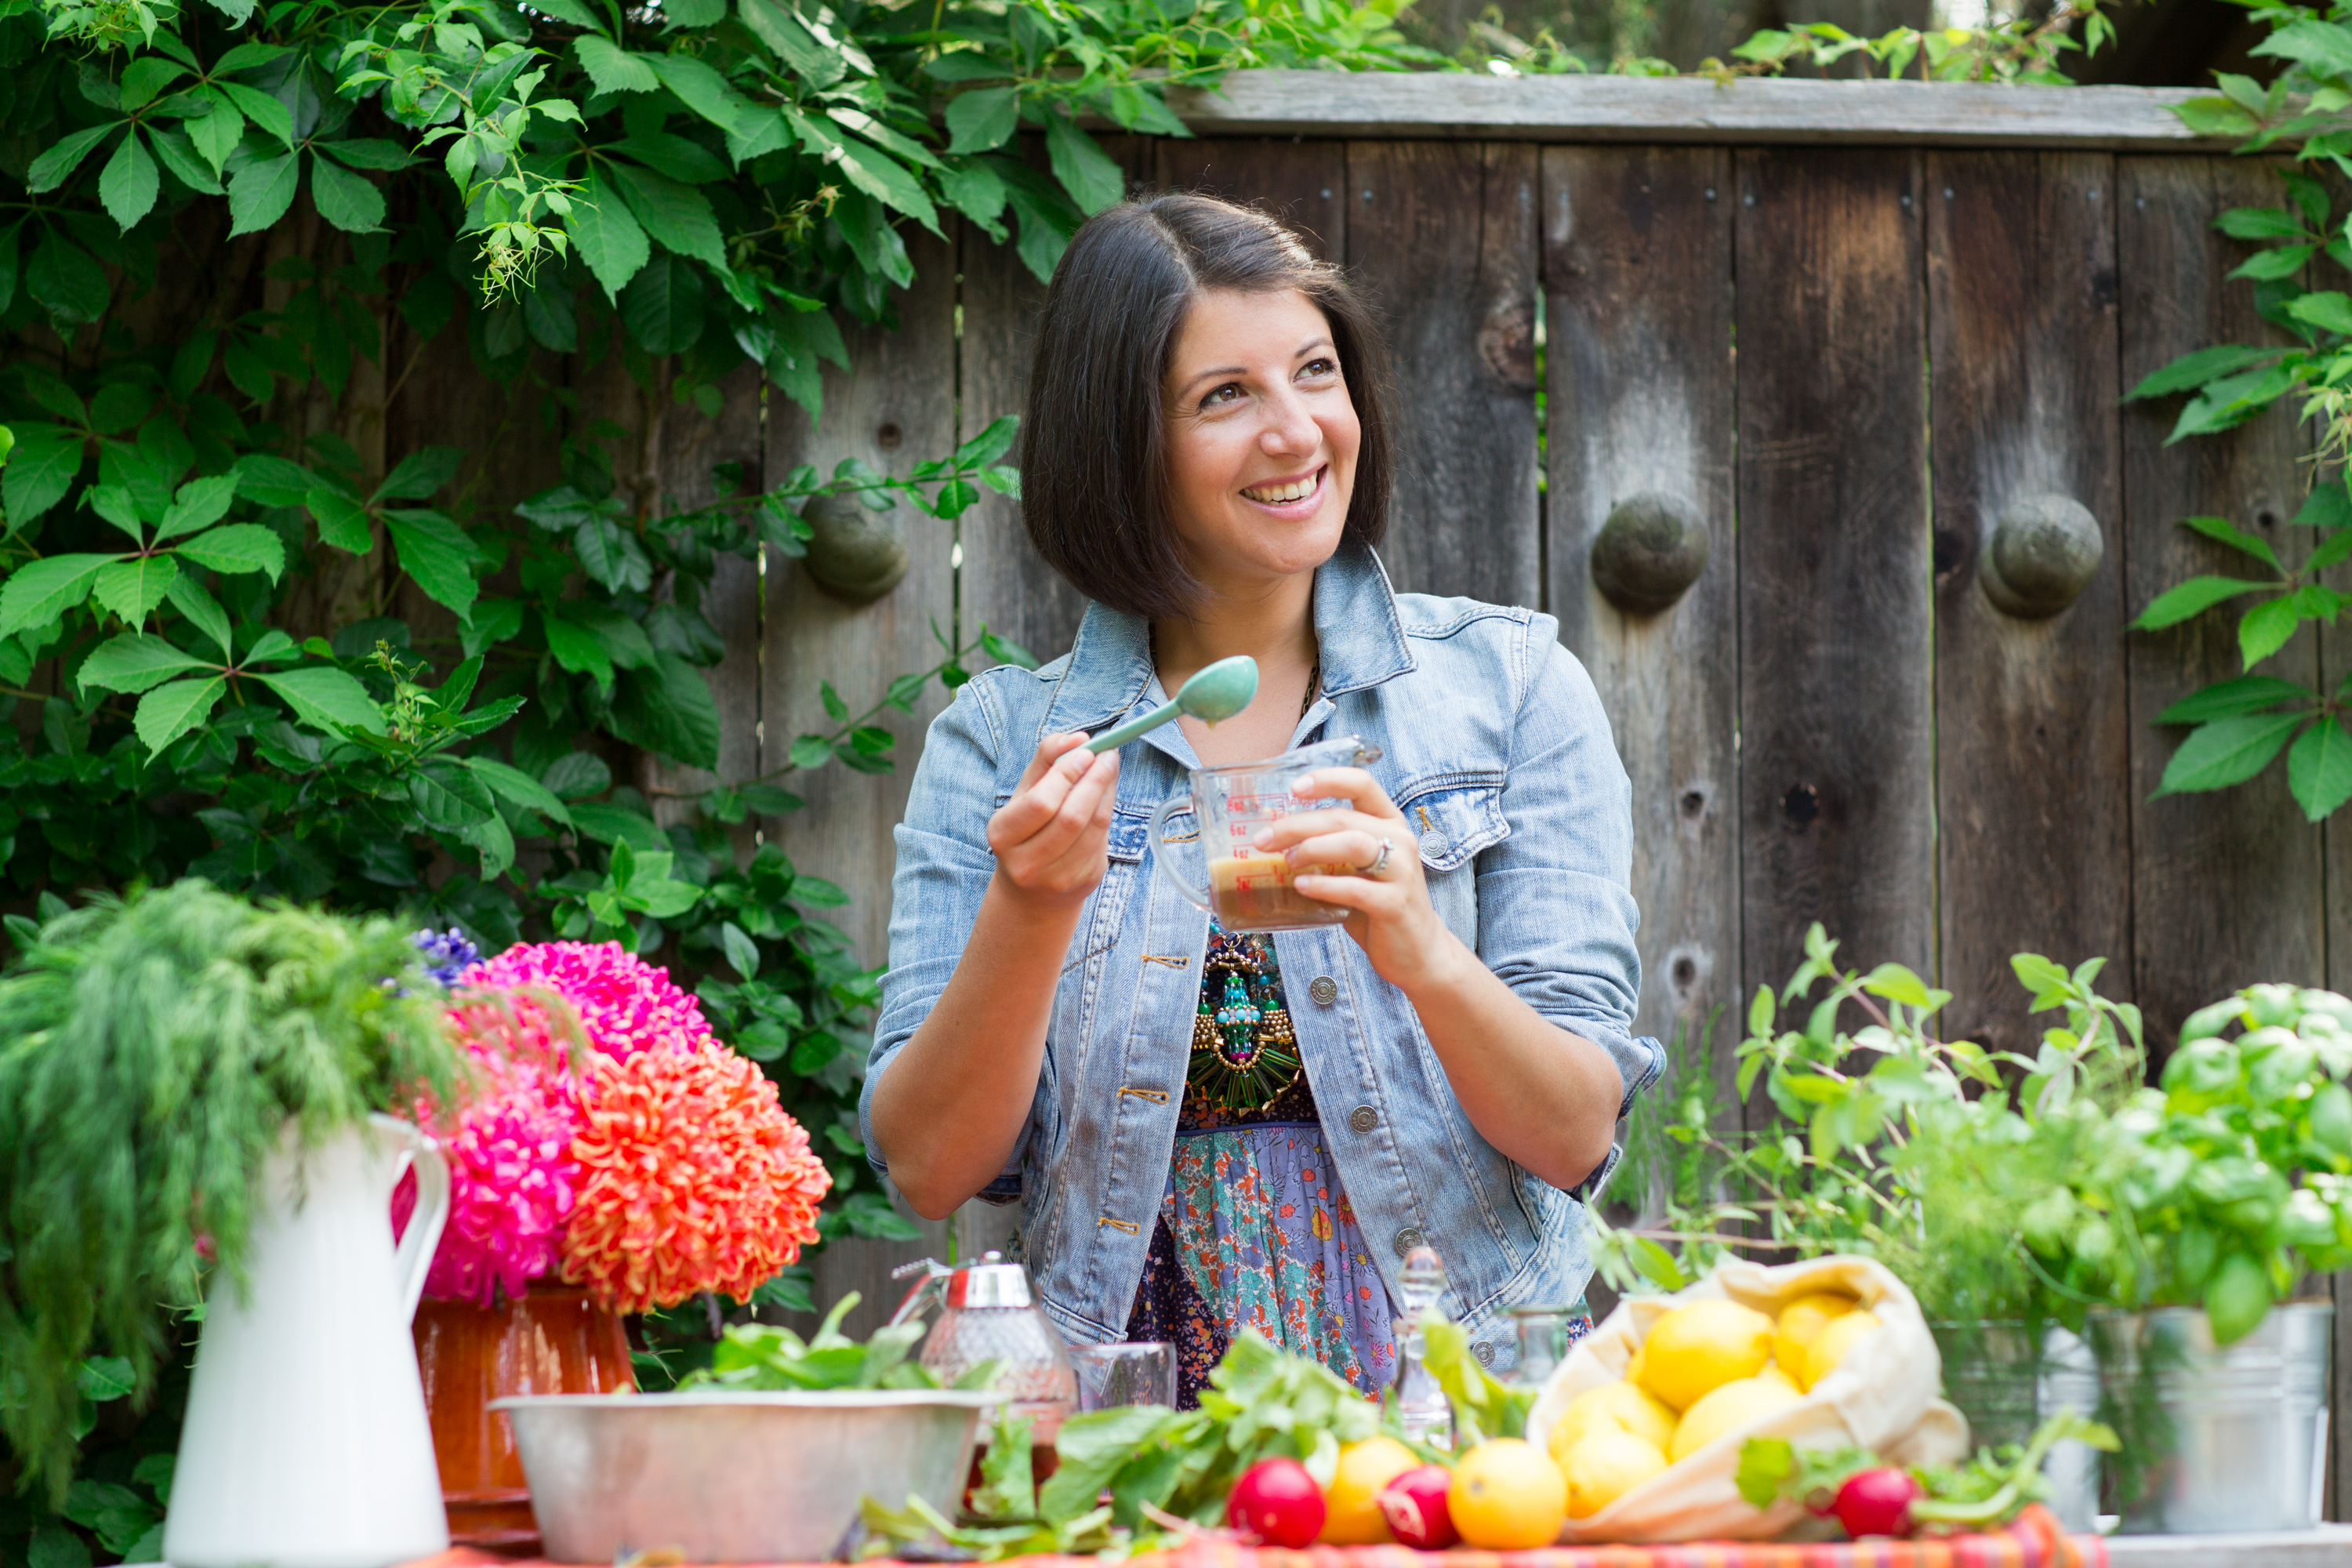
I had the privilege of learning from the author – nutritionist and best-selling author, Meghan Telpner – as a student in her Academy of Culinary Nutrition training last fall. As founder of the Academy of Culinary Nutrition and author of the bestselling UnDiet: Eat You Way to Vibrant Health and The UnDiet Cookbook, Meghan has committed her life to creating a revolution in health and well-being.

She does it in a way that is non-judgmental, kind, fun and inviting.

Meghan knows that being approachable and FUN is the key to engaging people, especially when it comes to something as sacred as what we eat and how we live.

So often when people are on diets, they settle for subpar food and a life marked by deprivation. They focus on what they “can’t” eat instead of channeling all of that energy toward what will nourish, satisfy and fill them up physically and emotionally.

Meghan is out to change that:

“UnDiet is here to free us from the chains we attach to all of those old, harmful, self-defeating, unhelpful rules we think we need to follow. They only make us miserable […] UnDiet is breaking free from the rules we think we’re meant to follow, and doing what is the very best for our individual health.”

Yes! Yes! Yes!

I totally agree.

She inspires anyone reading to take a build-you-up, positive, encouraging approach to what to eat through killer recipes that not only taste good but make our body feel amazing.

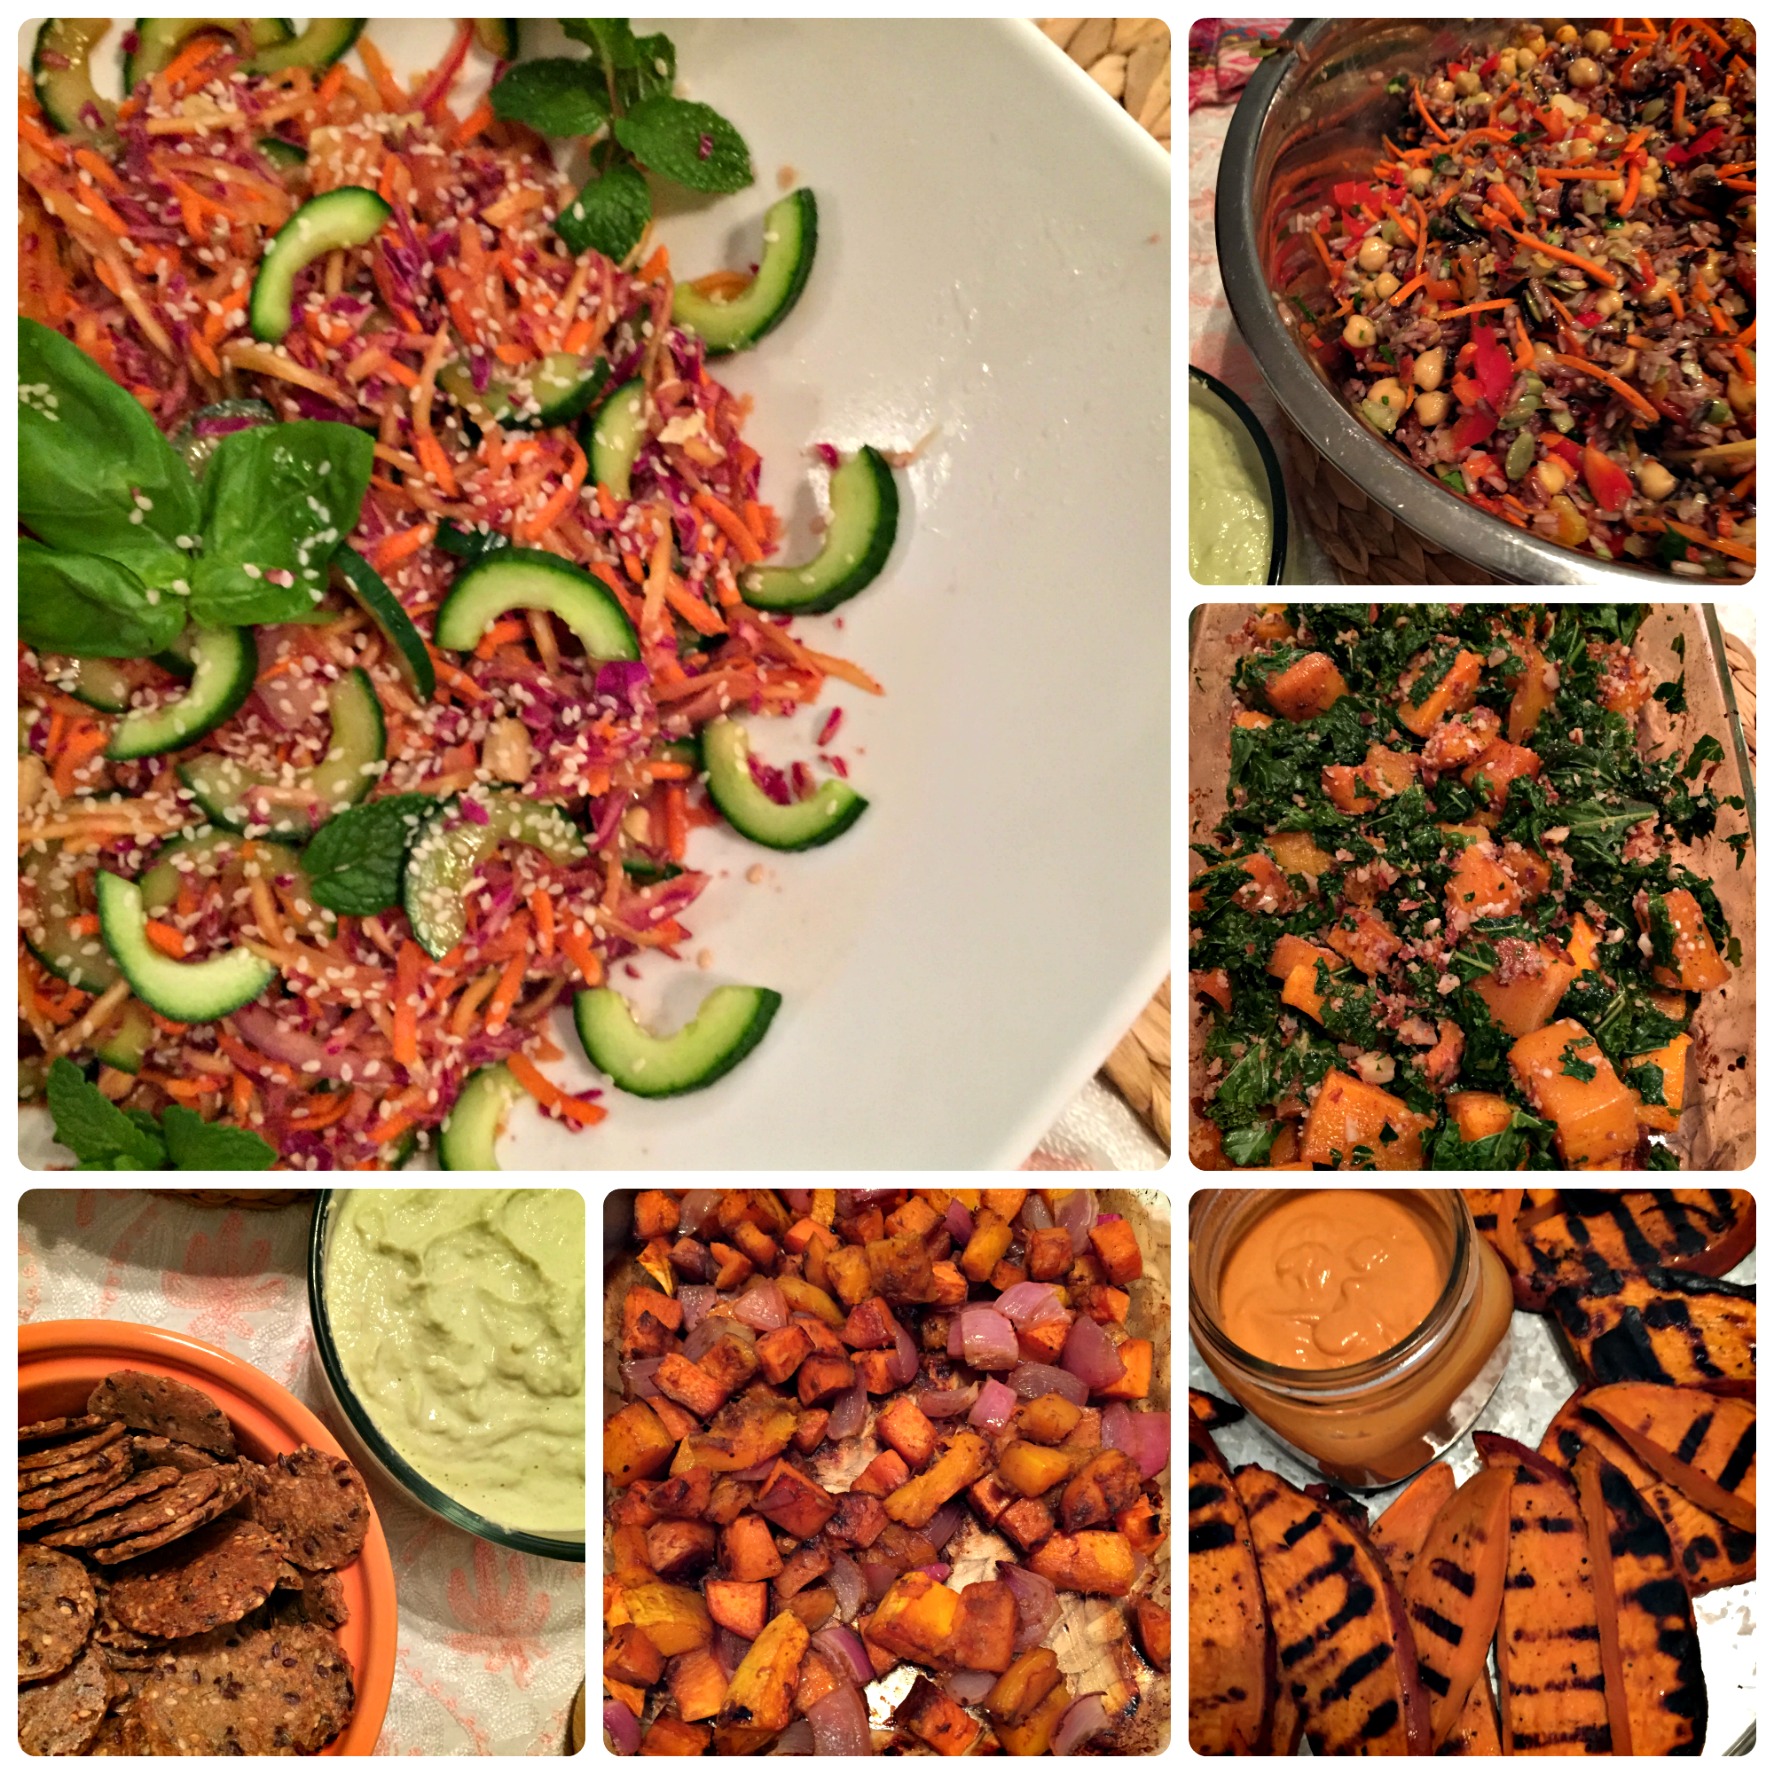
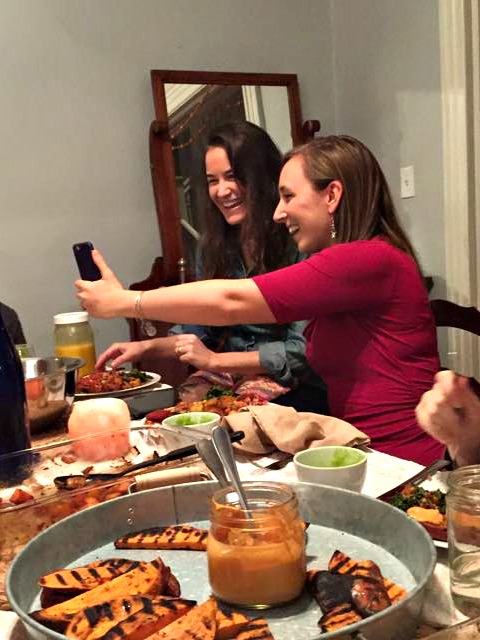
And she has a way of building and promoting community. In fact, I partnered with a fellow Culinary Nutrition alum and friend, Katie Hussong, to host our first UnDiet Cookbook Club, where each attendee made a recipe from Meghan’s cookbook or blog. It was SO fun!

Community

As someone who doesn’t follow one prescribed diet, I’m drawn to Meghan’s “UnDiet” approach. I follow the same philosophy because I’ve found in my own life that there is not one way of eating that everyone in the entire world “should” follow.

We agree that the bulk of what we eat should be plant-based (AKA “plantiful”), but there is room for flexibility, depending on what makes your body feel best and thrive.

One of the things I love about this book is that the UnDiet recipes are free from dairy and gluten (just like every recipe on this blog!), which means all of you can enjoy them.

Though knowledgeable about every diet out there, Meghan prefers to UNdiet, calling herself a “Meghanatarian.” She encourages us to make our choices with “awareness and knowing, doing what feels right for you, your body, your values, your environment, your budget.”

UnDiet2014-132

It’s about pausing long enough to tap into our body’s own intuitive wisdom that tells us what makes us feel awesome and what brings us down.

Through her journey with Crohn’s Disease, Meghan has experienced the healing and restorative power of the UnDiet lifestyle first-hand and is inspired to share what she has learned with the world.

Her intention is that her readers will “get it” and understand for themselves. That way she doesn’t have to say eat this, don’t eat that. She does her best to provide the information with the what’s the why’s the how’s in place, and lets them decide what they’re ready to pick up and run with.

Isn’t that refreshing?

I’ve made over a dozen recipes from the cookbook and have loved every single one.

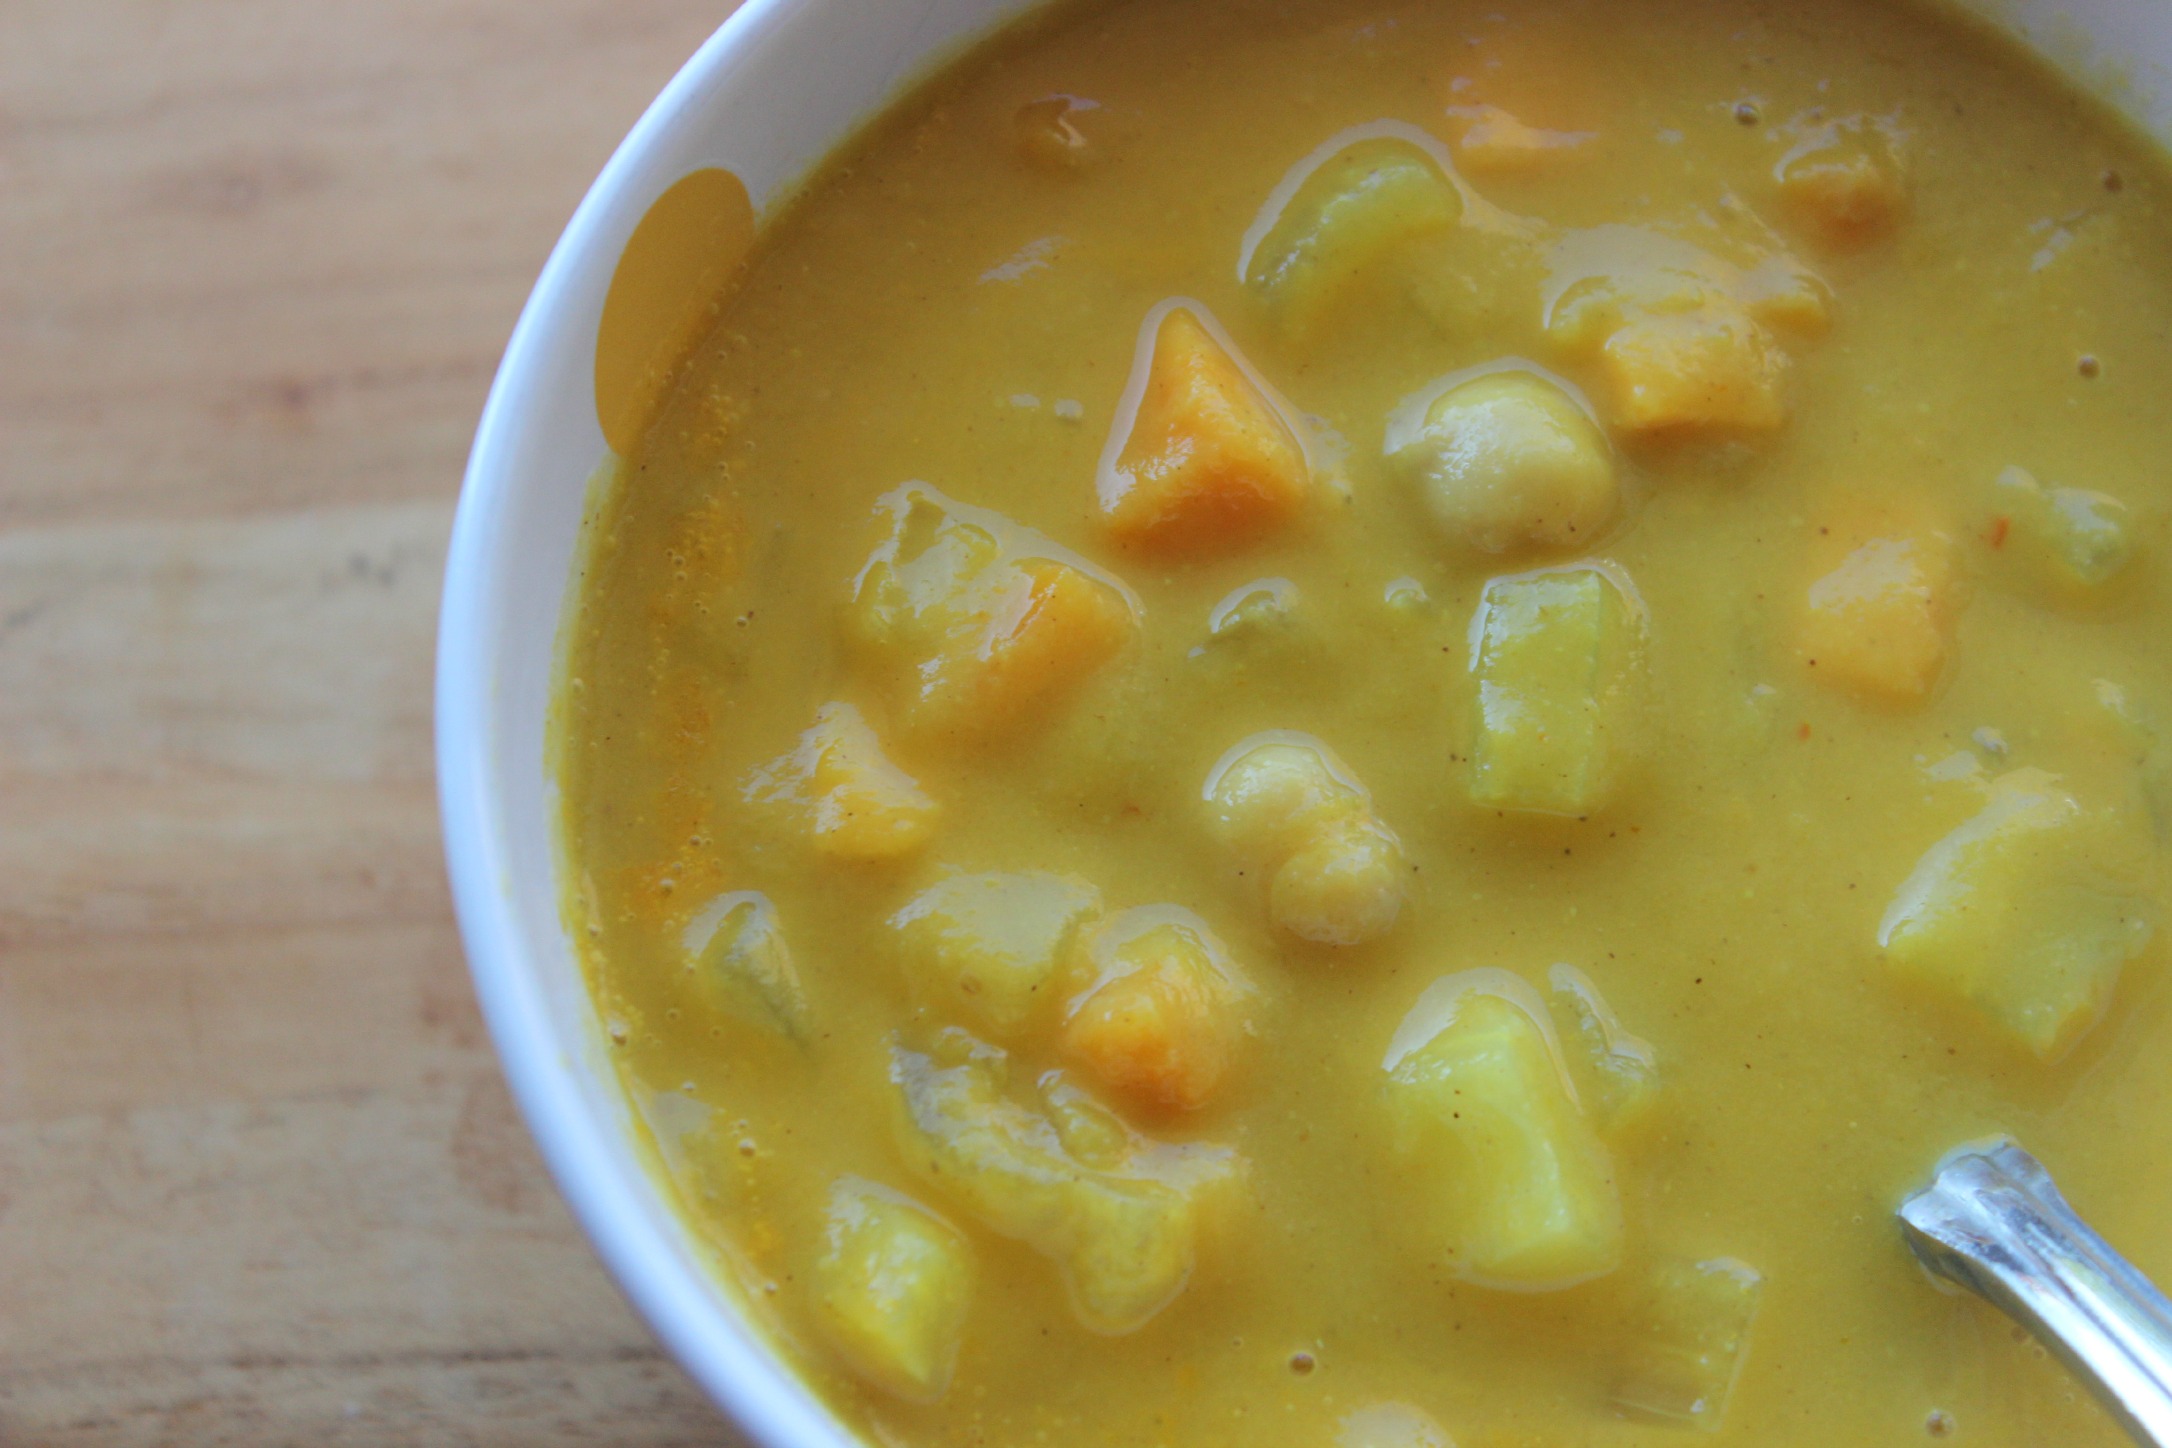
From Undiet Coffee, Chocolate Chocolate Pancakes, and Banana Berry Oatmazing Muffins to the Vegalicious Quiche, Sacred Scramble, Balsamic Roasted Vegetables, Gracious Glow Soup, Maple Balsamic Tempeh, Baked Apples, Crispy Rice Squares and Rawmazing Key Lime Pie, every recipe we’ve tried has been a hit!

Undiet collage

Meghan’s endearing quirkiness and sense of humor comes through in recipe titles like, “Sunday Night Quickie Chocolate Chip Cookies,” Let’s Stay Together Crackers,” and “Breakfast Patty Whacks”…a few recipes I’ve yet to try but am excited to tackle.

She doesn’t take herself too seriously and consistently communicates the message we shouldn’t either. In the very beginning of the book, she shares her creed, which includes advice like:

“Flirt with farmers.”

“Dance like a four year-old.”

“Make love in the kitchen.”

And, last but not least:

“Today is the day. Make it ridiculously awesometown.”

The UnDiet Cookbook will give you confidence that everyone (yes, even you!) can cook and that it is possible to eat well, be well and live a vibrant life without ever feeling deprived. This is the way we were meant to live.

It wouldn’t be fair to end this love note without sharing one of my favorite recipes from The UnDiet Cookbook.

I’ve made it several times already and like to change up the beans and greens. One time I used cannellini beans and spinach and another time I used black beans and kale. I love versatile recipes like this because they give me a chance to use what I have on hand.

And the ingredient list couldn’t get any simpler.

Introducing, “Dressed to the Nines Sweet Potato.”

Stuffed_Sweet_Potato_52137-MT

Dressed to the Nines Sweet Potato

Nut-free
Soy-Free (option)
Grain-free
Protein Powered (option)

Prep Time: 20 minutes
Cooking Time: 45–60 minutes
Serves 4

4 organic sweet potatoes
2 Tbsp avocado oil, coconut oil or organic ghee
1/2 red onion, diced
1 garlic clove, minced
1 (14-oz) can organic beans of choice, drained and rinsed*
6 cups greens, trimmed and sliced into ribbons
2 Tbsp fresh lemon juice
1/4 teaspoon Make-Your-Own Sambal (page 206 in The UnDiet Cookbook), red pepper flakes, or your favorite hot sauce
Sea salt

Optional Add-ons

  • Hemp seeds (protein bonus)
  • Toasted sunflower or pumpkin seeds
  • Fresh sprouts
  • Tempeh bits (prepared as with TLT Deluxe Sandwich, page 83 in The UnDiet Cookbook)
  • Tahini Dressing (page 194 in The UnDiet Cookbook)

* Make it Protein-Powered!

Swap the beans for 1 lb pastured, organic protein of choice such as ground beef, chicken, or turkey. Cook the meat just until browned and then use in place of the beans.

Make It Like So

  1. Preheat the oven to 400°F.
  2. Scrub the sweet potatoes and prick them in a few places with a fork (this gives them room to breathe as they bake). Place them on a baking sheet and bake until soft all the way through, 45 minutes to 1 hour.
  3. While the sweet potatoes are baking, heat the olive oil in a medium pan and add the onion and garlic. Cook until soft. Add the beans and cook for 5 minutes, stirring occasionally.
  4. Remove from the heat and stir in your greens (the heat will wilt them). Add your lemon juice, sambal, and sea salt to taste.
  5. Remove the sweet potatoes from the oven. To serve, slice each sweet potato through the middle and top with beans + greens mix and your optional add-ons.

Excerpted from The UnDiet Cookbook: 130 Gluten-Free Recipes for a Healthy and Awesome Life by Meghan Telpner. Copyright © 2015 Meghan Telpner. Photography Copyright © 2015 Maya Visnyei and Catherine Farquharson. Published by Appetite by Random House, a division of Random House of Canada Ltd., a Penguin Random House Company. Reproduced by arrangement with the Publisher. All rights reserved.

Two Soups for You! {Moroccan Chickpea & Curried Butternut}

It’s the perfect time of year for a nice big bowl of soup. As the weather cools, my body starts to crave foods like that, so I give it what it wants!

Soup is the ultimate savory comfort food for fall. Remember back to when you were a kid and your parents gave you a bowl of chicken noodle soup when we were sick? How about a dippable bowl of creamy tomato soup for your crunchy, buttery grilled cheese sandwich?

Foods like these are comfort foods because they give emotional comfort to us when we eat them.

Today I’m going to share recipes for two soups we recently tried from culinary translator and food as medicine guru, Rebecca Katz.

I recently wrote a post about her cancer-fighting, brain-boosting, longevity-promoting cookbooks and her famous Magic Mineral Broth. If you missed it, check out that post here. You’ll use the mineral broth in both of these soups, which is why we made it in the first place!

Broth

I love the rich flavors of today’s soups, especially the Moroccan Chickpea and Vegetable Soup. When I lived in Spain in college, I was in the southern town of Granada, so I was just a couple hours north of Morocco.

It was at that time that I first started to get comfortable trying new foods and experimenting with what I put on my plate. It also served as my introduction to Moroccan food.

I can’t say that I was always excited to be more adventurous with food, but the payoff has been incredible! I now enjoy so many different types of food and ethnic cuisines I would have not even thought to try before that experience.

The second soup uses my favorite fall squash – butternut – and incorporates healing spices like turmeric, ginger, and cumin along with a rich, creamy can of coconut milk.

Butternut Squash Closeup

I found it to be a little thinner than I prefer, but you can always use less broth to start and then add more to thin it out.

If you’re looking for some immune-boosting, heart-warming, soul food for this weekend or upcoming week, try one of these two soups! They are delicious and packed with flavor.

Get the recipe for the Moroccan Chickpea and Vegetable Soup.

Moroccan Chickpea

And the recipe for the Curried Butternut Squash Soup.

BSquash Soup

Page 5 of 15

Powered by WordPress & Theme by Anders Norén